Organizing a whole home can feel impossible when every room needs help at once. This beginners guide to organizing your entire home breaks the job into small, finished steps that fit real life. No perfect pantry photos, no all-day marathons, and no cart full of bins bought first.
January is a good month to start: the holidays are over, new items have come in, and a calmer home sets up the rest of the year.
One rule runs through every step: take out only what can be put back in one session — a drawer, a shelf, or one 24-inch stretch of counter. Finished and tidy beats pulled apart and abandoned.
1. Start With One Small Win, Not the Whole House
Pick the spot that bothers you most and is also small: the entry drop zone, one kitchen counter corner, or the bathroom sink area. Set a timer for 20 minutes. Remove everything, wipe the surface, and return only items used there daily.
Everything else goes into one box to sort at the end. Shoes return to the closet, mail goes to one tray, and extras leave or move to their real homes. A clear spot on day one makes the next session easier to start.
2. Set Up a Simple Sorting Kit Before Sorting Anything
Gather four things: a donation bag, a trash bag, a relocate box for items that belong in other rooms, and sticky notes with a marker. Keep them in one corner and bring them to every session.
Every item touched gets one of four decisions: keep here, donate, toss, or move. The relocate box stops mid-session wandering from room to room. Empty the donation bag into the car each week so sorted items do not drift back.
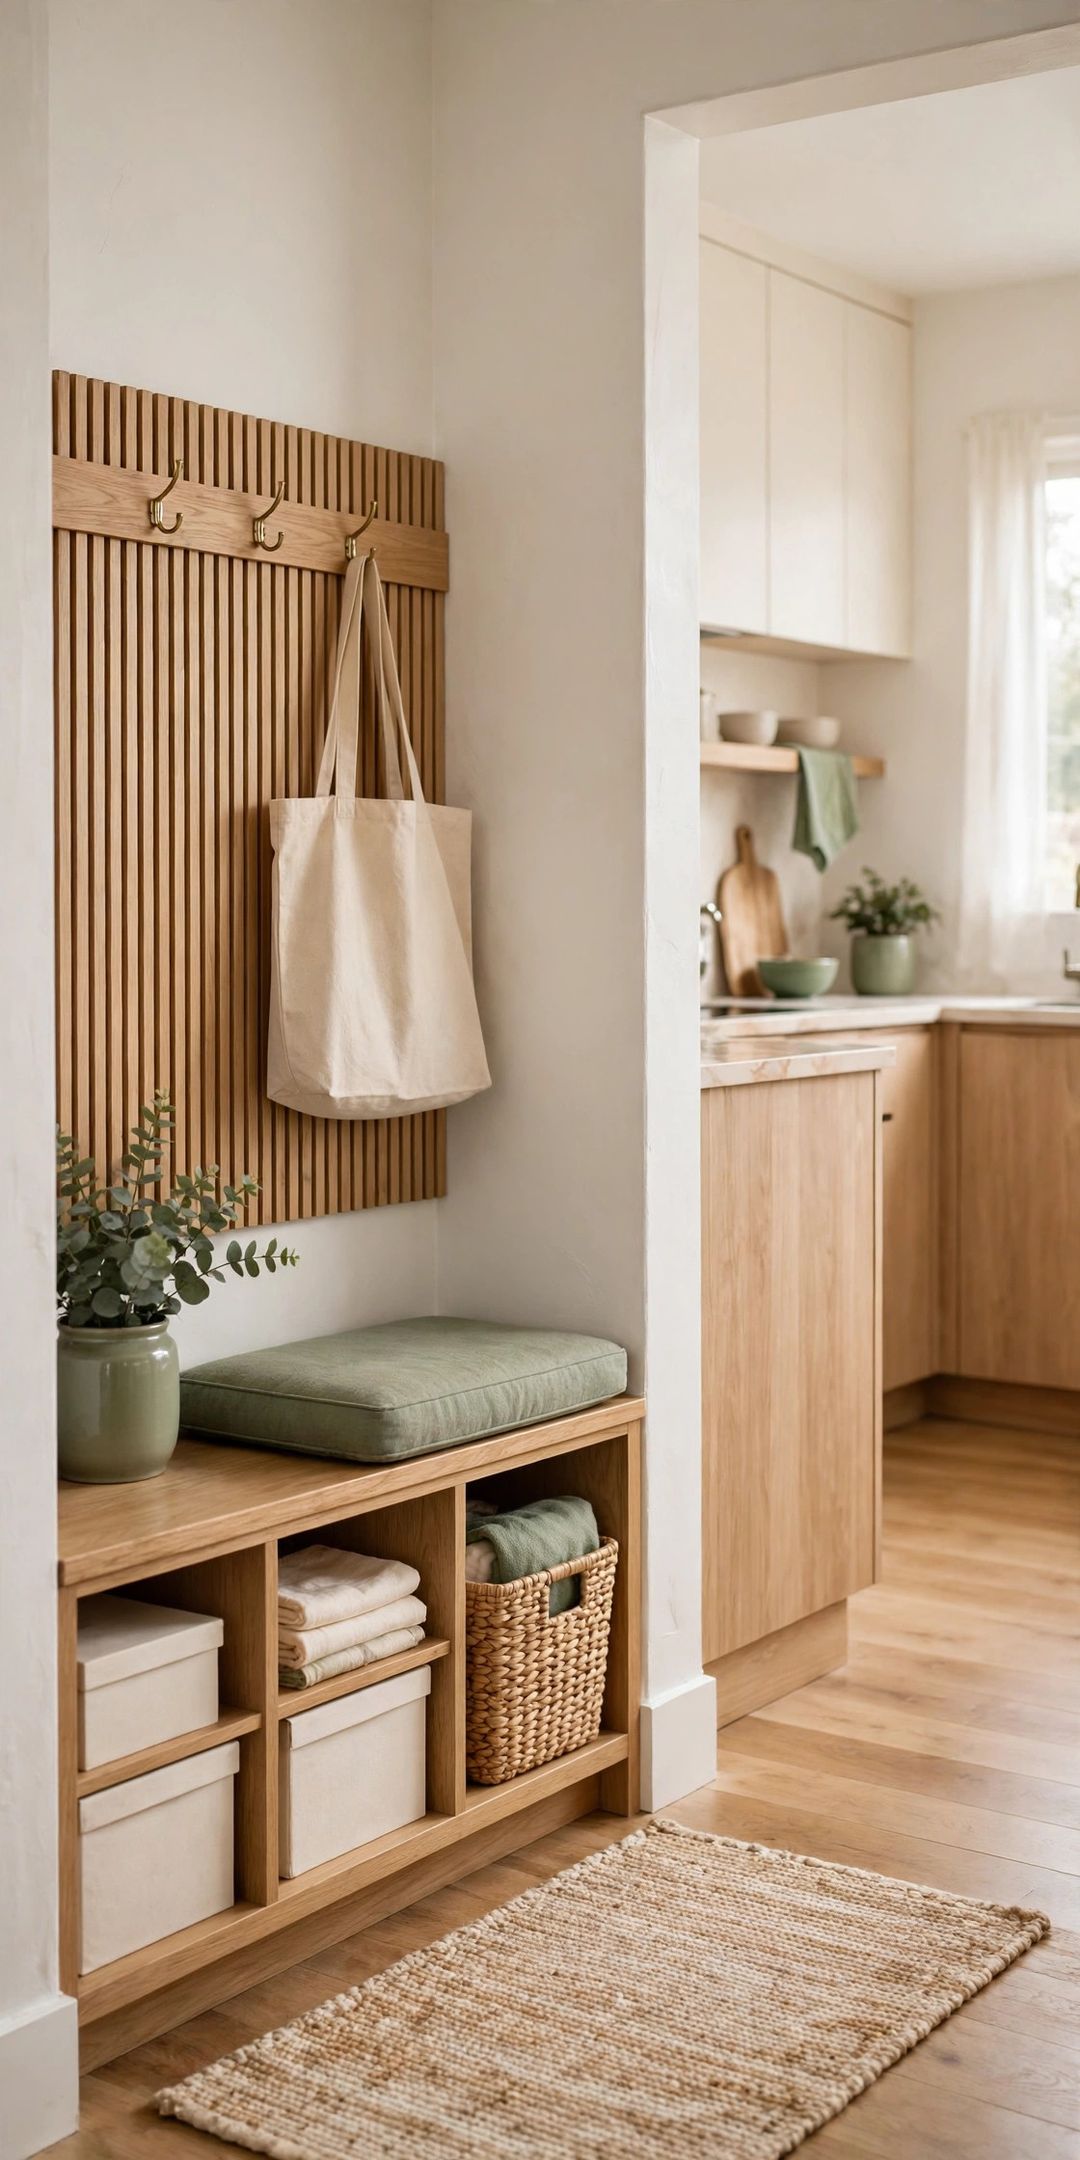
3. Work Room by Room in This Order
Start with the entry and kitchen, because they are used daily and results show fastest. Next do the bathroom, then the bedroom and closet, then the living room. Save storage spots and garages for last, since cleared rooms often send a few items there.
Finish one room before starting the next. A room counts as finished when surfaces are clear, every kept item has a spot, and the donation bag has left. Partial work in five rooms feels worse than one finished room.
4. Sort One Category at a Time, Not One Pile at a Time
Inside each room, sort by category instead of by corner. In the kitchen, do all mugs together, then all food containers, then all utensils. In the closet, do all T-shirts, then all shoes, then all bags. Seeing a full category at once makes duplicates obvious.
Keep amounts matched to the space. A small kitchen might hold 6 to 8 mugs, 8 matched containers with lids, and one drawer of daily utensils. If a category does not fit its shelf or drawer, the category is too big, not the storage.
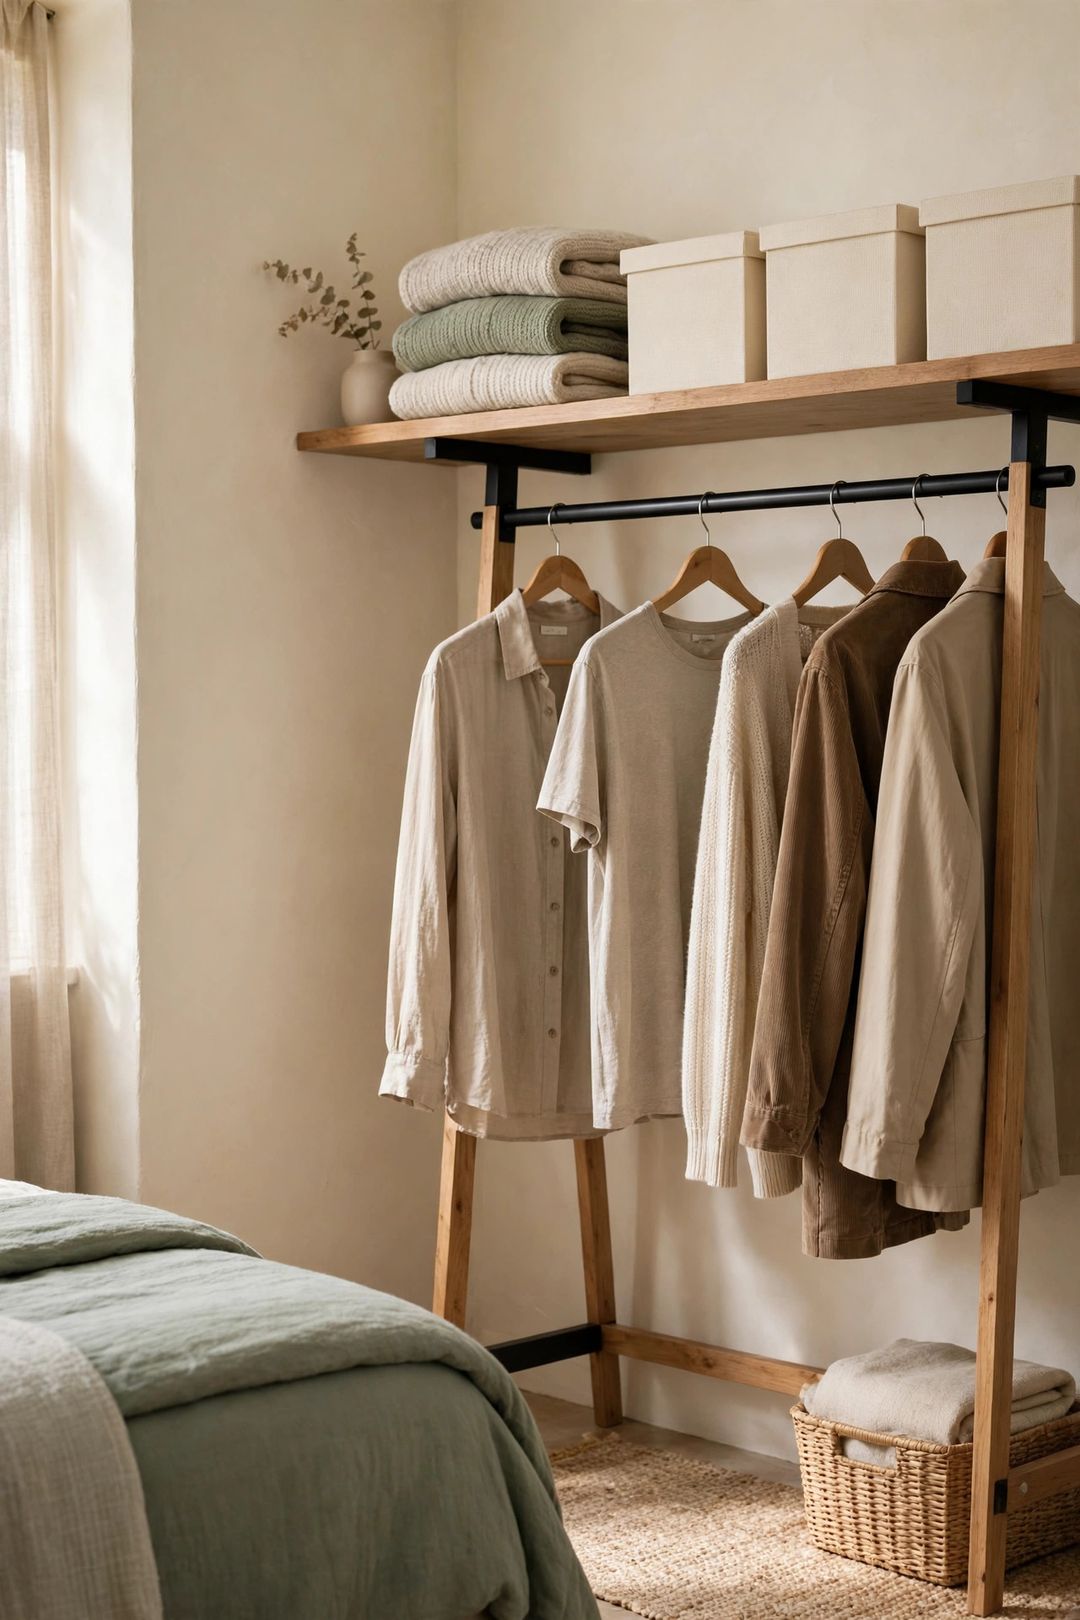
5. Give Everything a Simple Zone
A zone is just a named home for one group of items: keys and mail on one tray by the door, daily medicines in one bathroom drawer, cleaning sprays in one bin under the sink. Zones belong where items are used, not where they landed.
Label zones in plain words once sorting is done, even with sticky notes at first. Keep daily items between waist and eye level, weekly items higher or lower, and rare items in labeled bins. If an item has no zone, it either needs one or it needs to go.
6. Follow a Realistic January Weekly Pace
Plan three sessions a week of 25 to 45 minutes, not daily marathons. Week 1: entry and kitchen surfaces. Week 2: kitchen cabinets and the bathroom. Week 3: bedroom, dresser, and closet. Week 4: living room, paper, and storage spots, plus a final donation drop-off.
Missed a session? Move it, do not double it. Put sessions on the calendar like appointments, and stop when the timer ends, even mid-drawer. Stacking a whole week into one day is how beginners burn out.
7. Finish Every Session With a 10-Minute Reset
The last 10 minutes of each session are for closing, not more sorting. Carry the relocate box through the home and put each item in its zone. Take trash out, move the donation bag to the car, and wipe the surface just cleared.
This closing step keeps finished areas finished. Without it, sorted piles sit for days and slowly spread again. A room that gets a quick weekly reset rarely needs a full re-sort.
What to Buy
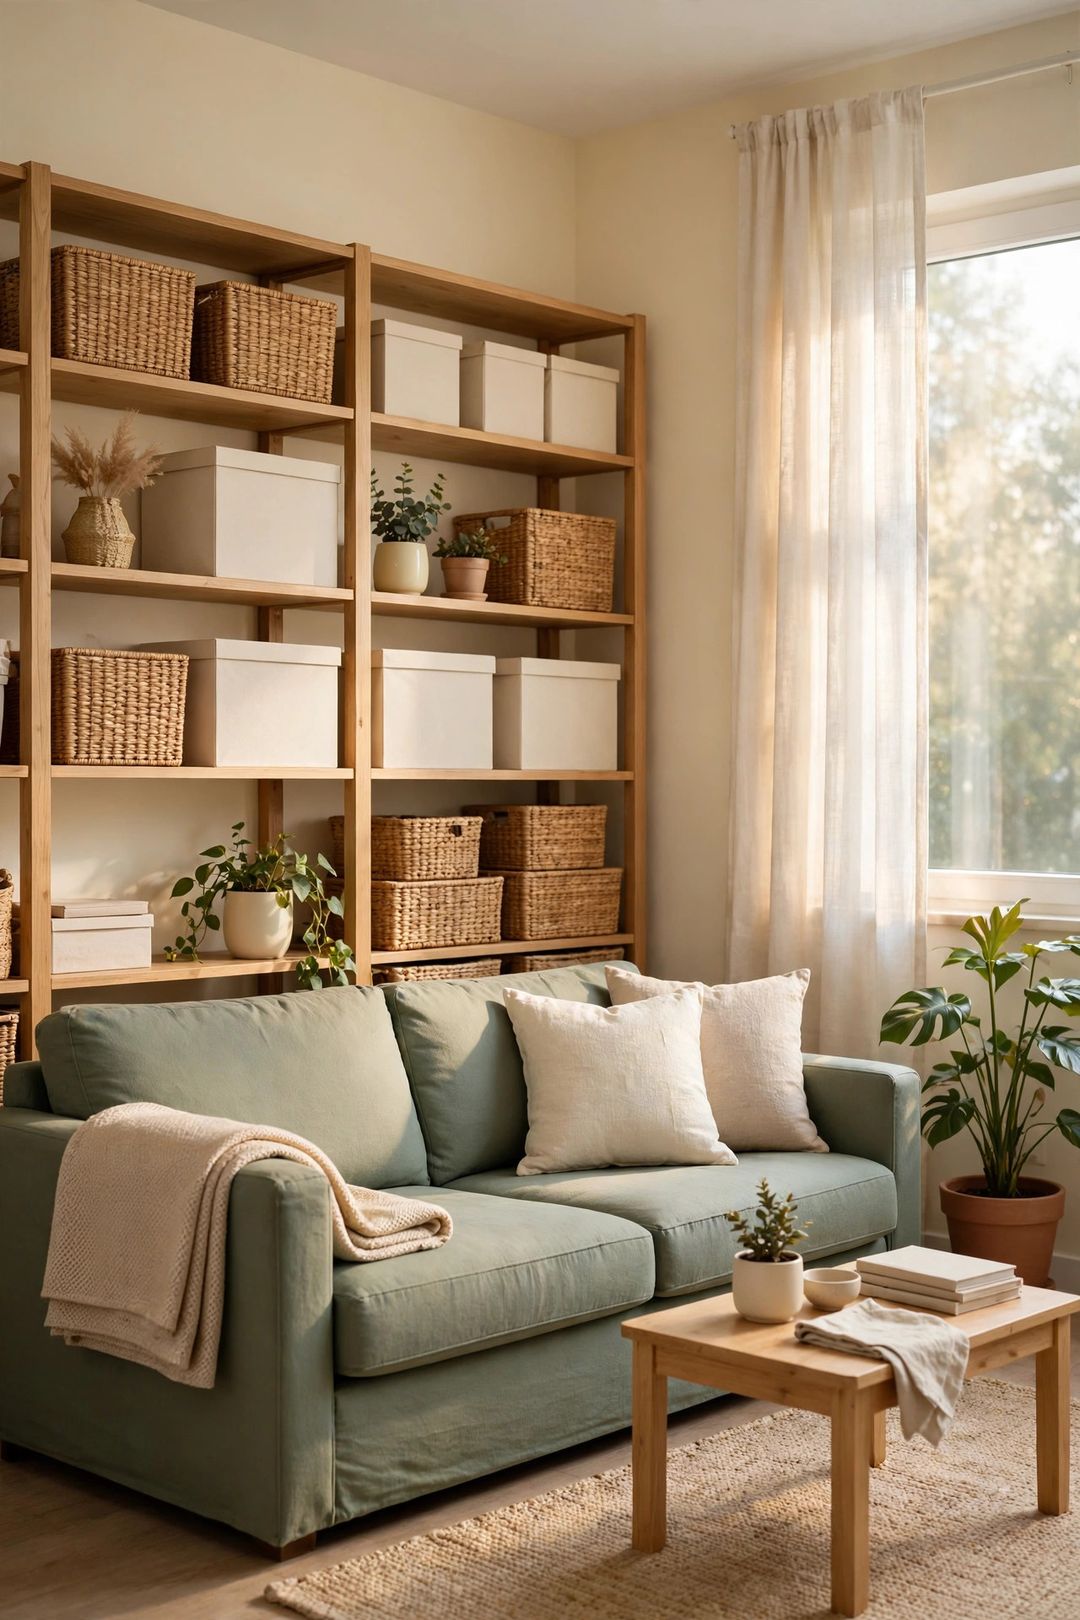
Clear bins with lids, typically $20–$40 for a multi-pack. Pro: contents stay visible and bins stack in closets. Con: hard bins waste space in odd corners. Skip if: shelves are under 12 inches deep, where soft baskets fit better.
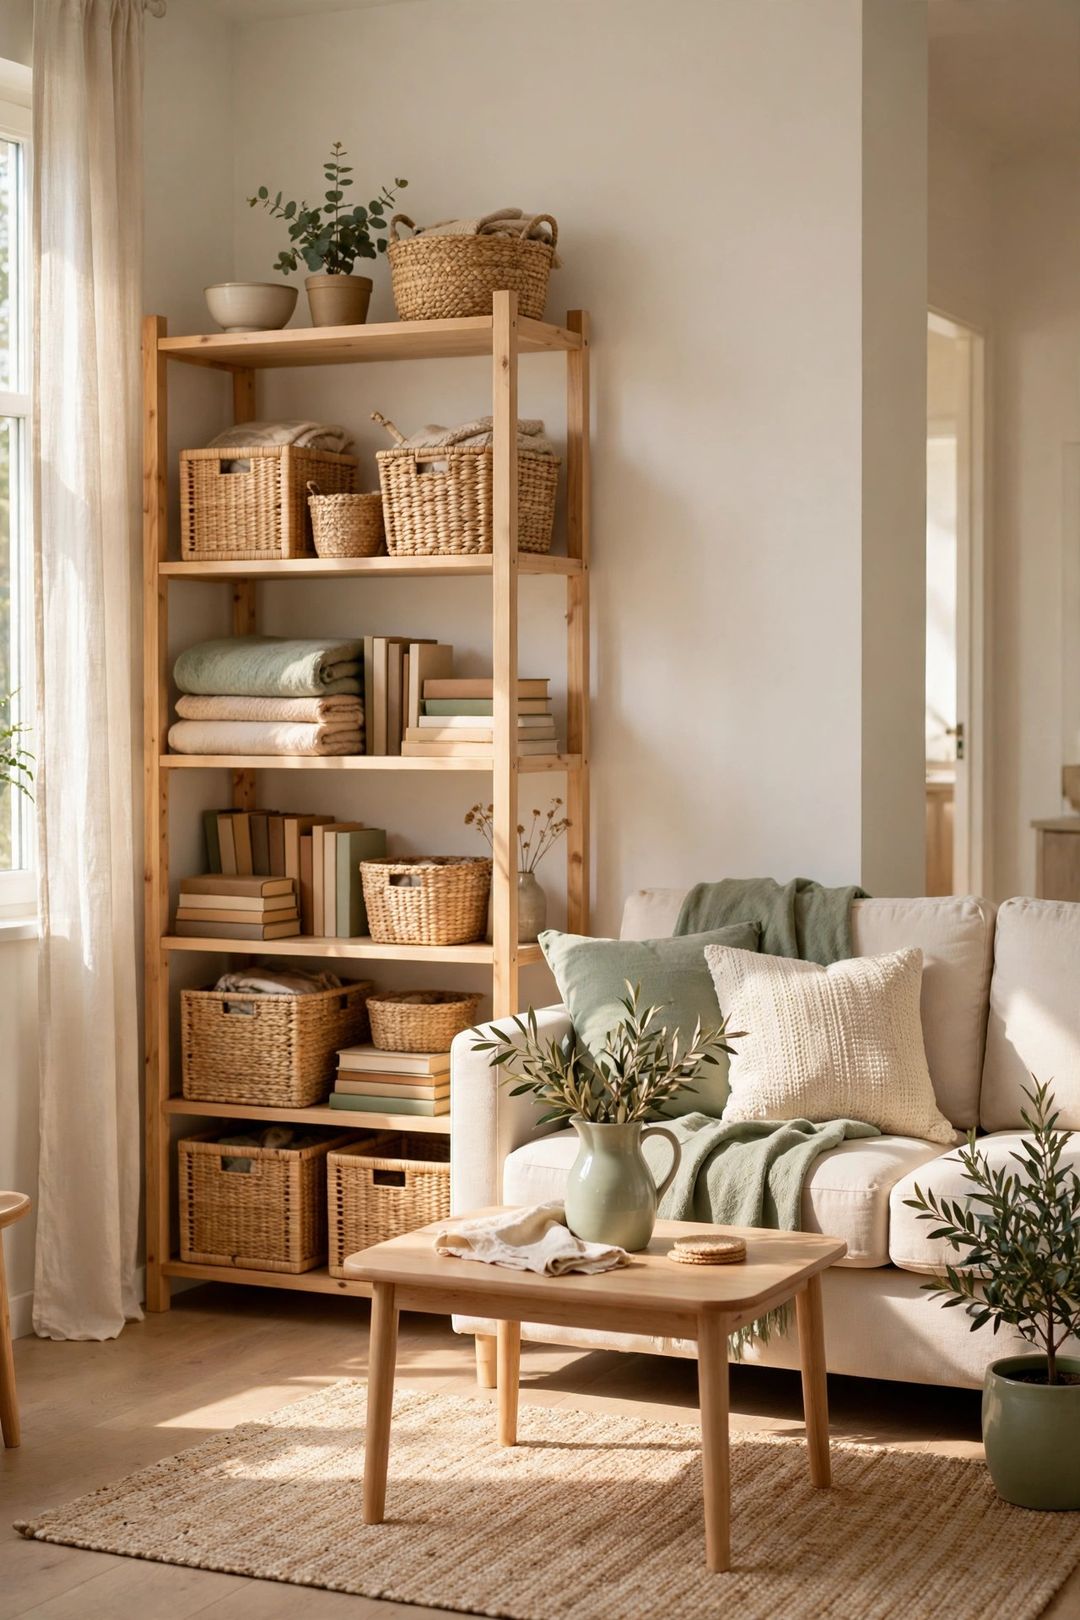
Open storage baskets, typically $15–$30 for a set. Pro: easy to toss items into, which helps new zones stick. Con: open tops collect dust. Skip if: the goal is closed, dust-free storage for linens or keepsakes.
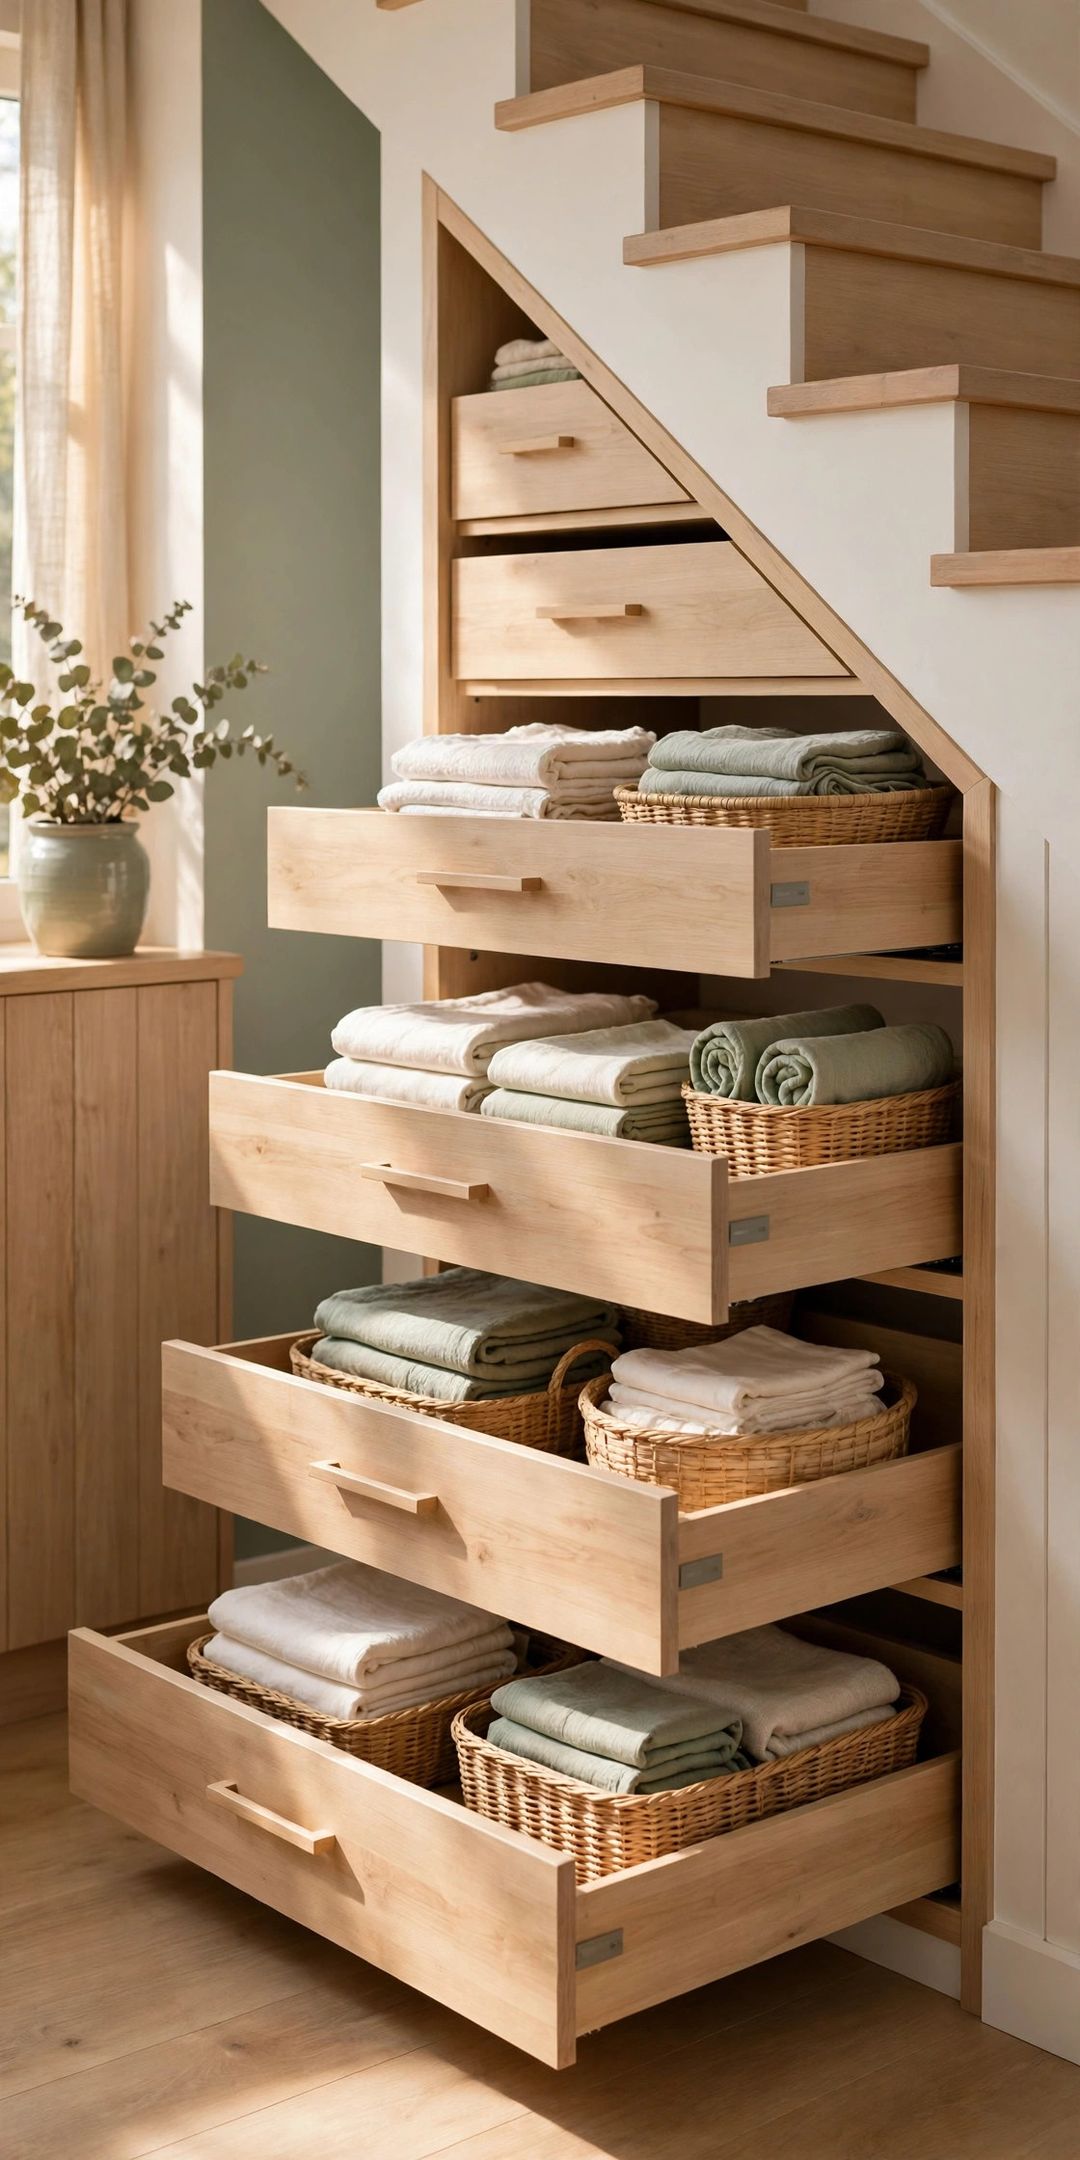
Drawer divider trays, typically $10–$20 per set. Pro: small categories like batteries and utensils stop mixing into one pile. Con: fixed sizes may not match every drawer. Skip if: drawers are under 3 inches deep — measure first.
Labels and a bold marker, typically $8–$15. Pro: named zones are easy for everyone in the home to follow. Con: labels peel off rough plastic over time. Skip if: clear bins already show contents at a glance.
Slim matching hangers, typically $15–$25 for a large pack. Pro: shirts take less rod space and hang at one level. Con: heavy coats need sturdier hangers. Skip if: the closet is mostly shelves and drawers, not hanging space.
Mistakes to Avoid
- Starting everywhere at once: opening five rooms at the same time leaves five messes and no finished space.
- Buying organizers first: bins bought before sorting get sized for clutter that later leaves, so sort first, measure after.
- Pulling everything out with no timer: a full closet dumped on the bed at bedtime kills motivation fast.
- Keeping items where they landed: things stored far from where they are used drift back to counters and chairs.
- Aiming for photo-perfect: styled shelves can come later; clear surfaces and named zones matter first.
Frequently Asked Questions
How long does it take to organize an entire home?
At three sessions a week of 25 to 45 minutes, most small to average homes take about four weeks for a solid first pass. Packed storage areas can add a week or two. Short, finished sessions matter more than speed.
Which room should a total beginner start with?
Start with the entry or one kitchen counter stretch. Both are small, used daily, and show results fast. Avoid sentimental items, garages, and a full closet first — those are the hardest categories.
Should everything be decluttered before organizing?
Yes, category by category. Organizing items that will later leave wastes time and bins. Sort first, keep only what fits and gets used, then give each kept group a zone and, if needed, a container.
How is an organized home maintained after January?
Use a weekly 10-minute reset per room, keep the donation bag in place, and follow a one-in, one-out habit for clothes, mugs, and toys. A quick pass every three months catches drift early.
A whole organized home is just a stack of small, finished areas, one drawer and one shelf at a time. Start with the first small win today, and save this guide to your home organization board on Pinterest so the January plan is ready whenever you are.