Camping gear is bulky, oddly shaped, and used only part of the year. In an apartment, a tent lands in a hallway, sleeping bags fill a closet floor, and the camp stove hides behind cleaning supplies. By the next trip, half the kit takes an hour to find.
These camping gear storage ideas apartment dwellers can use work with space most homes already have: closet tops, the gap under a bed, one corner, and the trunk of a car. No spare room or garage is assumed, and nothing needs to be built in.
The system is simple. Sort gear by trip type, give each group one labeled home, and store soft, bulky items loose where you can.
1. Sort Gear Into Bins by Trip Type
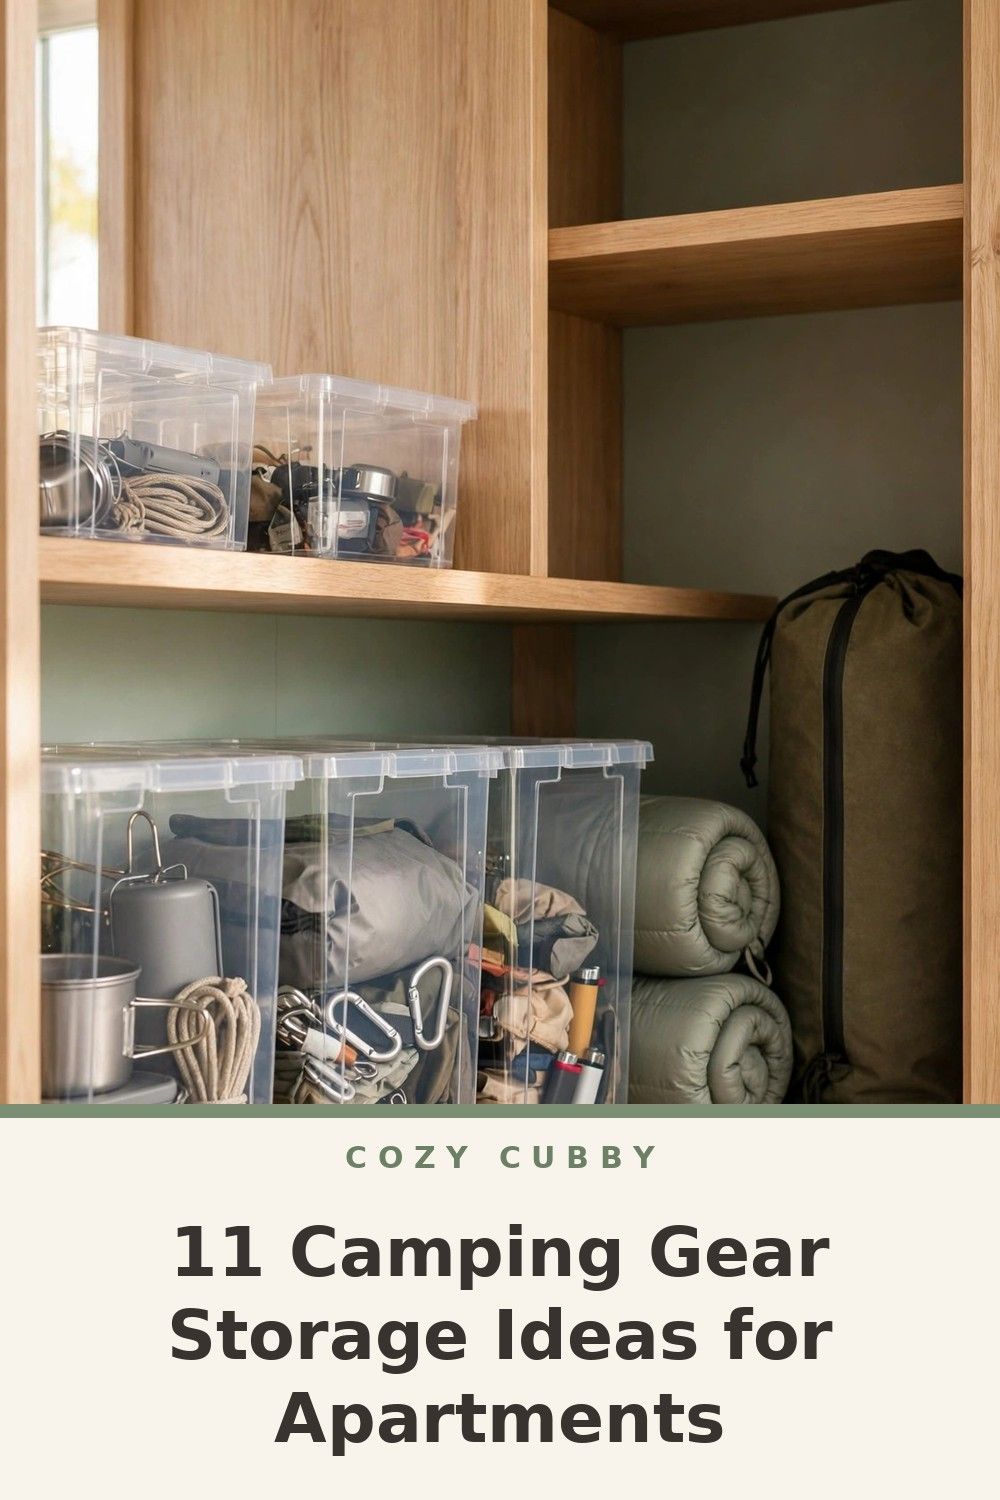
Pack bins by the trip, not by the item. Use one bin for car camping, one for short overnight trips, and one for shared basics like lights and repair items. When a trip comes up, you pull the right bin instead of sorting everything. Label each bin on two sides with its trip type and contents.
2. Use the Top Shelf of a Closet for Sleeping Bags
Store sleeping bags loose on the closet top shelf. Bags and pads are light but bulky, which makes high shelves a good match. Large, loose cotton or mesh sacks, rather than tight compression sacks, help the filling stay fluffy between trips. Keep one bag per sack and add a simple label.
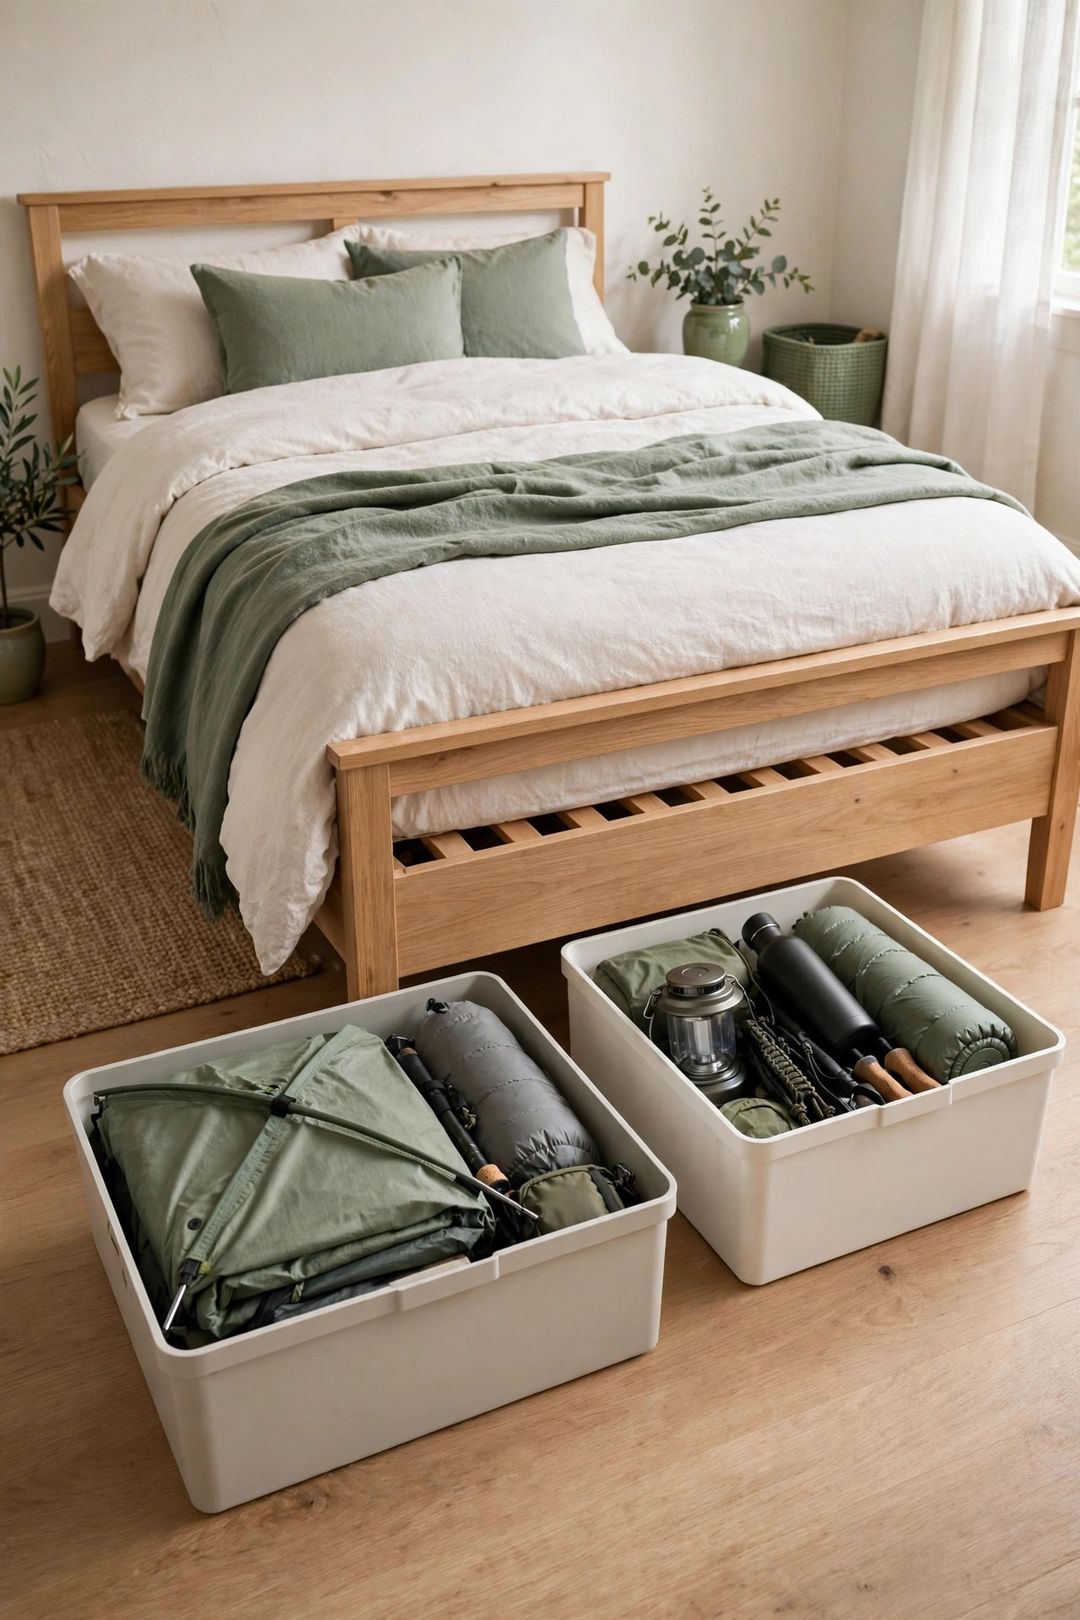
3. Slide Flat Bins Under the Bed
Use under-bed space for flat, hard gear. Low, lidded bins suit tents, tarps, poles, and camp chairs that fold flat. Measure the height under the frame first. Keep the tent and its poles in the same bin, with a card inside the lid listing poles, stakes, and footprint.
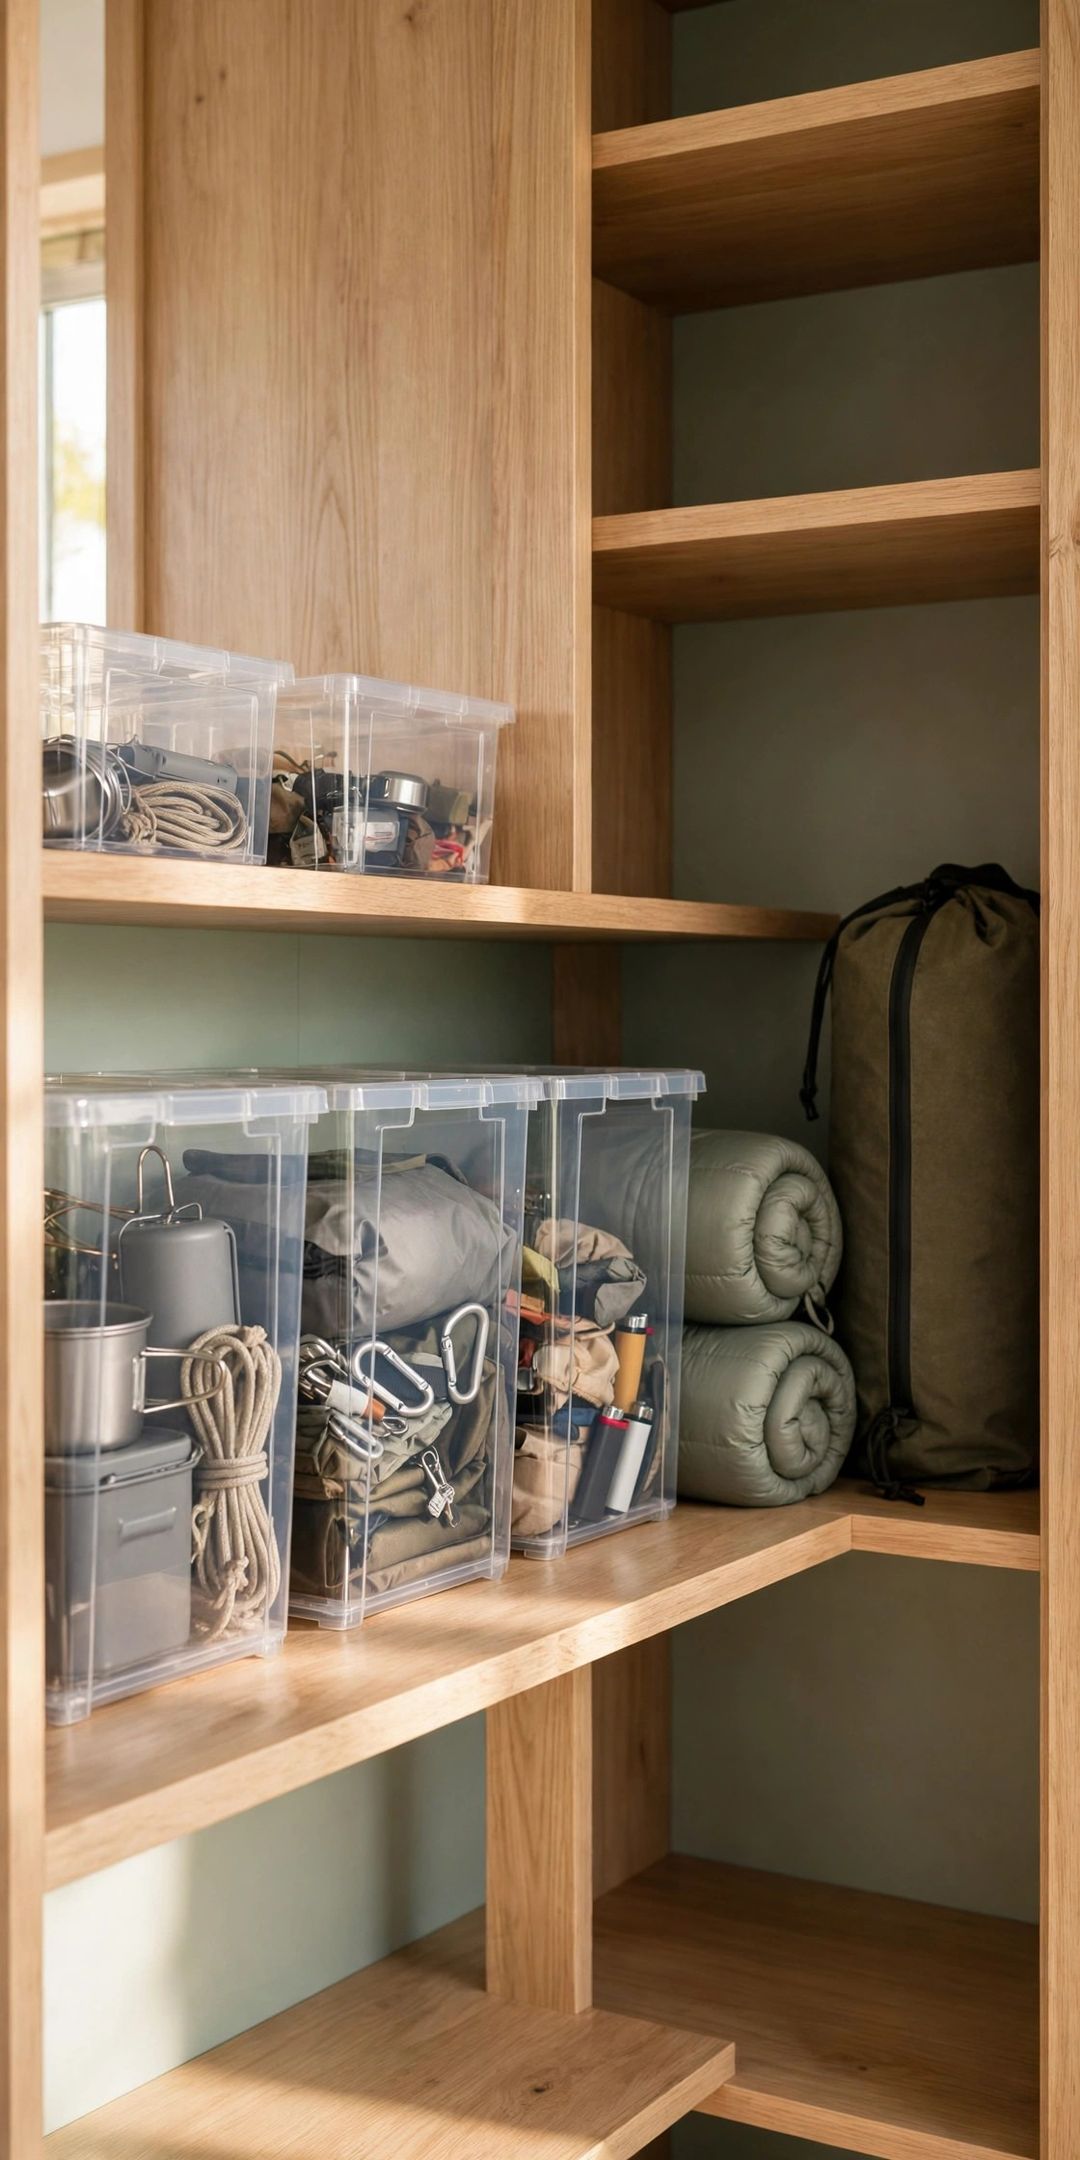
4. Create a Gear-Loft Corner in a Closet
Turn one high corner into a mini gear loft. A sturdy shelf or hanging shelf unit in a closet's top corner can hold the lightest gear: stuff sacks, dry bags, hammocks, and camp towels. This uses vertical space that is often empty.
5. Hang Small Gear in a Clear-Pocket Organizer
Give tiny items a visible home. Headlamps, batteries, lighters, tent stakes, cord, and repair patches vanish in big bins. A clear-pocket organizer on a closet door keeps each type in its own pocket, easy to scan before a trip. Restock pockets when you get home, not the night before you leave.
6. Keep the Camp Kitchen in One Grab Bin
Store the stove, pots, and dishes as one set. One medium bin for the camp kitchen — stove, pots, utensils, mugs, and a wash cloth — stops cooking gear scattering through kitchen cupboards. Store fuel as its maker directs, nest pots with a cloth between them, and tape a checklist inside the lid.
7. Keep a Ready Kit in the Car Trunk
Let the trunk hold the always-ready basics. If you camp often and have a car, one trunk bin can hold a tent, pads, a tarp, and basic tools. Keep food and heat-sensitive items stored as their labels direct, and check trunk gear each season.
8. Use Compression Sacks for Short-Term Bulky Items
Shrink soft gear when space is tight, with a limit. Compression or vacuum-style sacks can cut the size of camp blankets and extra clothing for a short period, which helps in a small closet. For longer storage, loosen the sacks, since filling kept crushed for months can lose some loft.
9. Store Food and Consumables Separately
Keep camp food in its own sealed bin. Trail snacks, drink mixes, and camp food belong in one sealed, labeled bin in a kitchen cupboard, away from gear bins. This makes date checks simple and keeps crumbs out of tents and packs. Move items near their date into daily kitchen use.
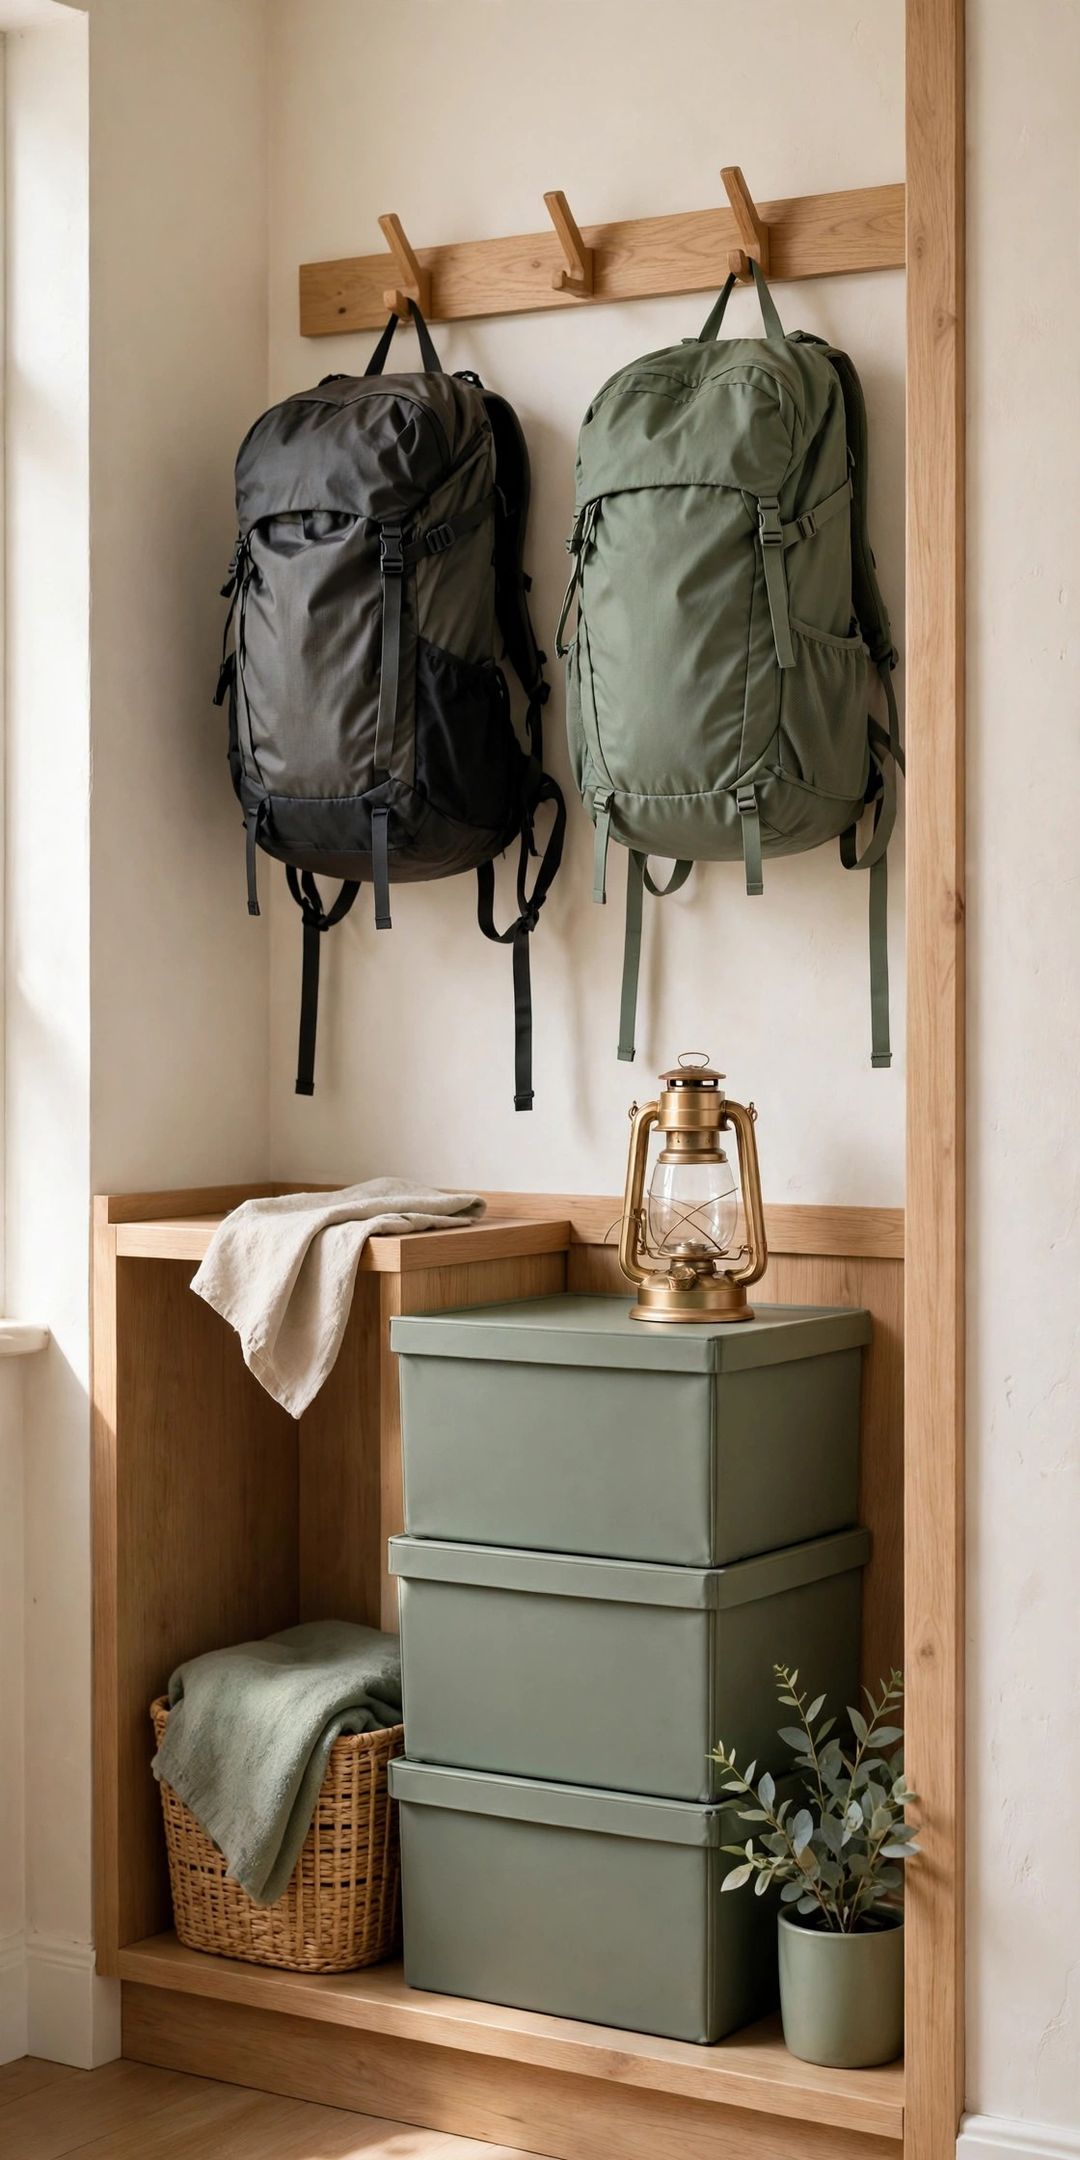
10. Hang Backpacks on Closet Hooks or a Slim Rack
Get packs off the floor and into a line. Strong closet hooks or a slim over-door rack hold packs by their top loops. Hanging keeps packs in shape and frees the closet floor for bins. Empty every pocket first, leave zips partly open for air, and use one hook per pack.
11. Air and Dry Everything Before It Goes Away
Dry gear fully before any bin or closet. This care step matters more than any container. Pitch the tent or hang it over a shower rod or balcony rail until fully dry, shake out sleeping bags, and air pads with valves open. Gear stored damp can develop mildew and odors that are hard to remove.
What to Buy
Clear lidded storage bins, typically $8–$18 each. Pro: Contents stay visible and bins stack. Con: Cheap lids can crack if overfilled. Skip if: You already own sturdy opaque bins and label them clearly.
A low under-bed bin, typically $15–$30. Pro: Uses dead space and suits flat gear like tents and tarps. Con: It must match your bed frame height exactly. Skip if: Your bed sits flat on the floor with no gap.
Large cotton or mesh storage sacks, typically $10–$20. Pro: Let sleeping bags rest loose and keep their loft. Con: They take more shelf space than compression sacks. Skip if: Your bags came with loose storage sacks already.
A clear-pocket hanging organizer, typically $10–$18. Pro: Small gear stays visible and sorted with no shelf space. Con: Heavy items stretch the pockets. Skip if: Your small gear already fits one labeled pouch system.
Mesh laundry bags, typically $6–$12 for a set. Pro: Group soft items and let air move while gear dries. Con: No dust protection for long storage. Skip if: You only store one or two items loose.
Mistakes to Avoid
- Storing gear while it is still damp. A damp tent or sleeping bag sealed in a bin can grow mildew fast. Dry everything fully before lids go on.
- Leaving sleeping bags compressed for months. Tight sacks are fine for travel, but long compression can reduce loft. Store bags loose between trips.
- Using unlabeled, mixed bins. One mixed bin means a full search before every trip. Sort by trip type and label two sides.
- Overpacking bins until they are too heavy. A bin you cannot lift safely will be avoided. Split heavy gear across two smaller bins.
- Skipping a quick check after each trip. Broken stakes and missing lights are easy to miss. Check bin lists while you unpack.
Frequently Asked Questions
Where is the best place to store a tent in an apartment?
A dry spot away from direct heat works best: a lidded under-bed bin, a closet shelf, or a labeled bin in a gear corner. Make sure the tent is fully dry and loosely packed.
Should sleeping bags be stored in their compression sacks?
For travel, yes; for storage at home, loose is better. A large cotton or mesh sack on a closet top shelf lets the filling rest and keeps the bag ready.
Can camping gear stay in a car trunk all year?
Basic hard gear can, if you camp often and check it each season. Keep food and heat-sensitive items stored as their labels direct, and bring soft gear inside in very hot or damp periods.
How do you stop stored gear from smelling musty?
Start with gear that is clean and fully dry, store it where some air can move, and open bins and bags now and then between seasons. Air musty gear outdoors before storing it again.
With bins by trip type, soft gear up high, and a ready kit in the trunk, packing for the next trip becomes a quick pull-and-go job. Save this post to your Camping or Apartment Storage board on Pinterest so the full checklist is handy before your next trip.