Cans are small, heavy, and strangely hard to store without a pantry. They roll, they hide behind each other, and the one you need is always at the back of a deep cabinet.
These can storage ideas kitchen no pantry homes can use spread cans across the storage you already have: cabinets, drawers, doors, and a helper or two outside the kitchen. The goal is simple — every can visible, oldest cans in front, and no shelf overloaded.
Start by grouping cans by type and size, and count how many you usually keep. A household that keeps a few cans needs one riser. A household that buys in bulk needs a rotation system too.
1. Add a Tiered Riser to a Kitchen Cabinet
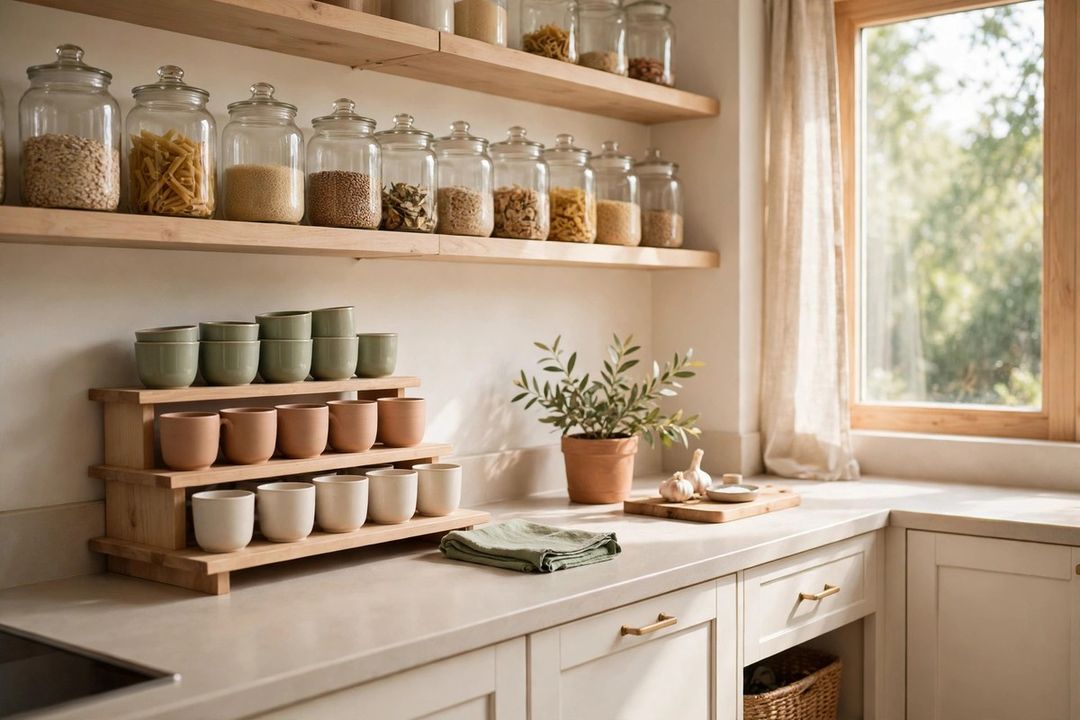
A stepped cabinet riser lifts the back row so every label stays visible. It turns one flat shelf, where cans hide behind cans, into clear steps. Measure the cabinet width and shelf height first, keep everyday cans here, and face labels forward.
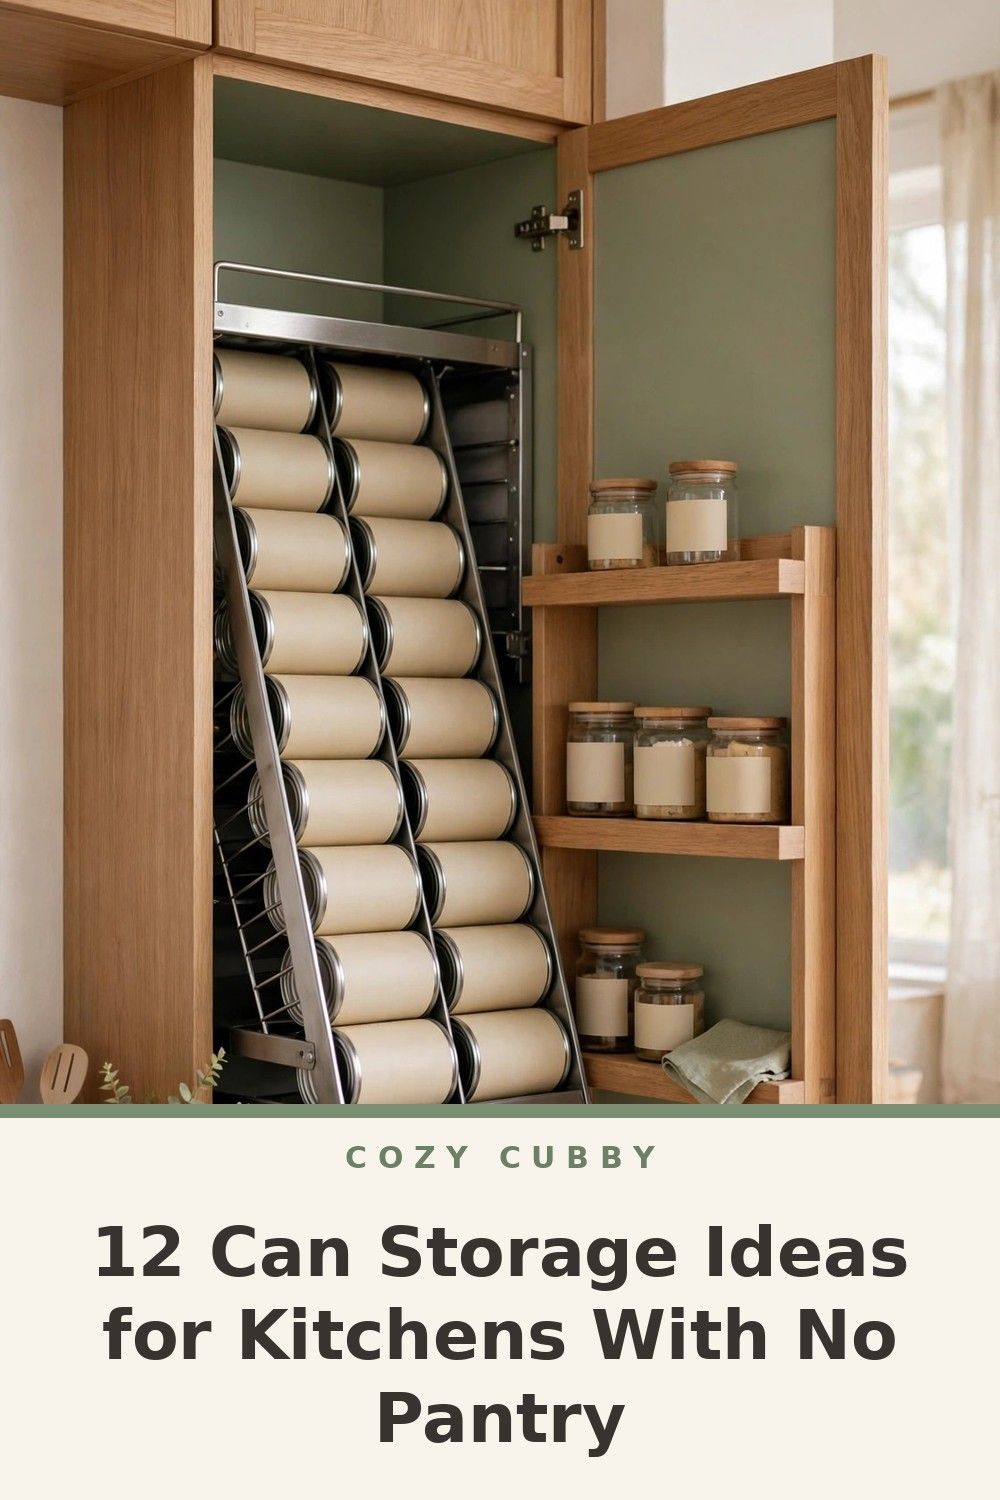
2. Use a Gravity-Fed Can Dispenser
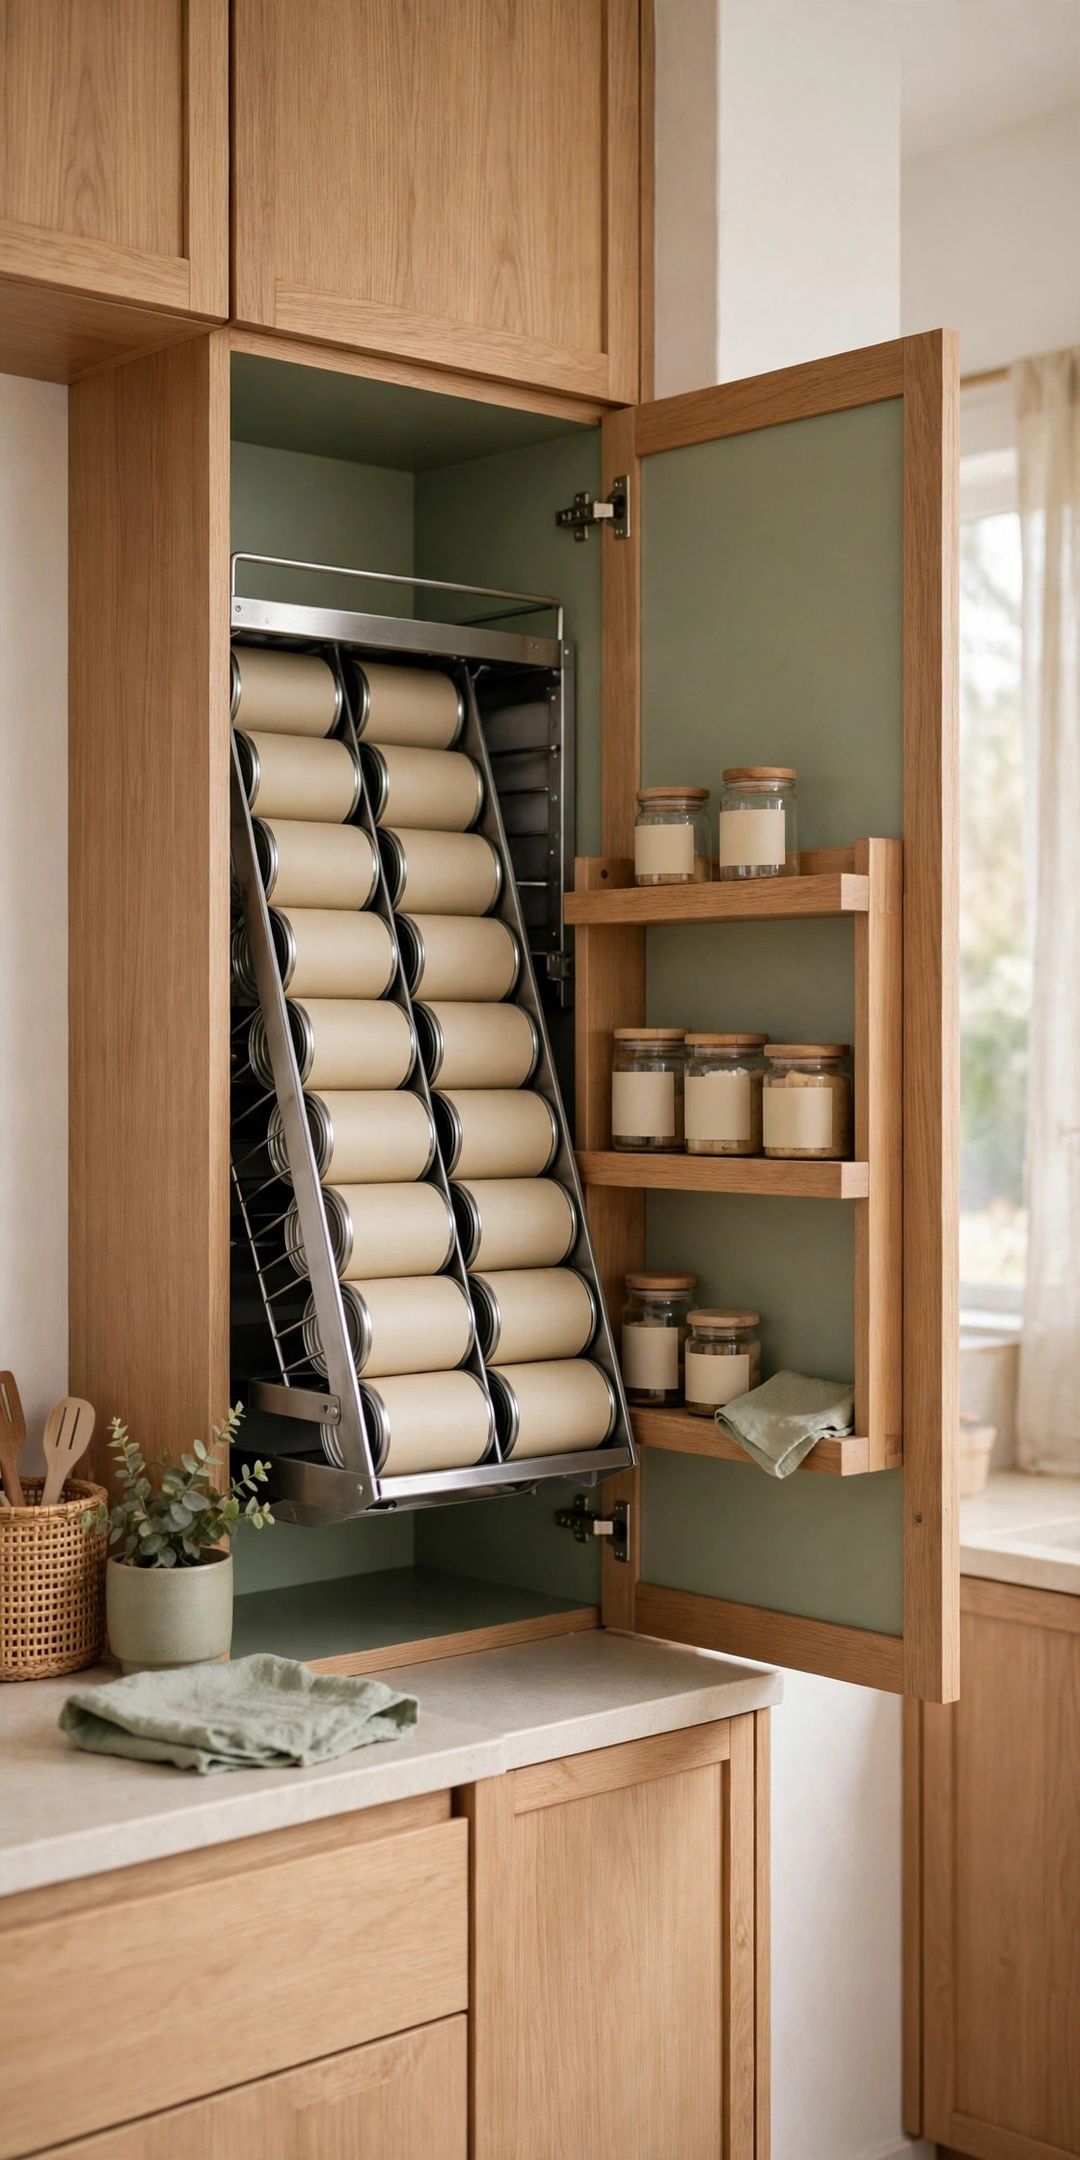
A gravity dispenser holds cans on a sloped track. Load new cans at the top or back, and the oldest can rolls to the front, ready to use first. Check that it fits your cabinet height and usual can sizes, and place it on a low, sturdy shelf.
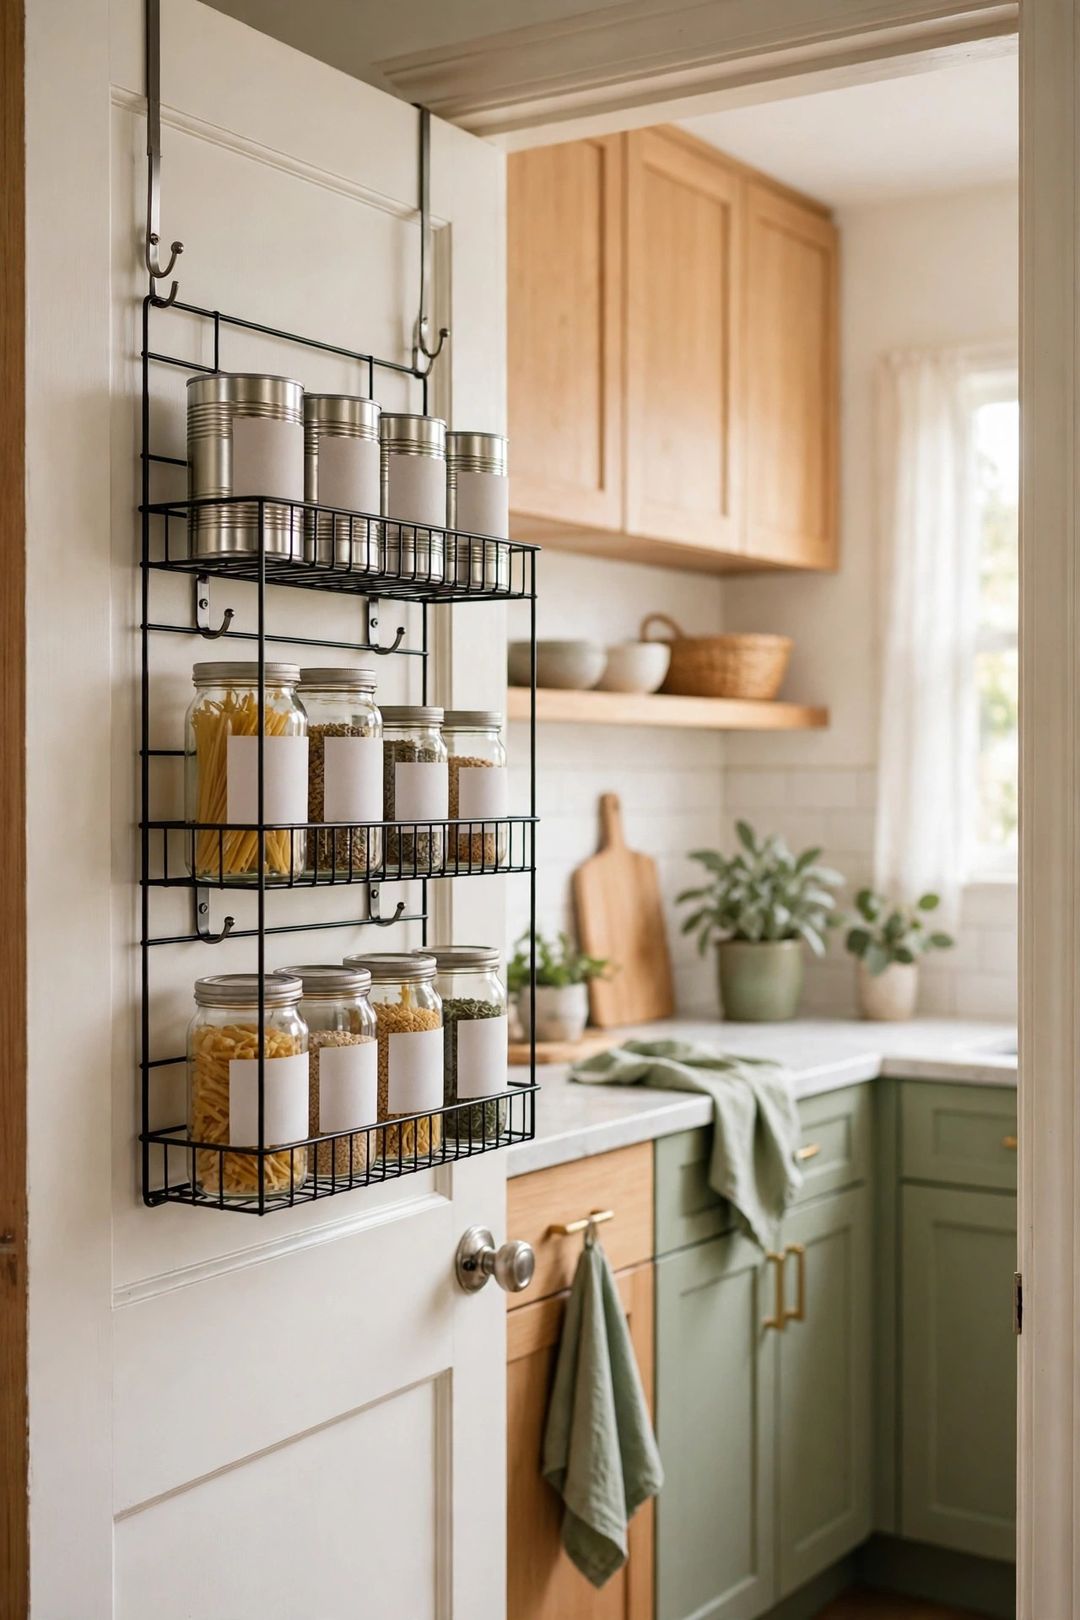
3. Hang a Rack on a Cabinet Door
The inside of a cabinet door is wasted space in most kitchens. A slim door rack can hold a row of small cans or packets, freeing shelf space for larger items. Choose a rack that clears the shelves when the door closes, and keep the load light.
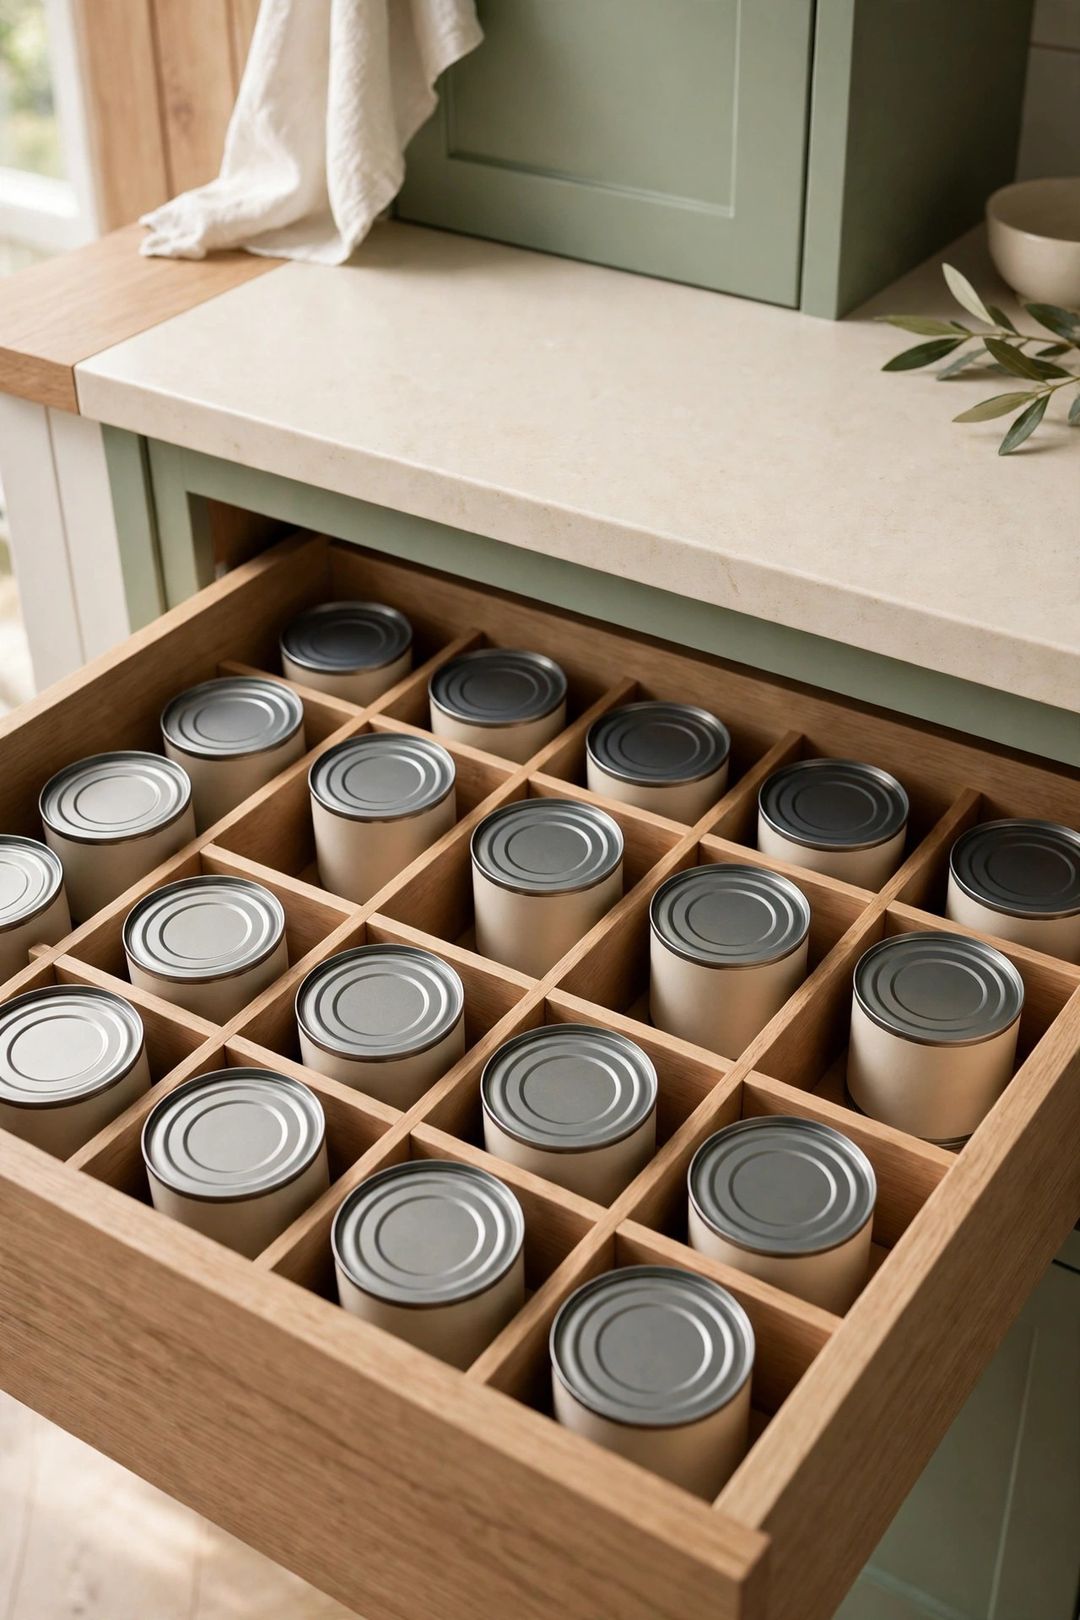
4. Turn a Deep Drawer Into Can Rows
A deep drawer can hold cans in neat rows, labels up, where nothing hides. It works well below the prep counter, and the low height makes heavy cans easier to lift out. Line cans up by type, oldest in front, and keep the heaviest cans in your lowest drawer.
5. Fit a Pull-Out Shelf Inside a Cabinet
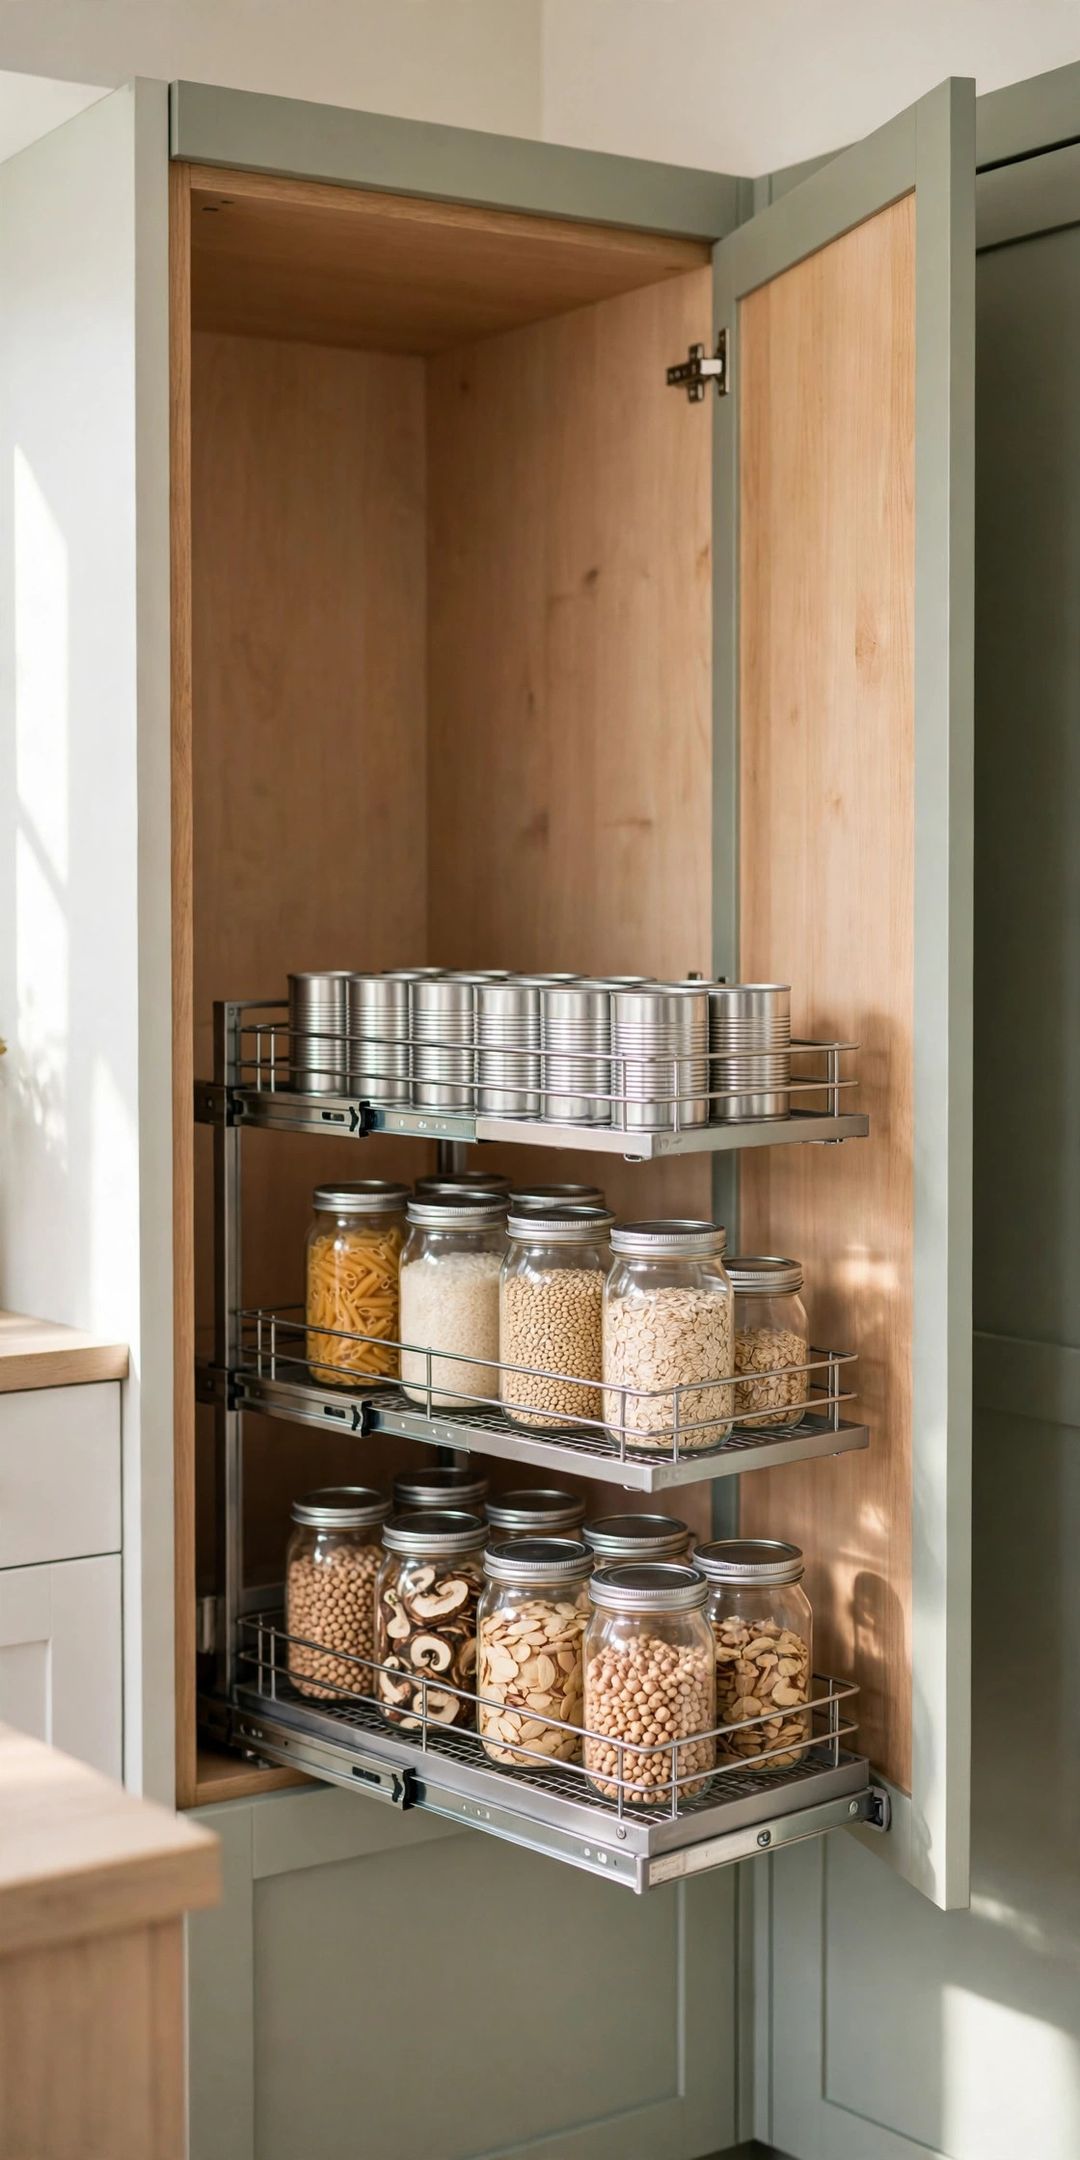
A pull-out cabinet shelf brings the back row to you, so you stop reaching past front cans and knocking them over. Measure the opening carefully, since hinges narrow the usable space. Pull-outs suit base cabinets best, where weight sits low.
6. Clip an Under-Shelf Basket Above Cans
An under-shelf basket hooks onto a shelf and hangs below it, using the empty air above short cans. It is a good spot for tuna, small cans, or packets that get lost on a full shelf. Keep this basket light; heavy cans belong on the solid shelf.
7. Corral Cans on a Turntable
A turntable in a deep or corner cabinet brings back cans forward with a spin. It suits mixed cans — soups, vegetables, and fruit — reached for in no set order. Pick a size that spins freely, and keep one layer only, since stacked cans can slide.
8. Use Clear Bins on Open Shelving
If wall space allows one open shelf in the kitchen or dining area, clear bins of cans can live there in plain sight. Group one type per bin so the shelf looks like a display, not clutter. Choose smaller bins you can lift safely when full, and label each one.
9. Make a Rolling Cart Your Mini Pantry
A sturdy rolling cart can hold the overflow cans cabinets cannot. Park it in a kitchen gap, a hall closet, or beside a dining wall, and roll it in when you cook. Put heavy cans on the bottom shelf to keep the cart steady. Nothing is installed, so renters can use this too.
10. Add an Over-the-Door Rack on a Nearby Door
No pantry door does not mean no door. A rack over a kitchen, hallway, or laundry door near the kitchen can hold cans and other dry goods on space that normally does nothing. Spread the weight, keep heavy cans low, and check that the door still closes fully.
11. Install a Narrow Wall Shelf for One Row of Cans
A shallow wall shelf, just deep enough for one row of cans, can fit above a counter or on a short stretch of bare wall. One row deep means every can is a front can. Add a small rail or lip to help cans stay put, and use proper wall anchors.
12. Claim One Spot Just Outside the Kitchen
Bulk and backup cans do not need prime kitchen space. A hall closet shelf, sideboard cabinet, or storage bench near the kitchen can hold backstock, while only a working set stays in the cabinets. Refill the kitchen spot from backstock, oldest cans first.
What to Buy
A tiered cabinet riser, typically $12–$20. Pro: Makes every label visible. Con: Tall cans may not fit on the top step. Skip if: Your cabinet is already shallow.
A gravity-fed can dispenser, typically $20–$35. Pro: Oldest cans roll to the front. Con: Suits standard can sizes best. Skip if: You keep only a few cans.
A cabinet door rack, typically $15–$28. Pro: Uses normally wasted space. Con: Must clear shelves when the door closes. Skip if: Your doors are too narrow.
A pull-out cabinet shelf, typically $40–$80. Pro: Ends reaching and toppling cans. Con: Needs careful measuring and fitting. Skip if: You rent and cannot install hardware.
Clear storage bins, typically $10–$20 each. Pro: Group cans by type and lift out as one unit. Con: A large full bin gets heavy. Skip if: You prefer open rows.
Mistakes to Avoid
- Stacking cans three or four high. Tall stacks tip, dent cans, and bury the oldest ones. Two high is a safer limit on open shelves.
- Ignoring first in, first out. New cans in front push older cans back until they expire. Load from the back so old cans stay in front.
- Overloading doors and high shelves. Cans are heavy for their size. Keep bulk weight low and spread door loads out.
- Buying before measuring. Cabinet height, door clearance, and can sizes decide what fits. Measure first, then shop.
- Mixing every can type in one pile. One mixed heap means digging every time. Group by type, even if groups are small.
- Storing cans in a hot or damp spot. A dry, cool indoor space is best. Skip spots beside heat sources for long-term storage.
Frequently Asked Questions
Where do cans go if every cabinet is full?
Start with a door rack and a tiered riser, which add space inside cabinets you already use. If cans still overflow, add a rolling cart or a backstock shelf in a nearby closet.
Do gravity can dispensers fit all can sizes?
Most suit standard soup and vegetable cans best. Very tall, wide, or small cans may not roll or fit well. Check the size guide against the cans you buy most.
How can older cans be used first easily?
Use position instead of dates: load new cans behind or above old ones, and take from the front or bottom. A gravity dispenser does this on its own.
Is it okay to store cans in a drawer?
Yes, a deep, sturdy drawer is a good home for cans. Weight sits low, labels face up, and nothing hides. Keep heavy cans in the lowest drawer and close it gently.
No pantry is a workable problem once cans have visible, grouped homes. Save this post to your Kitchen Organization board on Pinterest so the full list is handy on grocery day.