Decluttering a whole home at once usually stalls by the second room. A declutter checklist room by room plan avoids that by breaking the job into short, finished sessions. Print the list, pick one room, and stop when the timer ends.
Set a timer for 25 to 45 minutes and work only that room. Nothing from another room gets sorted mid-session, even if it catches the eye. When the timer ends, carry donations to the car, put relocated items where they belong, and tick the room off the list.
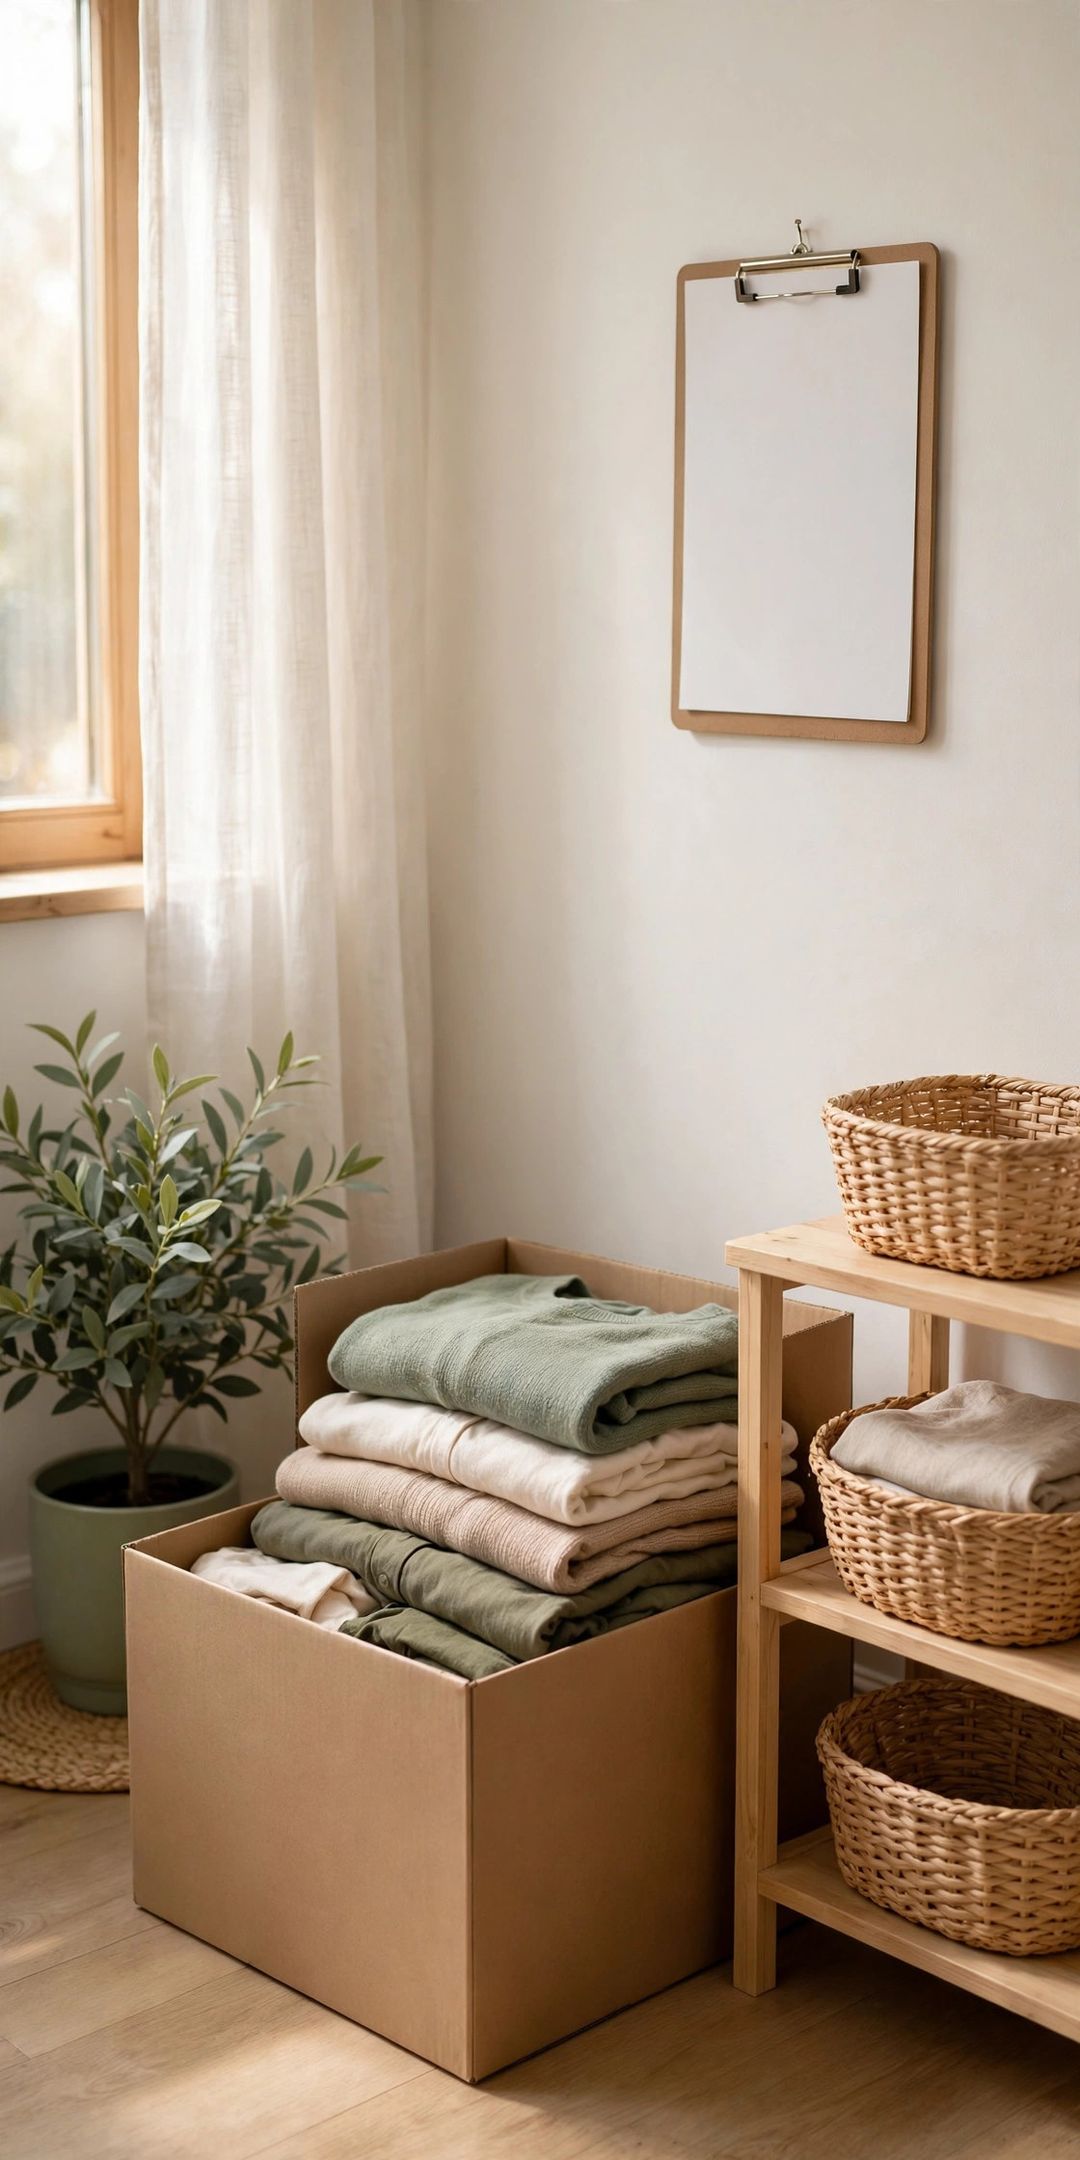
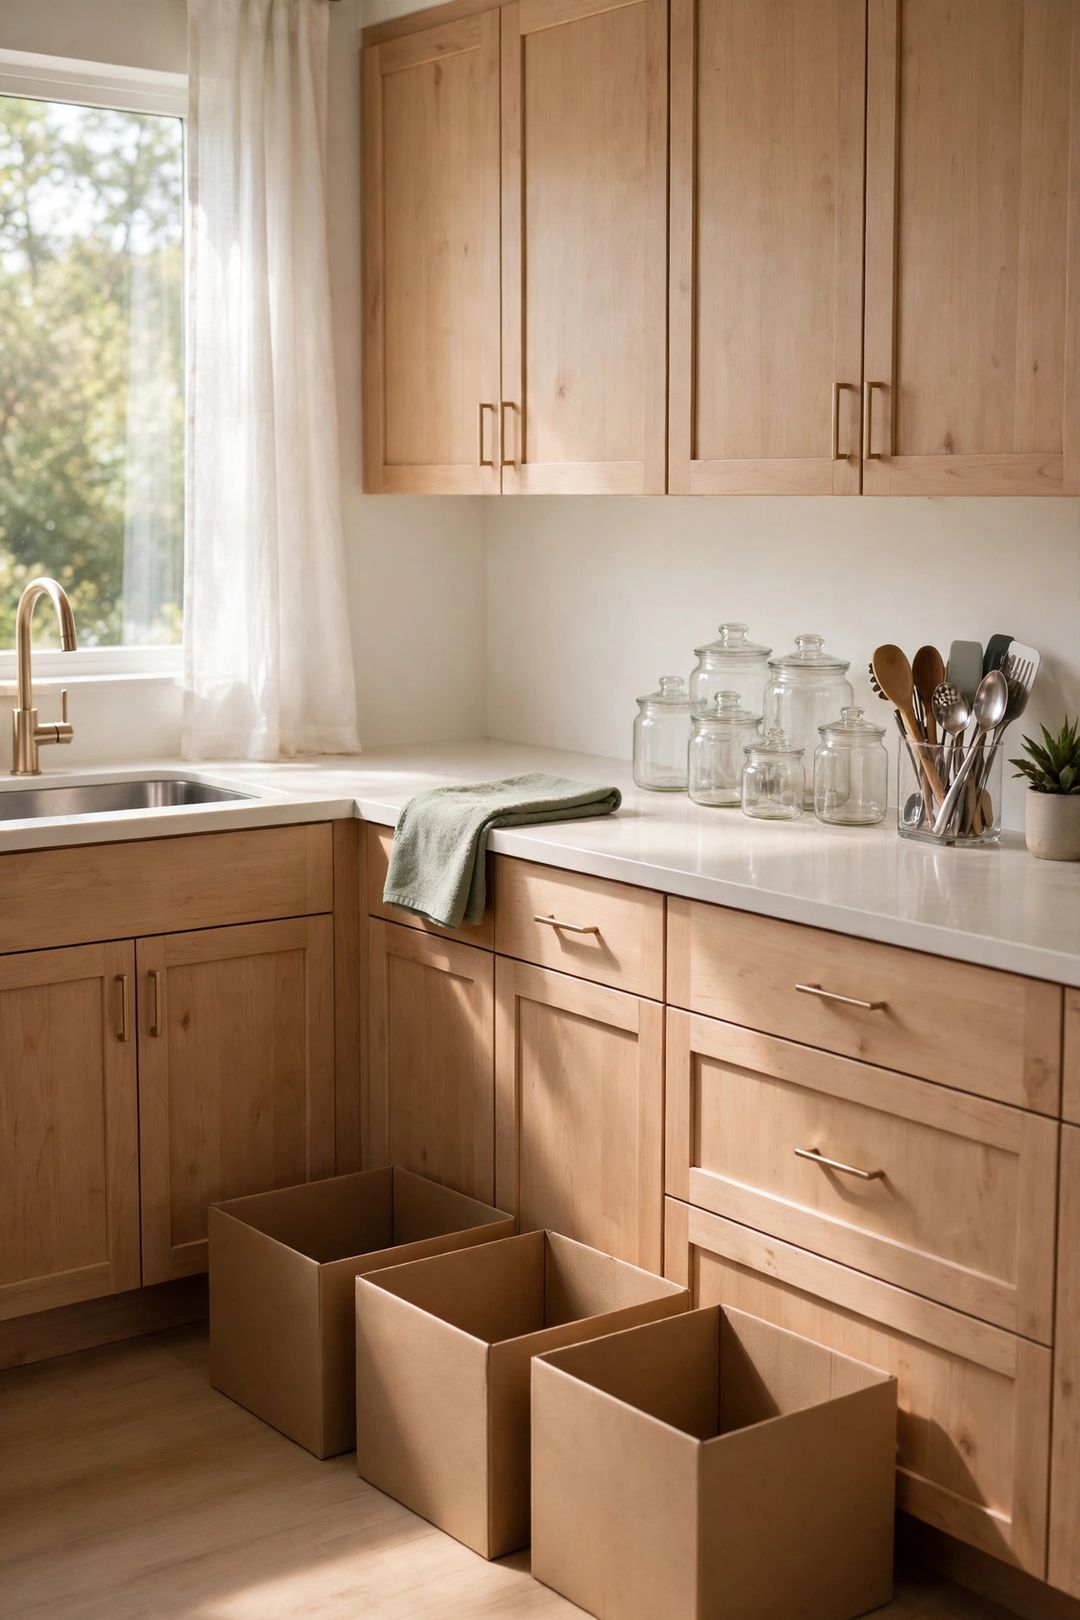
Use three boxes or bags in every room: keep, donate, and relocate. Keep means the item lives in this room. Donate means it leaves the home. Relocate means it belongs somewhere else. Every item touched gets one decision before the session ends.
Kitchen
Start where clutter shows fastest. Work cabinet by cabinet and drawer by drawer, checking each spot below before moving on to the next one.
- Toss expired food, stale spices, and fridge items with no date or clear use left.
- Match every food container to a lid and recycle warped, cracked, or lidless pieces.
- Count mugs, glasses, and plates and donate extras beyond daily use plus guest spares.
- Pull out duplicate utensils, unused gadgets, and chipped tools that crowd the drawers.
- Clear counters to daily items only and store weekly appliances inside cabinets.
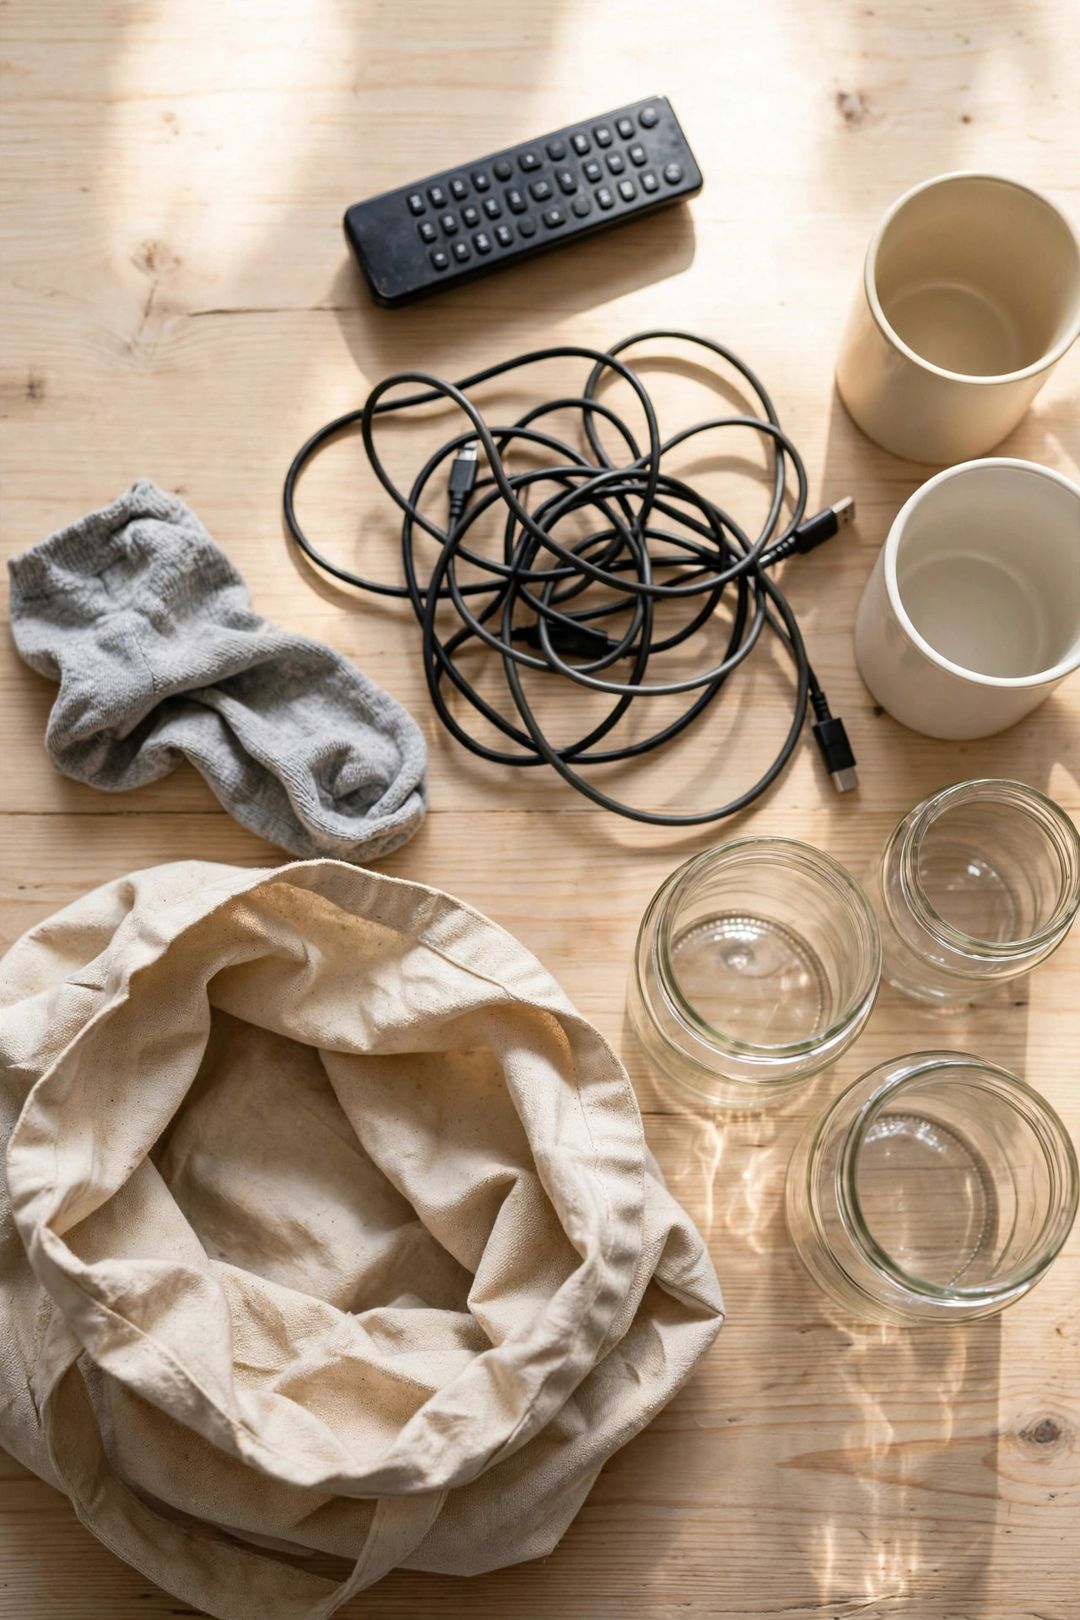
- Empty the junk drawer, group what stays, and remove dead batteries and dried pens.
Bathroom
Bathrooms are small, so this room often finishes in one short session. Empty one cabinet or drawer at a time and check every item below.
- Toss expired medicine and old makeup following the dates and directions on each label.
- Combine half-used bottles of the same product and recycle empty or sticky containers.
- Sort towels and washcloths and move thin, stained, or torn pieces to the rag bin.
- Check under the sink for leaks, empties, and cleaners that are never actually used.
- Count hair tools and brushes and toss or donate broken, rusted, or duplicate items.
- Clear the counter to daily essentials and store the rest in a drawer or cabinet.
Bedroom & Closet
Work in layers here: surfaces first, then dresser drawers, then hanging clothes and shoes. Keep a donation bag inside the room for the whole session.
- Clear both nightstands and return books, chargers, and papers to their proper homes.
- Remove clothes that no longer fit, need repair, or went unworn for a full season.
- Sort socks and underwear and toss singles, stretched elastic, and damaged pairs.
- Lift everything off the closet floor and leave the floor completely clear.
- Group shoes by season and donate worn-out pairs that no longer get worn.
- Check dresser tops and chair corners for clothes piles that need a real home.
Living Room
This room should hold relaxing and gathering, not storage overflow. Start with flat surfaces, then move to shelves, baskets, and hidden spots.
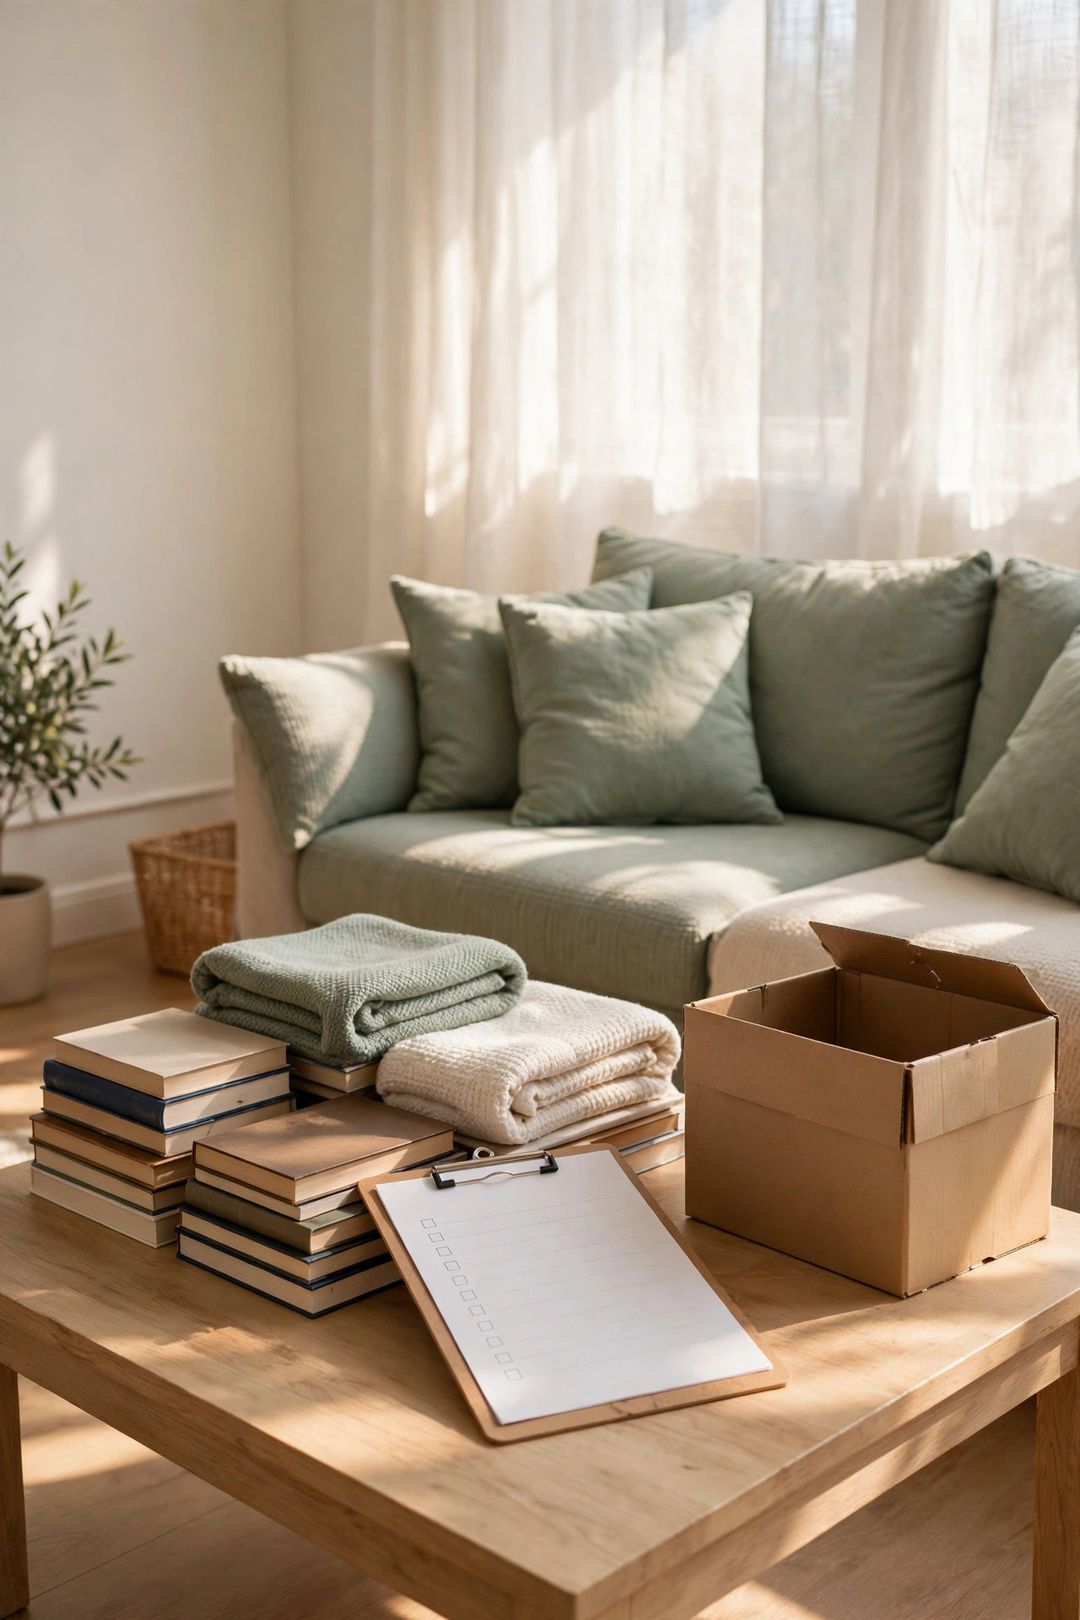
- Clear coffee tables and side tables of mail, remotes, and items from other rooms.
- Sort magazines, manuals, and game pieces and recycle or donate anything outdated.
- Check under sofas and chairs for lost toys, trash, and forgotten clutter.
- Reduce throw blankets and cushions to the set that fits the seats comfortably.
- Gather loose cords and chargers into one labeled spot near an outlet.
- Empty one storage basket or ottoman and return only items used in this room.
Entryway & Paper
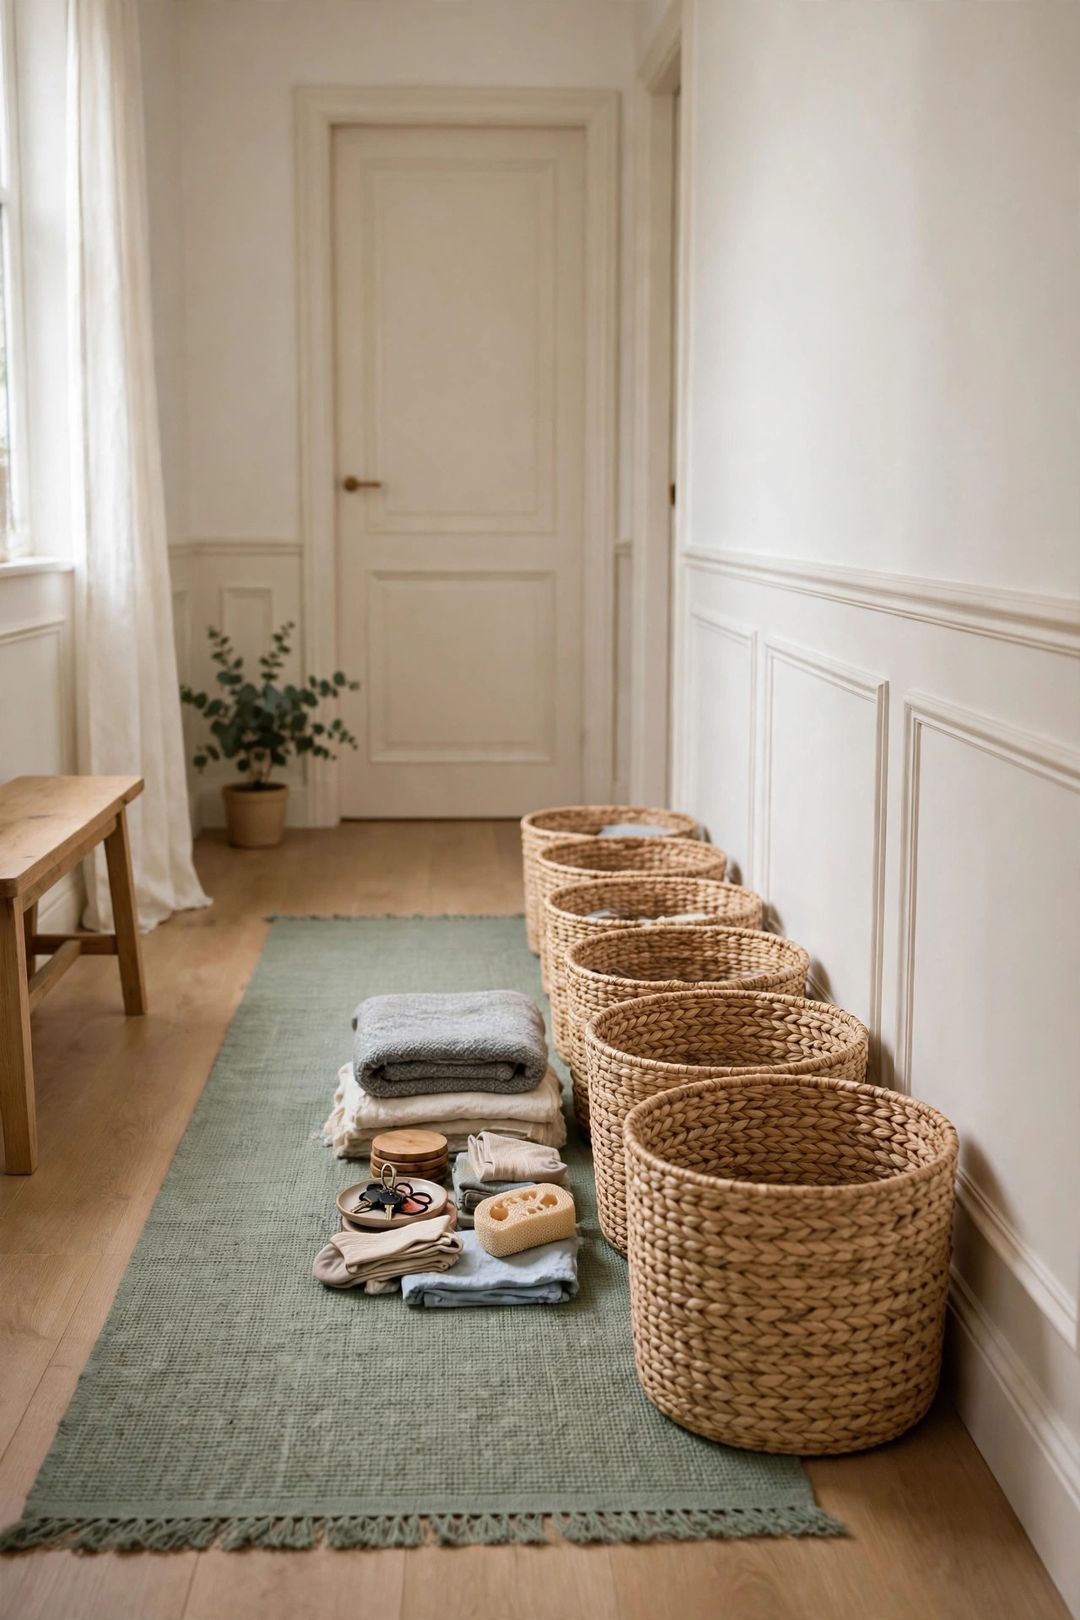
The entry sets the tone for the whole home, and paper piles grow here fastest. Give mail a single landing spot and clear it weekly.
- Return extra shoes and bags to closets and keep only daily pairs by the door.
- Sort the full mail pile into file, act, recycle, and shred with no side stacks.
- Recycle flyers, catalogs, and envelopes that are no longer useful or current.
- Hang keys, leashes, and daily bags on hooks or in one small tray.
- File bills, school papers, and records into one folder or binder per person.
- Empty coat pockets and donate coats and gloves not worn last season.
Storage Spots
Finish with closets, shelves, garages, and under-bed zones. These spots should hold planned storage, not overflow pushed out of finished rooms.
- Label every bin with its contents and remove bins with no clear category.
- Toss broken holiday decor, dried paint, and supplies for hobbies no longer done.
- Group seasonal items together so each season takes one shelf or one bin.
- Check under beds and move out anything that belongs in daily storage instead.
- Donate spare bedding, extra cords, and duplicate tools kept just in case.
- Leave one shelf or corner empty on purpose as room for future storage.
What to Buy
The checklist works with boxes and bags already at home. These four basics make each session faster and help finished rooms stay finished.
Adhesive labels and a marker set. Pro: every finished bin and shelf gets a clear name, so items return to the right spot. Con: labels can peel off rough plastic over time. Skip if: bins are clear and contents are already easy to see. Typically $8–$15.
Heavy-duty donation bags. Pro: full bags go straight to the car without tearing or needing a second sort. Con: large bags get heavy when filled with books or dishes. Skip if: a sturdy box already works as a donation station. Typically $10–$18.
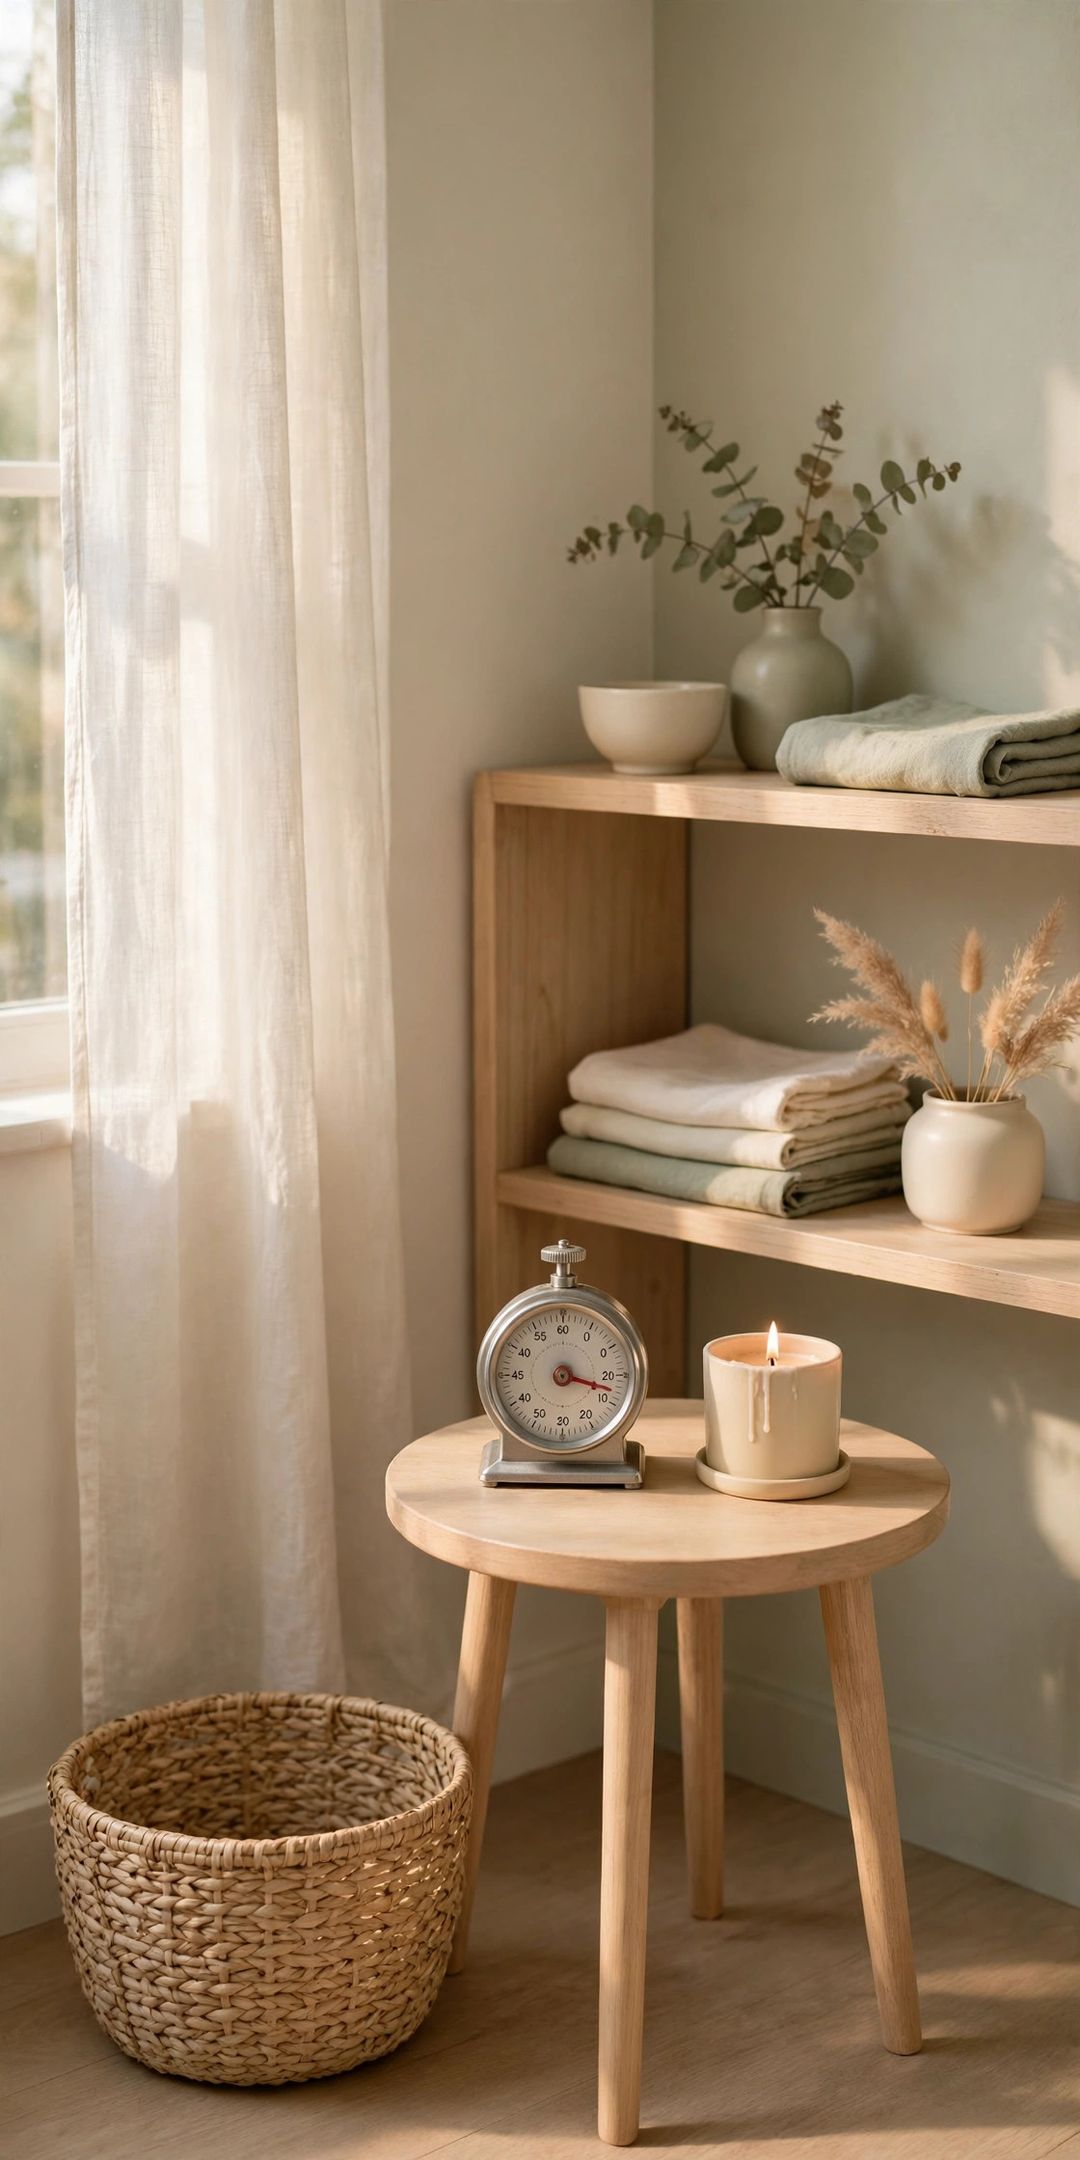
Simple digital kitchen timer. Pro: short timed sessions stay focused, and every room gets a clear finish line. Con: a phone timer does the same job at no cost. Skip if: phone timers are already part of the daily routine. Typically $8–$14.
Clear stacking bins with lids. Pro: contents stay visible and bins stack neatly in closets and storage spots. Con: hard bins waste space in odd-shaped corners and nooks. Skip if: storage shelves are under 12 inches deep. Typically $25–$45.
Mistakes to Avoid
- Starting everywhere at once instead of finishing one room before opening the next one.
- Pulling everything out with no timer, which leaves a bigger mess at the end of the day.
- Keeping items in the room where they landed instead of where they are actually used.
- Buying bins and labels before sorting, so organizers get sized for clutter that later leaves.
- Letting full donation bags sit for weeks, which lets sorted items drift back into rooms.
Frequently Asked Questions
How long does the full checklist take?
Most homes take several sessions spread over one to two weeks. Each room fits in 25 to 45 minutes, while packed storage spots may need two sessions. Short finished sessions beat one long, tiring day.
What if a room is too full for one session?
Split the room into zones, such as one closet wall or two cabinets, and finish one zone per session. Keep the three boxes in the room so the next session starts without any new setup.
Should the rooms be done in a set order?
No set order is required. A practical route starts with the kitchen or entry, where results show fastest, and saves storage spots for last, since cleared rooms often send a few items there.
How often should the checklist be repeated?
A quick pass every 3 months catches drift before it builds up. A full pass once or twice a year, using the same printed list, keeps closets, paper, and storage from refilling quietly.
A finished room stays easier to keep when every item has a clear home and donations leave quickly. Print this checklist, start with the smallest room, and save this post to your declutter board on Pinterest for the next reset.