Every freezer has a danger zone: the back corner or bottom layer where soup, chicken, and berries go in and never come out. Food gets buried, freezer burn sets in, and the same items get bought again.
These freezer organization ideas fix the pile with a system that works in a top freezer, a bottom drawer, and a chest freezer: freeze flat, group by meal type, label and date everything, and rotate older food forward.
Start by taking everything out, tossing anything unrecognizable or badly freezer-burned, and wiping up spills. Work in stages if the freezer is large, so food stays cold. Then build the 14 ideas below.
Freeze Flat and File It
Idea 1: Freeze flat in bags. Put soups, sauces, cooked grains, and ground meat in flat freezer bags. Squeeze out extra air, seal, and lay flat until solid. A flat bag takes about 1 inch of height, while a round tub can take 4 to 5 inches.
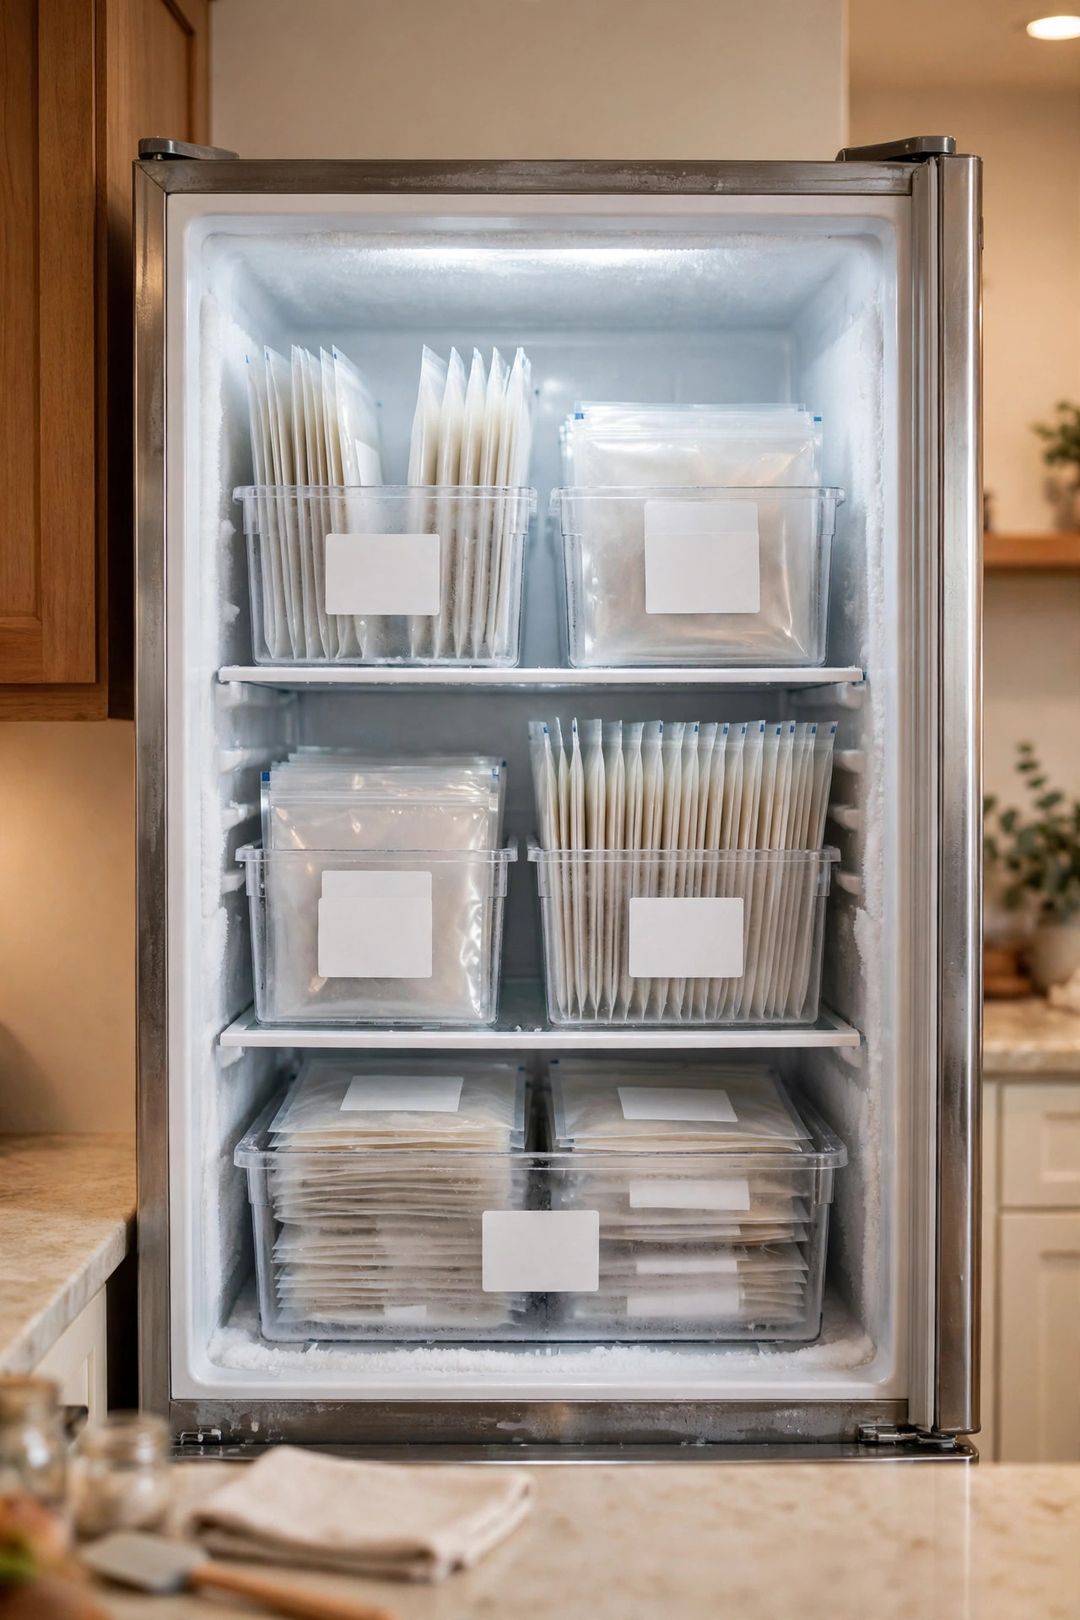
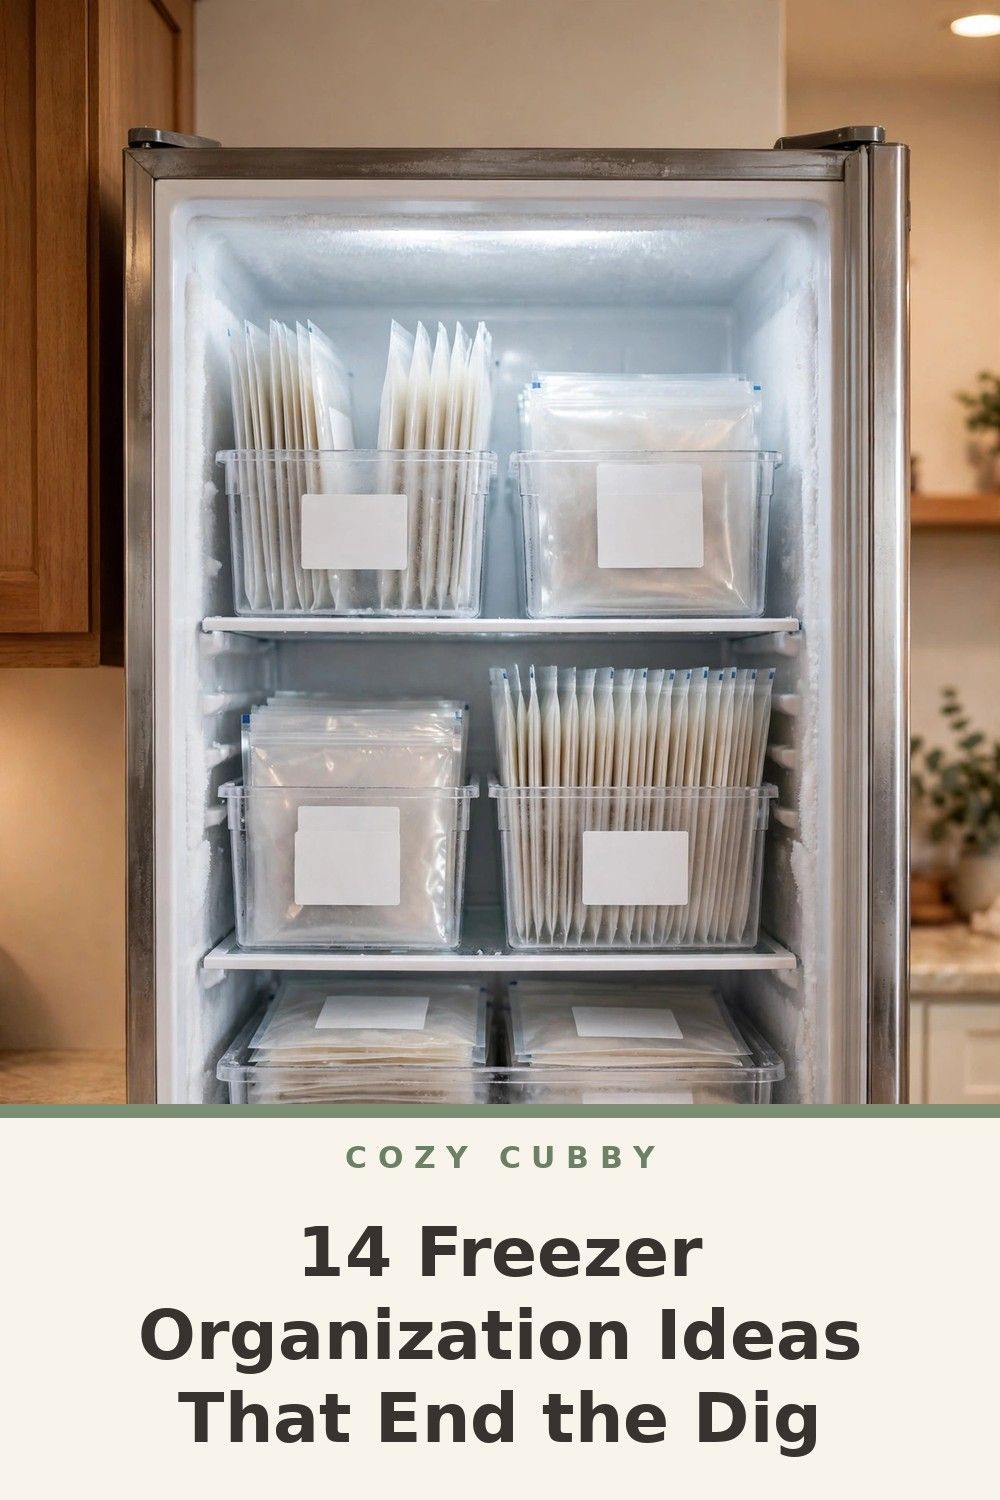
Idea 2: File flat bags upright. Once solid, stand bags upright like files in a bin, labels facing out. Filing makes every bag visible and stops the stack-slide that buries the bottom bag for months.
Idea 3: Freeze in meal-size portions. Split large packs before freezing: chicken in packs of 2 or 4 pieces, sauce in 1-meal bags. Small portions thaw faster, waste less, and never form one huge frozen block.
Build Zones That Fit Your Freezer Type
Idea 4: Zone bins by meal type. Give each bin one job: weeknight dinners, breakfast, vegetables and fruit, proteins, and ready meals. Clear bins about 10 to 12 inches long fit most upright freezers. When a bin is full, that category is full.
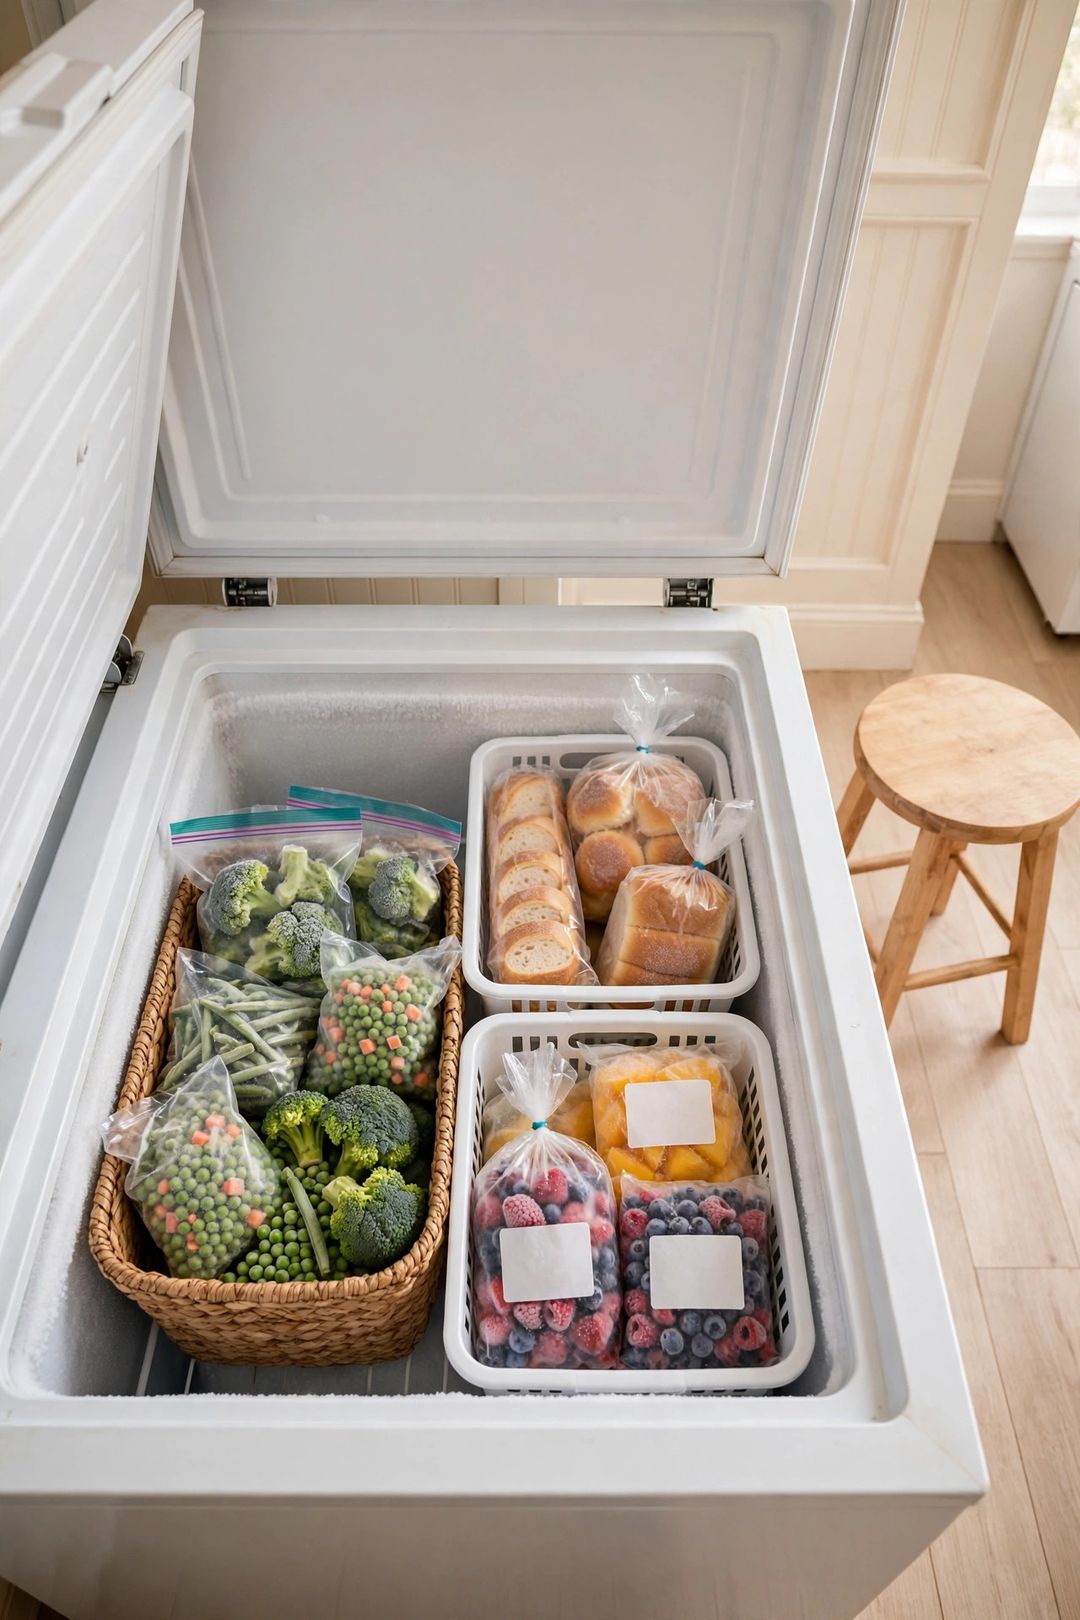
Idea 5: Use lift-out bins in a chest freezer. A chest freezer fails from the bottom up, so never store loose bags in deep layers. Use open bins or handled bags, one per zone, that lift straight out. Keep the most-used bin on top.
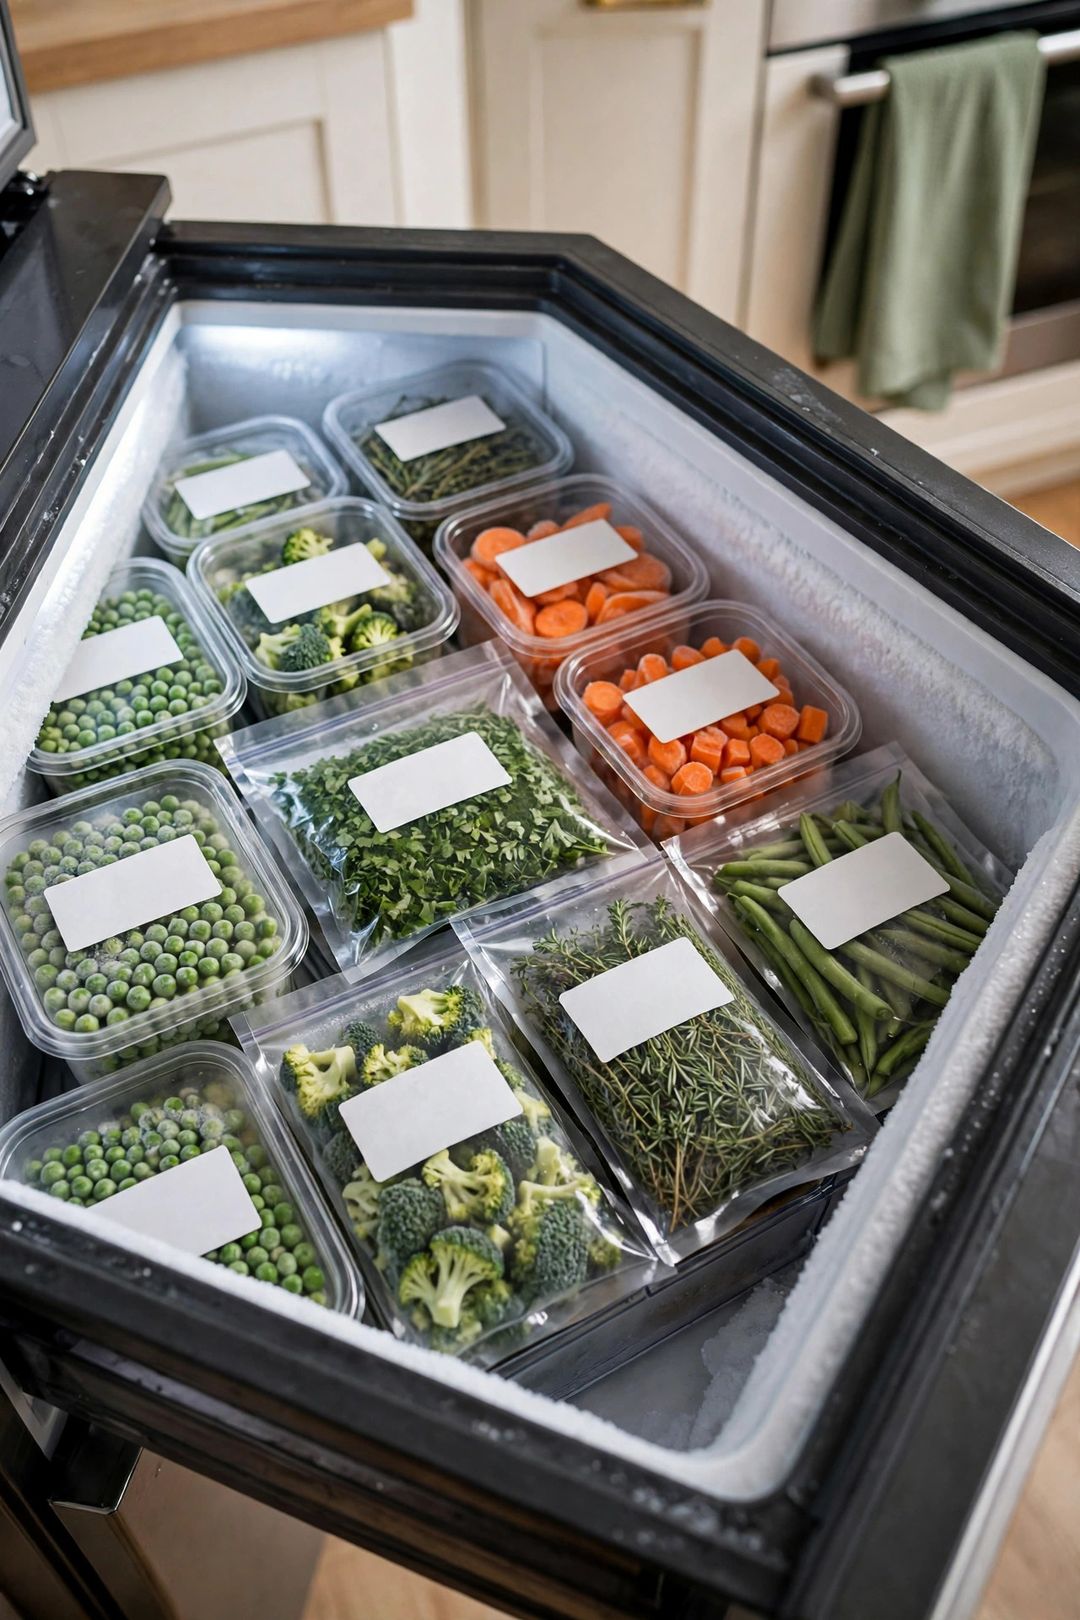
Idea 6: Split a bottom drawer into thirds. Bottom drawers are wide and shallow, so food spreads and hides. Use low dividers or slim bins to make thirds: proteins, vegetables, and ready meals. Keep bags flat so the drawer closes easily.
Idea 7: Give top freezers a front and back row. Keep everyday items in the front row and backstock behind them. Never place new food in front of older food. A small bin can add a second level for flat bags without blocking the vent.
Label, List, and Rotate
Idea 8: Label and date every package. Write the name, amount, and month and year on every bag and tub. Frozen food all looks the same after a week, and a date makes rotation possible. Label before freezing, while the surface is dry.
Idea 9: Keep a simple inventory list. Tape a list on the freezer door or keep one in a phone note. List only big items: proteins, ready meals, and bulk buys. Cross items off as they are used, and check the list before grocery shopping.
Idea 10: Follow FIFO rotation. FIFO means first in, first out: the oldest food gets used first. When new food goes in, move older packages to the front or top and put new ones behind or underneath.
Idea 11: Make a use-up-first bin. Keep one small bin at the front for food to use this week: the oldest protein pack, half bags of vegetables, and single portions. Build one meal a week from this bin first.
Door, Ice, and Stock-Up Rules
Idea 12: Follow door-shelf rules. The door is the warmest part of an upright freezer. Use it for ice packs, bread, butter, and nuts. Keep ice cream and raw protein on a main shelf, where cold is steadier, and keep door bins one item deep.
Idea 13: Manage ice on purpose. Give ice one fixed home: one tray stack or one small bin for cubes, with ice packs upright along one wall. Loose packs buried in food bins steal space and freeze to bags.
Idea 14: Stage holiday stock-ups in one spot. Before holidays or a big sale, clear one bin as the staging zone for all stock-up items, labeled and dated. When it is full, the stock-up is done. Afterward, fold leftovers back into the normal zones.
What to Buy
Buy only what the zones need. Measure inside width, depth, and height first, and check that bins fit through the door or drawer opening.
Clear freezer bins with handles, typically $15–$30 for a set. Pro: Clear sides show contents fast, and handles make chest-freezer bins easy to lift. Con: Hard plastic can crack if dropped while frozen. Skip if: Flat bags already file neatly in a drawer divider.
Heavy-duty flat freezer bags, typically $8–$15. Pro: Thick bags resist tears and freezer burn and freeze truly flat. Con: Single-use bags add ongoing cost. Skip if: Reusable containers already hold most soups and sauces.
Freezer labels or freezer tape, typically $6–$12. Pro: Made to stick in cold and damp, so dates stay readable. Con: Labels need a dry surface. Skip if: Writing on bags with a freezer marker already works.
A small dry-erase board or inventory notepad, typically $7–$14. Pro: A door-side list stops duplicate buying and supports FIFO. Con: It only works if items get crossed off. Skip if: A phone note is already kept up to date.
Low drawer dividers, typically $10–$18. Pro: They split a wide bottom drawer into clear thirds without adding height. Con: Fixed sizes may leave small gaps. Skip if: Slim bins already divide the drawer.
Mistakes to Avoid
- Freezing everything in round tubs. Round containers waste corner space and stack into an unstable pile. Freeze flat first, then file.
- Skipping the date. Undated food never rotates, and mystery packages end up tossed. Label name, amount, and date every time.
- Burying new food on top of old food. New items belong underneath or behind, so the oldest food stays on top and gets used first.
- Overfilling every inch. A jammed freezer blocks air flow and hides food. Leave space so bins slide and drawers close.
- Storing loose items in a chest freezer. Loose bags sink and vanish. Every item needs a lift-out bin or bag with a zone.
Frequently Asked Questions
How long does freezer organization take the first time?
Plan about 45 to 60 minutes for a fridge freezer and a little longer for a chest freezer. Work in stages, returning food to the cold quickly. Afterward, a 10-minute monthly check keeps zones and dates in order.
What is the best way to organize a chest freezer?
Use lift-out bins or handled bags, one per meal type, and never store loose layers. Keep everyday food on top, bulk and holiday food lower, and the use-up-first bin where it is reached first. The inventory list matters most here.
How should food be arranged in a bottom drawer freezer?
Freeze bags flat, split the drawer into thirds with low dividers or slim bins, and keep one category per third. Put use-up-first items at the front edge so they are seen every time the drawer opens.
What goes on the freezer door shelves?
Use the door for ice packs, bread, butter, and small sturdy items. Avoid raw meat and ice cream there, since the door warms slightly each time it opens. Keep door items one layer deep.
A freezer with flat bags, clear zones, and dates turns a frozen pile back into food that actually gets cooked. Save this post to your Kitchen Organization board on Pinterest, and start with the use-up-first bin this week.