A galley kitchen gives you one straight run or two facing walls and little room to waste. When prep, cooking, and cleanup share the same few feet, even a small pile on the counter can block the whole workflow.
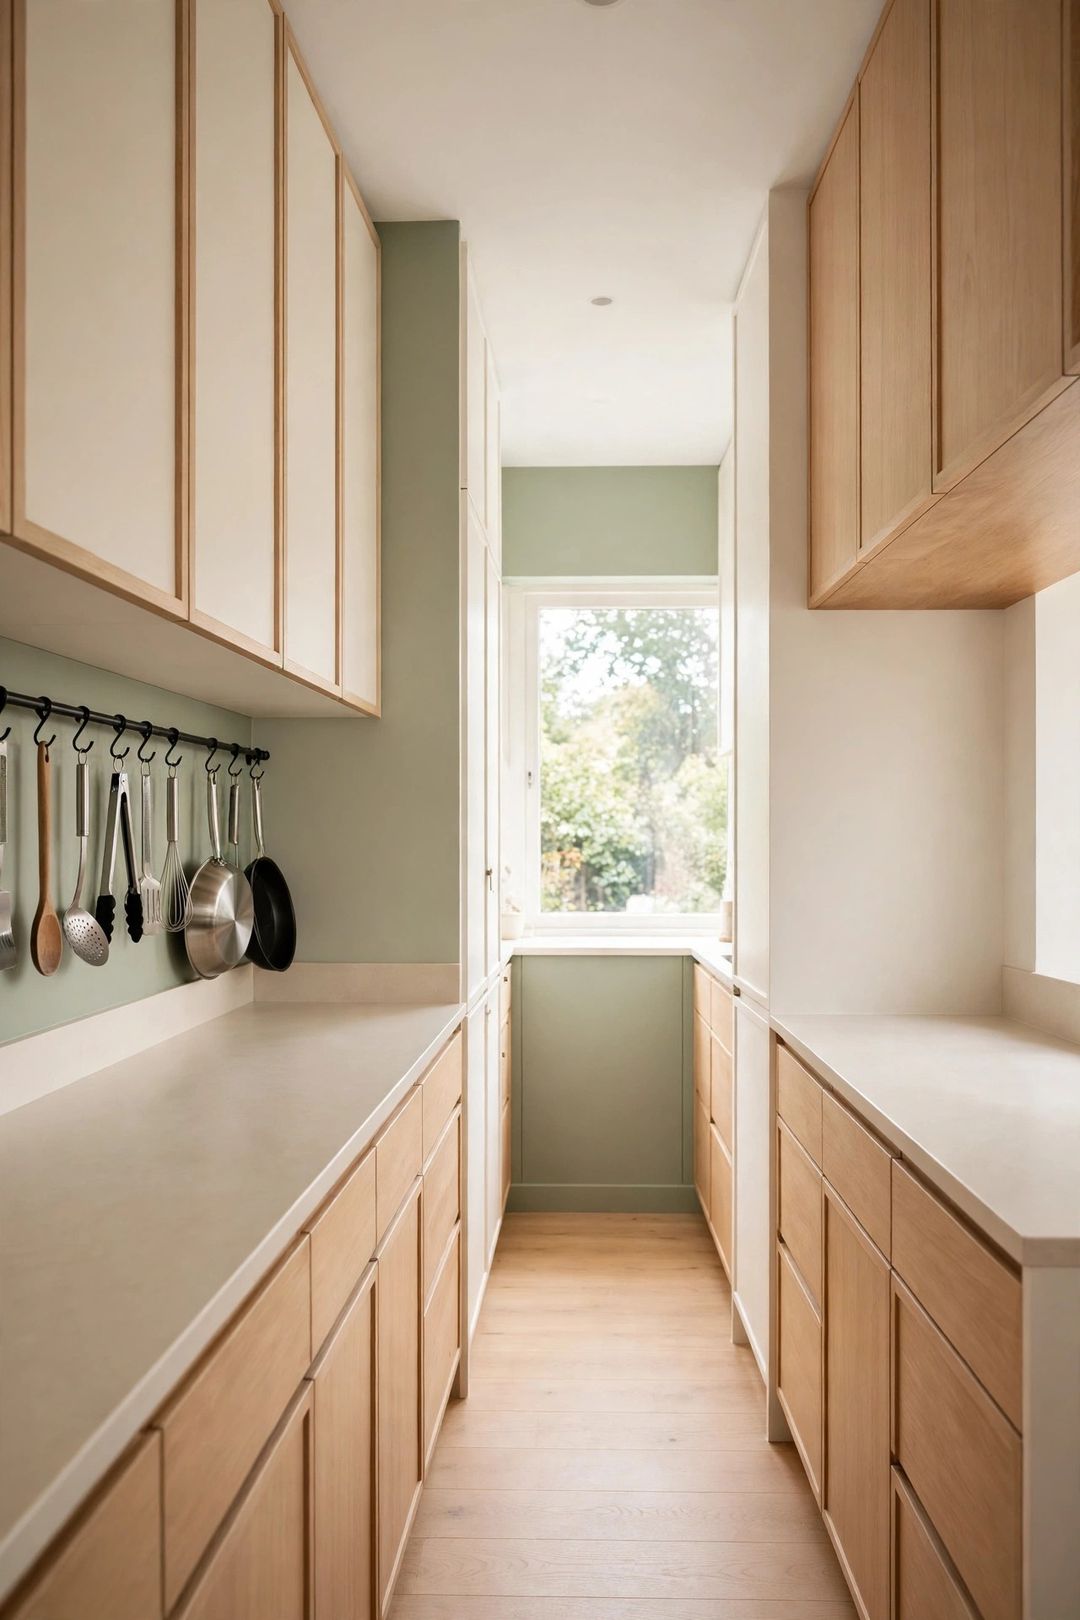
These galley kitchen organization ideas treat the layout as a line, not a room. Set up zones in order, move storage up the walls and into narrow gaps, and keep only daily items within reach. The goal is a clear counter and a short reach for tools.
Work Zones Along the Run
1. Line up zones in the order you cook. Place storage, prep, cooking, and cleanup in a row that matches how a meal moves. Keep knives near prep, pans near the stove, and dish soap near the sink, so you are not crossing the kitchen with hot items.
2. Give prep the longest clear stretch. Protect the counter between sink and stove as the main prep area. Move small appliances, mail, and decor off that stretch first. One truly clear surface matters more than several partly clear ones.
3. Store tools at the point of use. Spatulas belong beside the stove, not across the room. Towels and brushes belong at the sink. Grouping by task cuts trips and keeps the tight walkway open.
4. Keep one small landing strip only. Choose a single spot near the stove or fridge for groceries and hot pans. One defined strip stops bags and packages from spreading along the counter and taking over prep space.
5. Put everyday dishes between sink and table side. Plates and silverware store best near the dishwasher, closest to where you exit the kitchen. That short path makes unloading faster and keeps serving dishes out of the cooking zone.
Vertical Walls, Rails, and High Storage
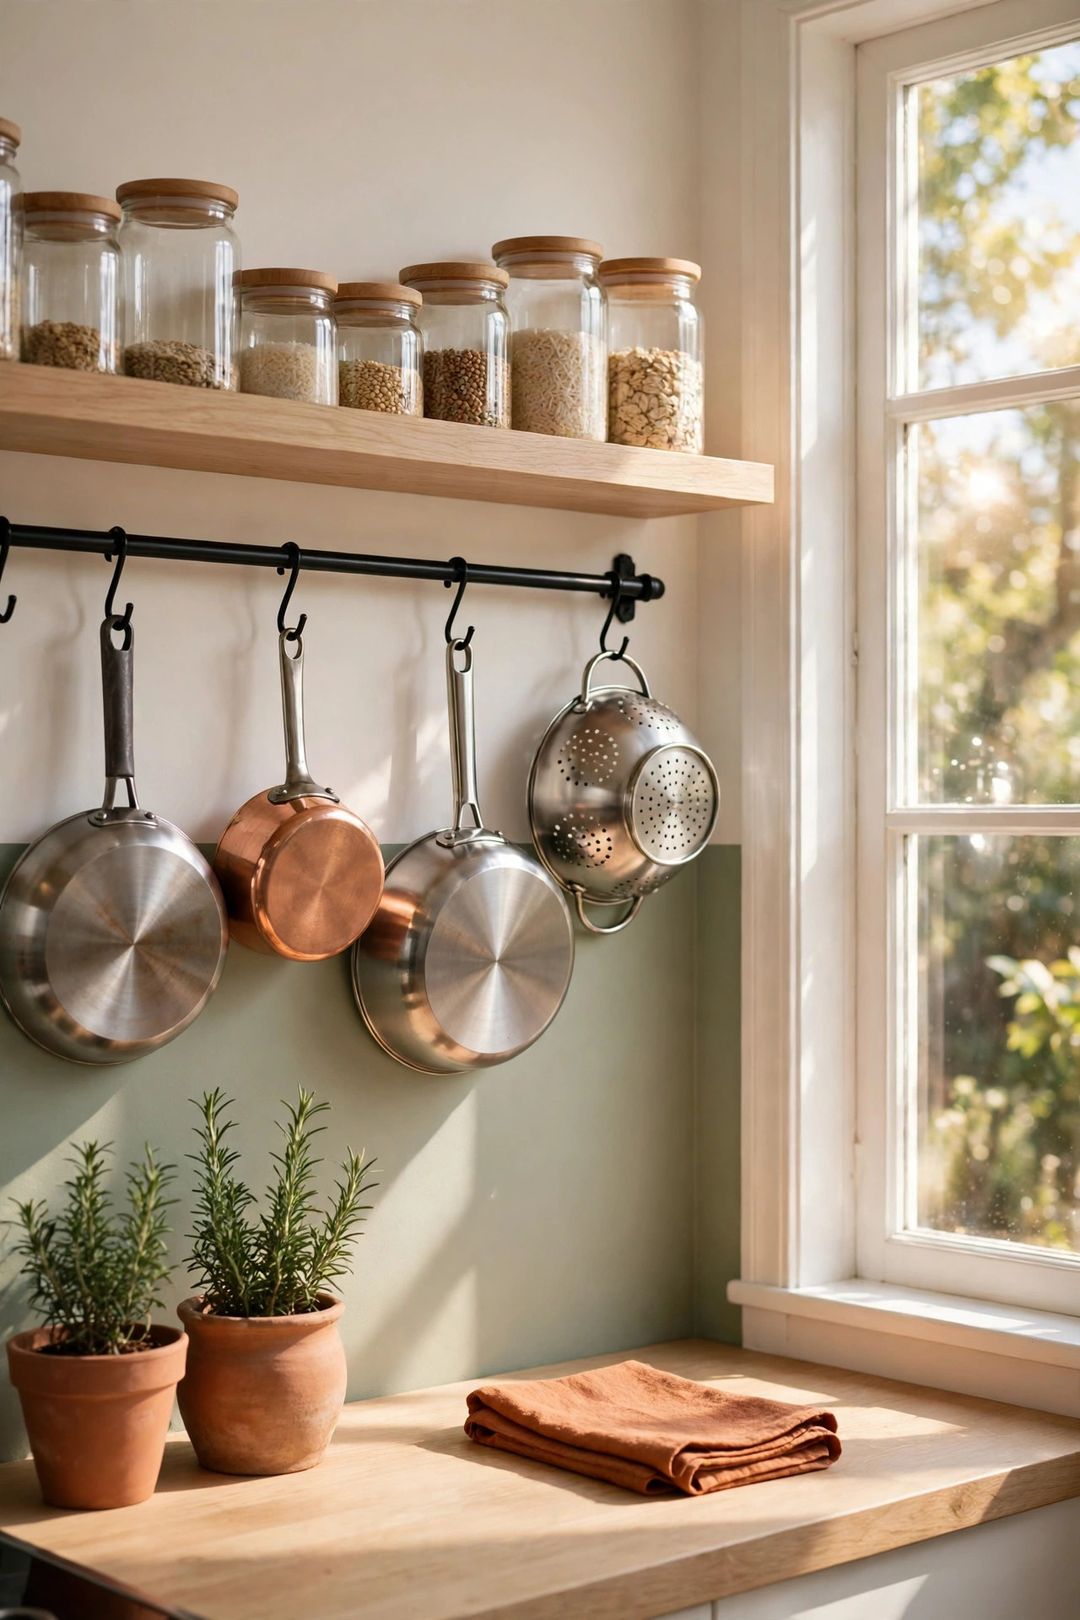
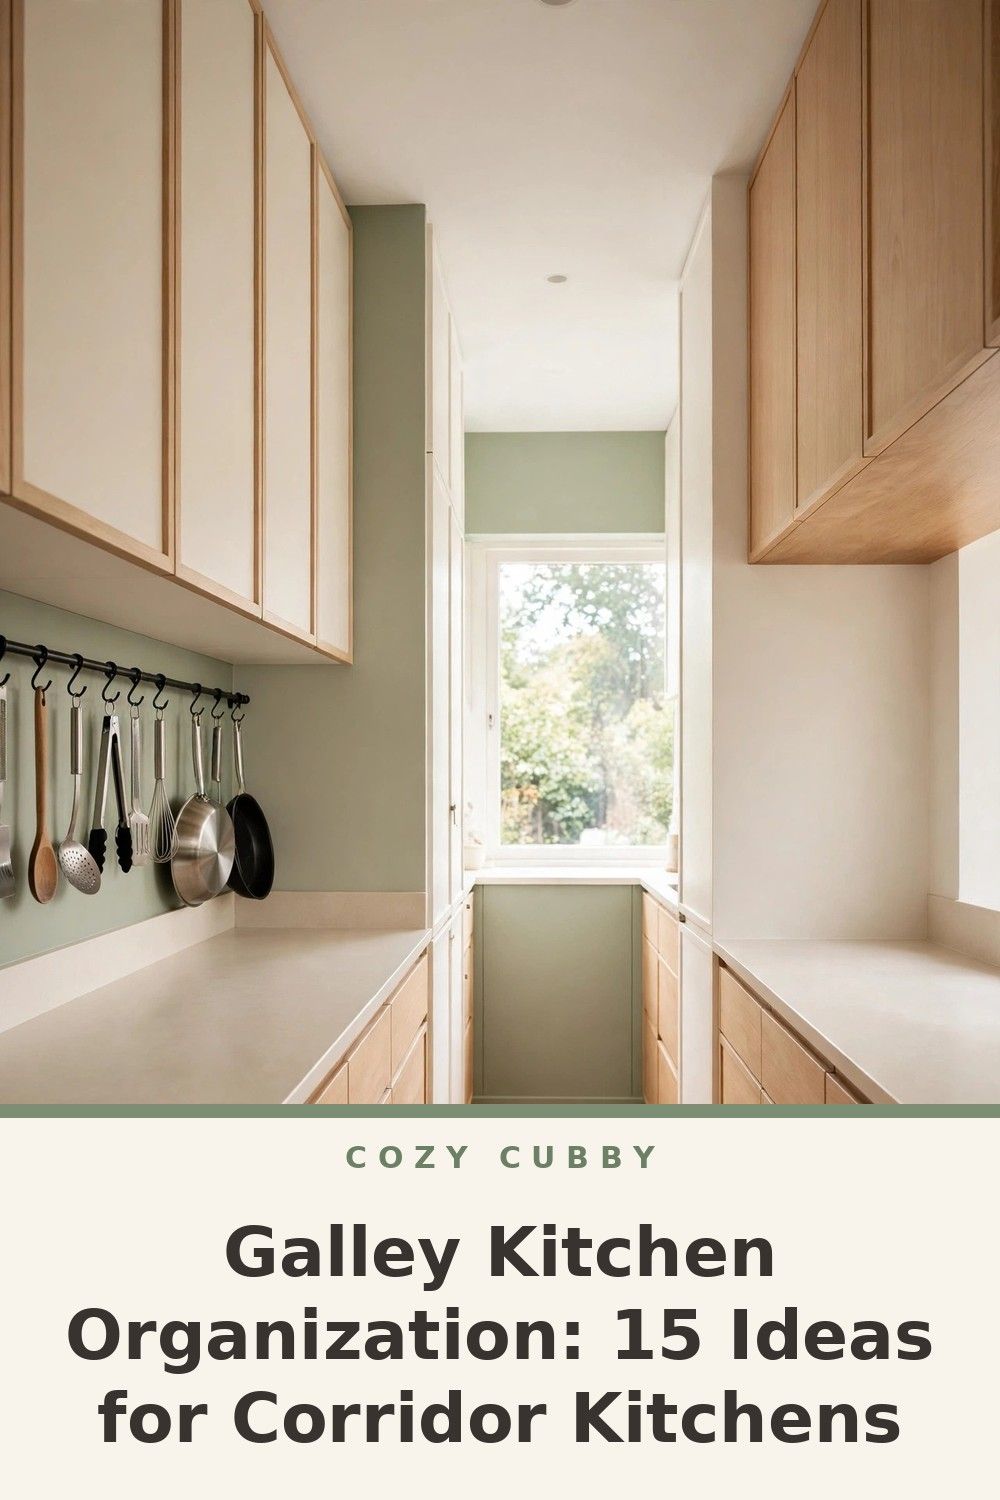
6. Add a wall rail for daily utensils. A mounted rail with hooks holds ladles and spatulas on the wall instead of in a crowded drawer. Place it beside the stove, high enough to clear the counter but low enough to reach easily.
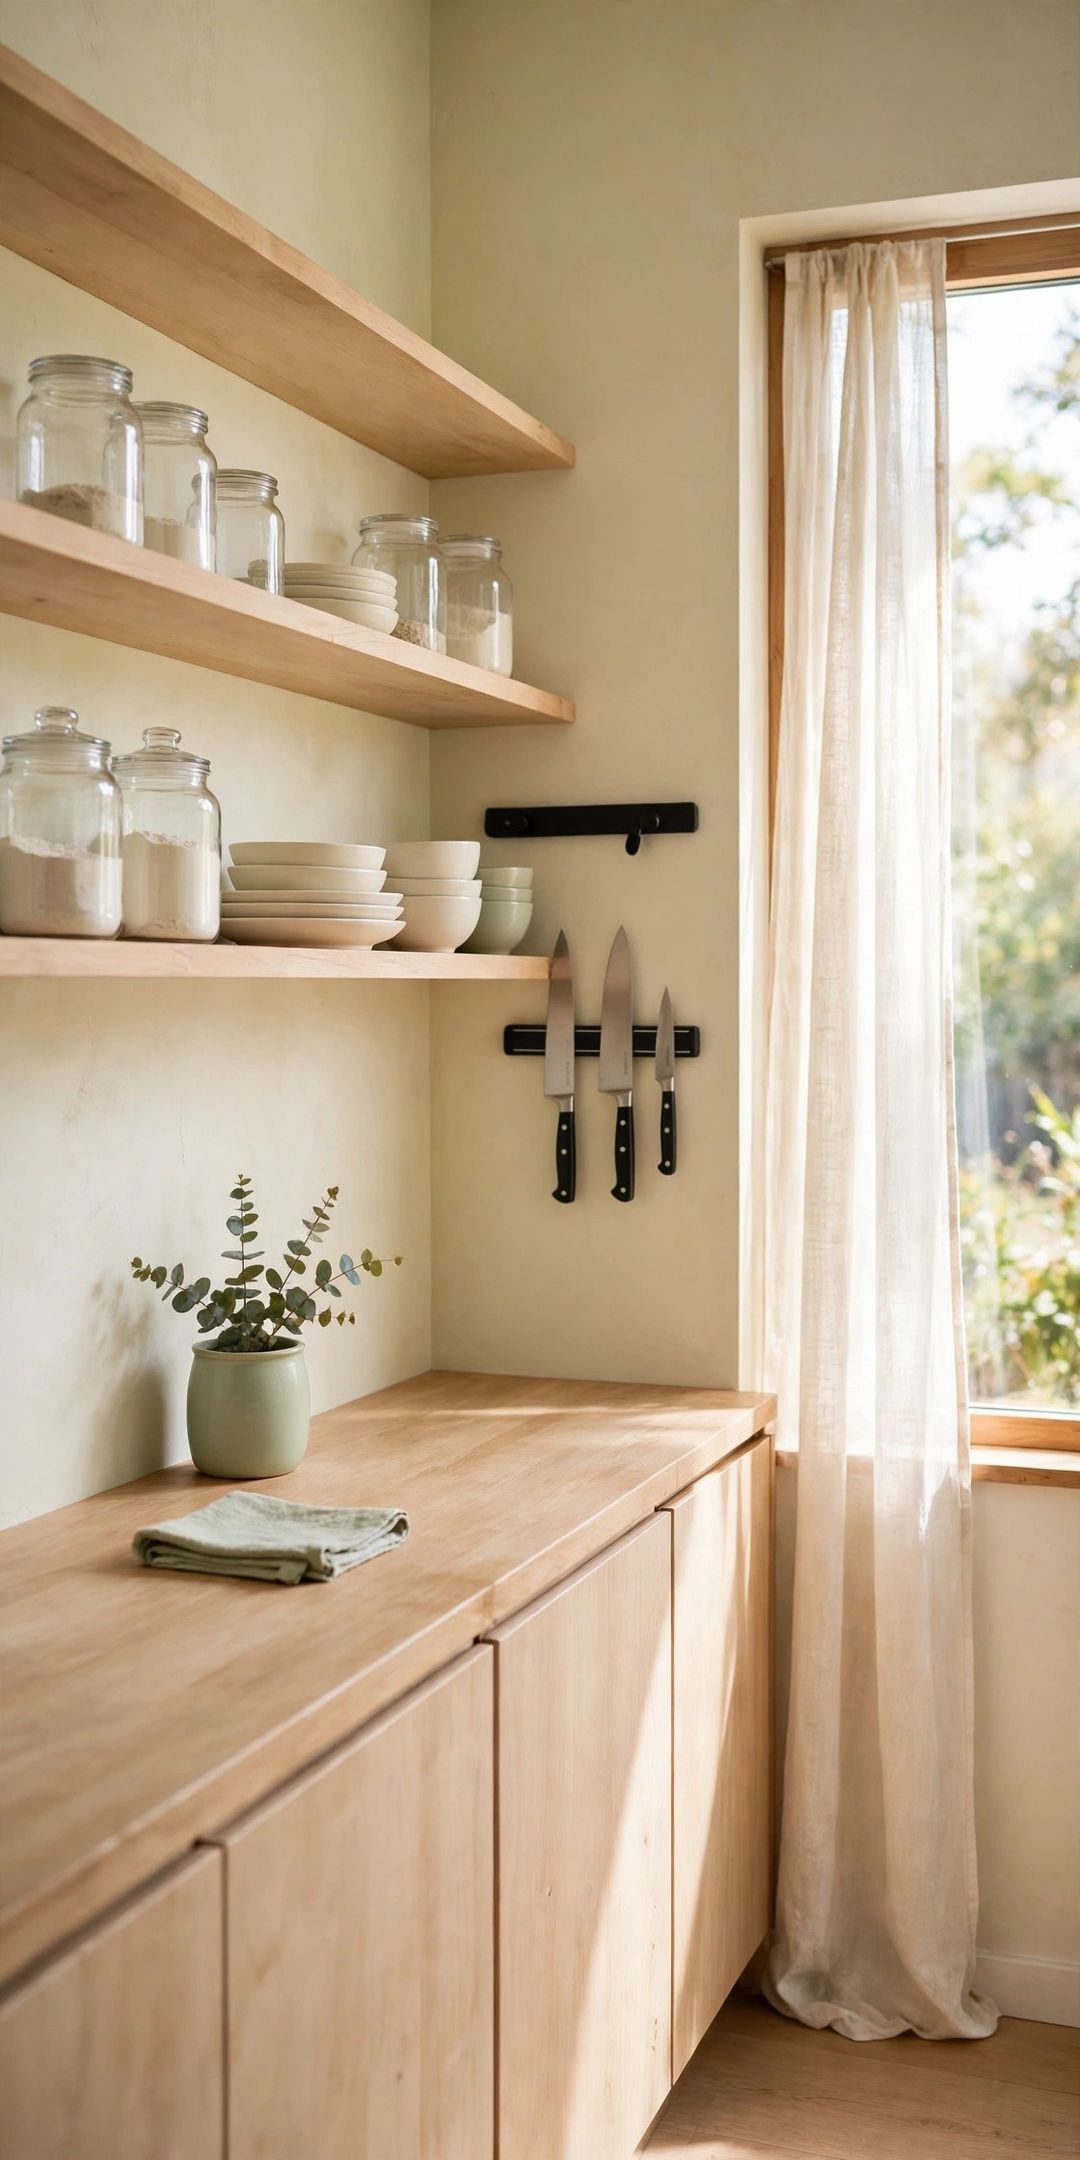
7. Use a magnetic strip for knives. A wall-mounted magnetic strip keeps knives visible and off the counter, freeing a drawer for other tools. Mount it away from the sink splash zone and out of reach of children.
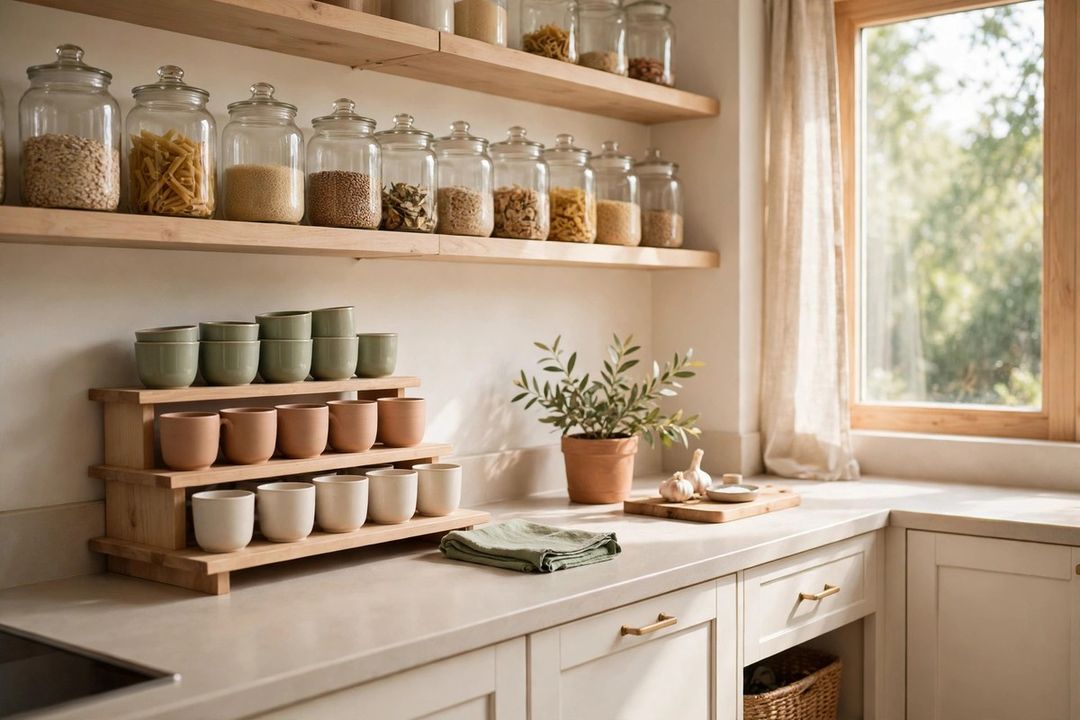
8. Add one or two shallow floating shelves. Shallow shelves hold spices, oils, and daily mugs at a glance. Keep them around mug depth so they do not crowd head space. Store only weekly items there, not backup stock.
9. Use the inside of cabinet doors. Slim racks on the inside of a door can hold wraps, lids, or cleaning cloths. Measure clearance first so the rack does not hit shelves inside. This spot suits flat, light items that get lost in deep cabinets.
10. Use above-cabinet space for rare items only. The gap above wall cabinets can hold matching bins for holiday dishes and backup supplies. Label each bin and keep a step stool nearby. Nothing stored there should be part of daily cooking.
Slim Gaps, Drawers, and Daily Rules
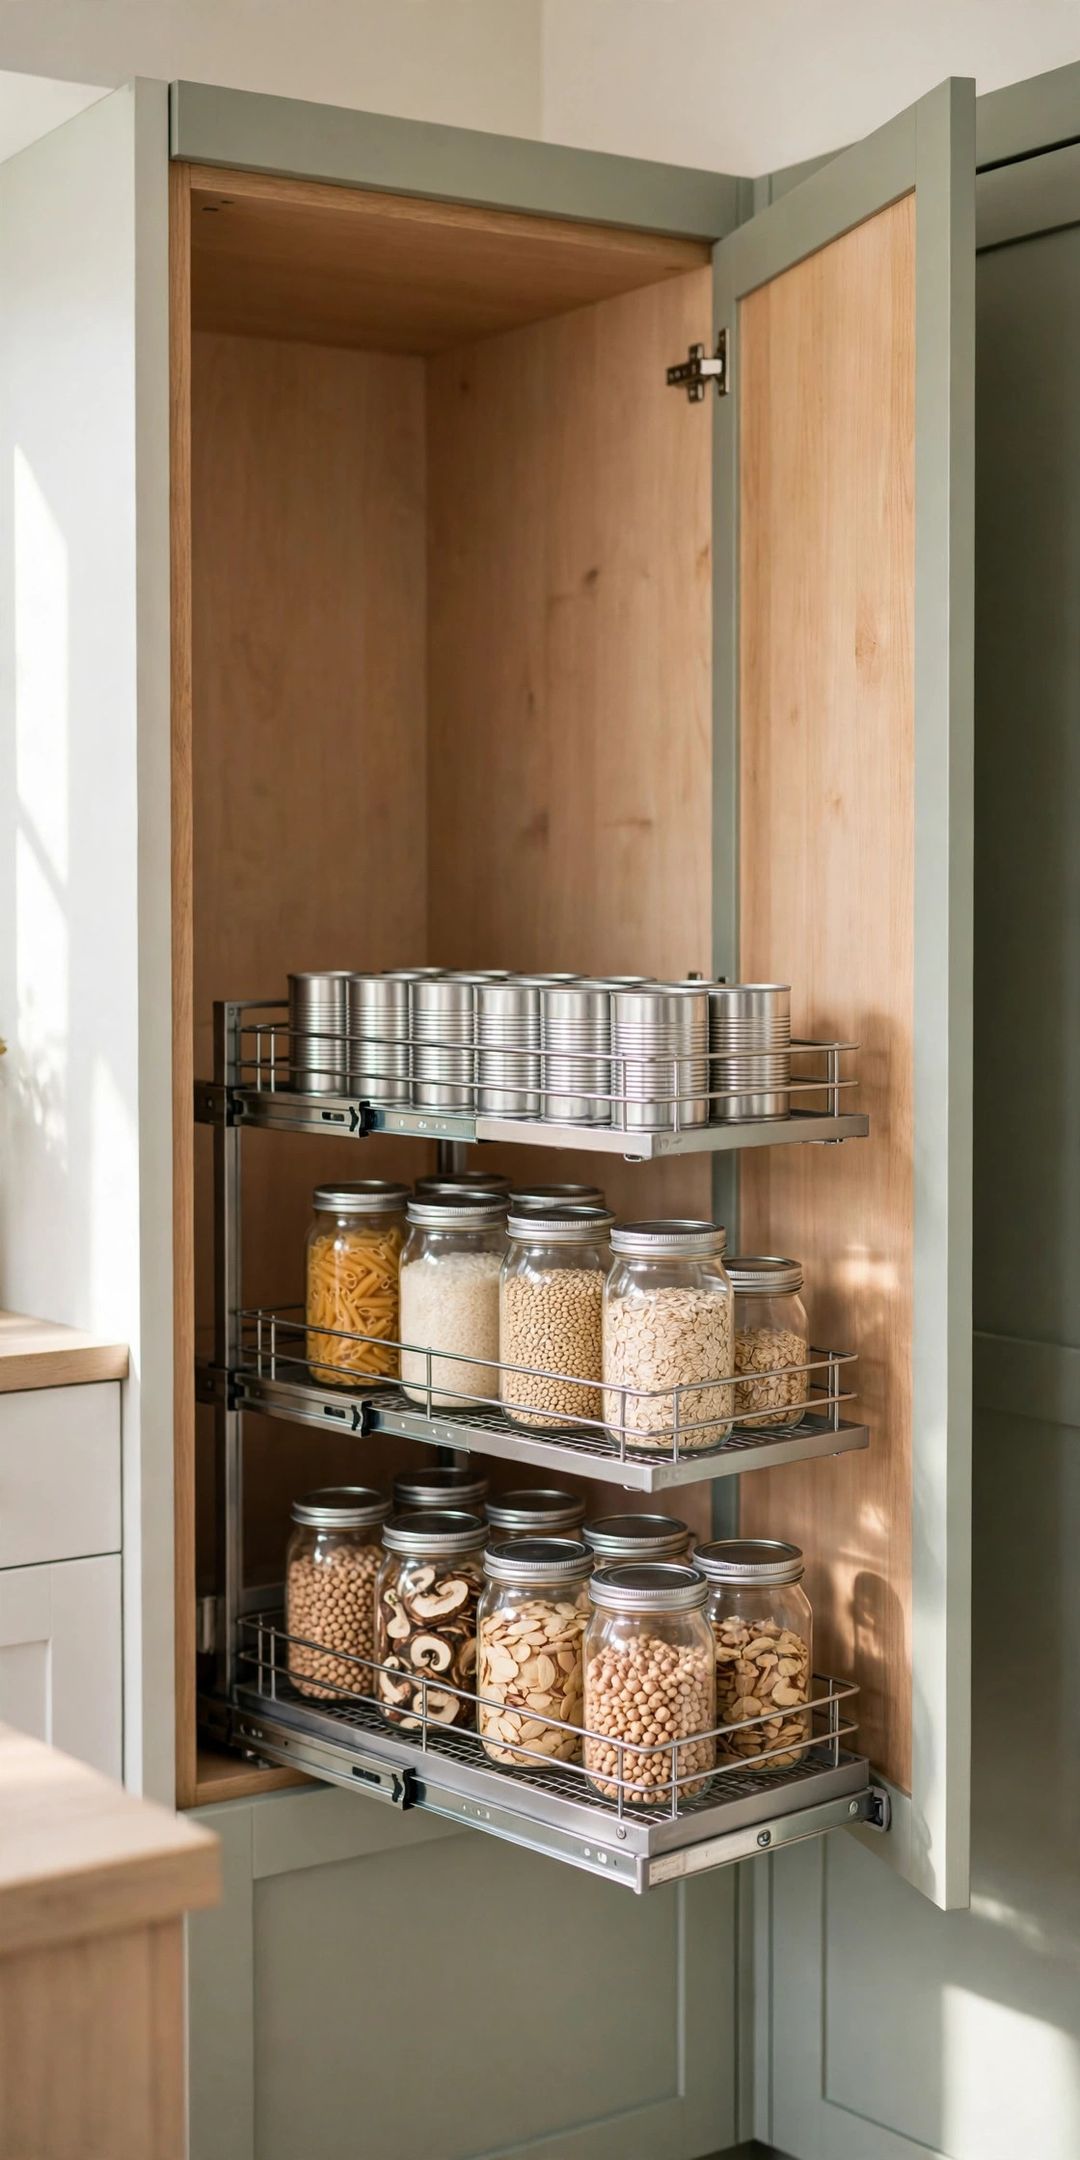
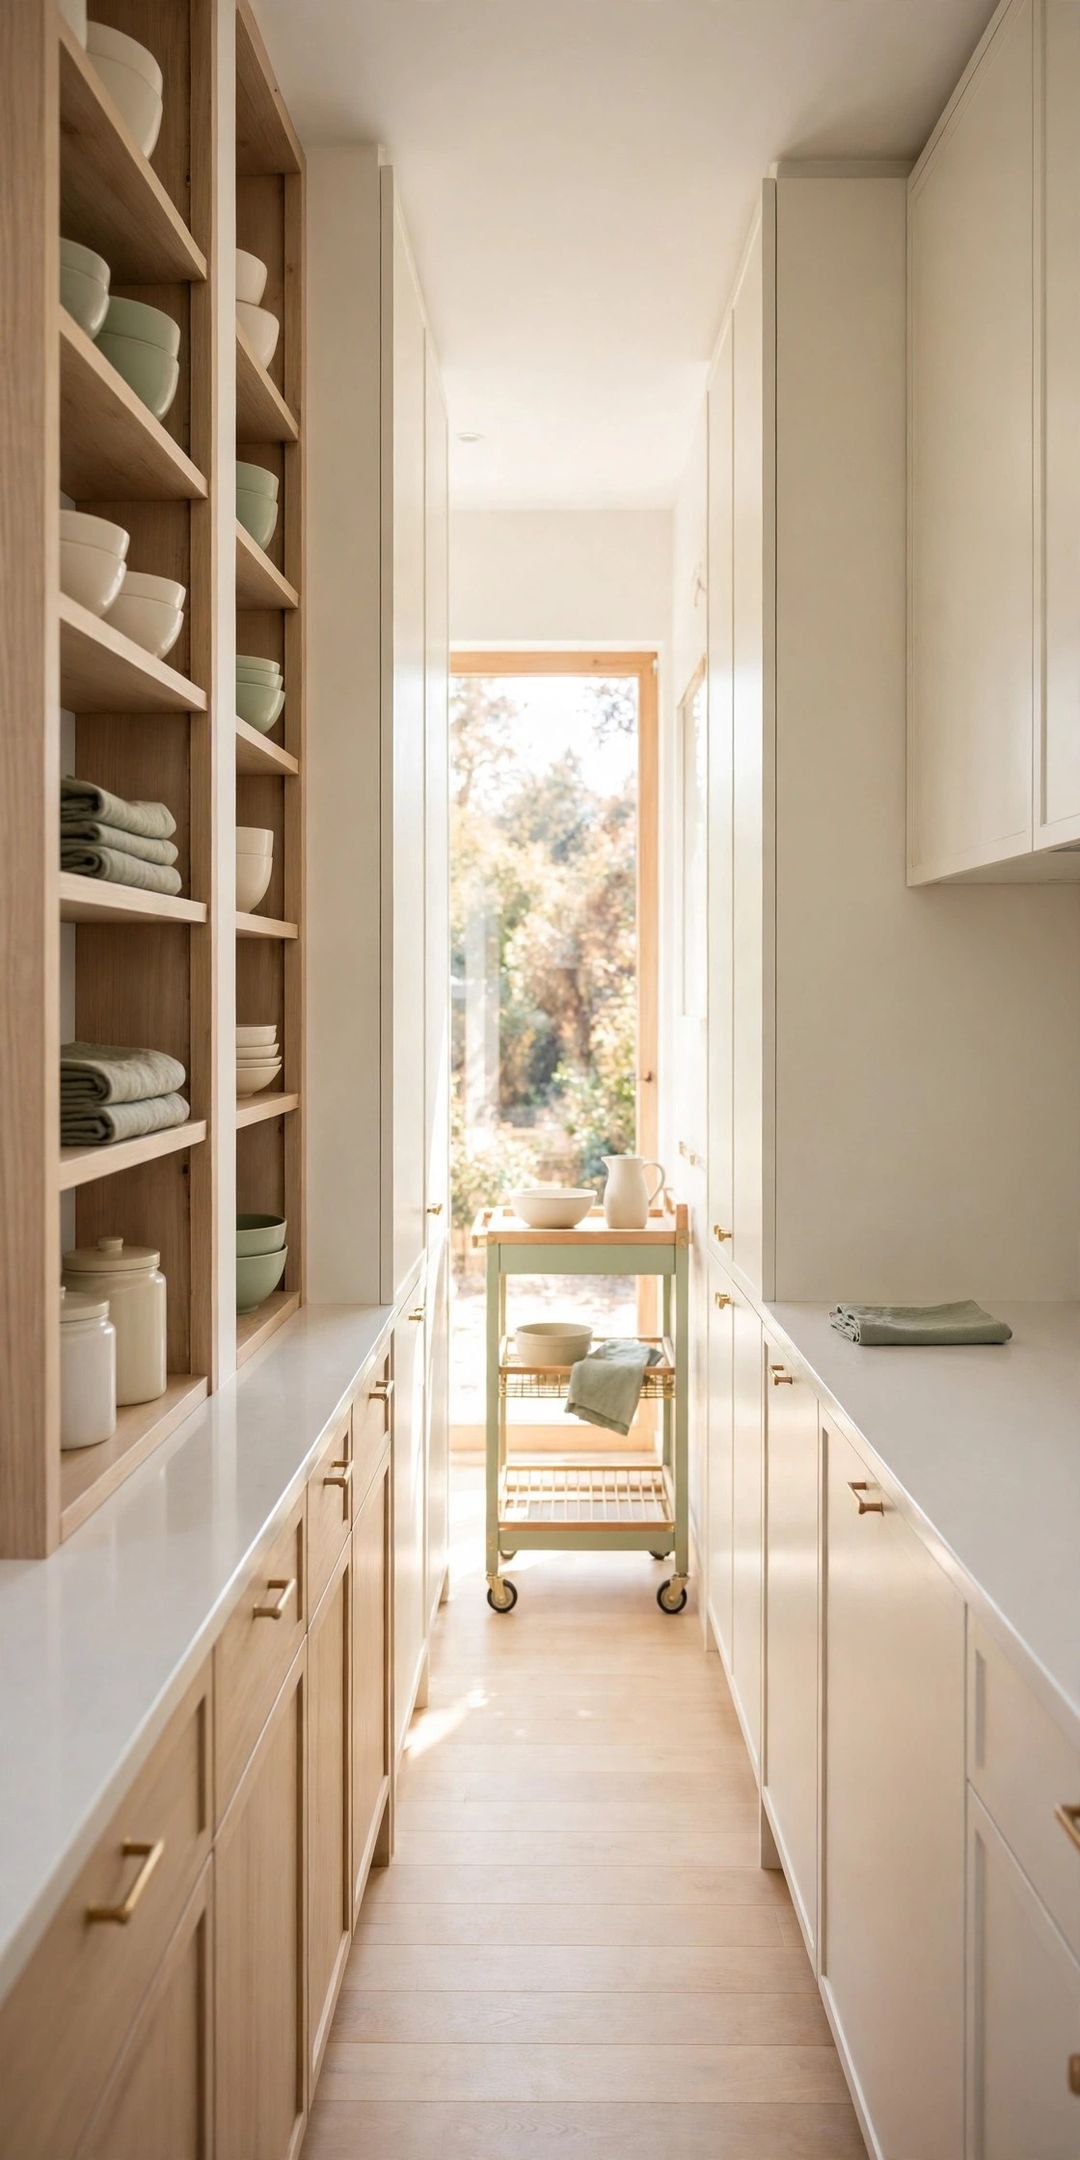
11. Slide a slim rolling cart into a gap. The space beside the fridge often fits a slim cart for oils and canned goods. Choose a cart slightly narrower than the gap, with sides that stop bottles tipping. Measure the gap at its tightest point first.
12. Add drawer dividers and tiered inserts. Dividers turn one mixed drawer into clear sections for cutlery, tools, and wraps. A tiered spice insert doubles usable space without adding cabinets. Give every category a fixed section.
13. Keep the sink area to essentials only. Limit the sink zone to dish soap, a sponge, and one brush in a small caddy. Move extra cleaners under the sink in a bin. This leaves room to set down dishes without moving bottles first.
14. Corral under-sink items in stackable bins. Under-sink pipes make loose bottles tip and hide. Two stackable bins group cleaners by use and contain leaks. Leave space around pipes and skip food or paper goods where moisture is common.
15. Follow a strict one-in, one-out rule. Every new gadget, mug, or pan needs an old one to leave. Keep a donate bag in a closet and add to it as soon as a replacement arrives. This rule prevents clutter creep.
What to Buy
A wall-mounted utensil rail with hooks, typically $15–$30. Pro: Frees a drawer and keeps tools visible. Con: Needs studs or solid anchors. Skip if: Your backsplash cannot be drilled.
A slim rolling cart, typically $25–$50. Pro: Turns a dead gap into storage for bottles and cans. Con: Wheels can wobble on uneven floors. Skip if: Your widest gap is under 5 inches.
Adjustable drawer dividers, typically $12–$22 per set. Pro: Fit different widths and stop tools sliding into one pile. Con: Deep drawers may still need bins. Skip if: Your drawers are already sorted with inserts.
Matching above-cabinet storage bins, typically $10–$18 each. Pro: Hide rarely used items and make the high gap look intentional. Con: Hard to reach and easy to forget. Skip if: Your cabinets reach the ceiling.
Mistakes to Avoid
- Storing daily tools far from their zone. Every extra trip across a narrow walkway slows cooking and creates collisions when two people are in the kitchen.
- Covering every counter inch with appliances. Appliances you use monthly belong in a cabinet or closet, not on the limited prep stretch you need daily.
- Buying a cart before measuring the gap. Baseboards, vents, and trim make gaps narrower at the bottom; measure the tightest point, not the top opening.
- Using deep bins without labels. Deep, unlabeled bins become junk drawers standing upright. Keep bins shallow or label every side clearly.
- Skipping the one-in, one-out rule. Tight kitchens fill by inches. Without a removal rule, each new purchase quietly steals prep or drawer space.
Frequently Asked Questions
What is the best layout order for a galley kitchen?
Follow the order you cook: fridge and storage, then sink and prep, then stove, with dishes near the sink. Order depends on fixed plumbing and outlets, so arrange movable storage around what is fixed.
How do you add storage without making a galley kitchen feel smaller?
Go vertical and shallow. Rails, magnetic strips, and shallow shelves add storage without taking counter space. Keep bins consistent and leave the main prep stretch empty.
What fits in the gap beside a fridge?
A slim rolling cart usually fits gaps around 5 to 10 inches wide. Use it for oils, vinegar, and canned goods. Measure height and depth too, and leave room for the fridge door to open.
How many appliances should stay on the counter?
Keep out only the one or two you use daily, such as a coffee maker or kettle. Everything else returns to a cabinet after use. Clear counter is storage for active cooking.
Start with the zones, clear the prep stretch, and let the walls do the heavy lifting before you buy anything new. Save this post to your Kitchen Organization board on Pinterest so the rail, cart, and zone ideas are handy for your next reset.