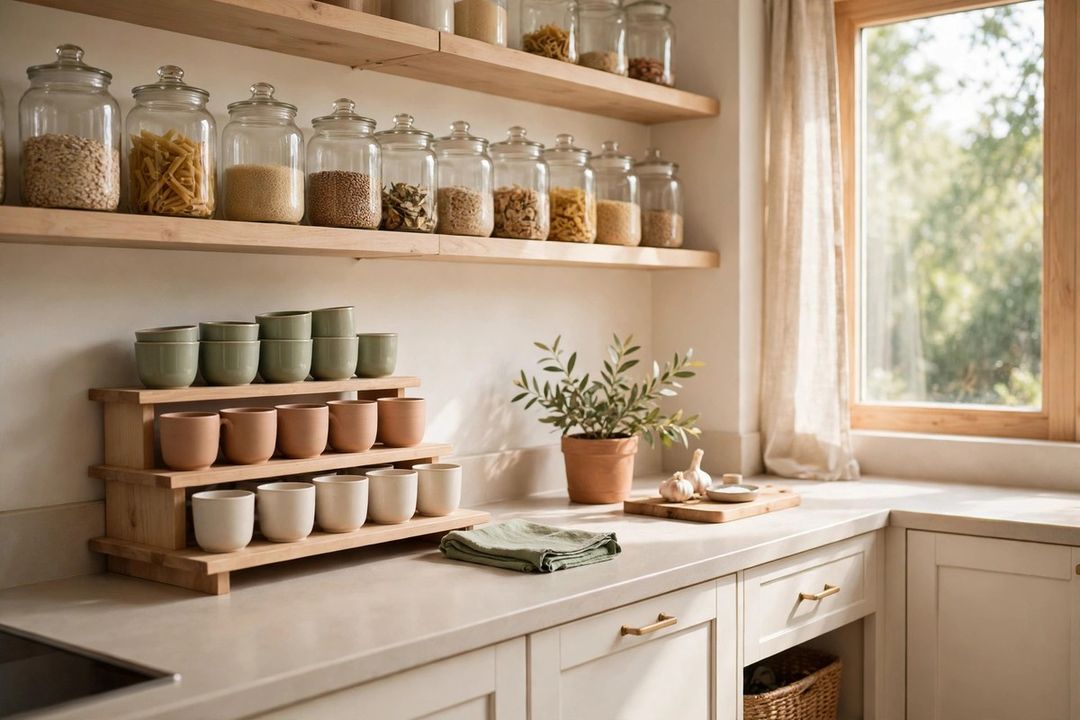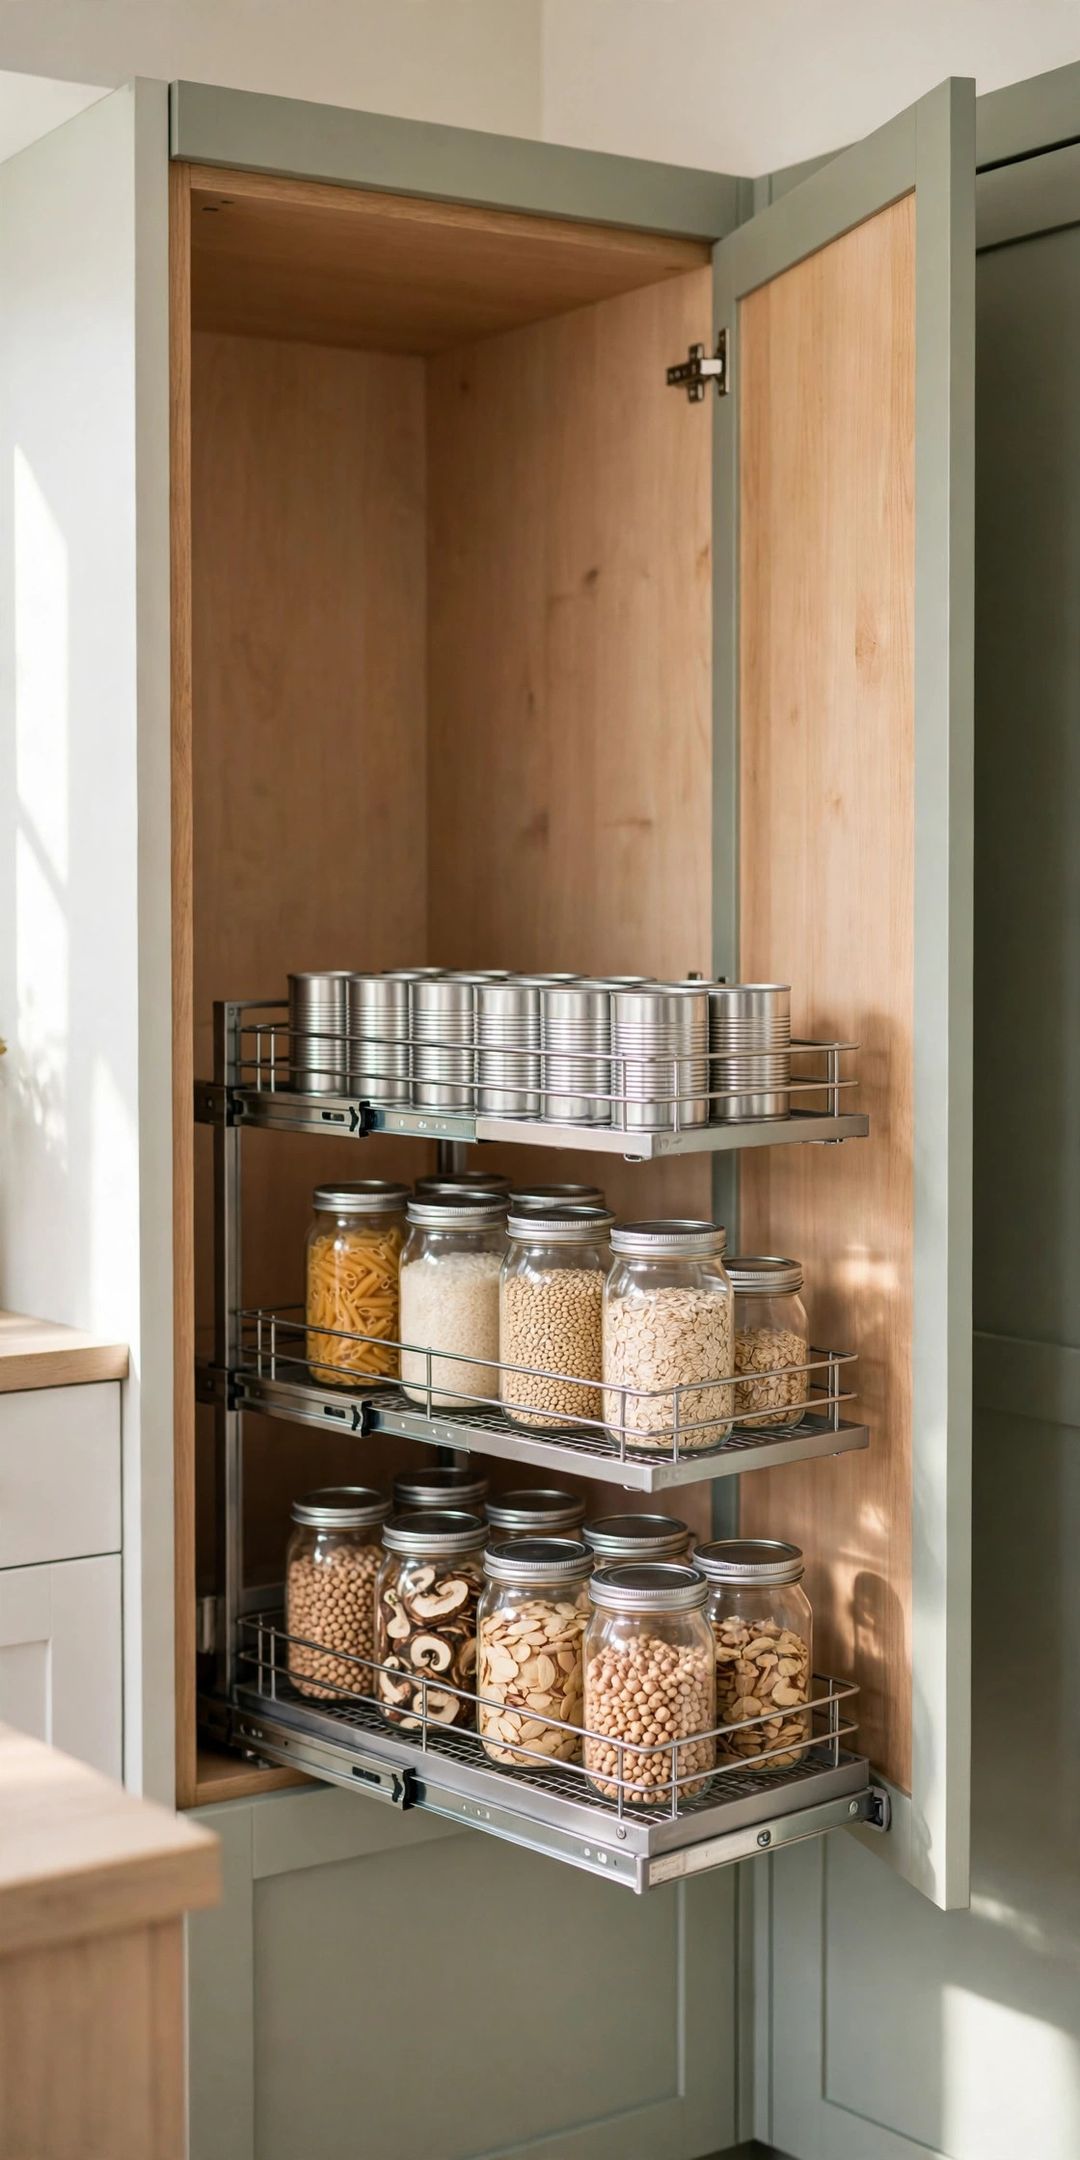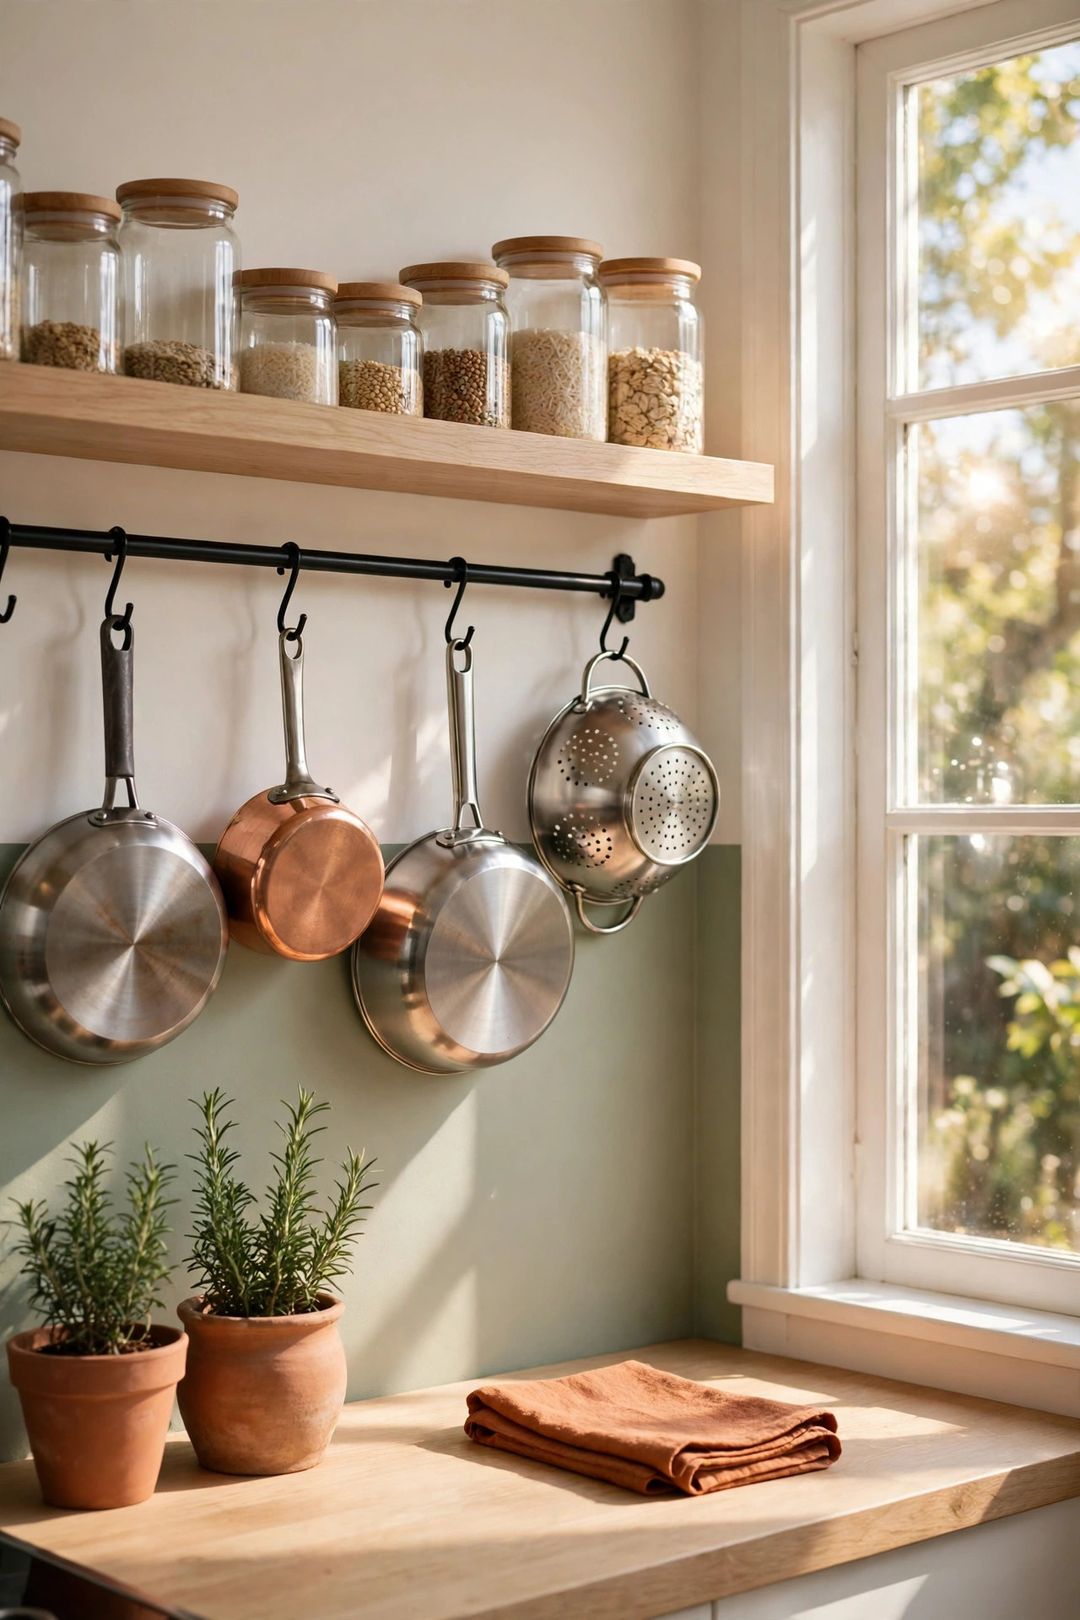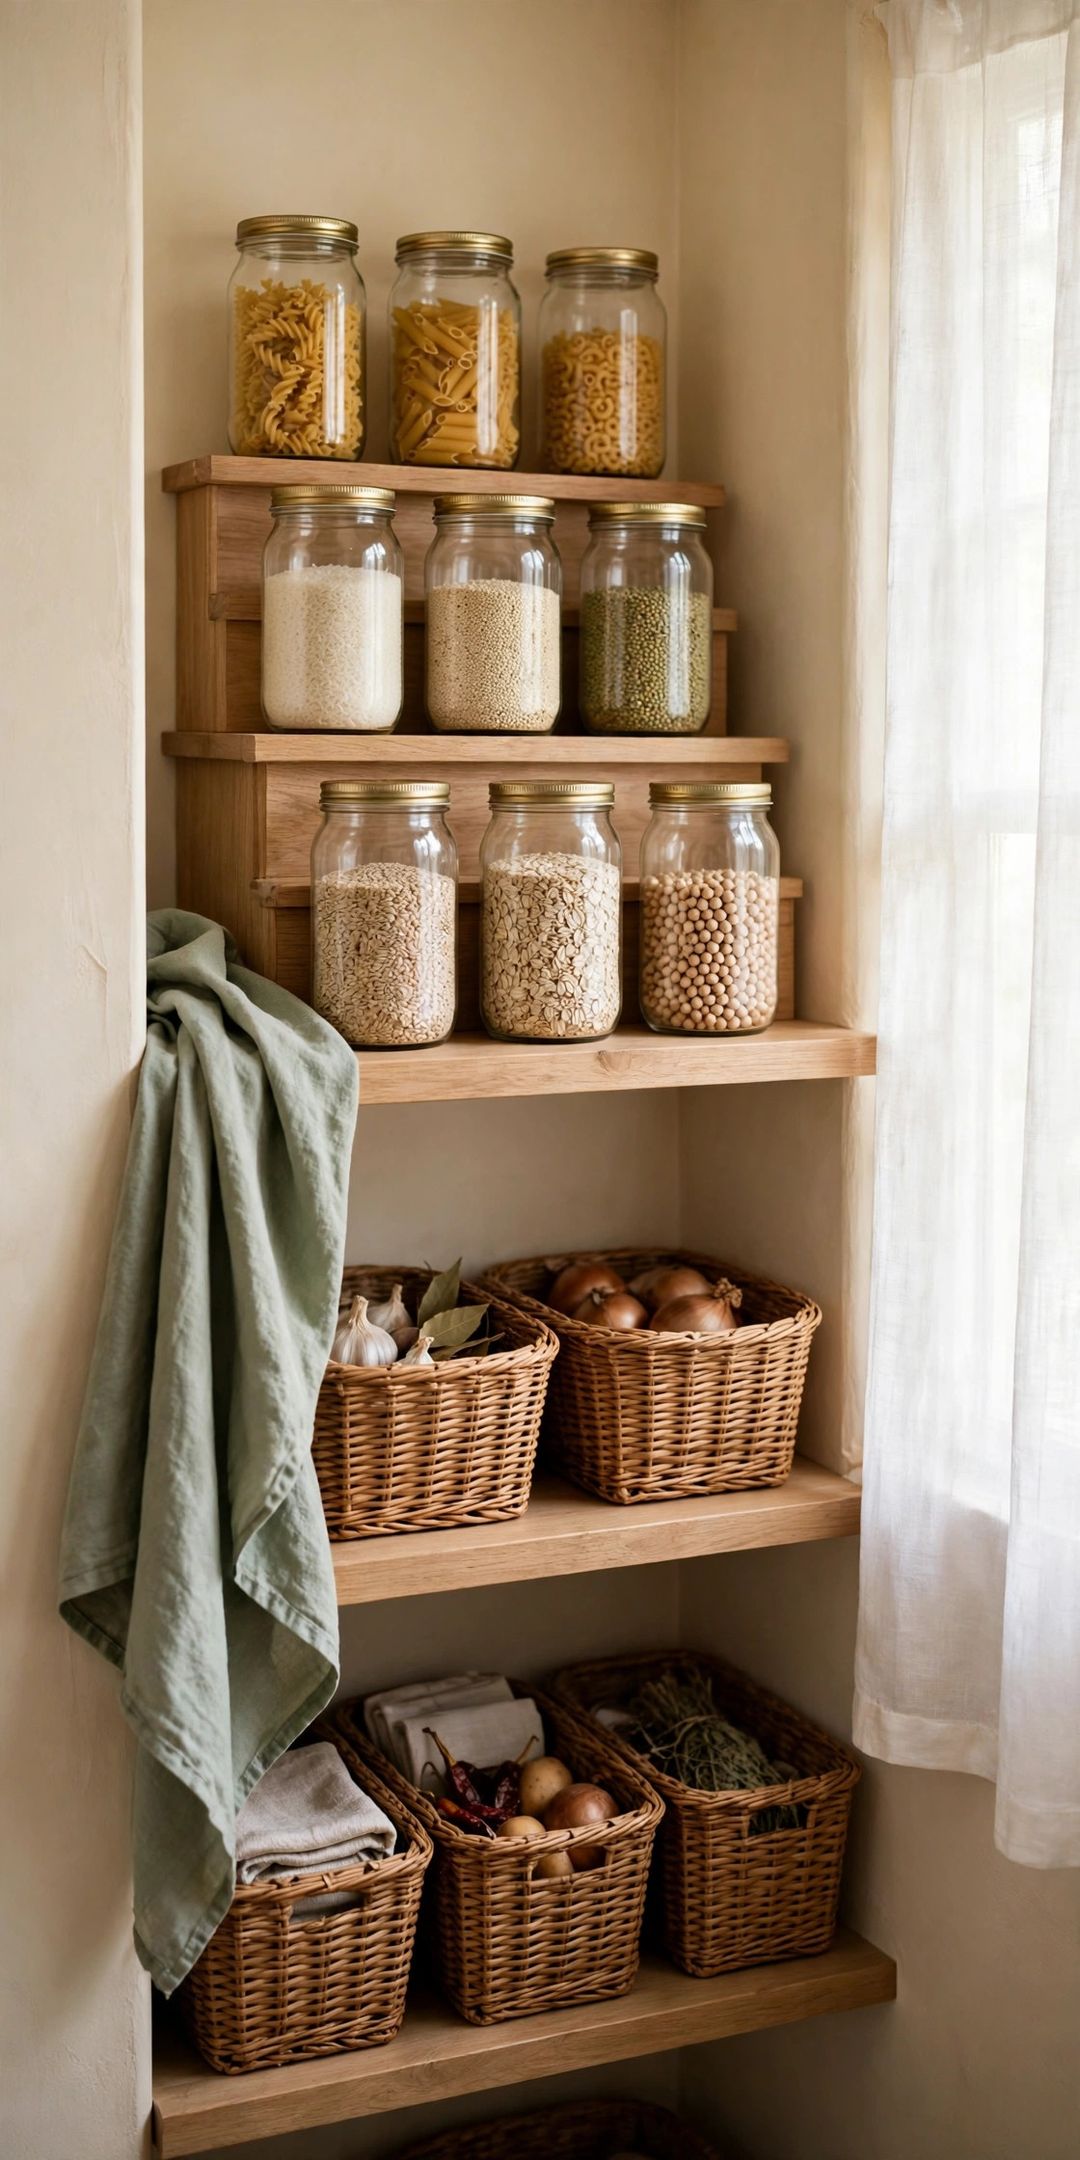
A small pantry does not need more space. It needs better sight lines. When cans stack two deep, bags lean over jars, and labels face the wall, food gets bought twice, expires unseen, and unpacking becomes digging.
Learning how to organize a small pantry starts with one rule: if an item cannot be seen in about three seconds, it is stored in the wrong place. The steps below rebuild one small pantry or cabinet around visibility first.
Measure shelf depth and height first. Most small pantry shelves run 12 to 16 inches deep, and those numbers decide every bin and container size.
1. Run a See-Everything Audit
Start by finding out what is currently invisible, in about 30 minutes.
1. Empty one shelf at a time. Pull everything off a shelf, wipe it down, and line items up on the counter by type: cans, grains, snacks, baking, and sauces.
2. Flag every duplicate and expired item. Group matching foods together. Three open bags of rice show exactly where the old layout hid things. Toss anything expired or stale.
3. Write a simple inventory list. Note what is actually owned, on paper or in a phone note. Keep the list inside the door — it stops repeat buying.
2. Switch to Single-Depth Rows
Double rows are the main cause of lost food. A single-depth row means one item at the front, with spares in a marked backstock spot, not behind it.
1. Line up one of each item at the front edge. Place a single can, jar, or box of each type in a front row, labels out. Anything extra goes to one backstock bin on the top or bottom shelf.
2. Keep rows short and grouped. Rows of four to six like items read at a glance. Mix no more than one category per shelf section, so soup never drifts in front of baking supplies.
3. Leave a small gap at the front. Stop items about half an inch behind the shelf edge. That gap makes the front row easy to grip.
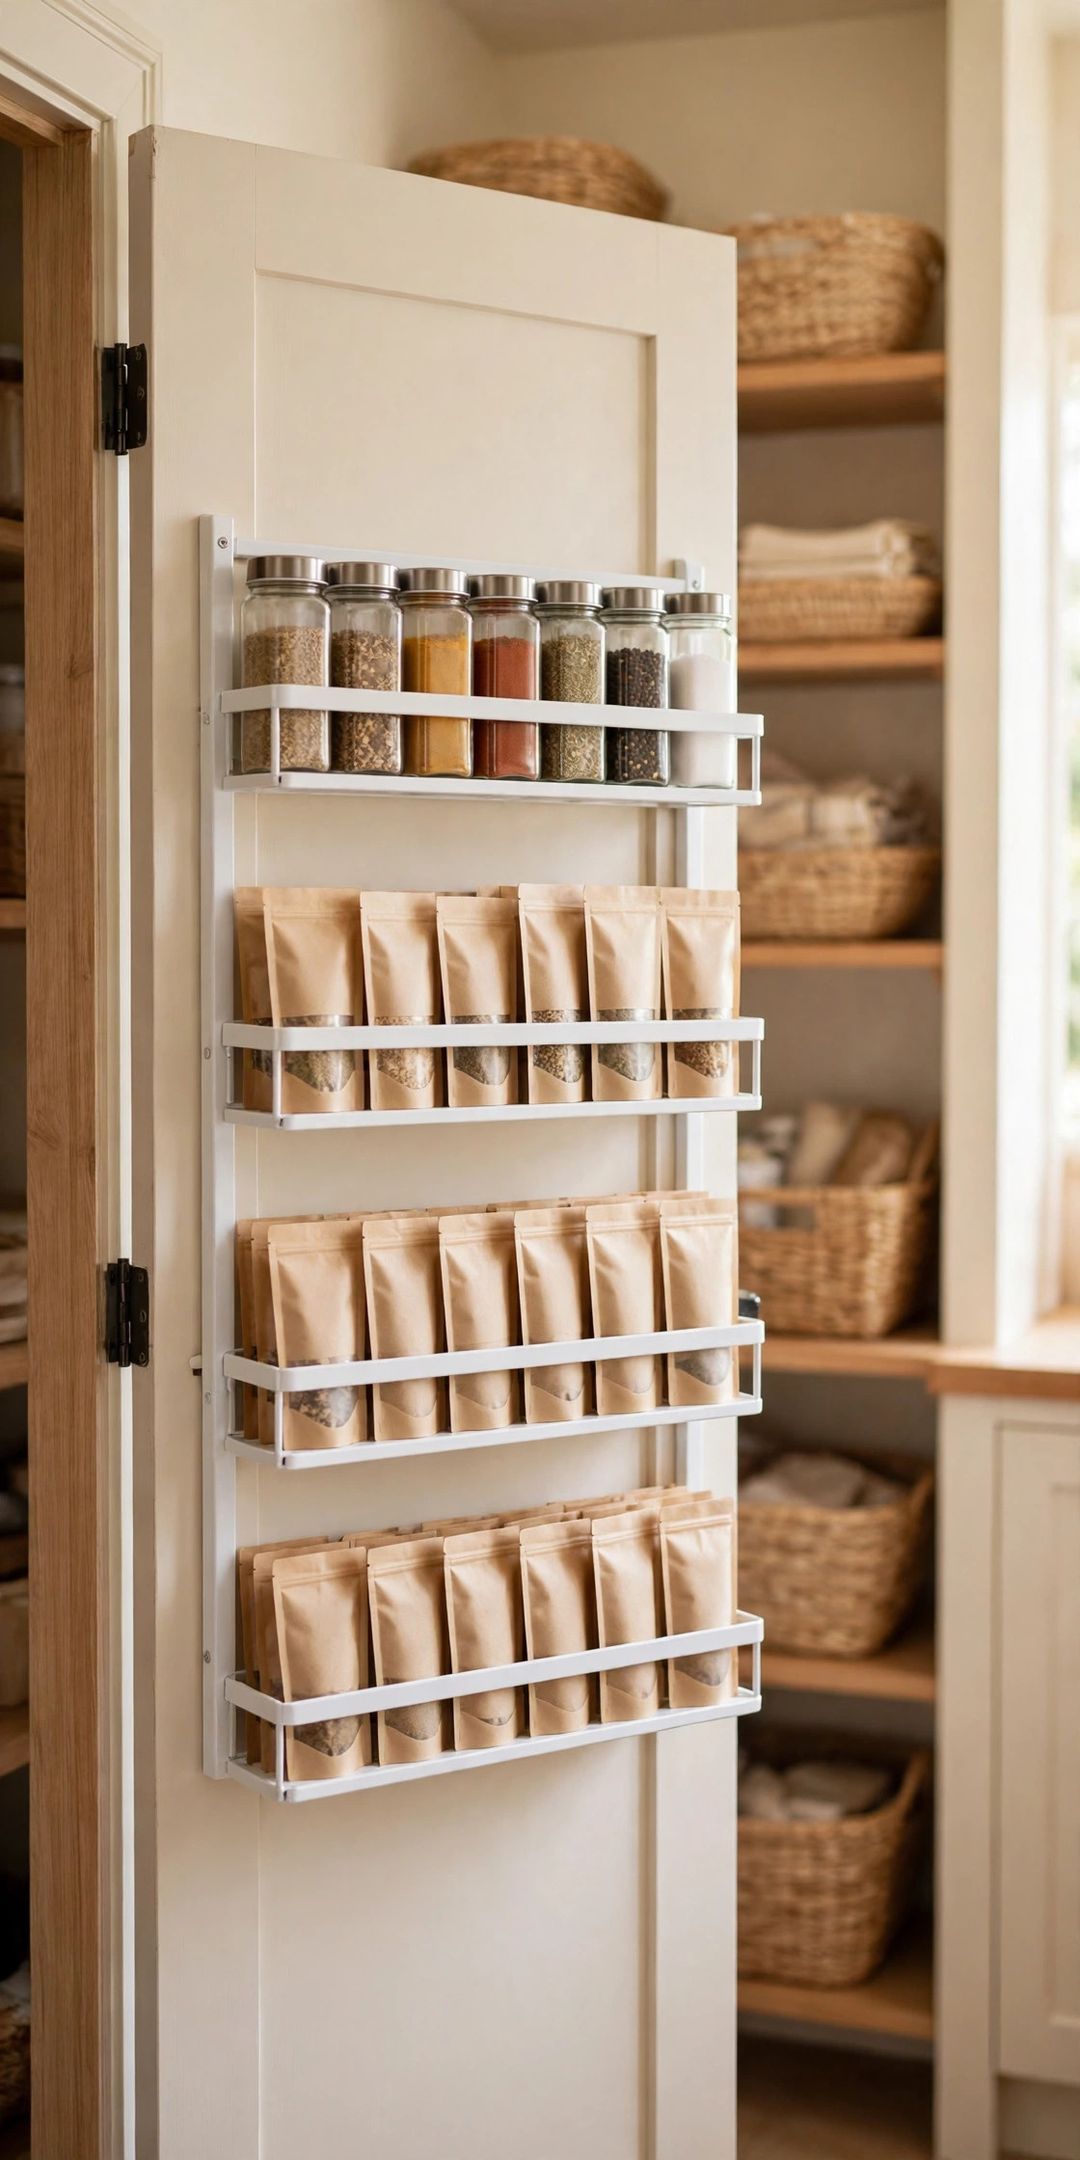
3. Use Clear Containers With Labels Facing Out
Opaque boxes and crumpled bags hide both contents and quantity. Clear, straight-sided storage makes the whole shelf readable without opening anything.
1. Decant the see-through staples. Rice, pasta, oats, flour, sugar, and dried beans go into clear airtight containers, sized to the shelf. A 12-inch-deep shelf fits containers about 10 to 11 inches deep.
2. Corral small packets in open clear bins. Sauce mixes, seasoning packets, bars, and tea belong in one shallow clear bin per type, about 10 by 6 inches.
3. Put every label on the front, at eye height. Label the side that faces out, not the lid. Add the item name and the month and year it was filled, in large, plain lettering.
4. Add Light and Lift the Back Row
Even a tidy shelf fails in the dark. Small pantries often have no light at all, so the back half sits in shadow.
1. Stick on a battery light strip. A motion-sensor LED strip under the shelf above, typically 12 to 16 inches long, lights the whole row below. No wiring is needed.
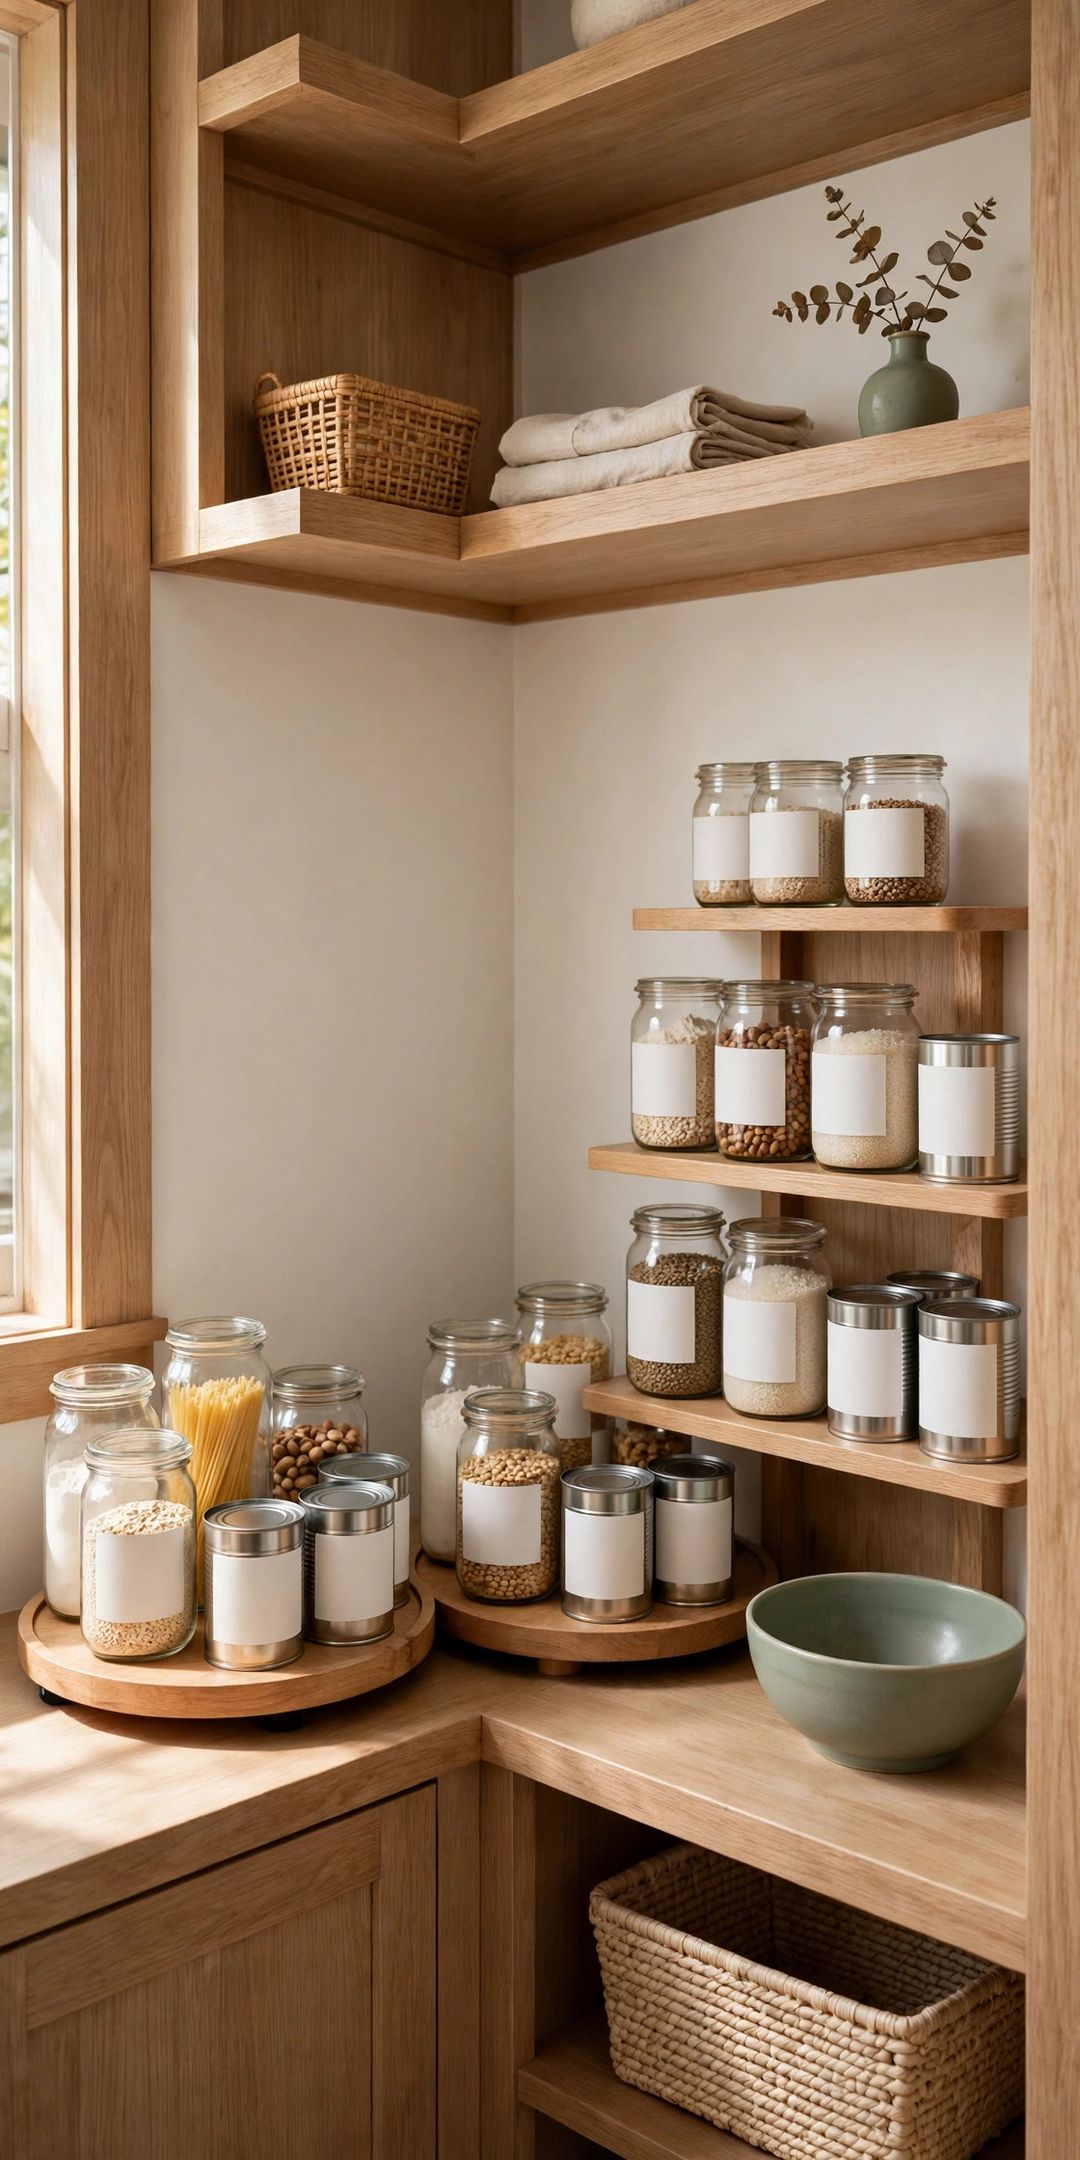
2. Raise short items on a tiered riser. A stepped riser, about 10 to 13 inches wide, lifts cans and small jars behind the front row so their labels clear the items in front. Use it only where shelf height allows at least 12 inches.
3. Turn dark corners with a small turntable. A 10-inch turntable in a corner or deep section brings bottles and jars forward with one spin.
5. Keep It Visible With a Weekly Check
Visibility fades a little with every grocery trip. A short weekly check, done while unpacking, holds the whole system together.
1. Front and face while unpacking. Pull every item to the front edge and turn labels out as new groceries go in. New stock goes into the backstock bin, never in front of older food.
2. Scan for gaps and duplicates. An empty space in a front row is the shopping list. Check the door inventory before buying.
3. Pull one item forward to use first. Each week, move the oldest dated item to the very front of its row. That single habit clears ageing stock before it expires unseen.
What to Buy
Clear airtight containers, typically $20–$35 for a set. Pro: Contents and quantities stay visible, and straight sides waste no shelf space. Con: Sets include odd sizes that may not match your staples. Skip if: Most food already lives in clear jars you own.
Shallow clear bins, typically $10–$18 for a pack. Pro: Packets and small items stay grouped and readable in one glance. Con: Bins that are too deep become a new hiding place. Skip if: Your pantry holds almost no small or loose items.
A battery LED light strip, typically $12–$22. Pro: It lights the back row instantly with no wiring or electrician. Con: Batteries or recharging add a small upkeep task. Skip if: Your pantry already has a working overhead light.
A tiered shelf riser, typically $12–$20. Pro: Back-row cans and jars stay visible above the front row. Con: Tall jars may not fit on the top step. Skip if: Your shelves are under 10 inches apart.
Large-print labels, typically $6–$12. Pro: Names and dates can be read without pulling containers out. Con: Labels need redoing when a container changes contents. Skip if: A marker on painter's tape already stays clear and readable.
Mistakes to Avoid
- Stacking two deep again. A hidden back row recreates the original problem, no matter how neat the front looks.
- Using opaque or frosted bins. If contents cannot be seen through the side, the bin has to be opened for every check.
- Labelling lids instead of fronts. Lid labels vanish on lower shelves and stack-facing sides get read instead.
- Buying containers before measuring. A container even an inch too deep blocks the door or forces a second row.
- Filling every inch of shelf. A shelf packed edge to edge has no grip room, so items get shoved back and lost.
Frequently Asked Questions
How deep should bins be on a 12-inch pantry shelf?
Choose bins about 10 to 11 inches deep. That leaves a small gap at the front for fingers and lets the bin slide out cleanly.
What if the pantry is one deep kitchen cabinet?
Use the same rules at cabinet scale: one front row of daily items, one clear backstock bin, and a turntable for the deepest section. Add a stick-on light — cabinets are usually darkest.
Should all food be decanted into clear containers?
No. Decant daily staples that spill or go stale in bags. Keep rarely used boxed mixes and well-sealed packages as they are — their boxes stack flat and carry the cooking directions.
How often does the visibility check need to happen?
Once a week, while unpacking groceries, is enough. In about five minutes: face labels, fill front-row gaps from backstock, and pull the oldest item forward.
A small pantry you can read at a glance saves money, time, and guesswork every single week. Save this post to your Kitchen Organization board on Pinterest so the see-everything steps are ready for your next pantry reset.