Crowded cabinets slow down every meal. Plates hide behind bowls. Spices fall over. A pan that gets used daily sits on the highest shelf. Learning how to organize kitchen cabinets step by step fixes that mess without a full remodel or a big shopping trip.
The method below takes a few hours spread over two days. Work happens one bank of cabinets at a time, so the kitchen stays usable for meals in between. There is no need to empty the whole room at once or live with counters covered in dishes all weekend.
Day one covers emptying, cleaning, and sorting. Day two covers zones, placement, and labels. A short test week after that shows what still needs a small change.
Phase 1: Empty, Clean & Sort
Step 1: Empty one bank of cabinets completely. Pick one section, such as the cabinets above the counter or the ones below it. Take everything out and set items on a table or clean counter in rough groups. Then wipe the shelves with a damp cloth and mild soap. Let the shelves dry fully before anything goes back. Crumbs and sticky spots are easier to clean when the shelf is empty. Leave other banks closed so the kitchen still works for meals.
Step 2: Sort everything into keep, relocate, donate, or toss. Check each item and ask where it truly belongs. Keep means the item earns a spot in this kitchen. Relocate means the item belongs in another room or a storage bin. Donate means the item still works but rarely gets used. Toss means the item is broken, stained, or unsafe. Check food dates as part of this step. Pantry items past the printed date go in the toss pile. Spices with no scent left also go. Duplicate tools and lids with no matching base rarely earn prime space back.
Phase 2: Zone & Contain
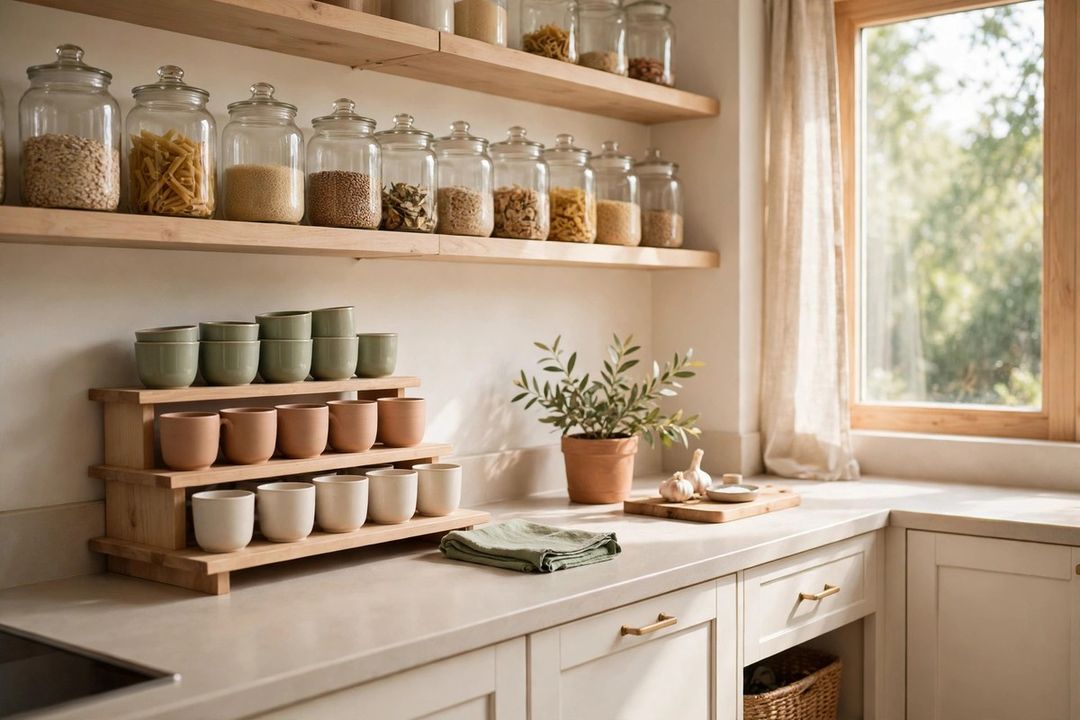
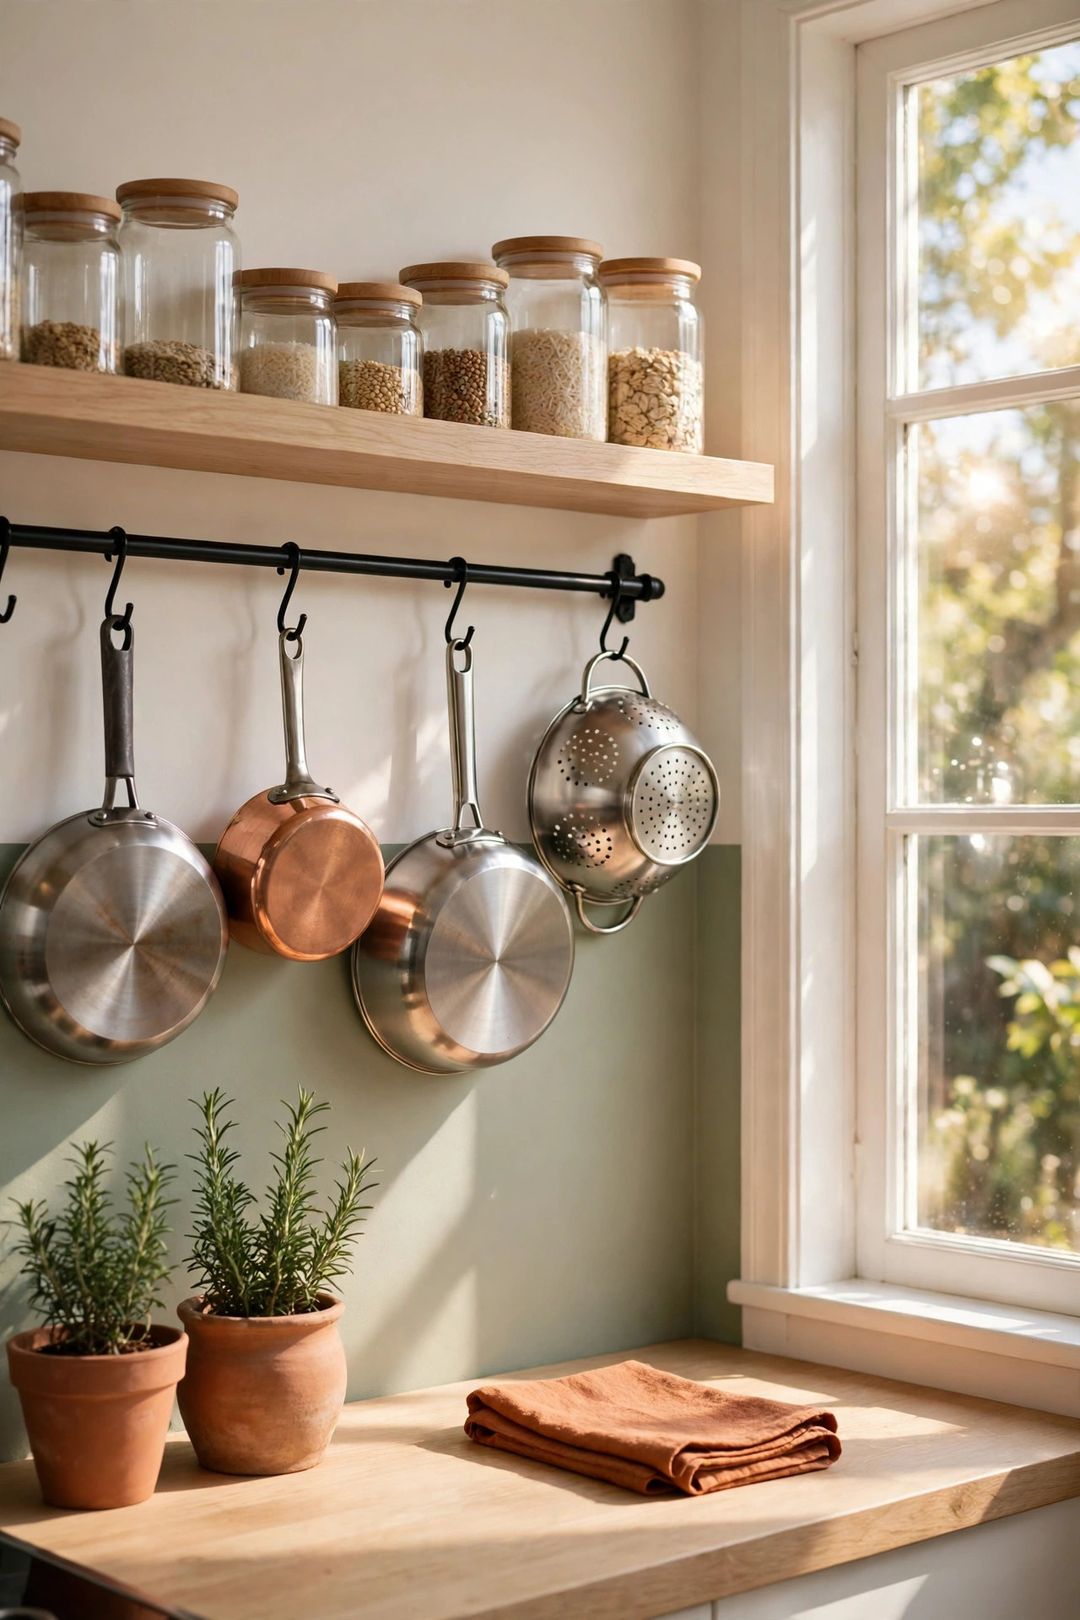
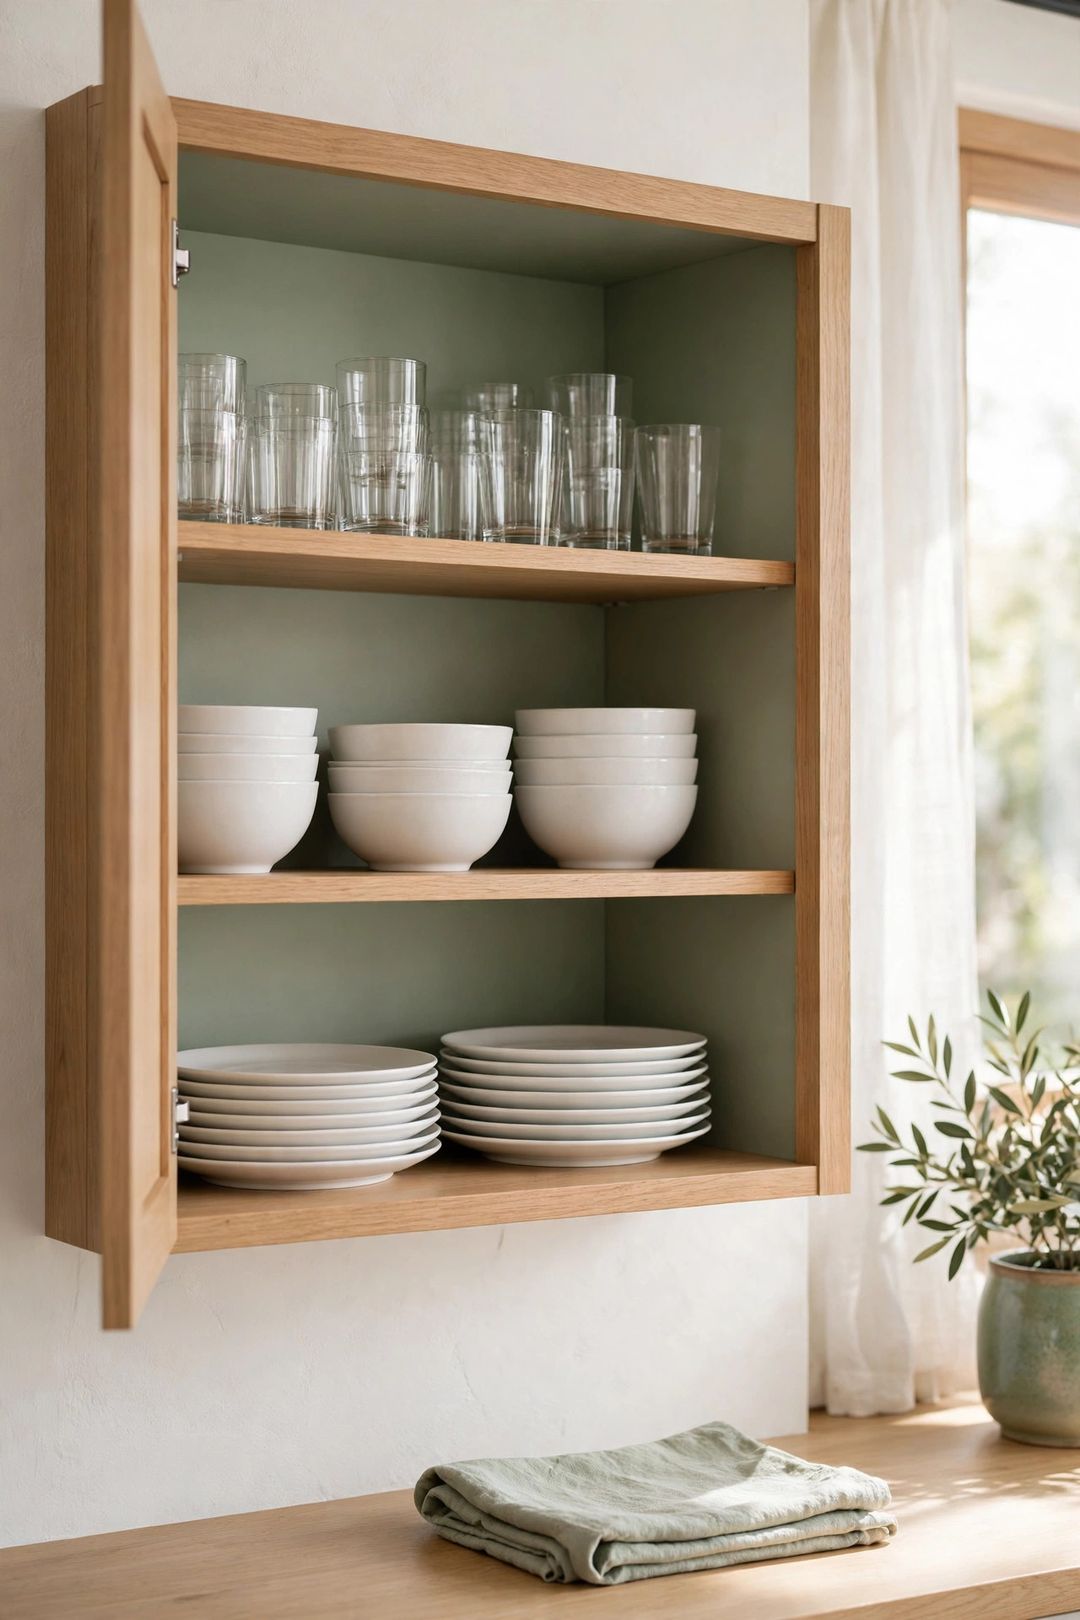
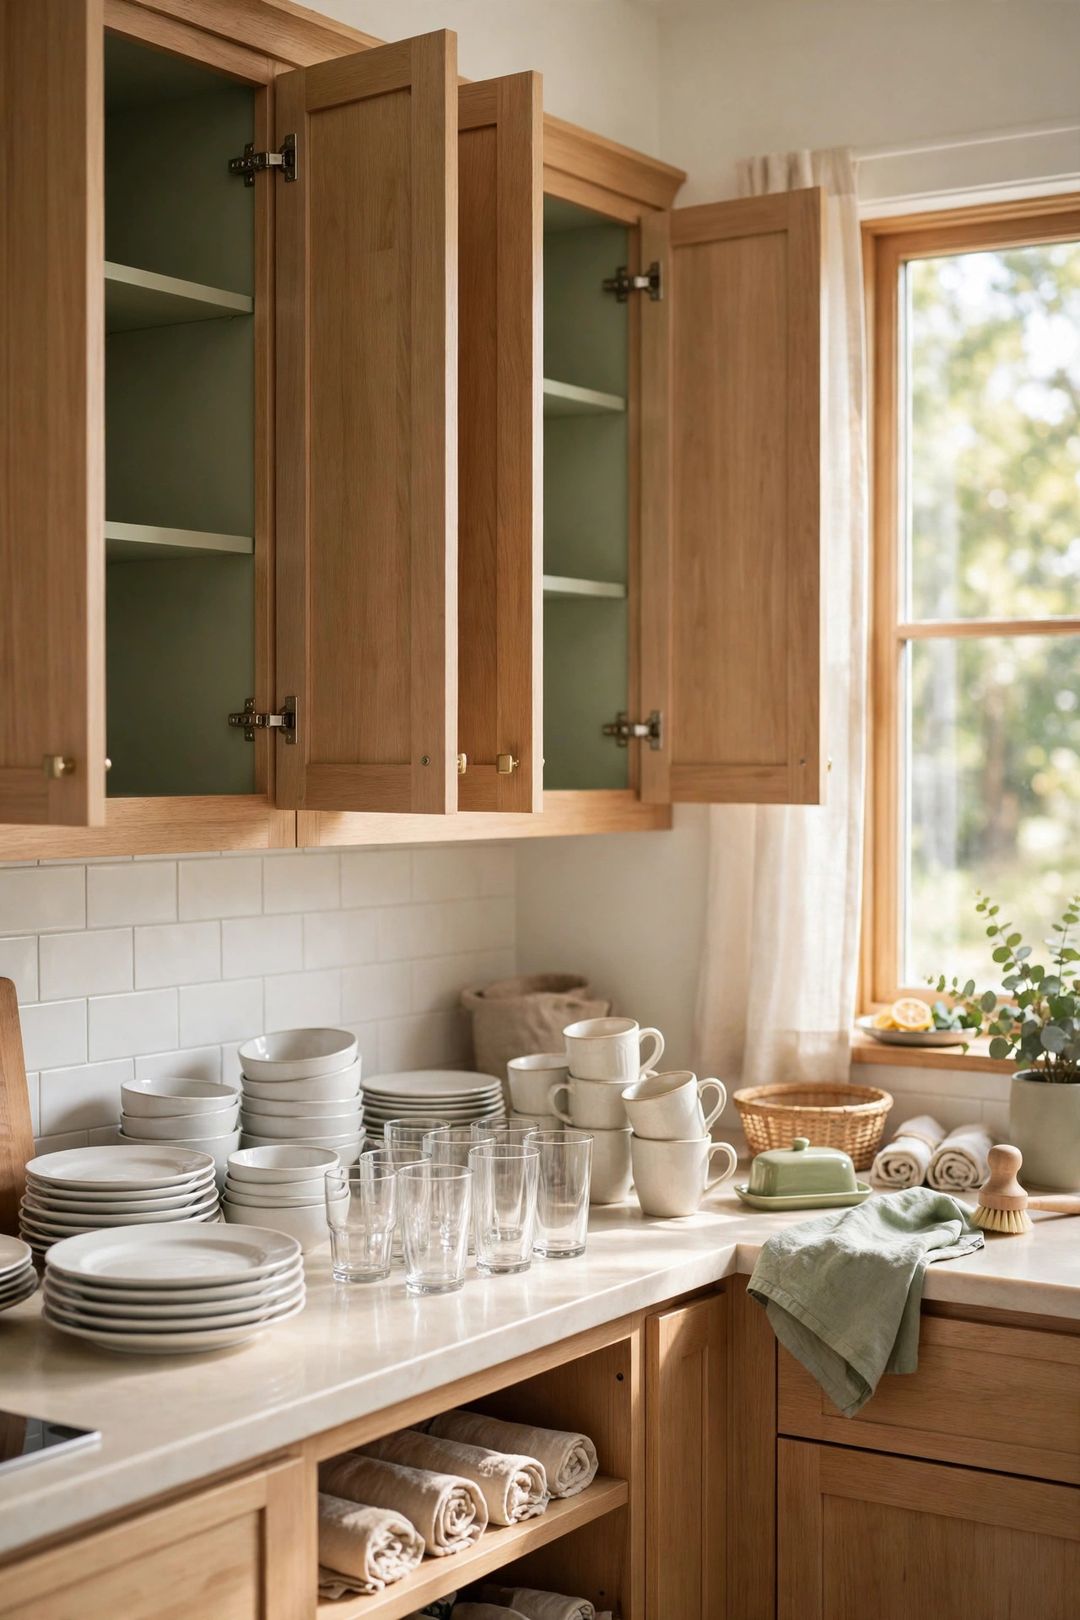
Step 3: Group items by task zone before putting anything back. Zones keep the kitchen simple. A prep zone holds cutting boards, knives, and mixing bowls near the main counter. A cooking zone holds pots, pans, and cooking tools near the stove. A baking zone holds flour, sugar, measuring cups, and baking pans in one spot. A dishes zone holds plates, bowls, and glasses near the dishwasher, so unloading takes less walking. If an item serves two zones, store it in the zone used most often.
Step 4: Place items by frequency and weight. Daily items go at eye level or on the easiest shelf to reach. Heavy items, like cast iron pans and large mixing bowls, go on low shelves where lifting stays safe. Light and rarely used items, like a holiday platter or a bulk pack of napkins, go up high. One rule guides placement: reach often, place close; reach rarely, place far.
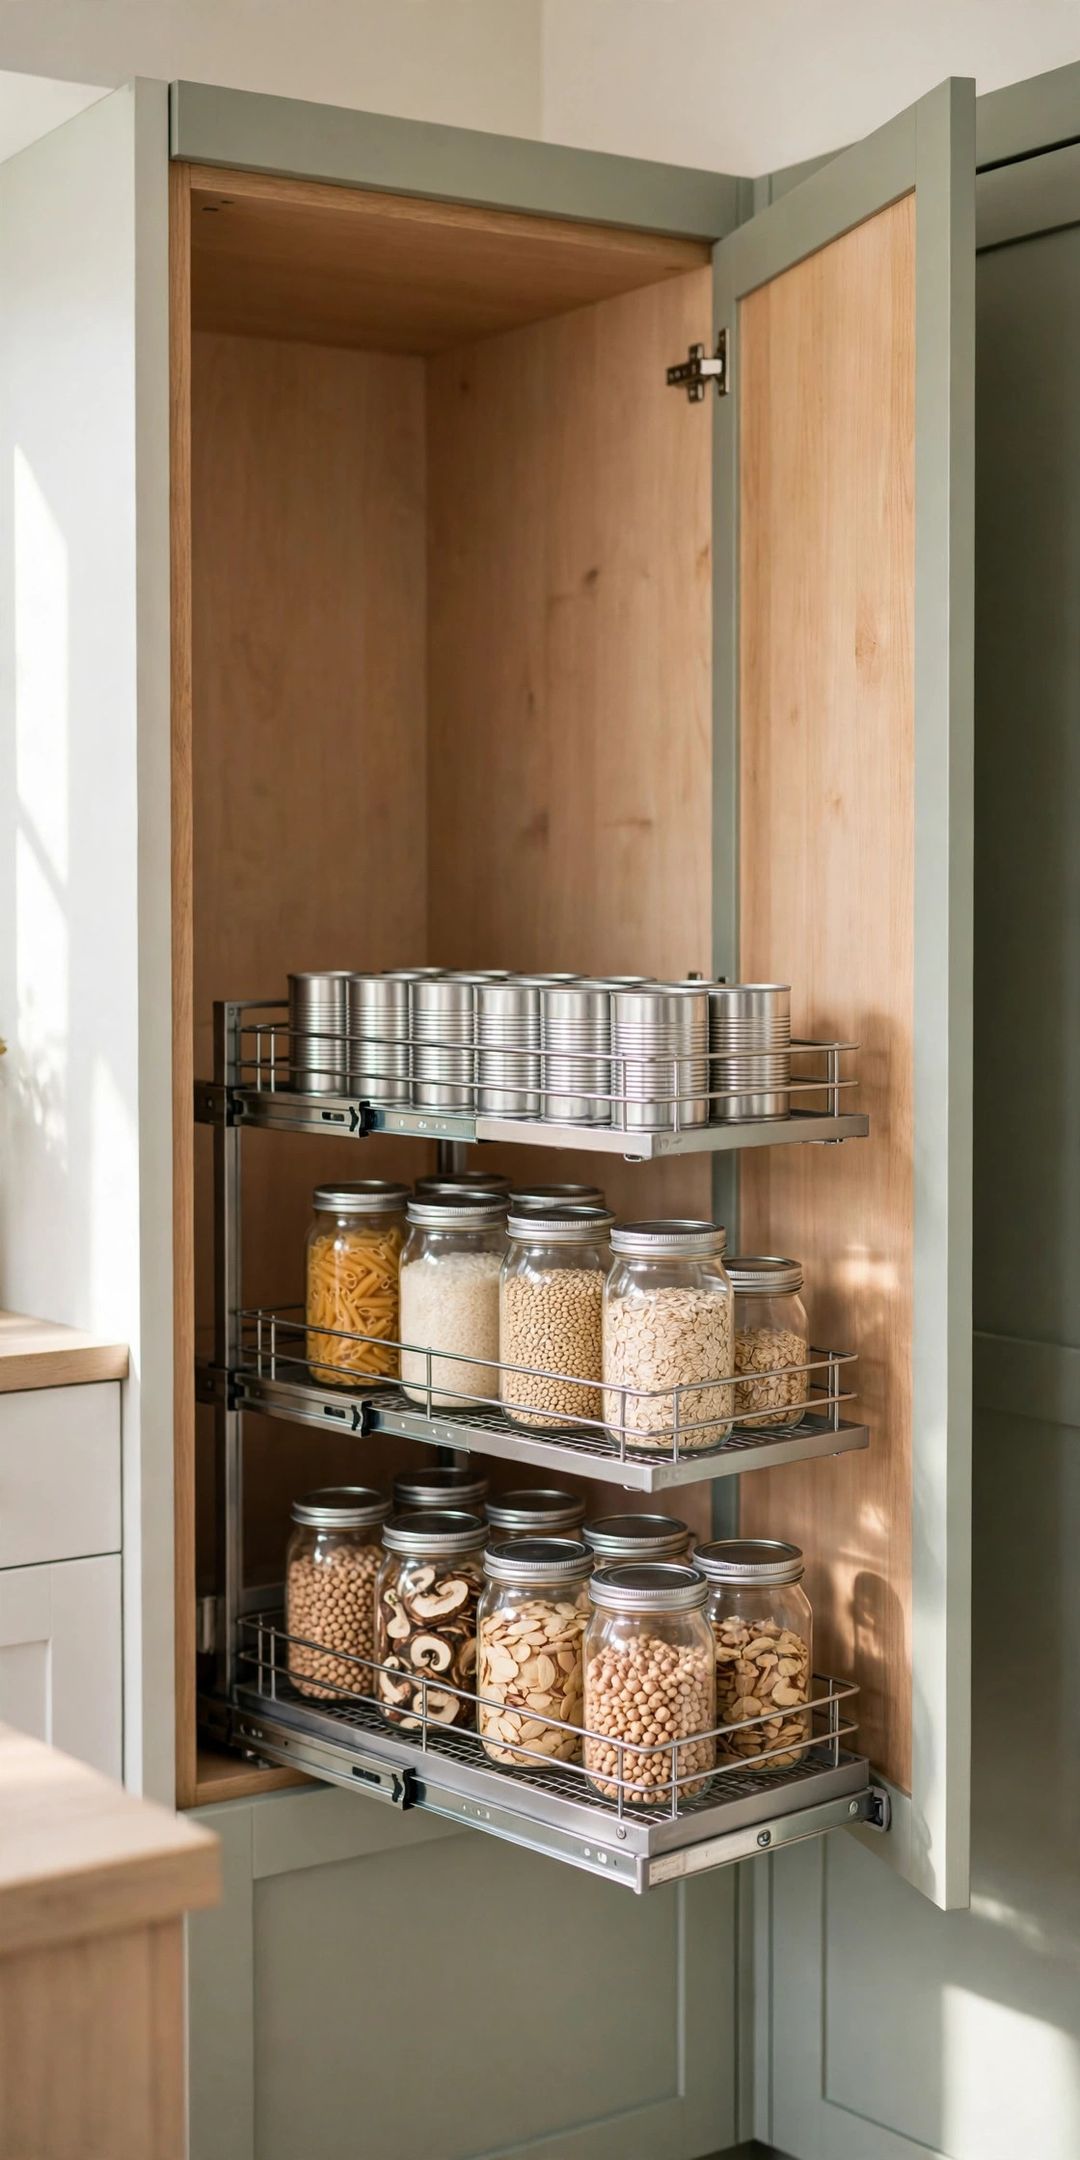
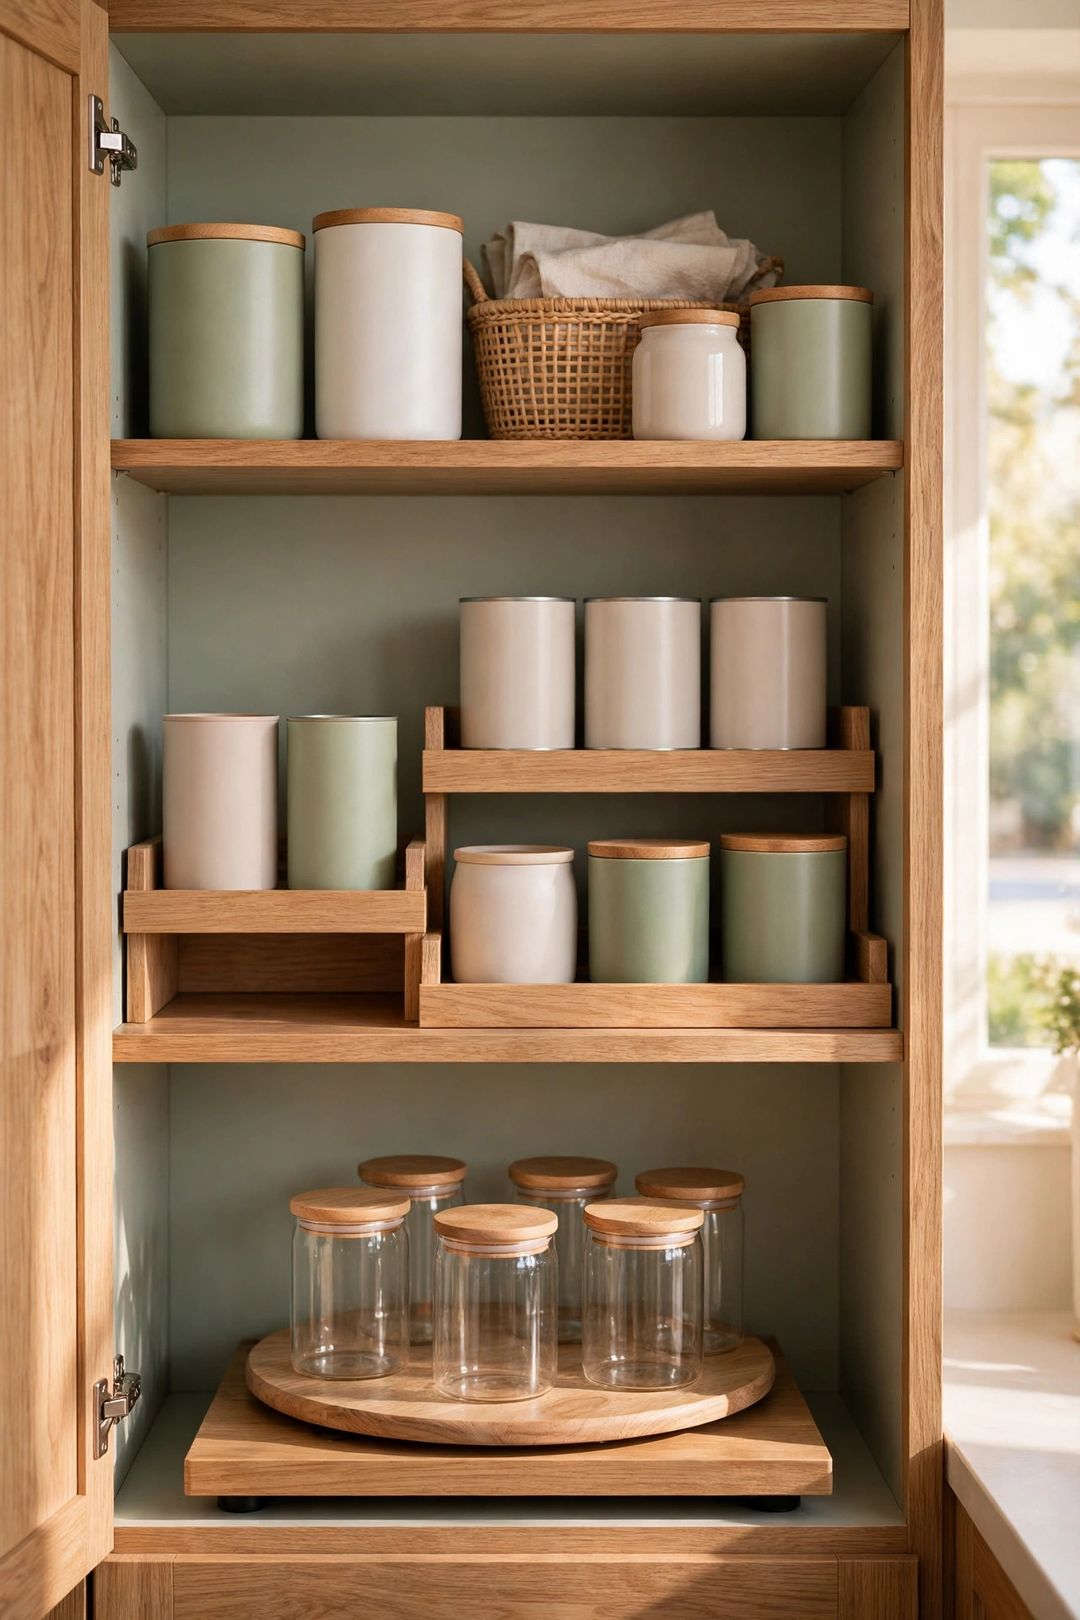
Step 5: Add containers and risers only where one solves a real problem. A bin helps when small items scatter, like sauce packets or spice jars. A shelf riser helps when short jars hide behind tall ones. A turntable helps in a deep cabinet where items get lost at the back. Skip extra organizers when a plain shelf already works well. Measure the shelf first, then choose one container that fits the exact problem.
Step 6: Decant backstock with clear limits. Decanting means moving dry goods, like rice, pasta, or oats, into clear jars for the main supply. Keep the backstock rule simple: one active jar in the zone, and only one backup pack stored up high or in a pantry spot. Label the jar with the food name and the date from the original pack. Do not decant foods used only once in a while. Bags that sit for months often stay fresher in the sealed original pack until opening day.
Phase 3: Label, Test & Reset
Step 7: Label shelves and bins in plain words. Short labels work best, like Prep, Baking, Lunch Boxes, or Everyday Plates. Labels help everyone in the home put items back in the same spot. Use removable labels on shelves, so changes stay easy later. A bin with no label tends to become a junk bin within weeks, so even a simple paper tag helps.
Step 8: Run a one-week test, adjust once, then reset monthly. Cook as normal for one week and notice what feels awkward. Maybe glasses sit too far from the sink, or a daily pan sits too high. Make one round of small swaps at the end of the week, not daily changes. After that, keep the system steady. Add a 10-minute monthly reset to hold the gains: set a timer, return stray items to the right zones, wipe one shelf, and check food dates. Ten calm minutes each month beats another full weekend redo later.
What to Buy
Clear bins with handles, typically $8–$20. A clear bin groups small items and pulls out like a drawer. The pro is fast access in deep cabinets. The con is that bins that are too tall waste shelf height, so measure before buying.
Shelf risers, typically $10–$25. A riser doubles the usable space on one shelf for jars and cans. The pro is better sight lines. The con is that cheap, wobbly risers tip over, so a sturdy frame matters more than a low price.
Small turntables, typically $10–$22. A turntable brings back items to the front with one spin. The pro is less reaching and fewer lost jars. Skip this item for very narrow cabinets, where a turntable wastes corner space.
Removable labels or a label maker, typically $8–$30. Labels keep zones clear for the whole household. The pro is faster put-away. The con is that permanent labels make later changes messy, so removable options work better at the start.
Mistakes to Avoid
- Emptying the whole kitchen at once. A full-room empty-out creates stress and blocks meals. One bank at a time keeps the project calm and doable.
- Buying organizers before sorting. New bins bought too early often fit the clutter, not the keepers. Sort first, measure second, buy last.
- Storing daily items up high. Daily plates or pans on a top shelf cause strain and slow down cooking. Keep daily items close and easy to grab.
- Skipping the food date check. Old spices and expired packs waste prime space. The sort step is the right time to clear them out.
- Skipping the test week. A setup that looks neat may still feel wrong in daily use. One week of real cooking shows what needs a swap.
Frequently Asked Questions
How long does this cabinet method take?
Most kitchens take a few hours spread over two days. Large kitchens may need one extra session the next weekend, one bank at a time.
What should happen to duplicate tools and dishes?
Keep the best version in the main zone. Move a true backup to high storage only if space allows. Donate the rest, so prime shelves hold items that get regular use.
Do dry goods need to go in matching jars?
No. Matching jars look neat, but clear jars of any style work fine. The key rules are a tight lid, a clear view of the contents, and a label with the food name and pack date.
How often should cabinets get a reset?
A 10-minute reset once a month handles most drift. A deeper sort once or twice a year helps after holidays.
Save this post to your kitchen organization board on Pinterest so the weekend method is easy to find before the next cabinet reset.