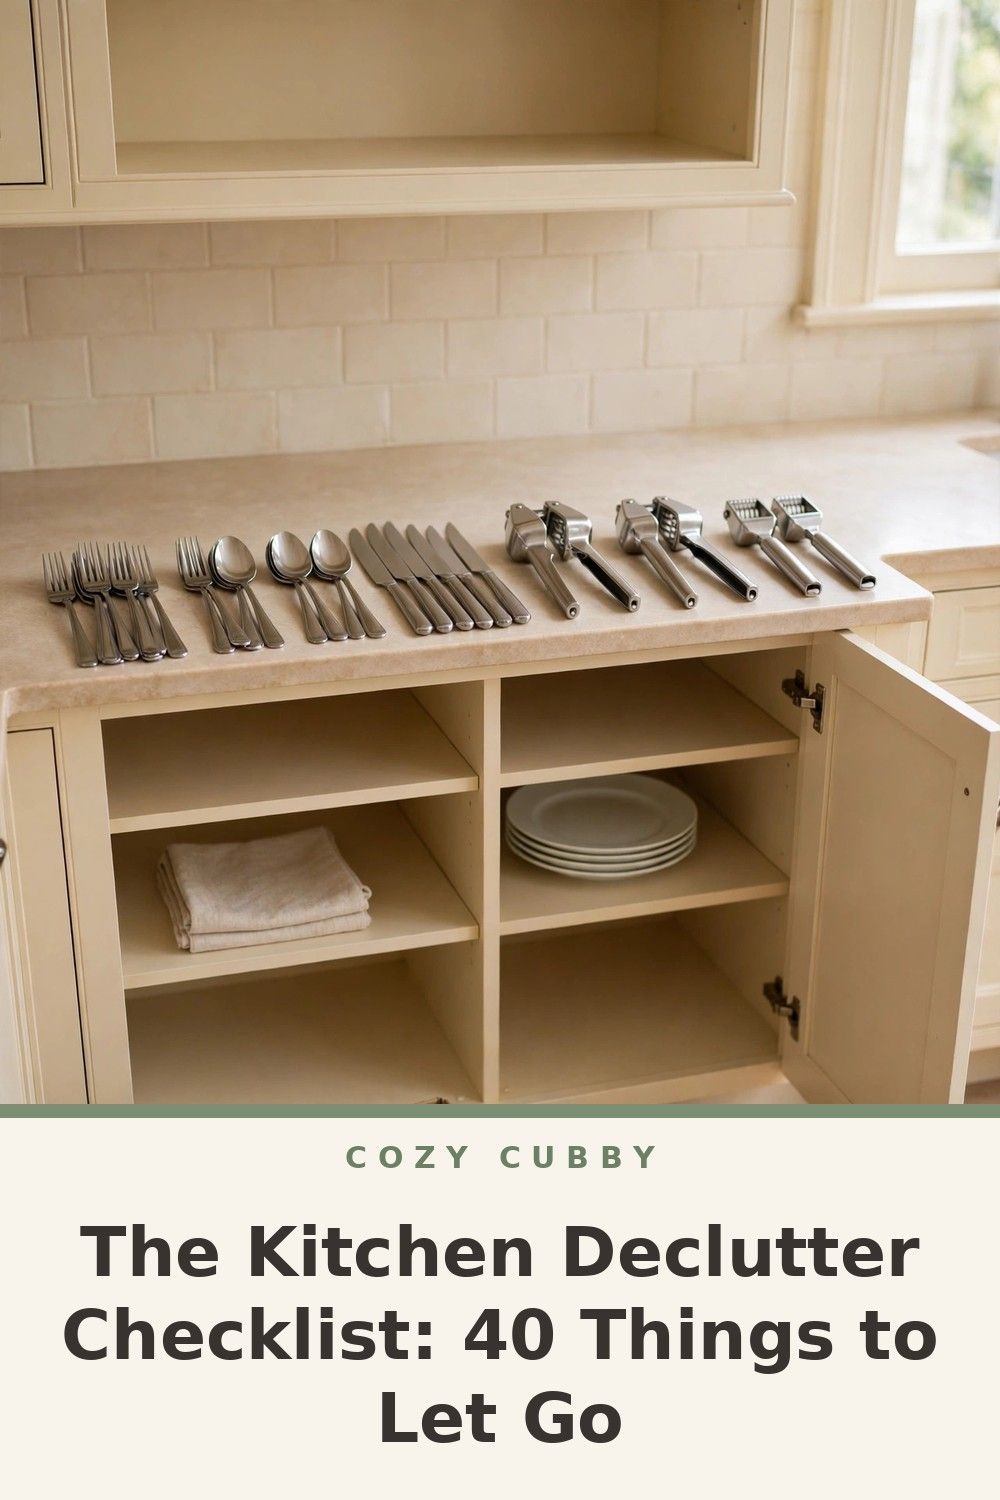
A crowded kitchen slows down every meal. Drawers jam, lids fall out of cabinets, and the item you need is always behind three things you never use. This kitchen declutter checklist fixes that zone by zone, with a clear list for each spot.
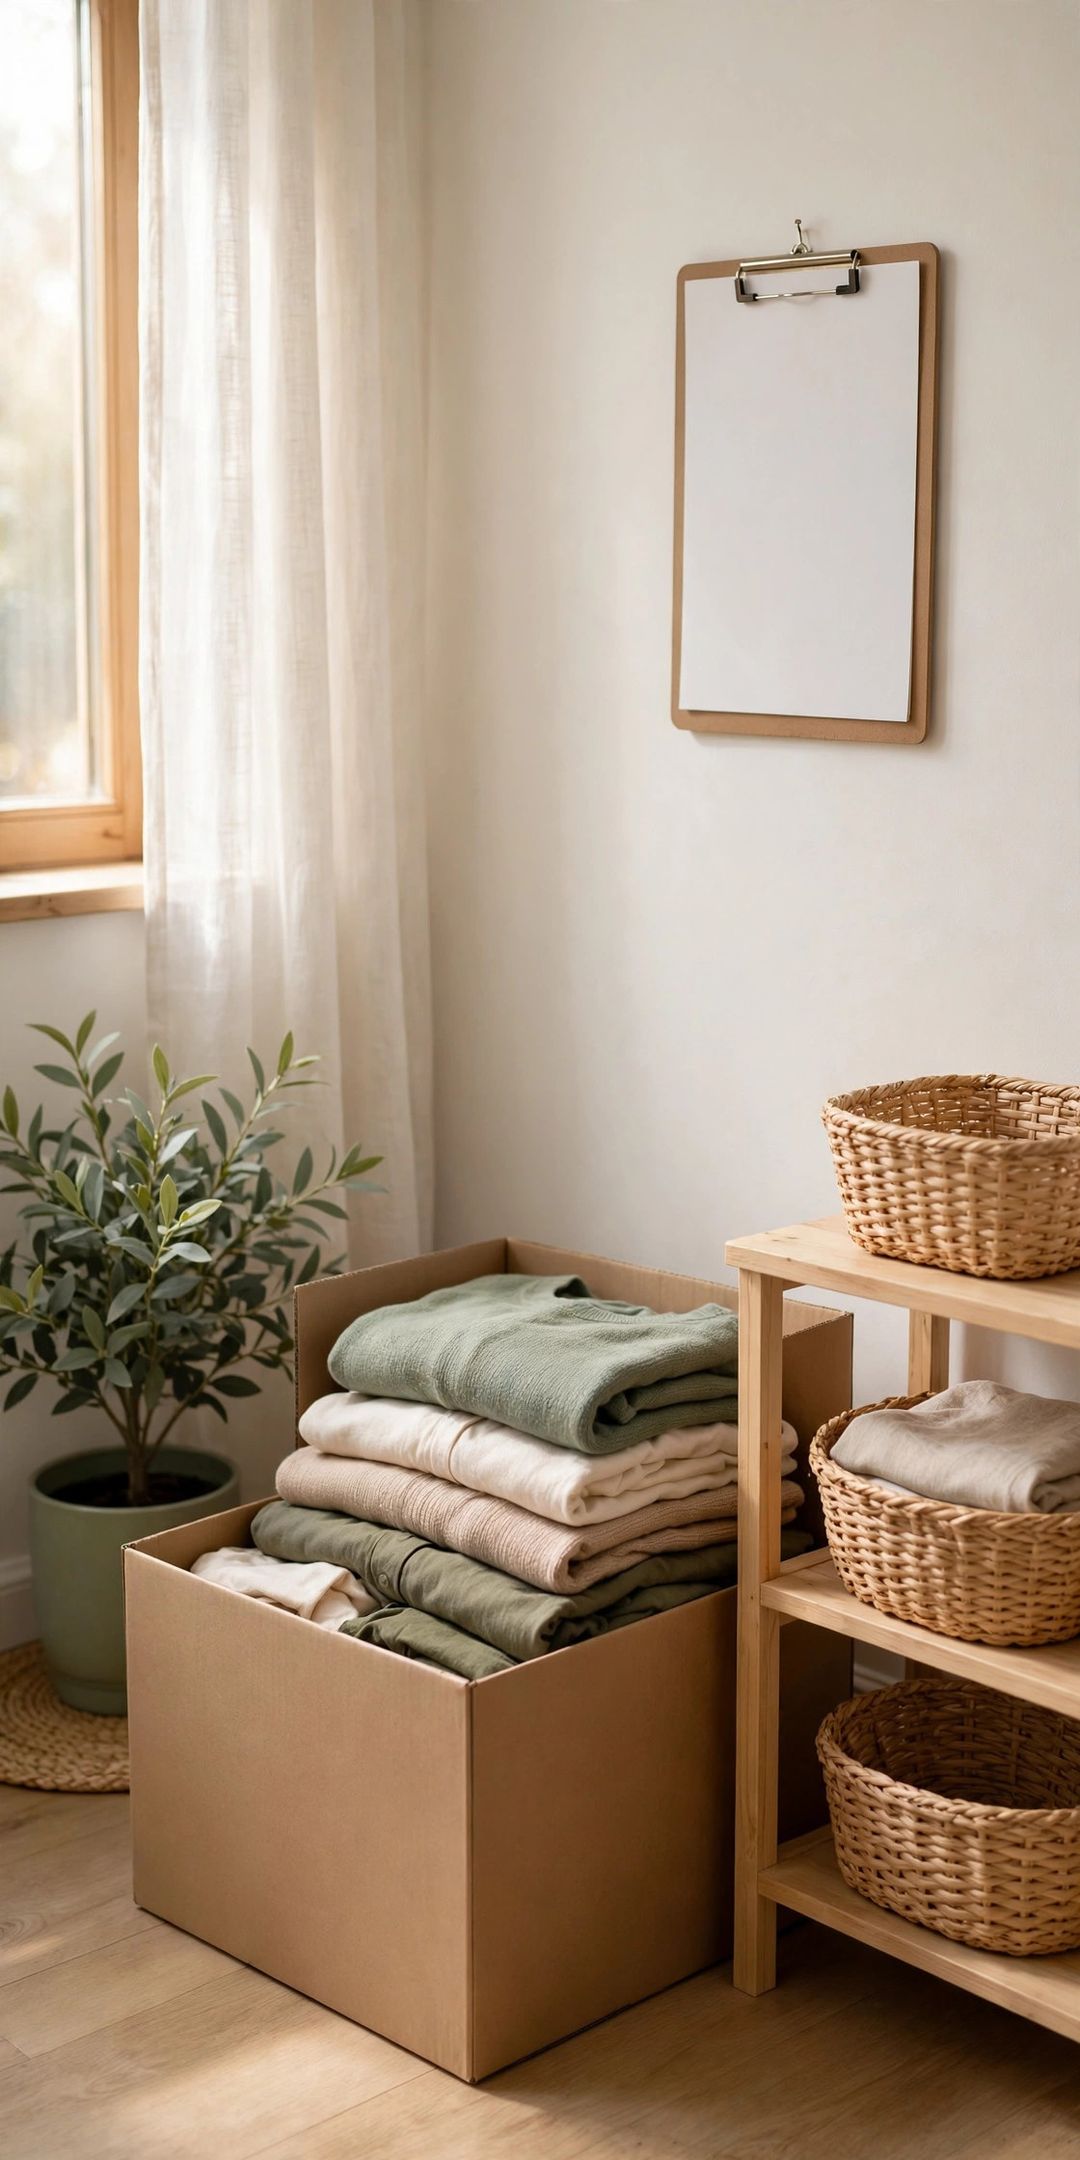
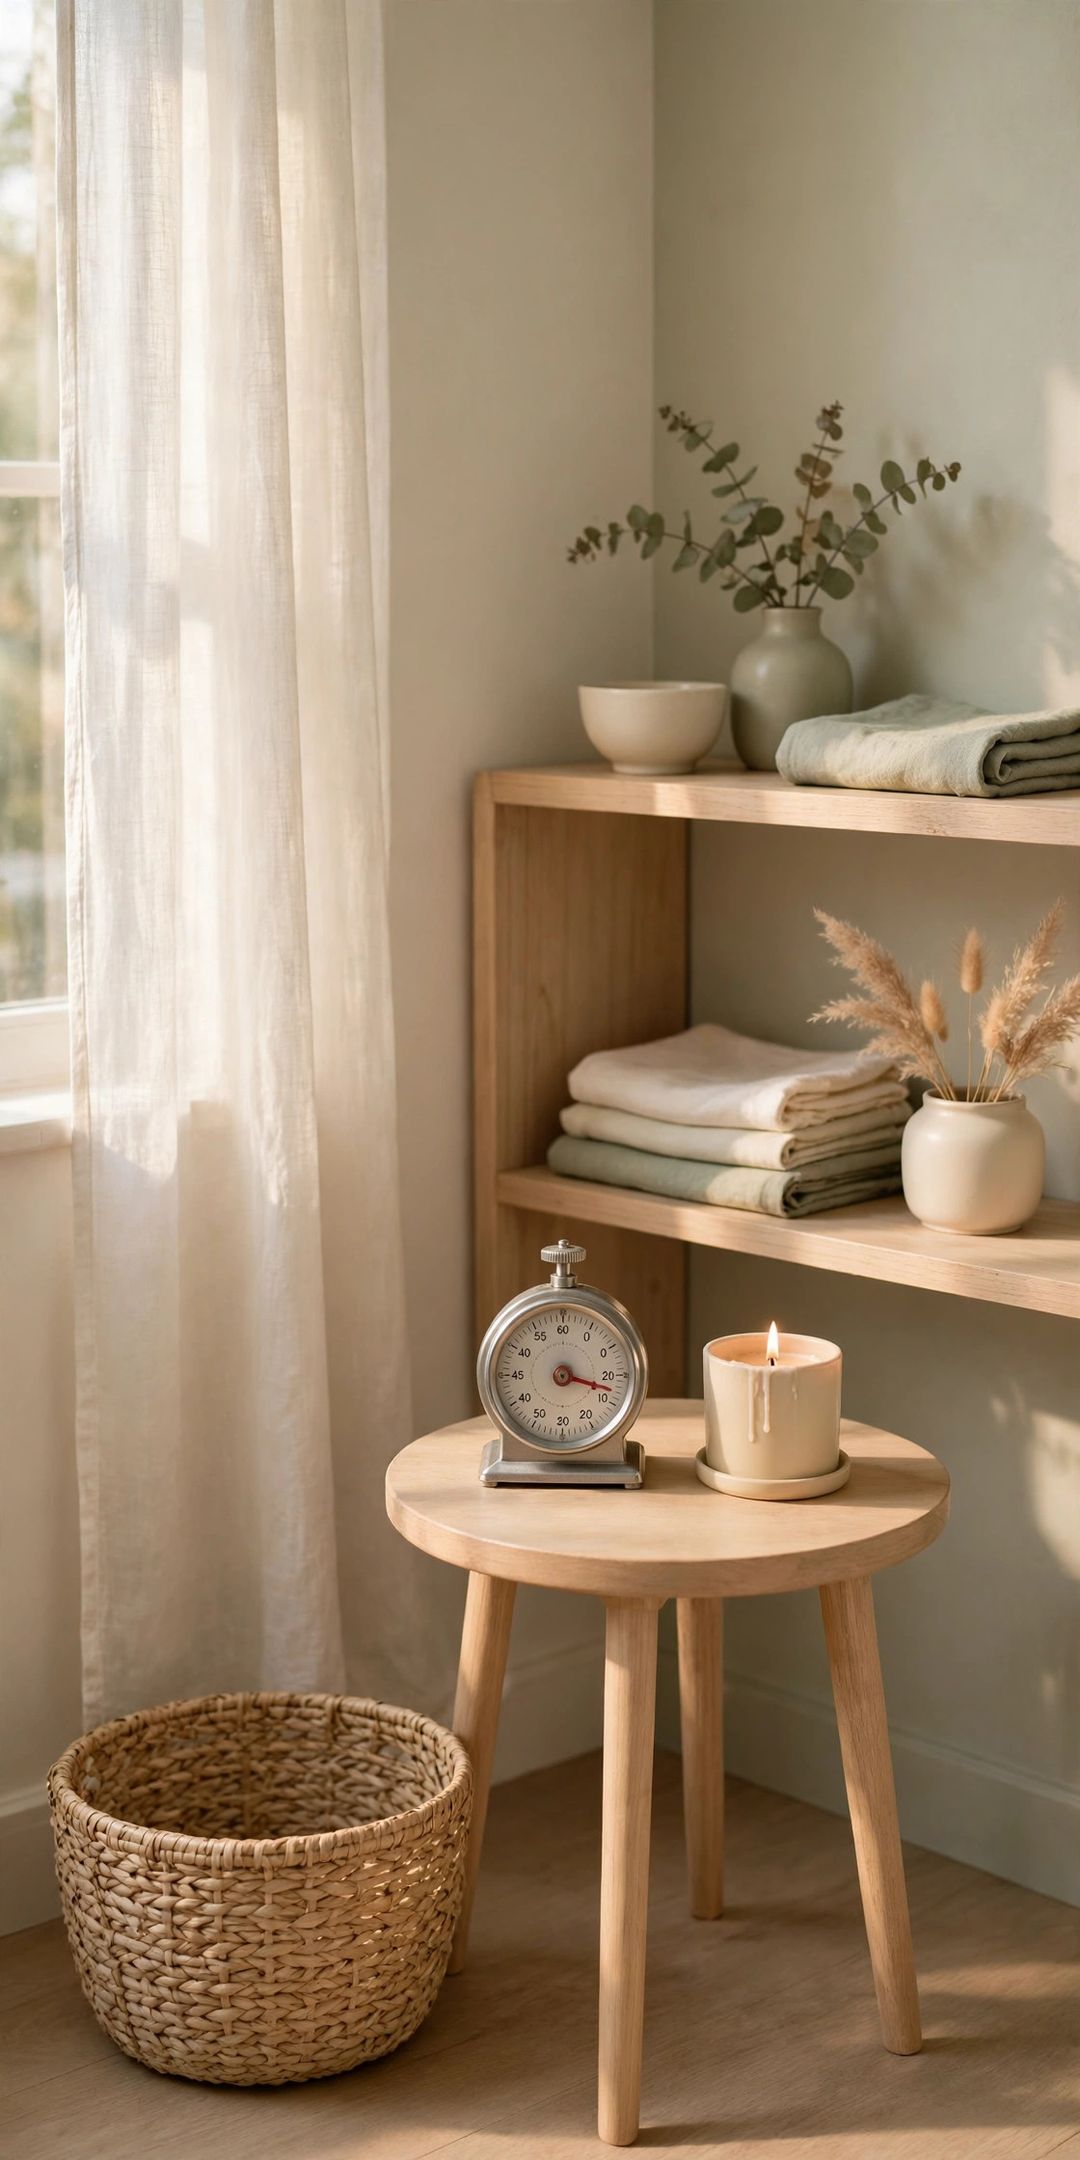
Work through the five zones below in order, or start with the worst one. Set a timer for 20 to 30 minutes per zone, and keep a trash bag, a recycling bag, and a donation box within reach the whole time.
Be strict but fair. If an item is chipped, expired, broken, or a duplicate of something better, it goes. When all 40 items are checked off, cooking, cleaning, and putting things away get much easier.
1. Cabinets
Cabinets hide the most extras. Pull everything off one shelf at a time, check each item against this list, and put back only what earns its place.
- Chipped mugs that catch your lip or no longer feel safe to drink from
- Cracked plates and bowls with sharp edges or deep stains
- Plastic food containers with no matching lid anywhere in the kitchen
- Stained or warped containers that still smell like old food
- Duplicate travel mugs beyond one per person, plus one spare
- Promotional cups and novelty glasses no one has used in a year
- Extra baking pans that duplicate a pan in better condition
- Vases, pitchers, or serving pieces saved for events that never happen
2. Drawers
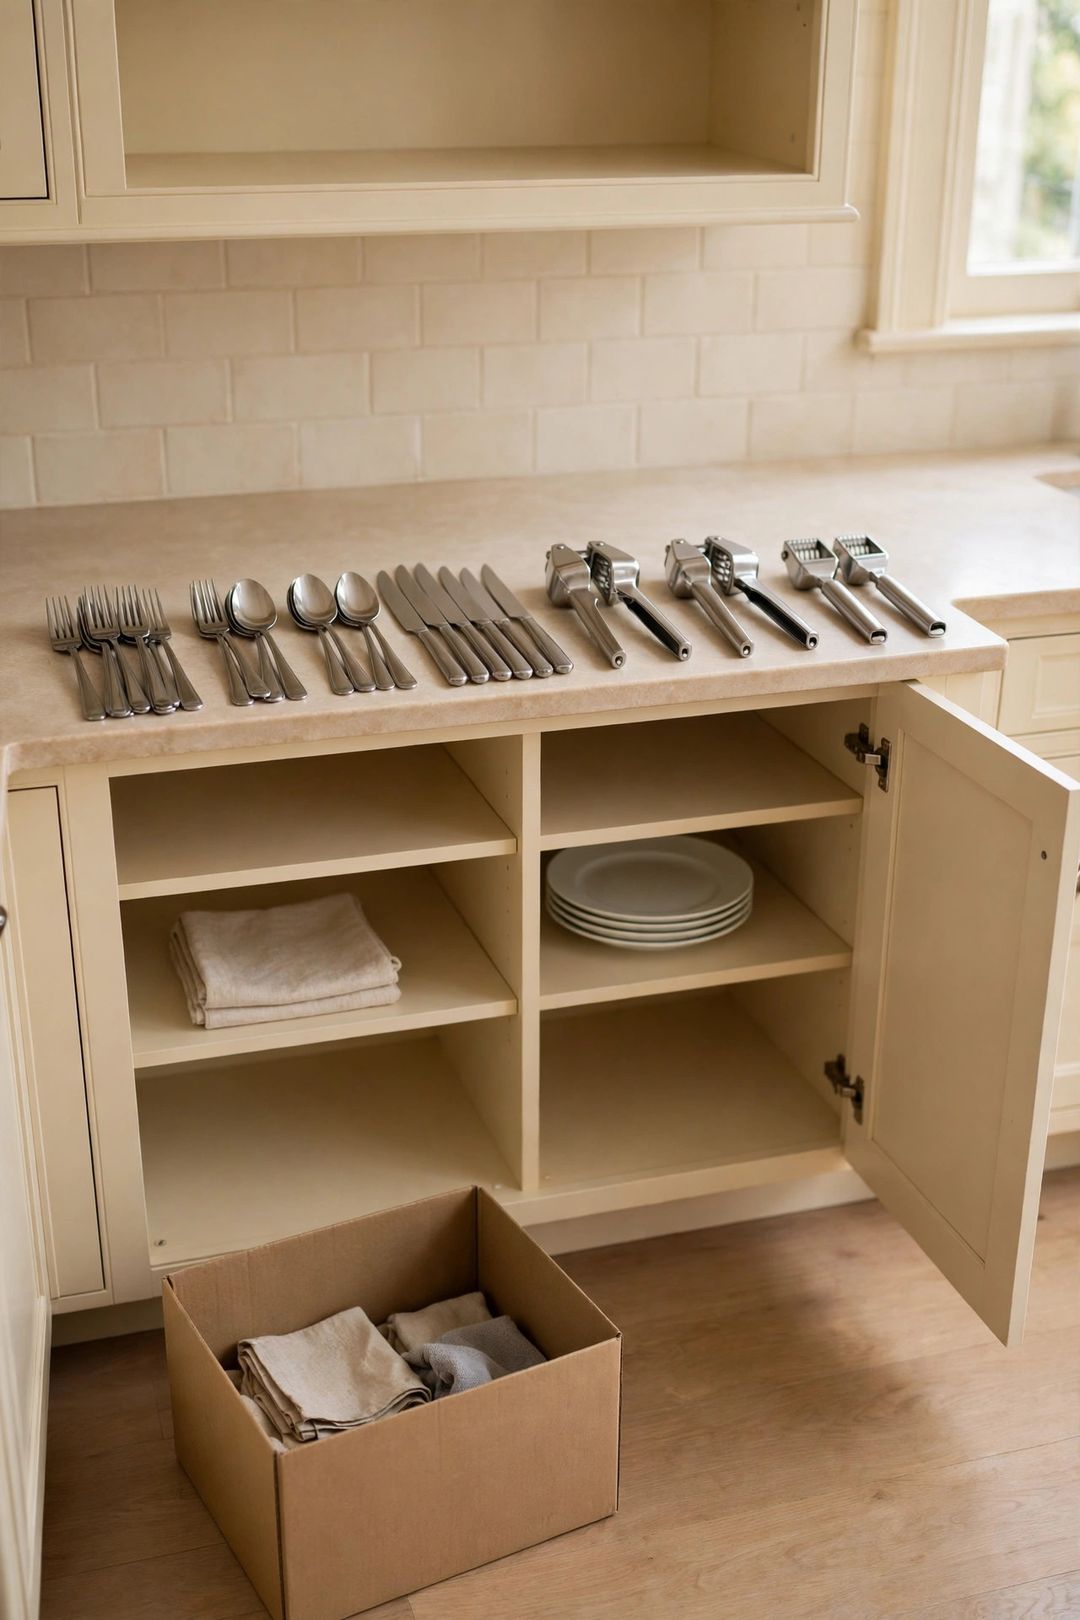
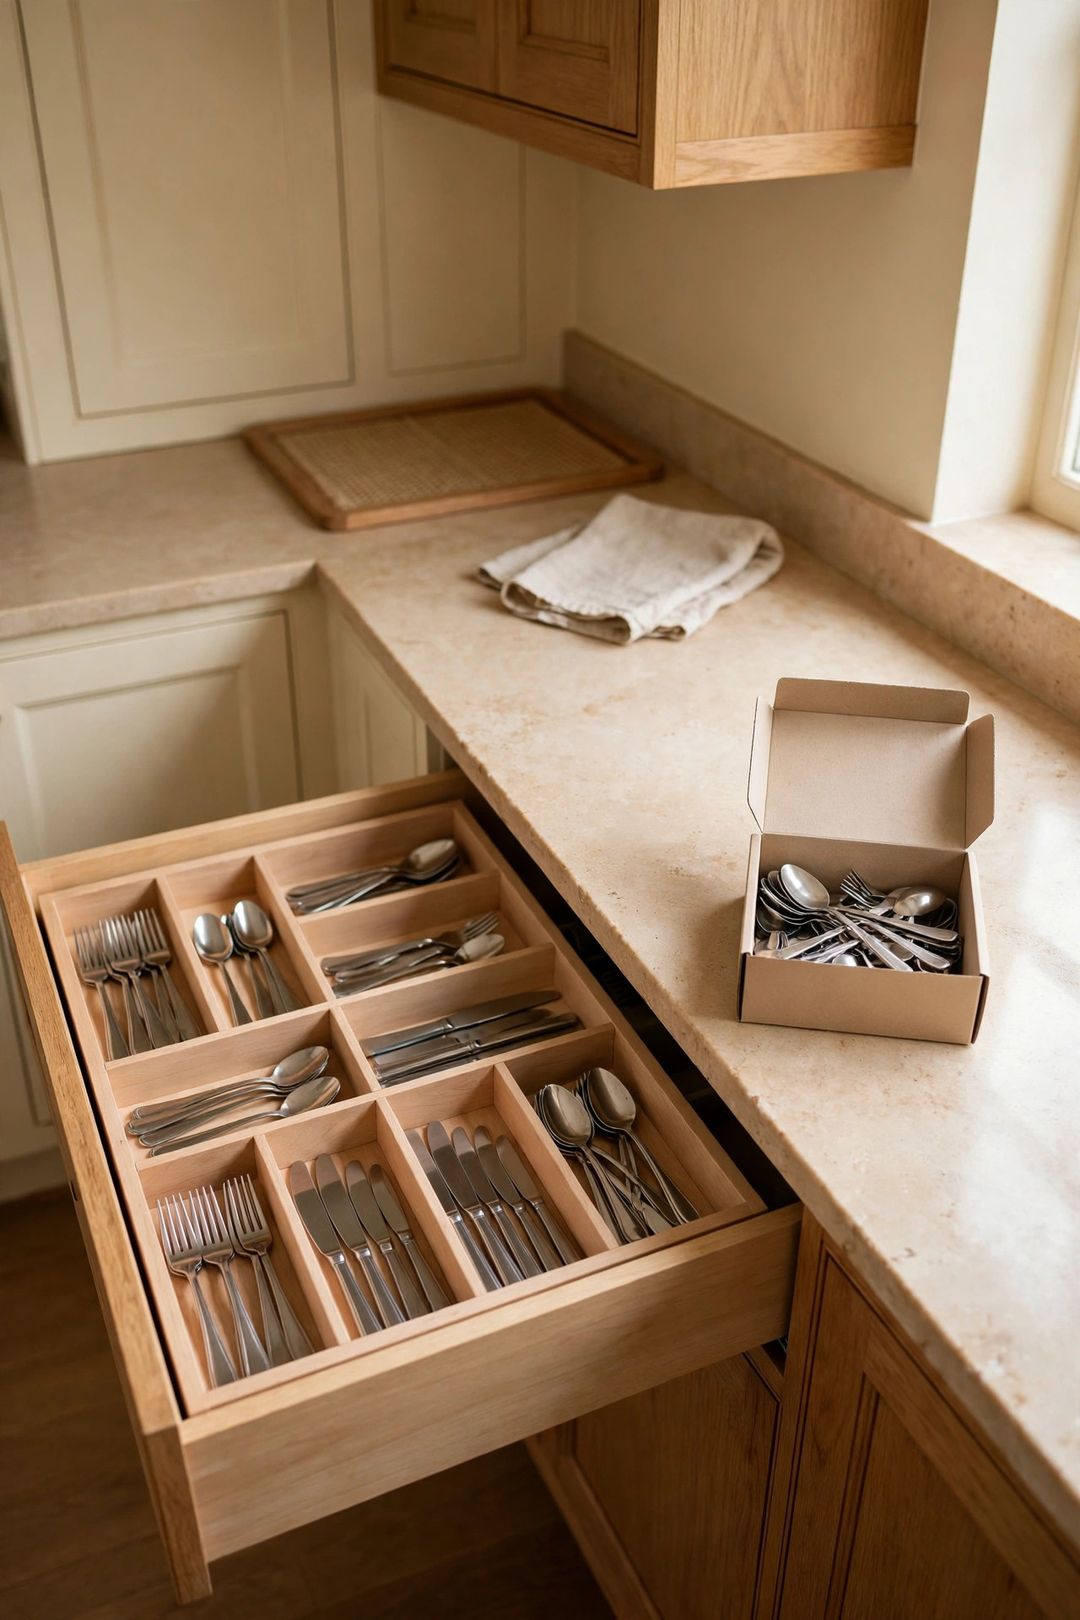
Drawers should open fully and close without a push. Lay the contents on the counter, test anything broken, and keep only the best version of each tool.
- Duplicate spatulas, spoons, and turners when one good set is enough
- Single-use gadgets, like an egg slicer or avocado tool, used once
- Bent, rusted, or melted utensils that no longer work well
- Knives that are dull, damaged, or duplicates of a better knife
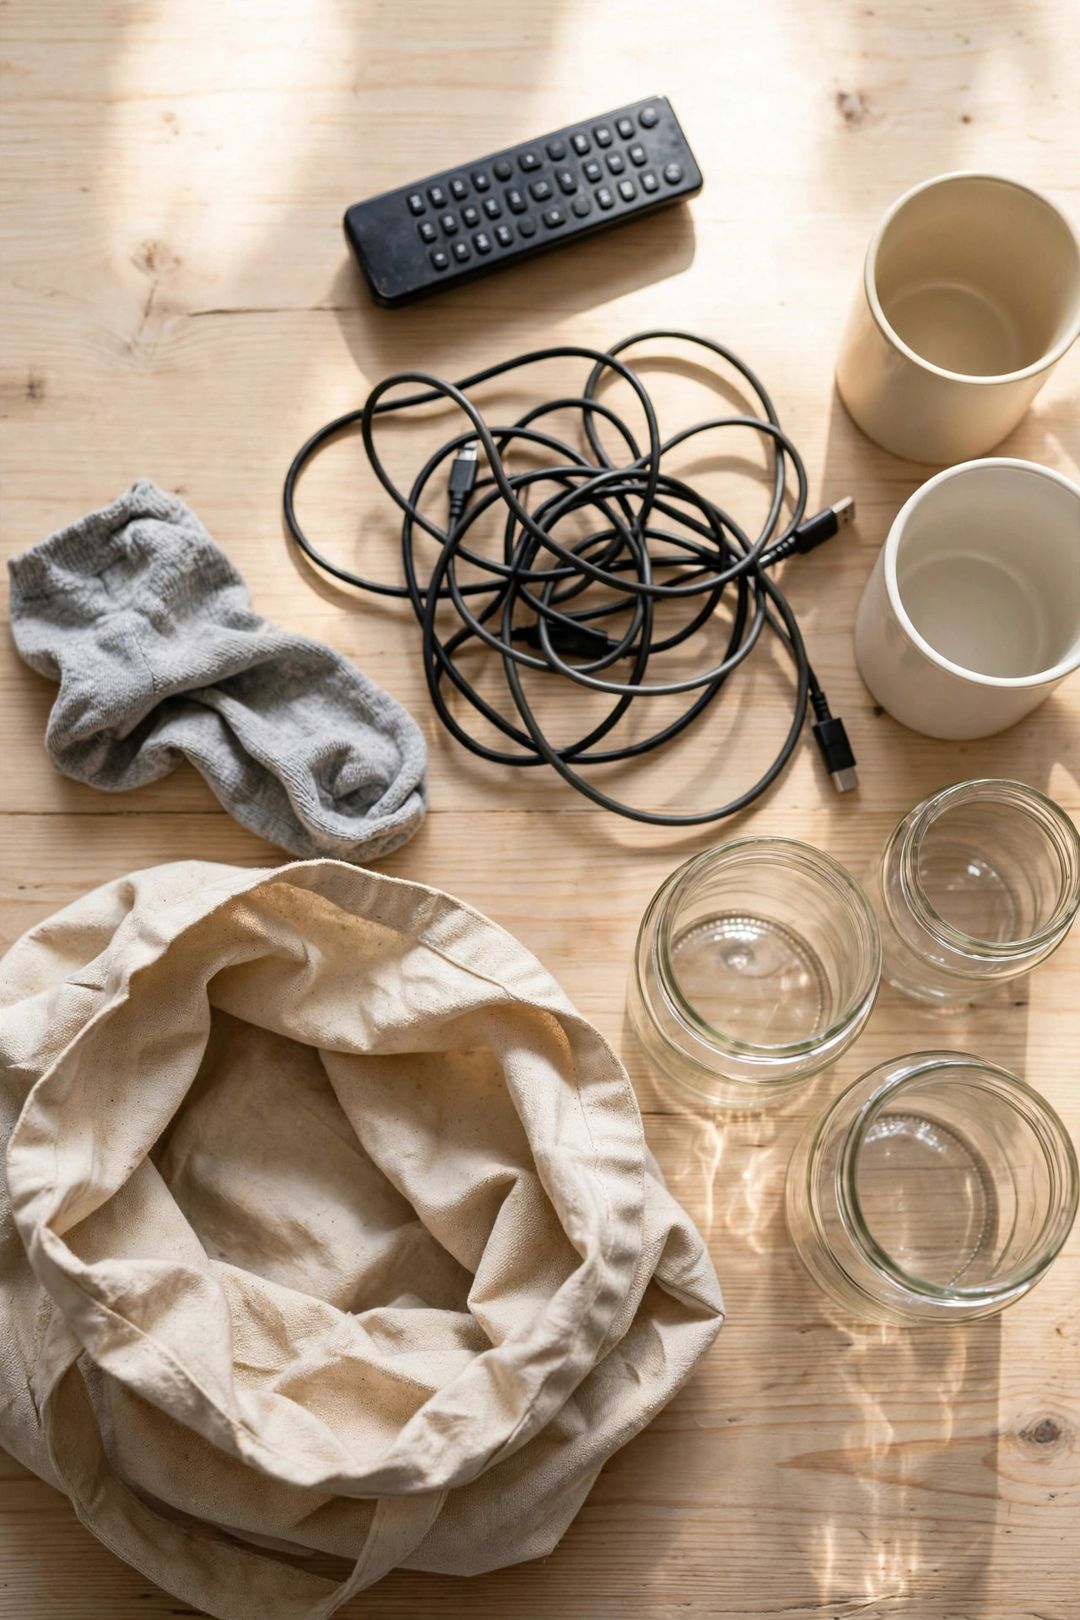
- Dead batteries, dried-out pens, and chargers for devices you no longer own
- Takeout menus, coupons, and manuals that are expired or found online
- Loose twist ties, rubber bands, and packet sauce piles with no plan
- Mystery keys, screws, and parts that belong to nothing in the home
3. Countertops
Counters are work space, not storage. Keep only daily tools out, and give everything below a cabinet home, a new spot, or an exit.
- Small appliances not used in the last month, like a waffle maker
- Mail, school papers, and receipts that belong in a paper system
- Cookbooks never opened, beyond two or three true favorites
- Decorative jars and canisters that sit empty and collect dust
- Extra fruit bowls, trays, or stands that crowd the work area
- Cleaning sprays and bottles that belong under the sink instead
- Phone chargers and cords that tangle across the counter edge
- Near-empty bottles and jars kept for a last spoonful that never comes
4. Fridge & Freezer
Empty one shelf at a time so food stays cold. Check dates, smell anything unclear, and toss without debate when the date or look is off.
- Leftovers more than four days old or with no date written on them
- Expired sauces, dressings, and condiments hiding in the door shelves
- Duplicate open jars of the same food, combined or tossed
- Wilted herbs, limp produce, and fruit that is past eating
- Freezer-burned meat and meals covered in thick ice crystals
- Frozen items with no label and no memory of what they are
- Old ice packs and freezer blocks that leak or no longer freeze flat
- Single ice cream tubs and treat boxes holding one last spoonful
5. Pantry Shelves
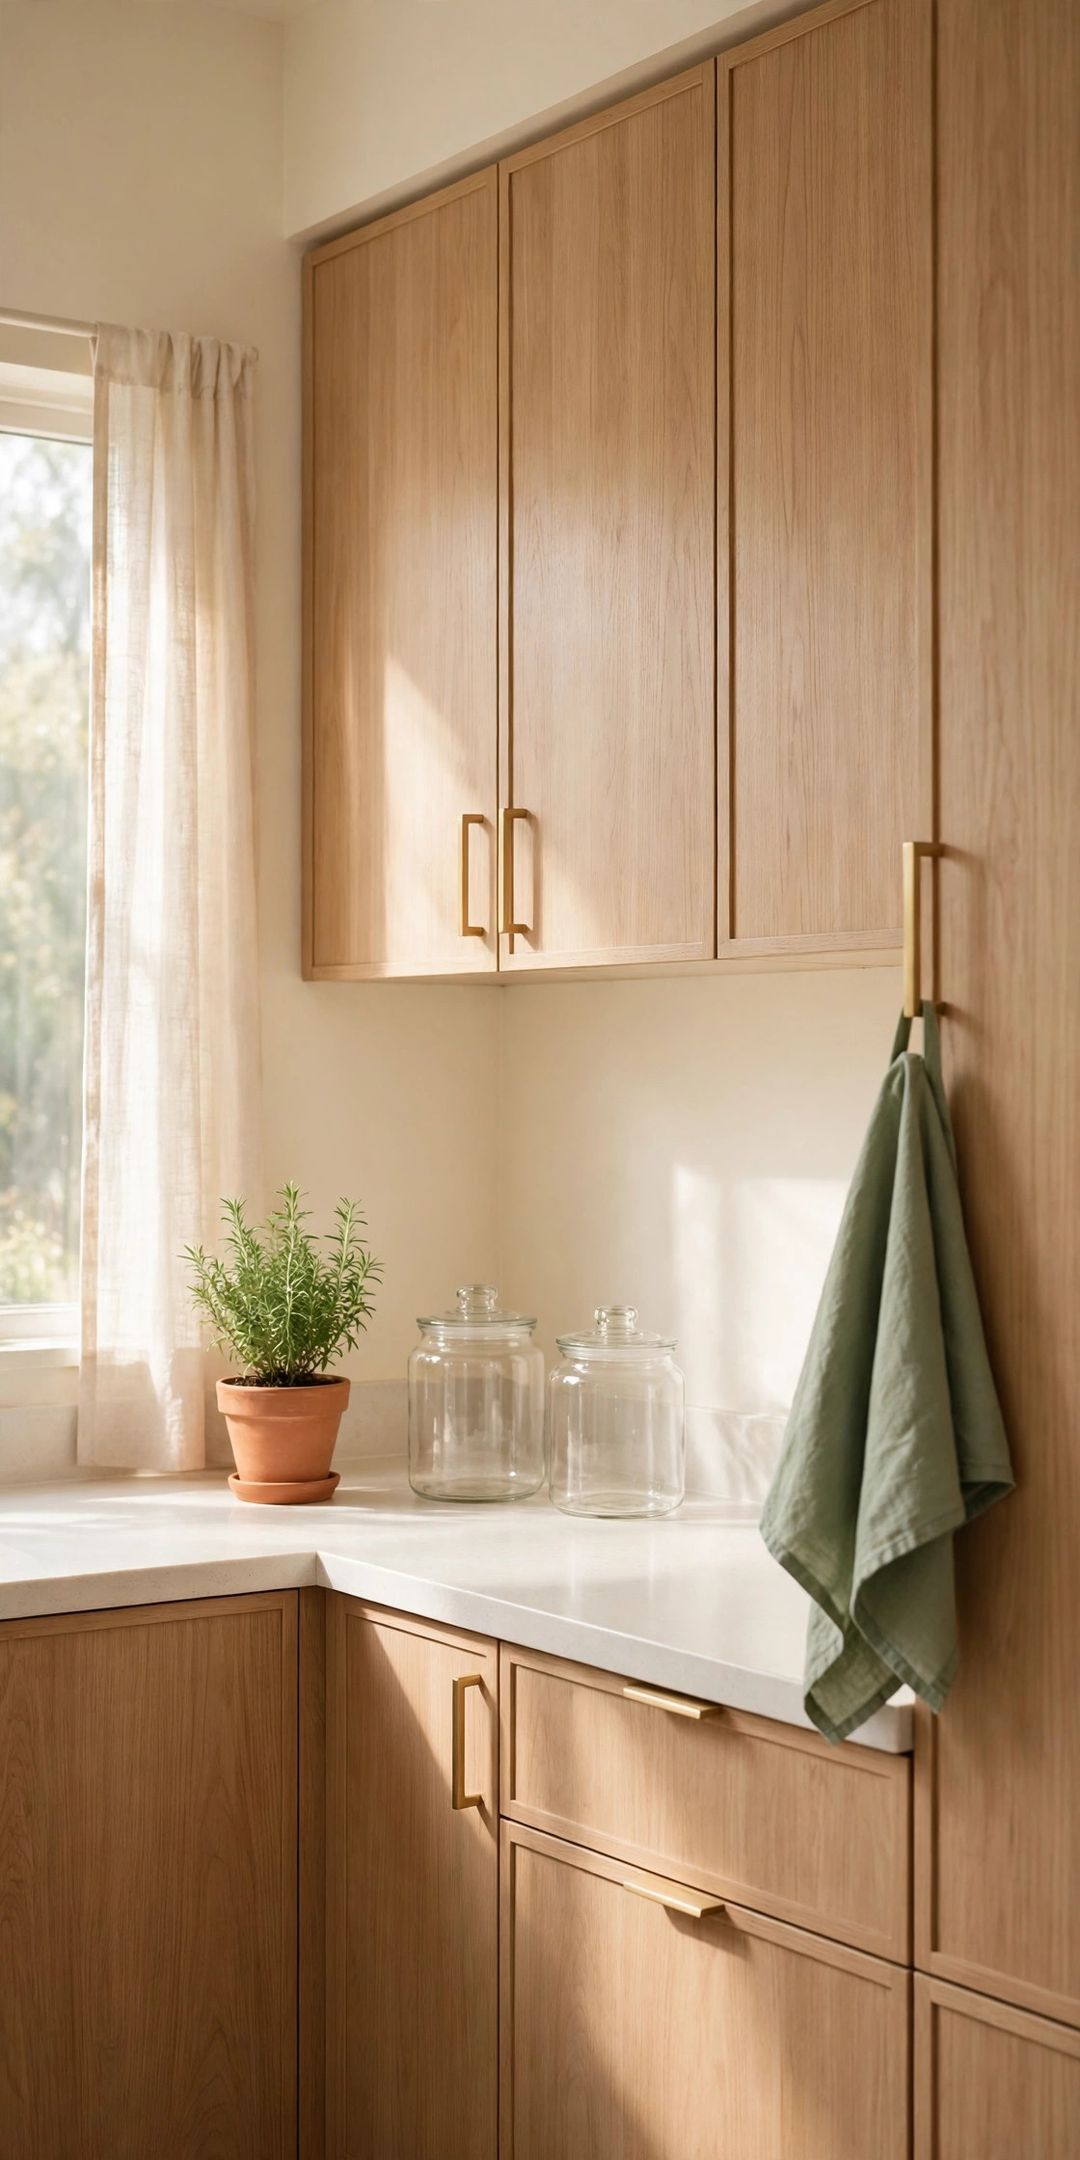
Pantry clutter hides as good intentions. Group food by type as it goes back, oldest in front, so the next shop is based on what is really there.
- Expired spices and dried herbs that have lost their smell and color
- Stale crackers, chips, and cereal from bags left open too long
- Canned goods past their date or with dented, bulging cans
- Baking supplies, like old baking powder, that no longer work
- Duplicate open bags of flour, sugar, rice, or pasta
- Specialty ingredients bought for one recipe and never used again
- Tea, coffee, or drink mixes no one in the home actually likes
- Paper goods and lunch supplies stocked far beyond a month of use
What to Buy
Heavy-duty trash bags, typically $10–$16. Pro: they hold broken and heavy items without tearing during the sort. Con: large bags get heavy fast when filled with jars. Skip if: standard kitchen bags are already stocked and sturdy.
Clear donation bags, typically $8–$14. Pro: sorted donations stay separate from trash and can go straight to the car. Con: clear bags tear on sharp pan edges. Skip if: a sturdy box already serves as a donation station.
Adhesive labels and a marker, typically $6–$12. Pro: pantry groups and container dates stay clear after the reset. Con: labels can peel in the freezer over time. Skip if: masking tape and a pen are already on hand.
Small personal shredder, typically $30–$50. Pro: old menus, receipts, and counter paper with account details can go safely. Con: it takes counter or cabinet space in a small kitchen. Skip if: paper clutter is never kept in the kitchen.
Mistakes to Avoid
- Emptying every cabinet at once. One shelf or drawer at a time keeps the kitchen usable and the job finishable.
- Keeping a duplicate just in case. A second worn tool rarely gets used when a better one sits beside it.
- Skipping date checks. Expired spices, sauces, and baking supplies take space and can ruin a meal.
- Buying organizers first. Sort and count what stays before choosing bins, risers, or drawer dividers.
- Letting donation bags sit. Bags left by the door for weeks tend to drift back into cabinets.
Frequently Asked Questions
How long does this kitchen declutter take?
Most kitchens take 2 to 3 hours split across the five zones. One zone per day also works well. A timer of 20 to 30 minutes per zone keeps the pace steady without rushing decisions.
What should I do with the items I remove?
Trash expired food and broken items. Recycle glass, cans, and clear plastic where local rules allow it. Donate clean, working tools, mugs, and pans the same week so they leave the home for good.
How many mugs, plates, and containers are enough?
A useful guide is daily use plus guests. For many homes, that means 6 to 8 mugs, a plate and bowl per person plus spares, and 8 to 10 containers with lids that match.
How often should I repeat the checklist?
Run the fridge and pantry zones monthly, since dates change fast. Cabinets, drawers, and counters hold up well with a full pass every 3 to 4 months, or when drawers start to jam again.
Save this checklist to your kitchen board on Pinterest before you start, then check off each zone as you finish it. A clear counter at the end is the best reason to keep going.