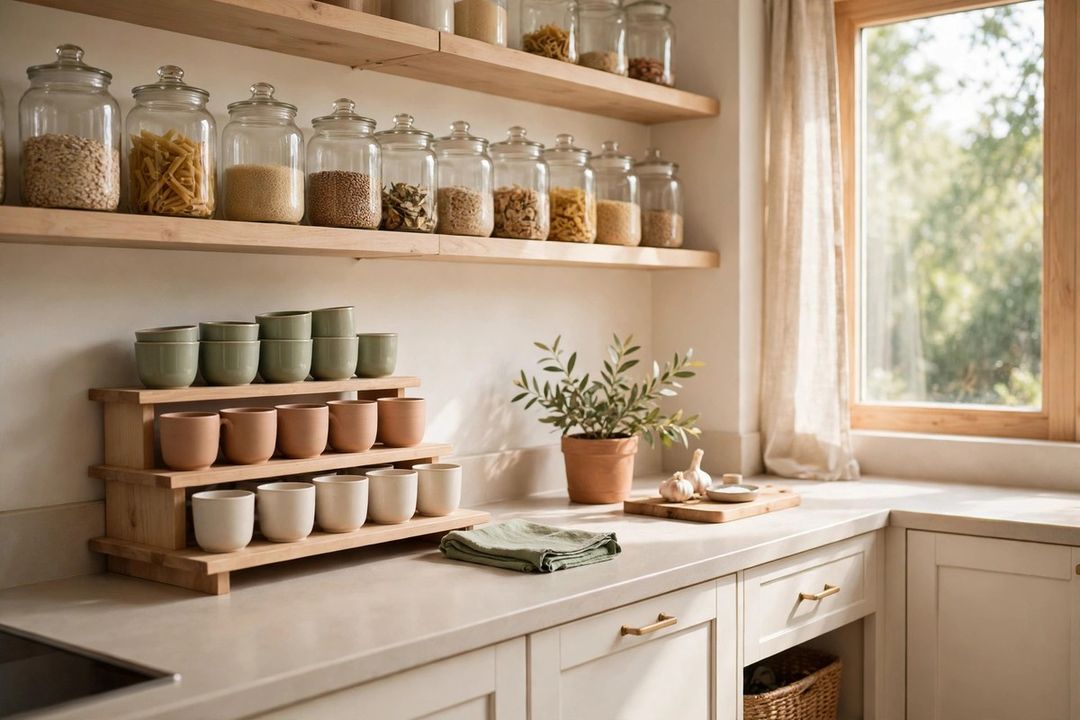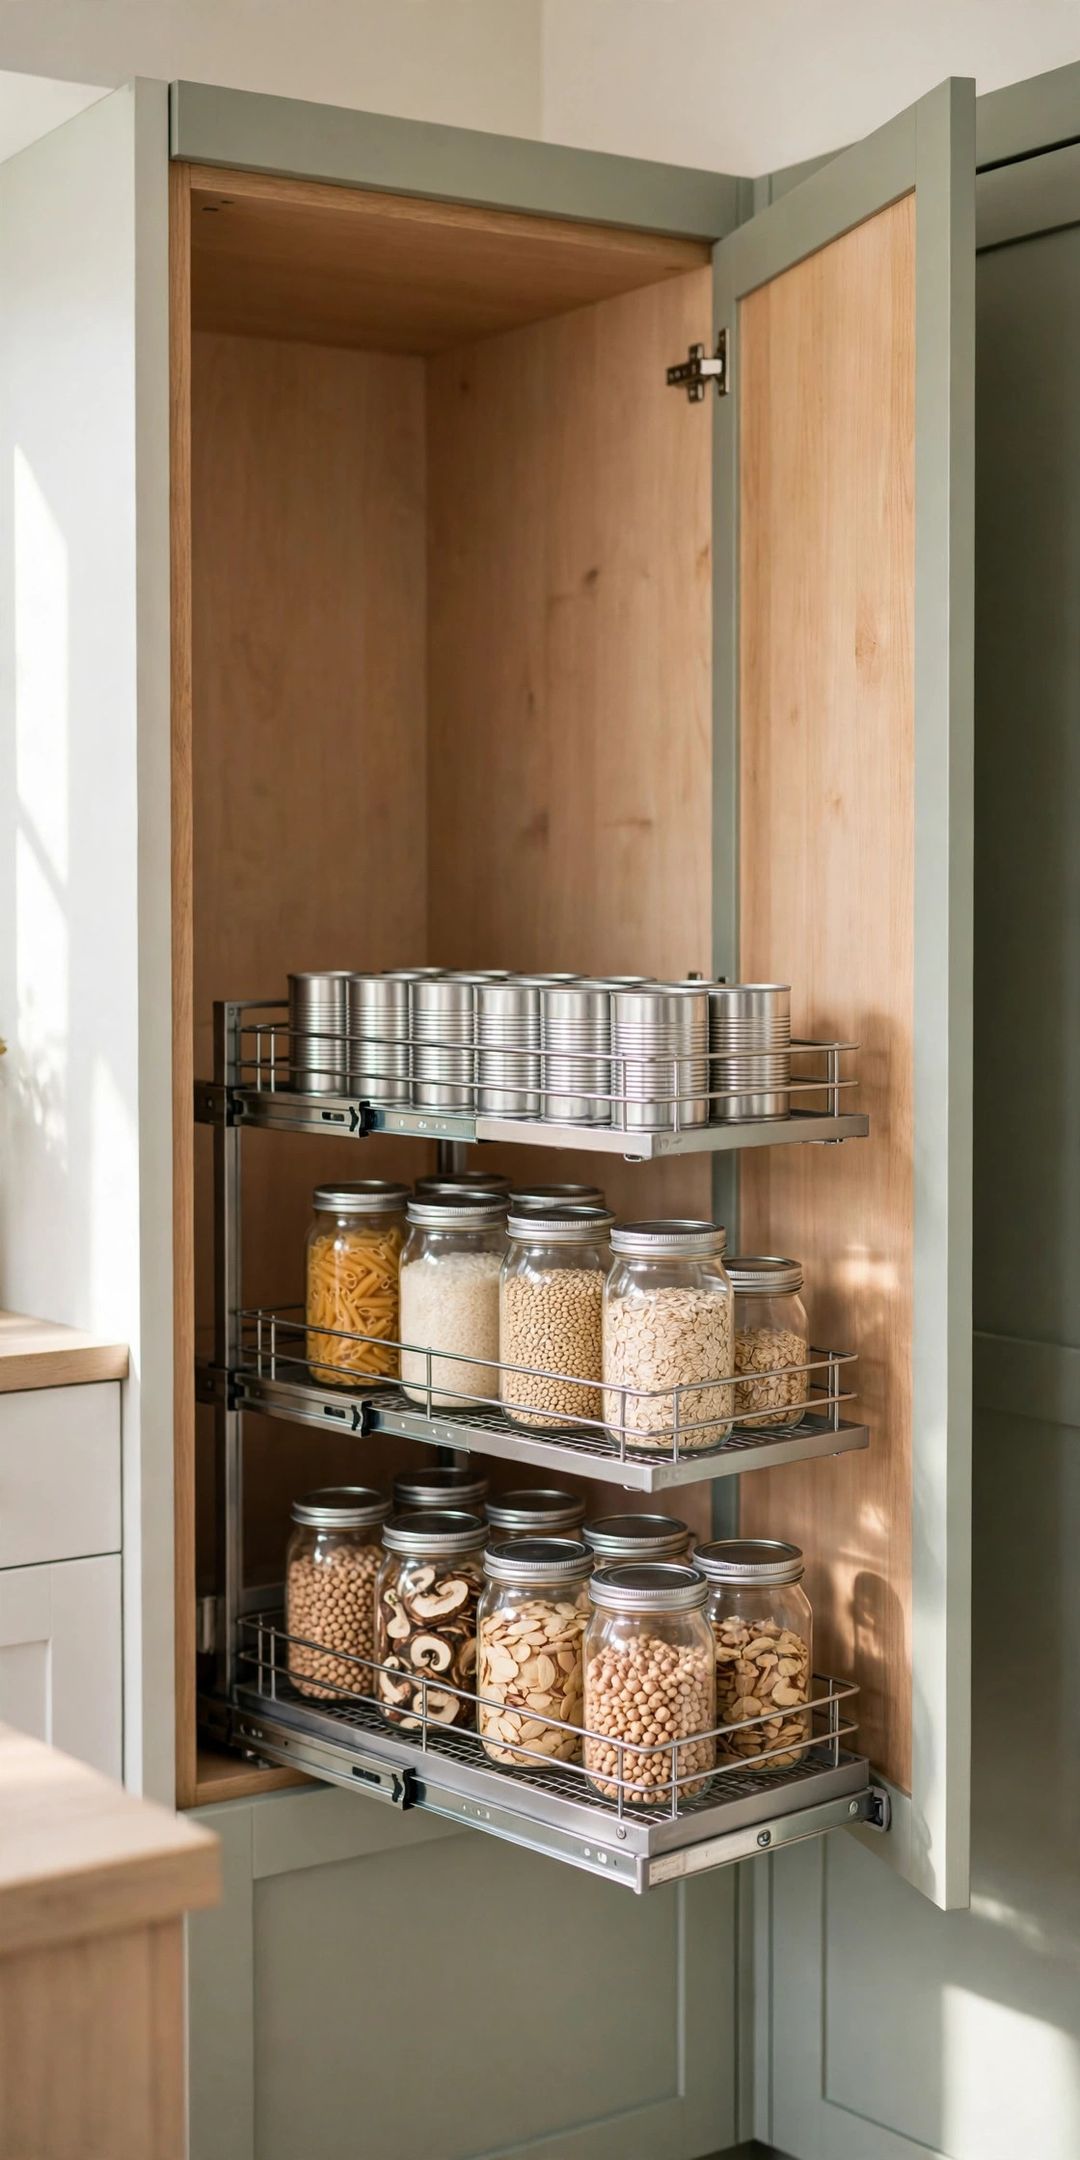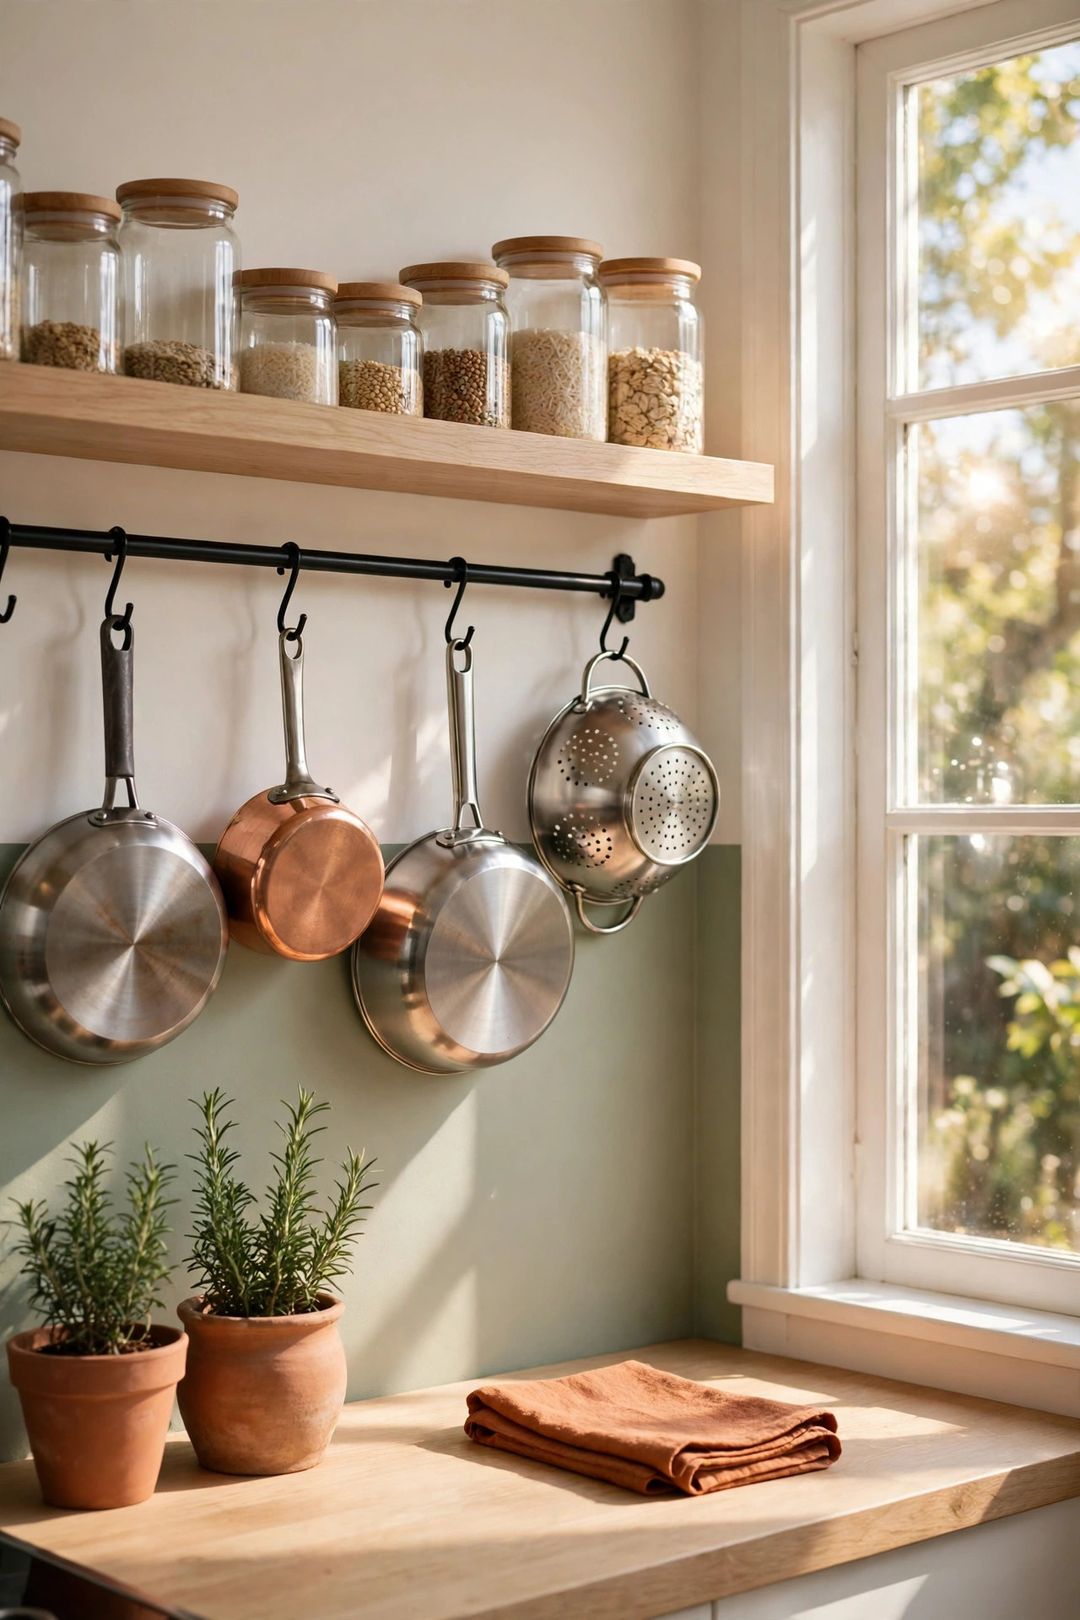
Mornings move fast, and lunch packing often gets rushed last. A dedicated station changes that. Good lunch packing station organization puts food, containers, and bags in one small area, so packing takes minutes instead of a full kitchen search.
A station does not need a big kitchen. One fridge shelf, one dry-goods bin, and one drawer section can hold the whole system. Every lunch item gets a home, and every home is easy to reach.
The 10 ideas below build the station zone by zone: fridge, dry goods, containers, and a short night-before routine.
The Fridge Zone
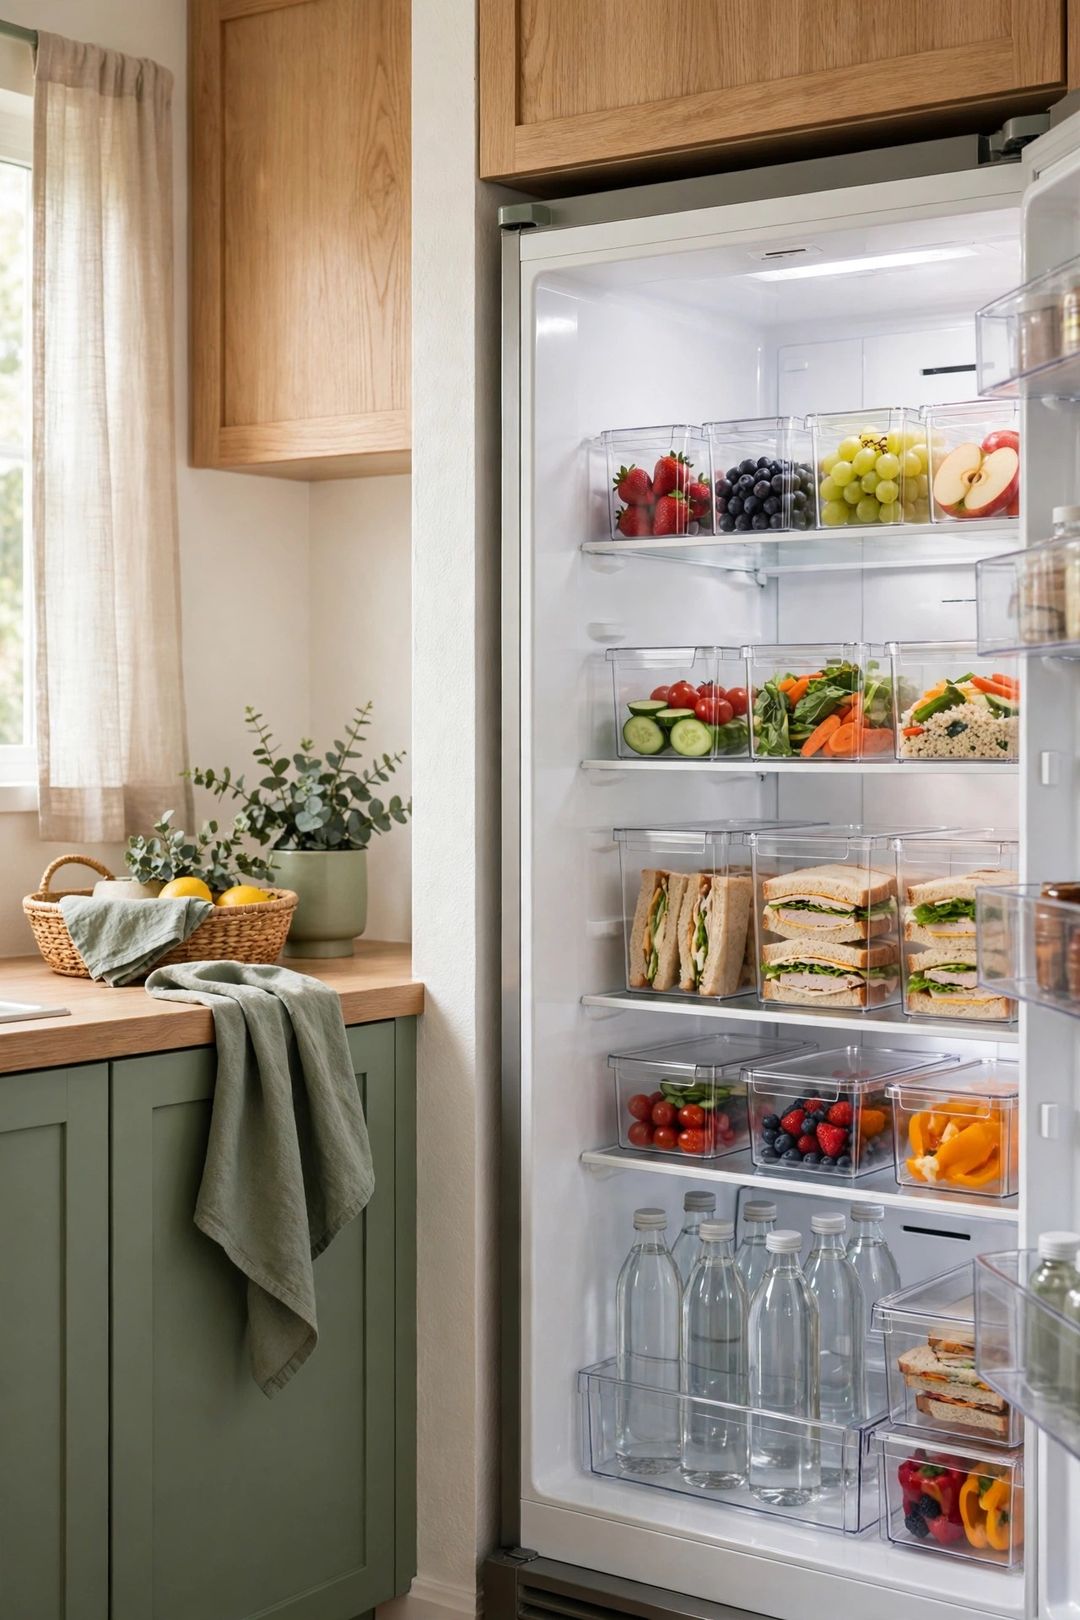
1. Fridge Bin for Grab-and-Go Proteins. Fill one clear bin with single-serve proteins such as cheese sticks, yogurt cups, and hard-boiled eggs. Clear sides keep every item visible, so older items get used first. Check package dates often. The limit is space: a small bin refilled twice a week beats a large bin that crowds the shelf. Typically $8–$15.
2. Washed and Portioned Produce Bin. Wash sturdy produce such as carrots, grapes, and cherry tomatoes, then portion the produce into small containers. A second bin next to the protein bin makes produce an easy grab. Soft fruit bruises fast, so add delicate items fresh in the morning. Follow normal fridge rules and use washed produce within a few days. Typically $6–$12.
3. Freezer Sandwich and Smoothie Stash. Keep a small freezer section for make-ahead sandwiches and smoothie packs, such as fruit portioned in freezer bags. Label each bag with contents and date, and use items within the time on ingredient packages and standard freezer guidance. The drawback is texture and space: some fillings freeze poorly, and a small freezer fills fast. Keep about one week of items. Free beyond bags on hand.
The Dry-Goods Zone
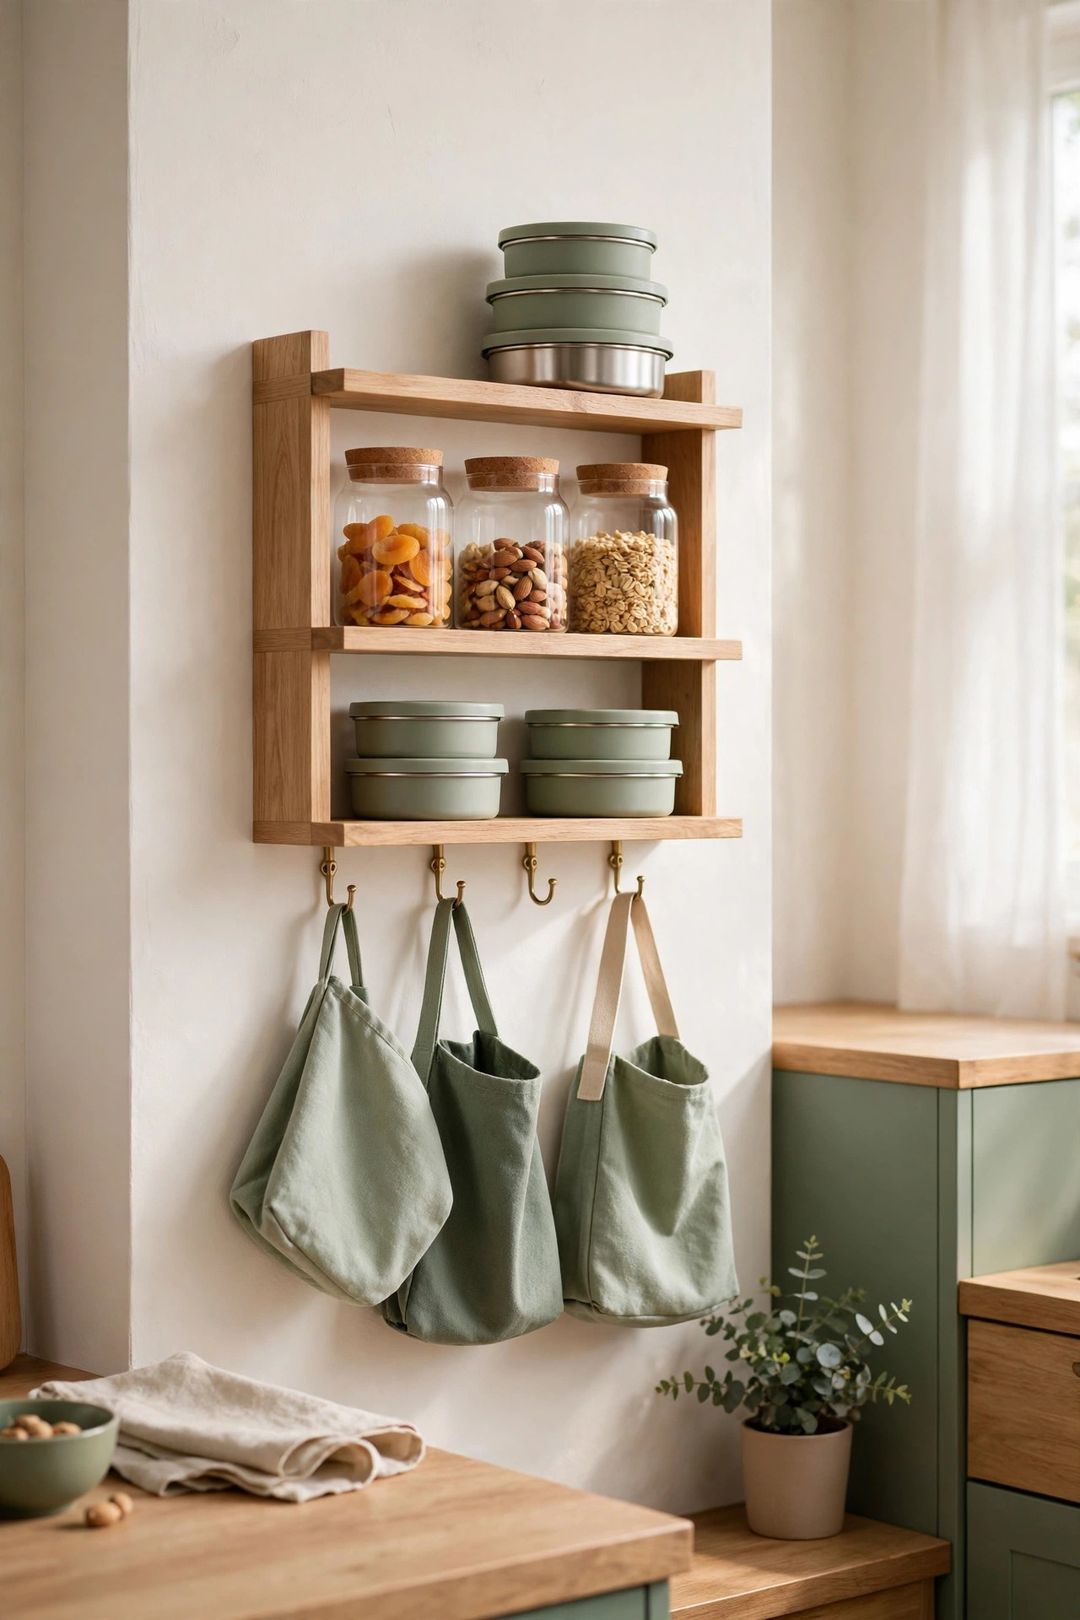
4. Dry Bin With Bars and Crackers Near the Boxes. Set a pantry bin right beside the lunchboxes and stock it with bars, crackers, pretzels, and dried fruit. The bin shows exactly what is on hand, so no daily decision is needed. Rotate stock and check dates at restock. Too many choices slow kids down, so three or four options are enough. Typically $7–$14.
5. Low Shelf for Kids and High Shelf for Adults. Put kid-safe snacks on a low shelf children can reach, and keep bulk refills and sharp tools up high. Picture labels help young kids find the right shelf fast. Kids can help pack while adults keep control of stock. The trade-off is space: low shelves fill fast, so keep only daily items low. Free, and takes about 10 minutes.
Containers, Bottles & Bags
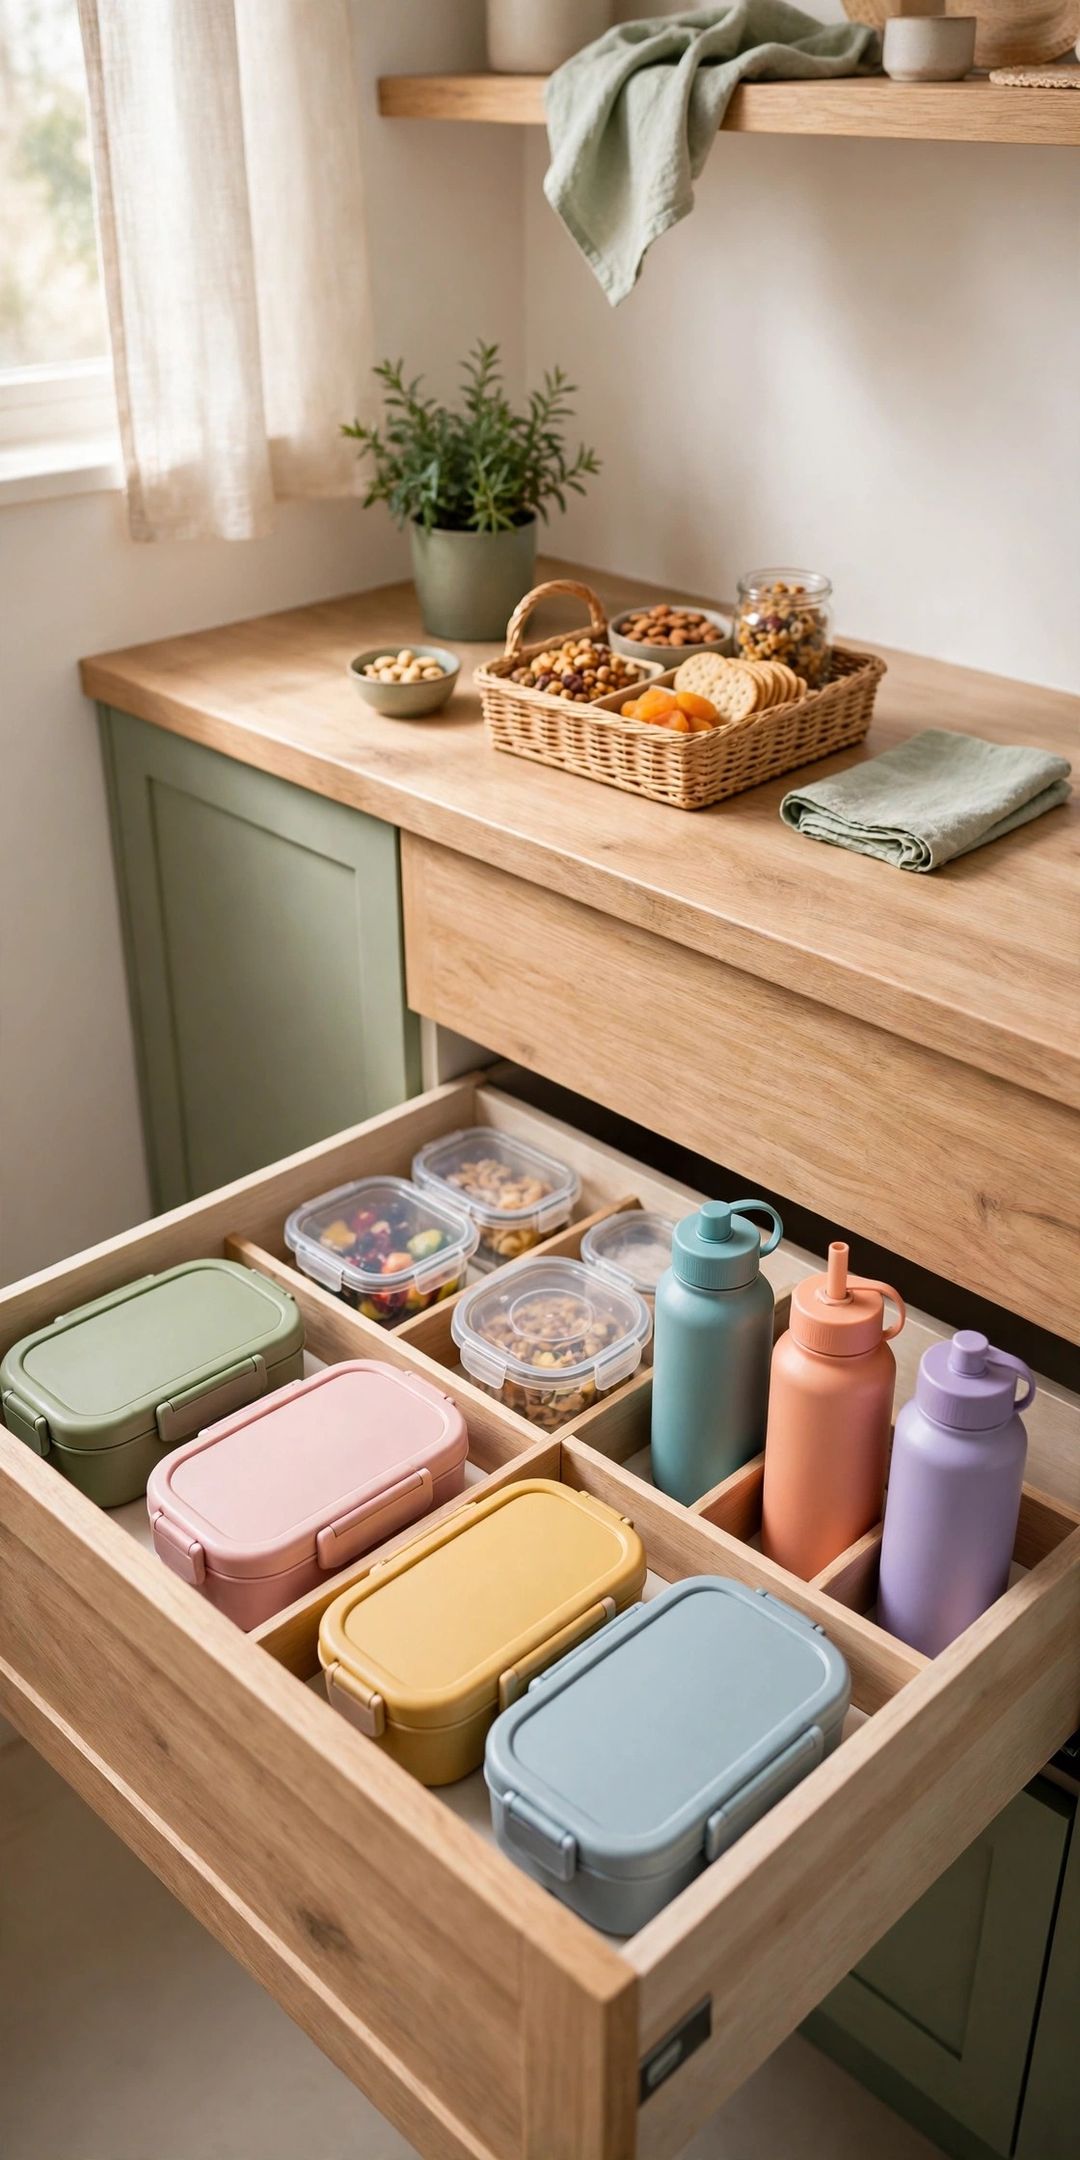
6. Matched Containers With Lids Stored Nested Together. Choose one container set with a single lid style. Store bases nested in a stack and lids upright in a narrow slot beside the stack. One lid style ends the morning hunt for a match. Six to eight containers in two sizes cover most lunches. The drawback is the swap: old mixed containers need a new home. Typically $15–$30.
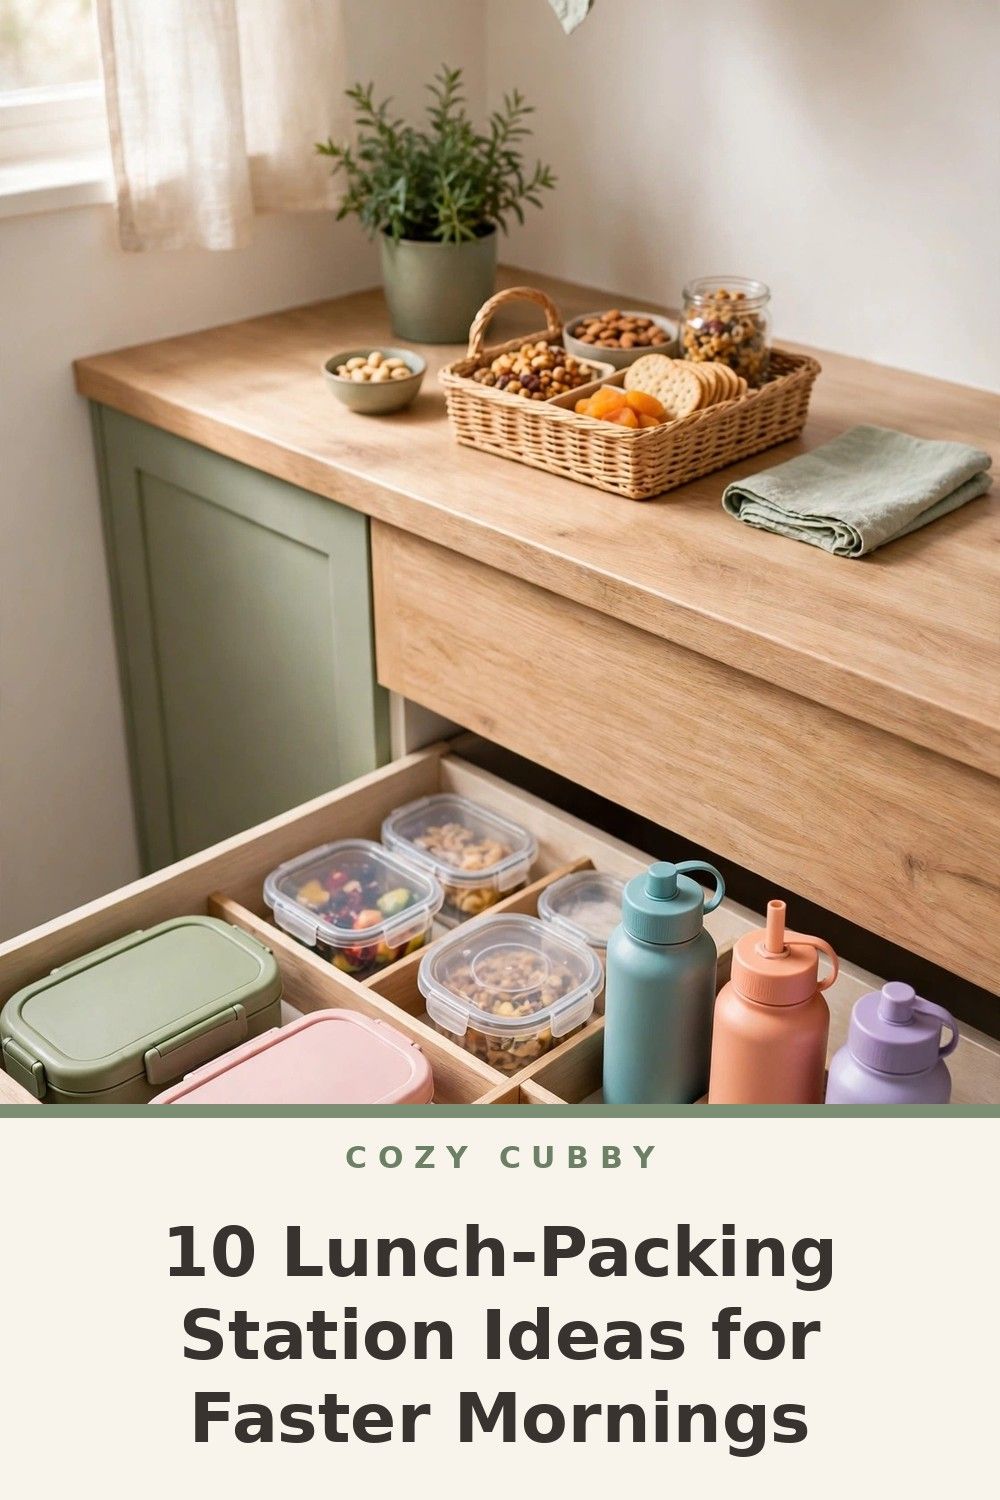
7. Bottles, Bags, and Utensils in One Spot. Give water bottles, reusable bags, napkins, and forks one drawer, bin, or cabinet section next to the containers. Store bottles upright with caps off once fully dry to help prevent stale smells. Keep only bottles in active use here, about one per person plus a spare. Tall bottles may need a cabinet instead of a drawer. Typically $5–$10 for a divider.
8. Lunchbox Parking Spot With Ice Packs on a Freezer Routine. Pick one parking spot for empty lunchboxes, such as a low shelf or a hook by the door. After school or work, lunchboxes go to that spot and ice packs go straight back to the freezer, stored flat. Cold packs stay frozen and ready each morning. The drawback is habit: the routine takes about two weeks of reminders. Typically $6–$12 for slim ice packs.
The Night-Before System
9. Door-Side List or Whiteboard for Requests. Hang a small whiteboard on the fridge door or inside a cabinet door near the station. Family members write lunch requests and low-stock notes there during the day. Night packing then follows the list, with no guessing. Wipe the board clean each Sunday. The limit is follow-through: the board only helps if notes land there before packing time. Typically $5–$10.
10. Sunday 15-Minute Restock Reset and Night-Before Pack. Spend 15 minutes on Sunday to refill bins, check dates, wash bottles, and confirm ice packs are in the freezer. Then pack what food safety allows the night before: dry items in lunchboxes, fridge items grouped and ready to drop in. Perishable food still needs fridge storage overnight and an ice pack in the morning. Free, and calmer than a rushed scramble.
What to Buy
Clear fridge bins, typically $8–$15. Pro: clear sides show stock at a glance and stop items hiding at the back. Con: deep bins waste shelf height, so measure first.
Matched container set with one lid style, typically $15–$30. Pro: one lid style saves time daily and stacks neatly. Skip this if current containers already share lids.
Slim ice packs, typically $6–$12. Pro: slim packs fit small lunchboxes and freeze flat. Con: small packs thaw faster on long, hot days, so a larger pack suits long commutes.
Small whiteboard with marker, typically $5–$10. Pro: requests and low-stock notes stay in plain sight. Skip this if a phone list already works well.
Mistakes to Avoid
- Scattering lunch items across the kitchen. Snacks, containers, and bags in three spots turn packing into a daily scavenger hunt.
- Ignoring package dates and fridge rules. Portioned food still expires, so check dates at each restock and keep perishable food cold.
- Buying bins before measuring. A bin that is too tall or deep wastes more space than it saves.
- Stocking too many choices. Ten snack options slow decisions down. Three or four steady favorites keep mornings fast.
- Skipping the ice pack routine. Packs left in lunchboxes all evening will not be frozen by morning.
Frequently Asked Questions
How much space does a lunch packing station need?
Very little. One fridge shelf, one pantry bin, and one drawer section cover the full system. A single rolling cart near the fridge also works for small kitchens.
What foods are safe to pack the night before?
Dry foods such as crackers and bars pack well the night before. Perishable foods belong in the fridge overnight, in sealed containers, then into the lunchbox with an ice pack in the morning. Always follow package dates and fridge rules.
How can kids help without slowing mornings down?
Place kid-safe items on a low shelf and let kids pick one item from each bin. Clear bins and short lists keep choices fast, and night-before packing does most of the work early.
How often should the station be restocked?
A 15-minute restock once a week covers most households, plus a quick midweek top-up of fresh produce. Move older items to the front at each restock.
A small station with clear zones turns lunch packing into a short, calm routine. Save this post to your lunch prep board on Pinterest so the setup is easy to find on the next busy week.