Meal prep saves time during the week, but only if you can find what you made. When containers stack in random shapes and freezer bags pile up without labels, dinner becomes a search instead of a shortcut.
This meal prep container and freezer storage system covers the full workflow for a small kitchen: matching containers, sensible portions, flat-freezing, freezer zones, labels, and rotation. Each of the eleven systems below handles one step, so you can adopt the whole routine or start with the part that causes the most trouble.
Set aside an hour for the first setup, working from the fridge to the freezer. After that, the routine runs on small habits: label as you fill, freeze flat where it helps, and pull the oldest meal first.
1. Standardize on One Container Shape
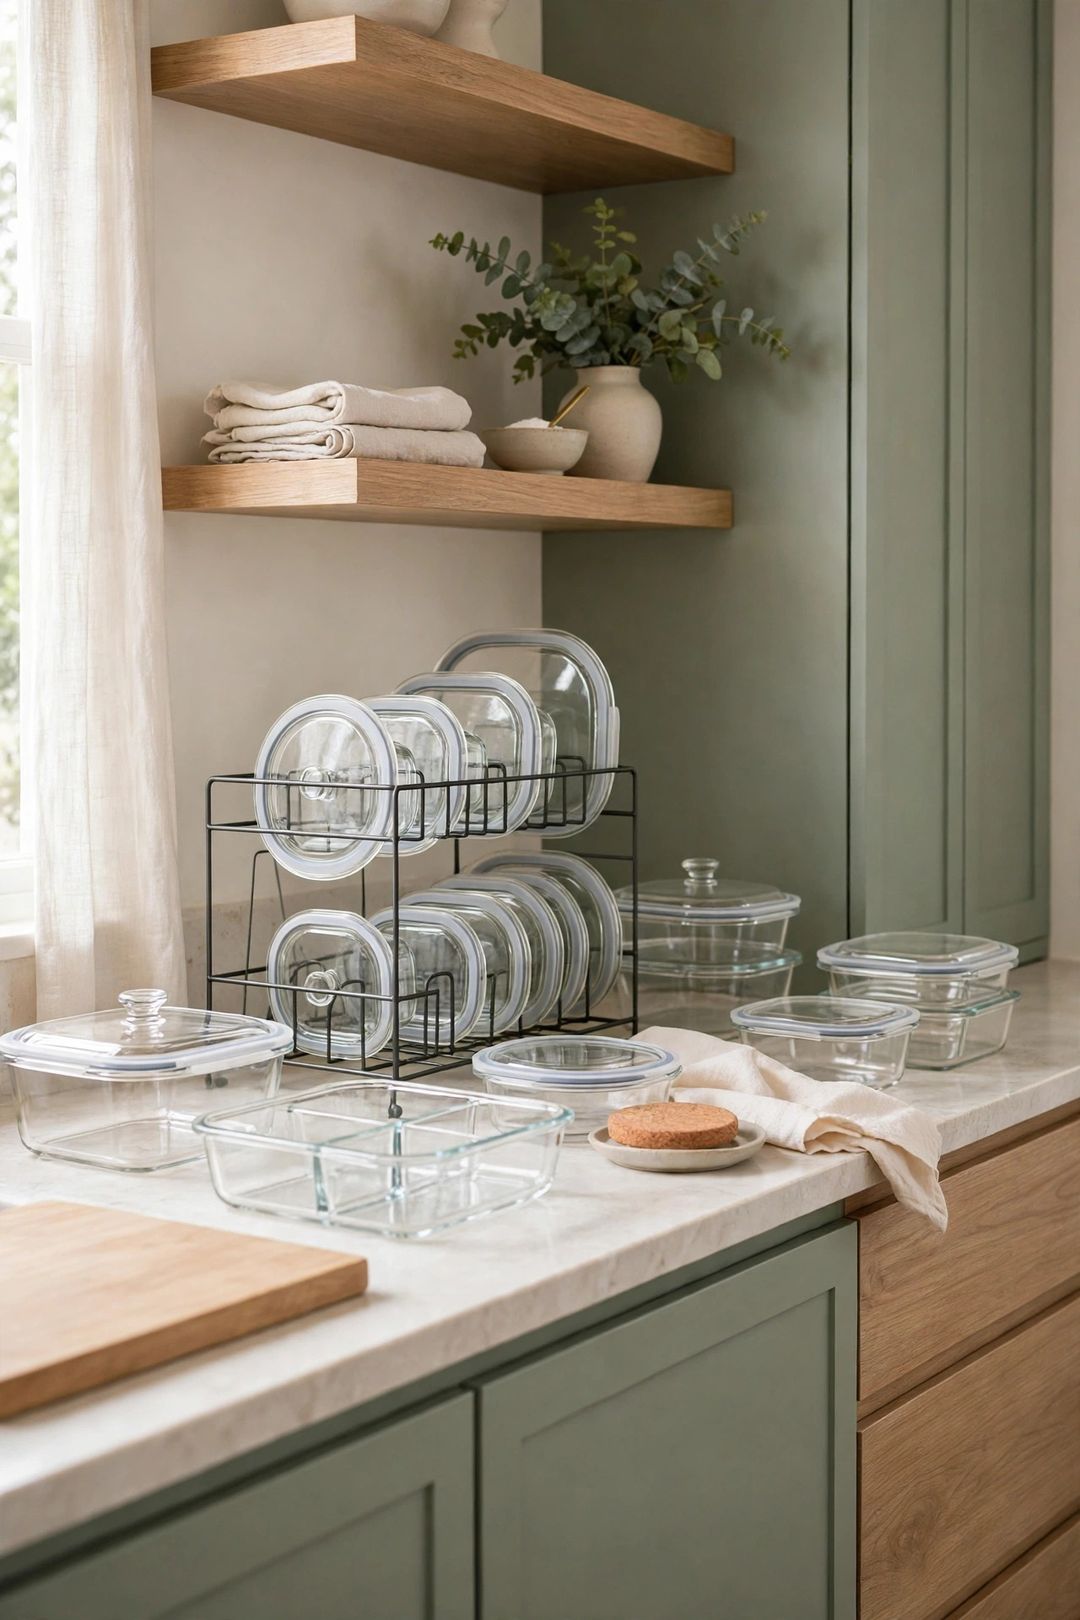
Pick one rectangular shape in two or three sizes. Matching containers stack neatly, share lids, and fit the fridge without wasted gaps. Keep lids in a single upright bin beside the containers so a missing lid never delays packing.
2. Portion Meals Before You Store Them
Divide food into single-meal portions at prep time. Portioning now means you thaw only what you need later, and each container holds a complete meal instead of a large batch that must be divided again. Use the same size for similar meals so portions stay consistent.
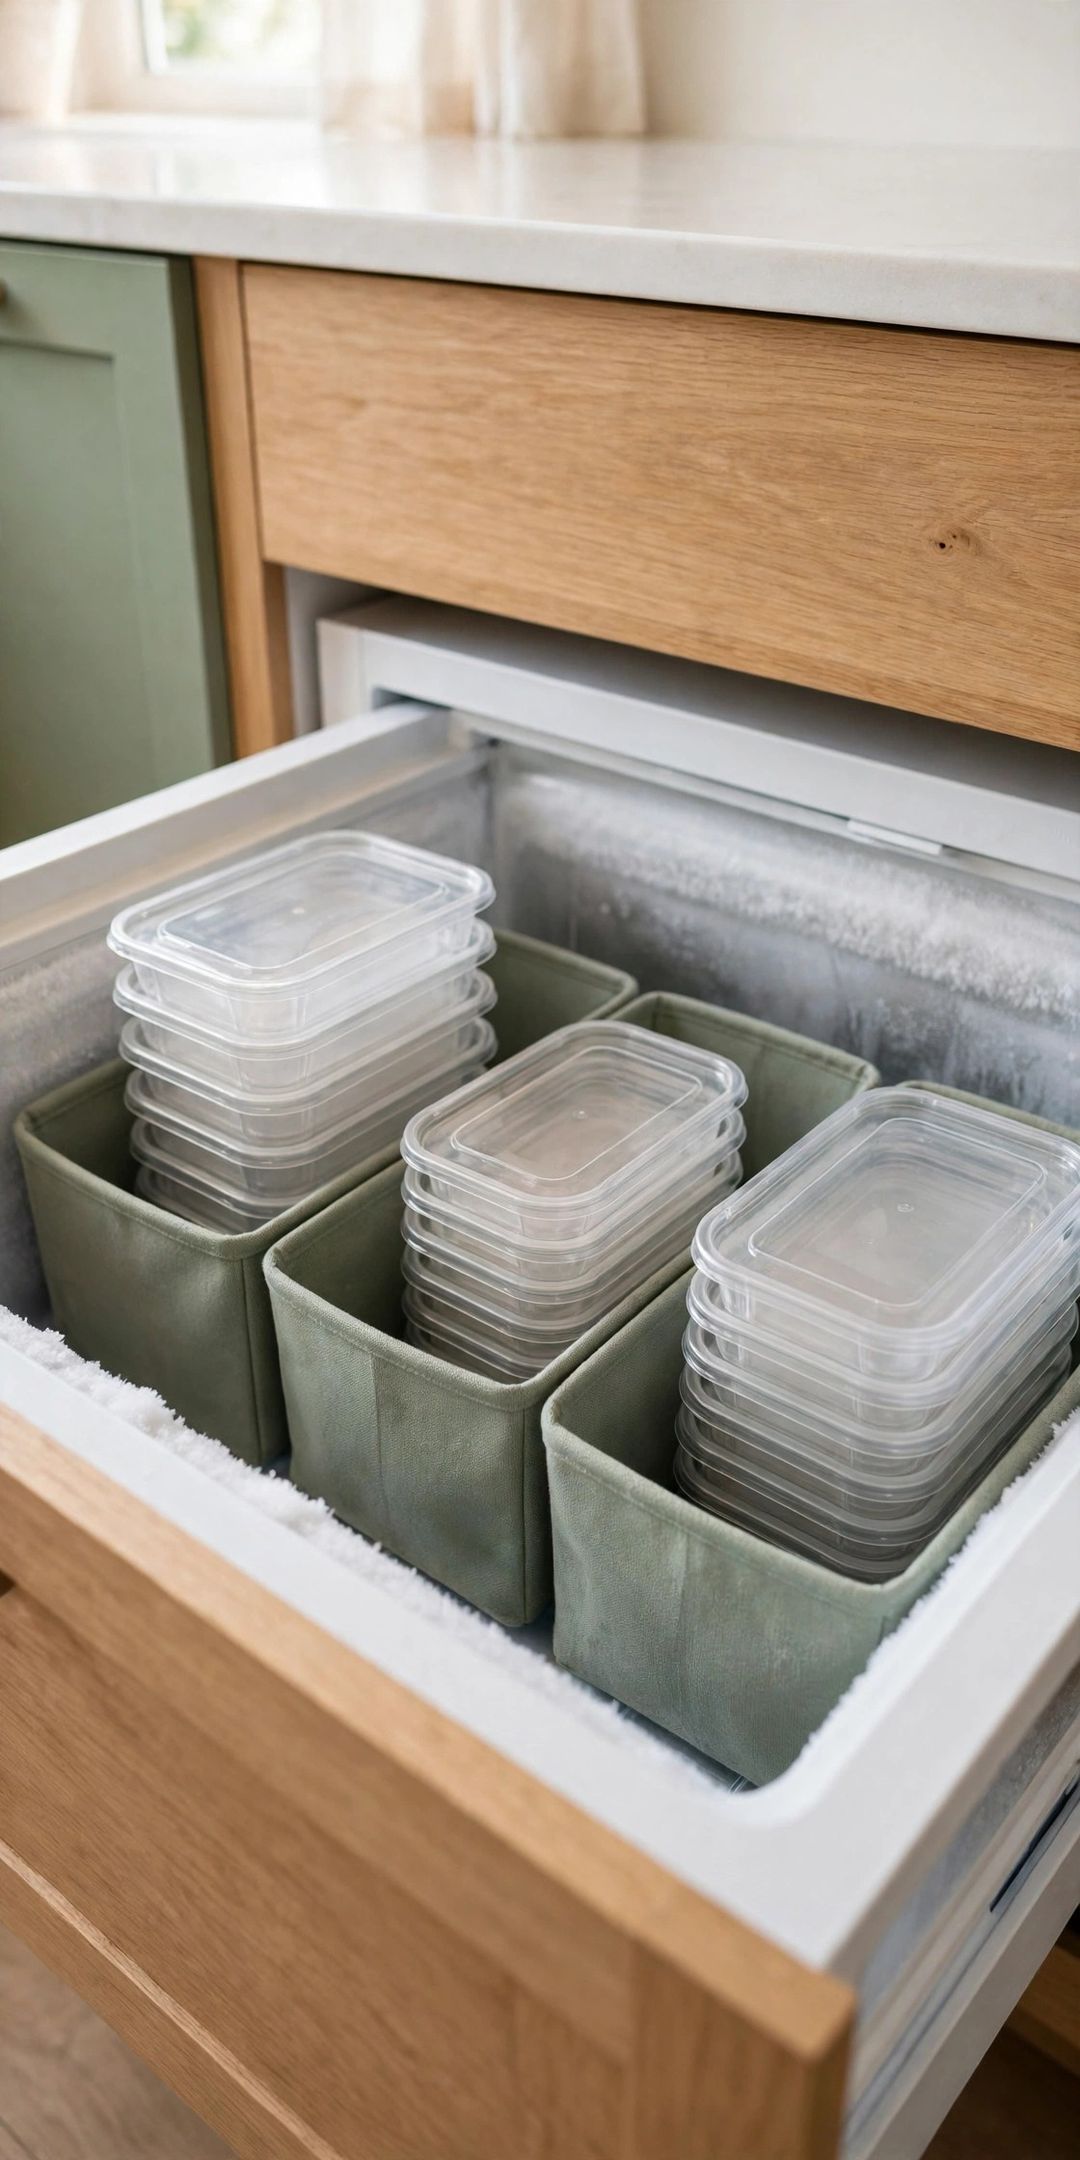
3. Flat-Freeze Soups and Sauces in Bags
Pour soups, stews, and sauces into freezer bags and freeze them flat. Lay each bag on a baking sheet until firm, then stand the flat bags upright like files in a bin. Flat bags stack in far less space than round containers and thaw more evenly.
4. Freeze in Single-Meal Portions
Freeze bags and containers in the amount one meal needs. A single large frozen block is hard to use and easy to waste. Small, flat portions let you pull one dinner for a busy night or two lunches for the week without thawing extra food.
5. Create Freezer Zones with Bins
Give the freezer zones with one open bin per category. Try bins for soups, cooked grains, proteins, vegetables, and ready meals. A bin keeps flat bags upright and stops small items from sliding to the bottom of a deep freezer drawer.
6. Label and Date Everything
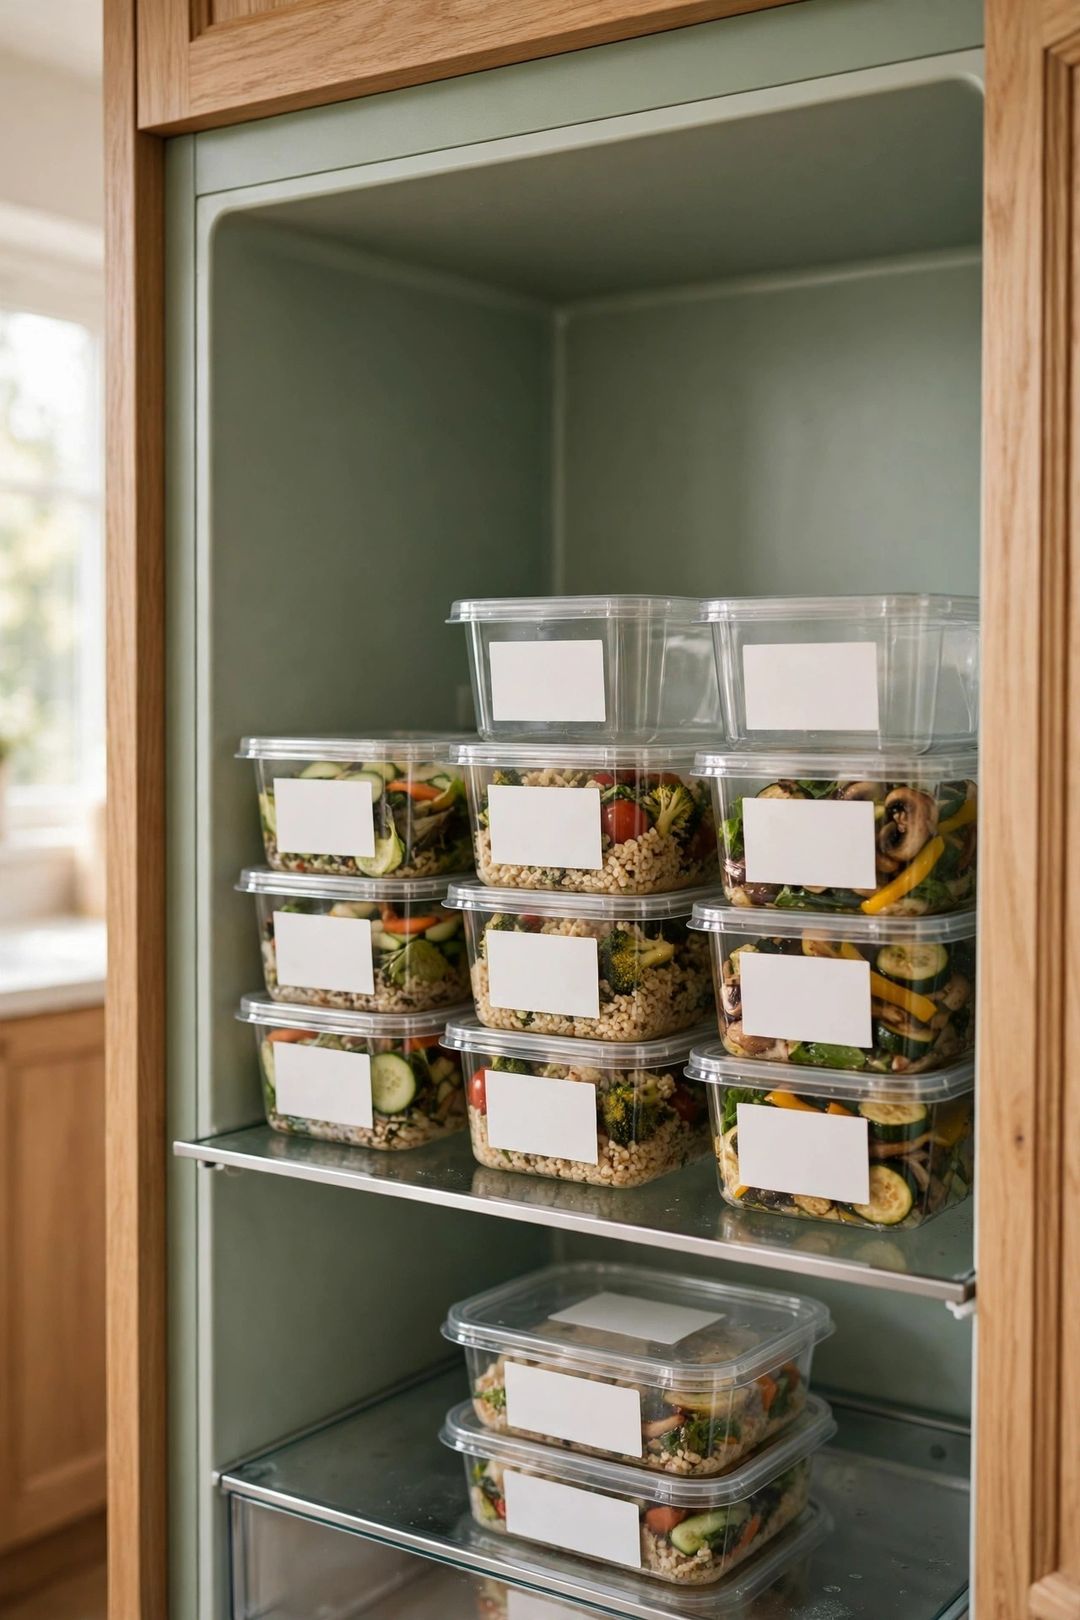
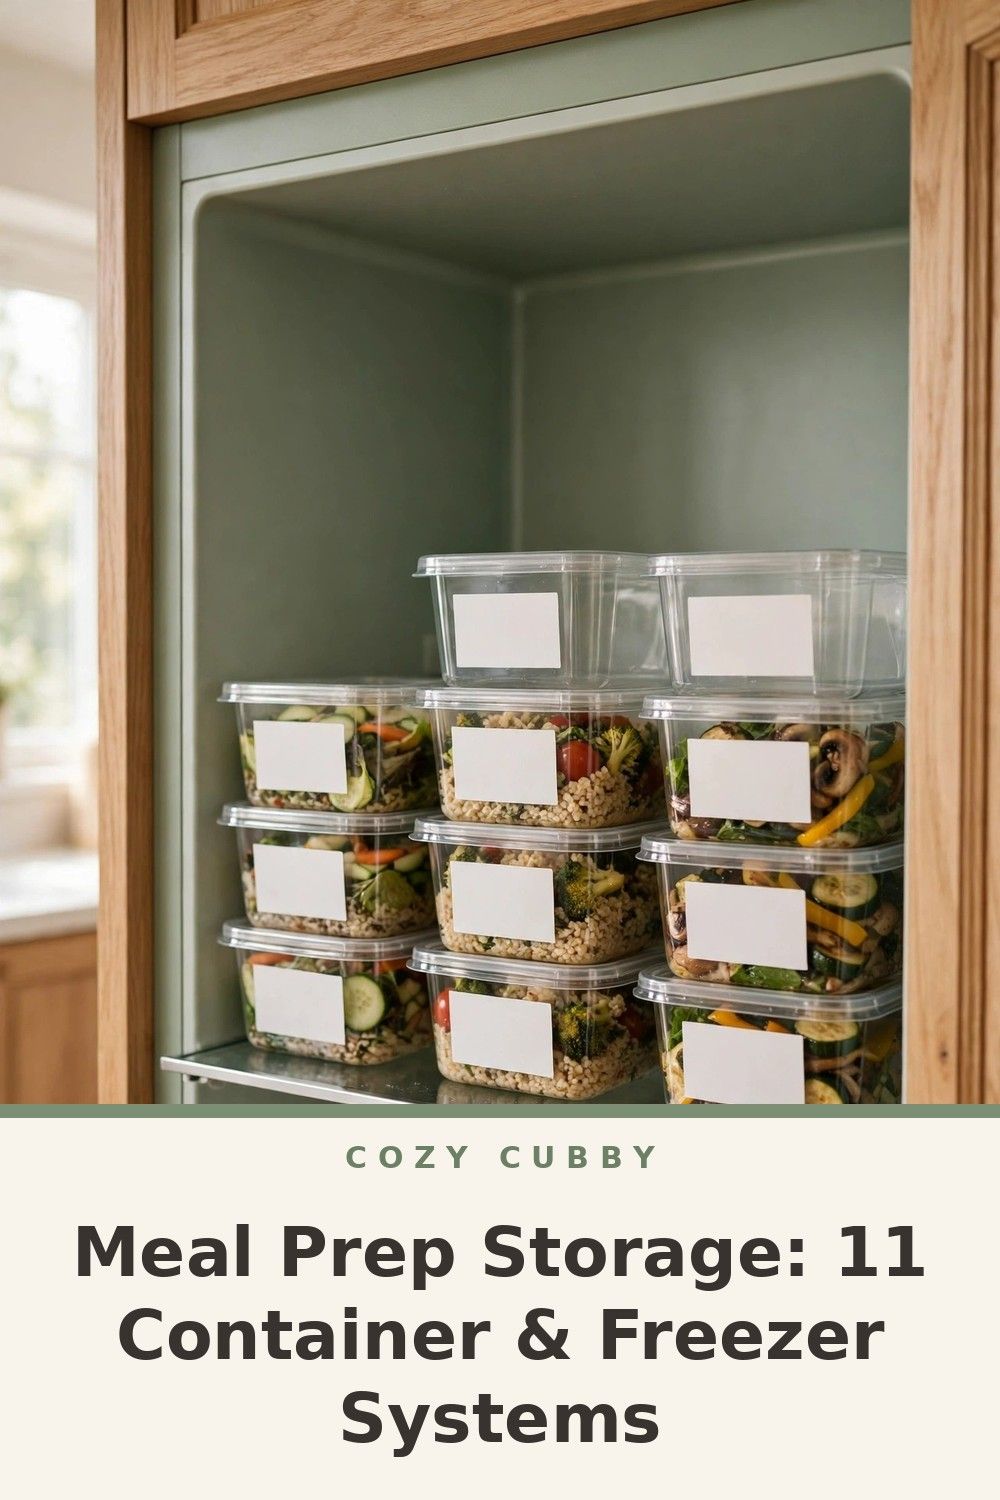
Write the contents and the date on every container and bag. Use a marker on freezer tape or a simple adhesive label, placed where it stays visible when the item is stacked. A clear label turns a mystery bag into a planned meal and makes rotation possible.
7. Rotate with FIFO
Use the oldest meal first, every time. When you add new portions, place them behind or below the older ones in the same bin. FIFO, or first in, first out, keeps food moving in order and stops older meals from sitting untouched at the back.
8. Stage This Week in the Fridge
Move the next few days of meals to one fridge shelf. A staging shelf holds this week's lunches and dinners in one visible row, so the fridge door opens to a plan instead of a pile. Move frozen meals to the fridge the night before you plan to eat them.
9. Keep a Freezer Inventory List
Keep a short list on the freezer door or nearby. Write each item as it goes in and cross it off as it comes out. The list shows what is available before you cook or shop, and it prevents buying a duplicate of a meal already waiting in a bin.
10. Reserve a Thawing Spot
Keep one clear fridge shelf or tray for thawing. Place frozen containers on a tray so any condensation stays contained and the meal stays separate from fresh food. Planning the thaw spot ahead of time keeps the staging shelf tidy.
11. Do a Weekly Freezer Reset
Take ten minutes once a week to reset the freezer. Push older items forward, straighten flat bags, remove anything that no longer belongs, and update the inventory list. A short reset keeps all ten earlier systems working without a full clean-out.
What to Buy
A matching rectangular container set, typically $20–$35. Pro: Uniform shapes stack well and share lids. Con: Large sets include sizes you may rarely use. Skip if: You already own a matching set that fits your fridge shelves.
Freezer-safe zip bags, typically $5–$10. Pro: Bags freeze flat and save space for soups and sauces. Con: Thin bags can leak if overfilled. Skip if: You freeze only solid meals in rigid containers.
Open freezer bins, typically $8–$15 each. Pro: Bins create clear zones and keep flat bags upright. Con: A bin that is too tall can block a freezer drawer. Skip if: Your freezer is small and already divided into compartments.
Freezer tape and a marker, typically $4–$8. Pro: Labels stay readable in the cold and make FIFO easy. Con: Tape needs replacing when a container is reused. Skip if: Adhesive labels already stick well in your freezer.
A baking sheet for flat-freezing, typically $10–$18. Pro: It holds bags flat until they are firm enough to file upright. Con: It takes up freezer space while bags set. Skip if: You have a flat shelf that can hold bags level.
Mistakes to Avoid
- Mixing container shapes and lid sizes. Random containers waste shelf space and make stacking a guessing game. Standardize first, then buy only what fills a gap.
- Freezing one giant batch. A large frozen block is hard to thaw and easy to waste. Portion food into single meals before it goes in the freezer.
- Skipping labels and dates. Unlabeled bags all look alike, and undated food never rotates. Label and date everything the day it is packed.
- Adding new food on top of old food. New portions buried over old ones break FIFO and hide older meals. Place new items behind or below the old ones.
- Letting the freezer run without zones. Without bins, bags slide, stack, and vanish. One bin per category keeps every zone visible and reachable.
Frequently Asked Questions
How many containers does a small kitchen need for meal prep?
Start with one matching set in two or three sizes, enough for a week of lunches and dinners, plus freezer bags for soups and sauces. Add more only when a specific shelf or bin runs out of room, rather than buying a large set up front.
What foods freeze best flat in bags?
Soups, stews, sauces, cooked grains, and similar soft foods freeze well flat in bags. Solid items such as cooked chicken pieces or roasted vegetables usually store better in rigid containers, where they keep their shape and stack neatly.
How do I keep labels readable in the freezer?
Write with a marker on freezer tape or an adhesive label, and place the label on a flat, dry surface before freezing. Keep labels facing outward in the bin so contents and dates stay visible without pulling everything out.
How often should the freezer be reset?
A ten-minute weekly reset is enough for most kitchens. Straighten bags, move older items forward, and update the inventory list. A deeper clean-out every few months handles anything the weekly reset missed.
A matching set, flat bags, clear zones, and a FIFO habit turn meal prep from a pile of containers into a system you can trust. Save this post to your Kitchen Organization board on Pinterest so the full workflow is handy on prep day.