Most closets are sorted by category: shirts in one row, pants in another, dresses at the end. That looks neat, but it leaves the hard work for the morning — matching pieces in your head, trying on two tops, and running late.
Outfit zoning flips the order. Instead of sorting by type, you organize your closet by outfits zoning the clothes into complete, ready-to-wear looks. Each zone holds full outfits — top, bottom, and layer together — so getting dressed means grabbing one group, not solving a puzzle.
This guide walks through the method step by step: building outfit capsules, laying out zones, and running a weekly rotation.
Step 1: Start With the Clothes You Actually Wear
Zoning works best when built on real life, not the wardrobe you wish you had. Pull out the outfits you reach for most in a normal two-week stretch: work, errands, weekends, and one or two nicer outfits.
Lay each favorite outfit flat on the bed, complete with shoes and layer. Pieces that appear in no outfit are a signal — wrong fit, wrong color, or saved for a life you do not live right now. Set those aside; you will deal with them in Step 6.
Step 2: Build Small Outfit Capsules
A capsule here is just a small set of pieces that all work together. Pick one base color family — navy, black, gray, or denim — and build three to five outfits that share it. Because bottoms and layers overlap, a handful of pieces can make a full week of looks.
Build one capsule per part of your life. A work capsule might hold three bottoms, four tops, and two layers that all mix. A casual capsule might hold jeans, a few tees, and one sweater. A dressy capsule can be just one or two full outfits, kept together so nothing is missing when needed.
Check each capsule for gaps before hanging anything. Every outfit needs a top, a bottom, and a layer for cool rooms. If one top only works with one bottom, note the pairing on a small tag so it is not lost later.
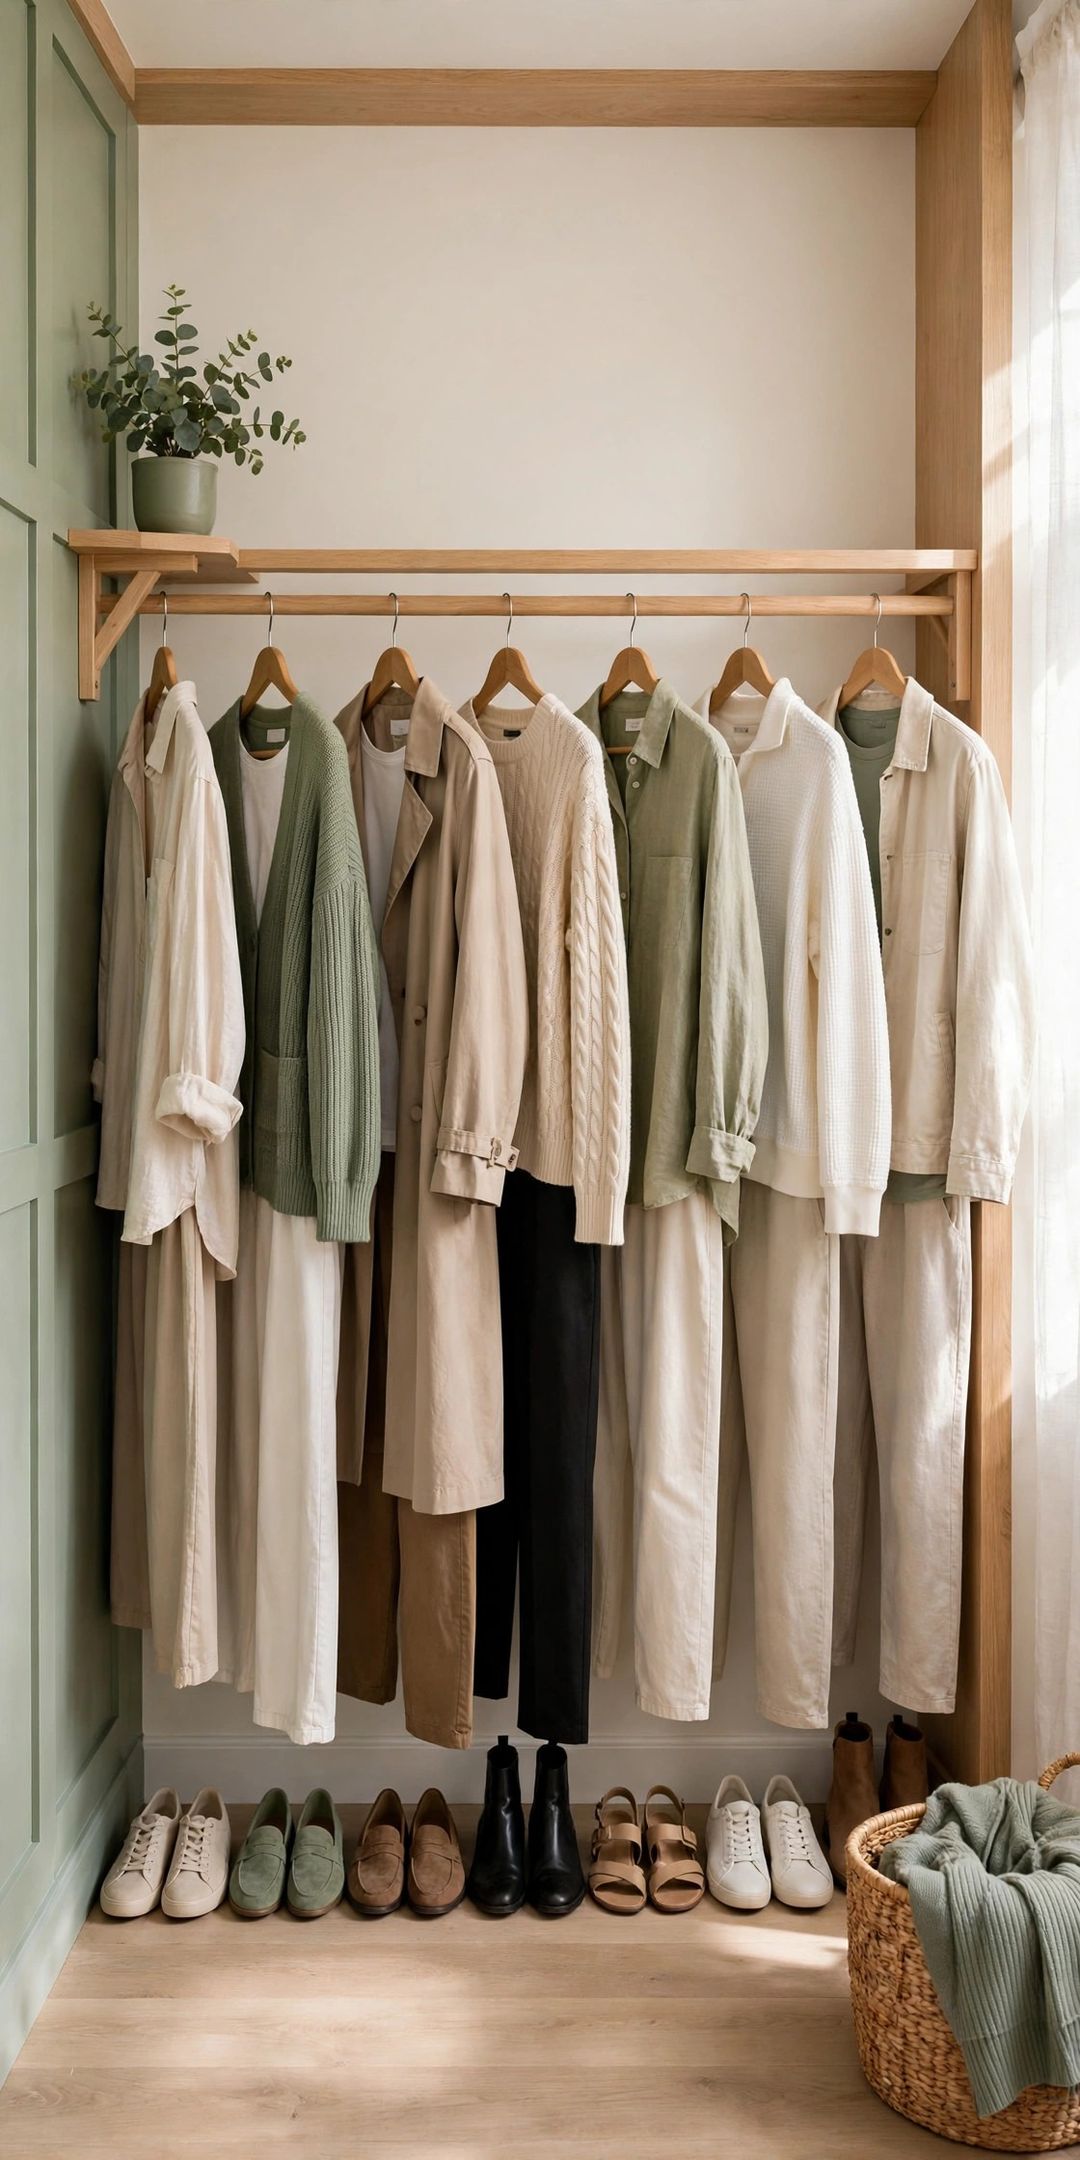
Step 3: Lay Out the Zones in Your Closet
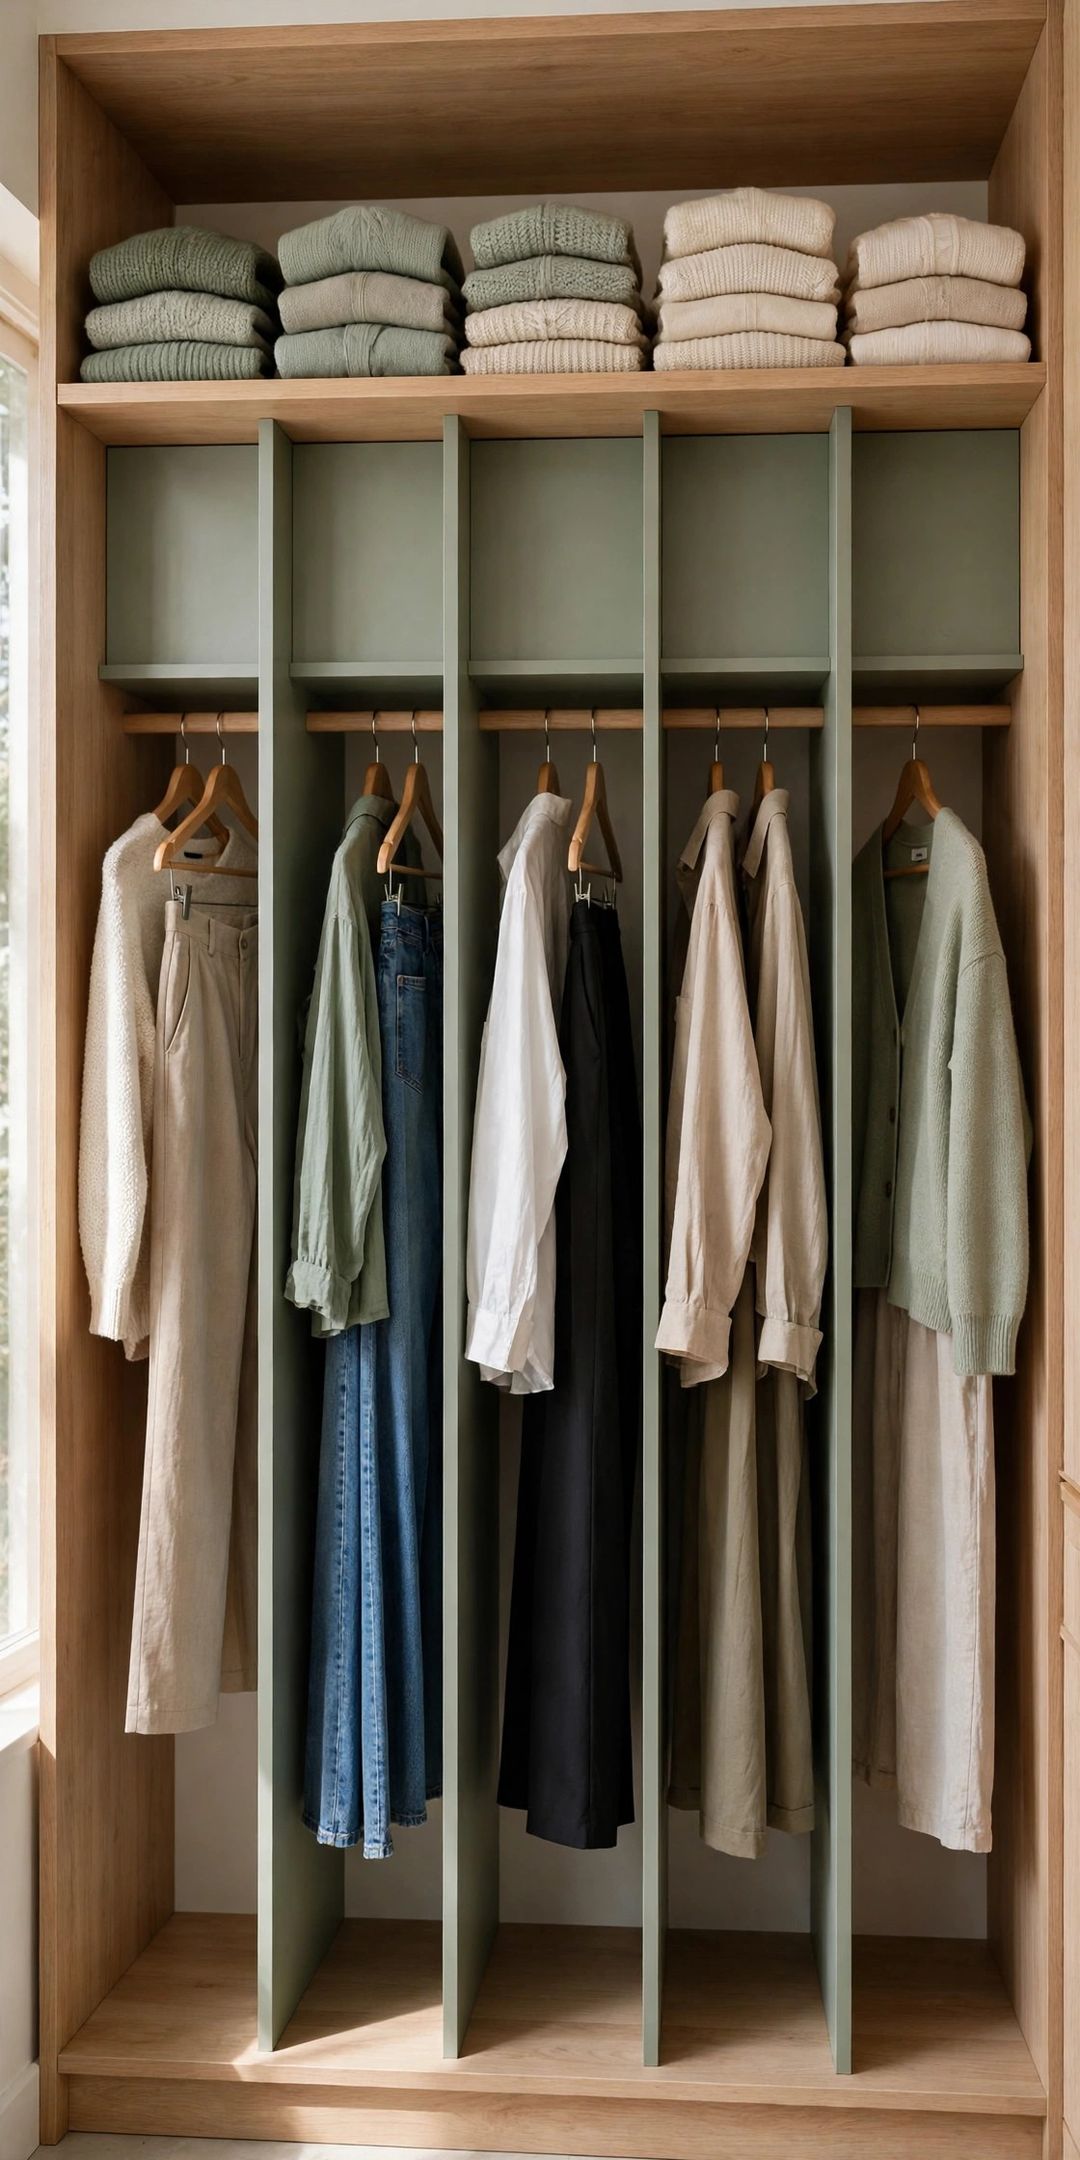
Now give each capsule its own clear zone on the rod. Put the zone you use most at the center, at the easiest reach — for most people, that is the work or everyday capsule. Casual outfits go next, and the dressy zone can sit at the far end, since it is used least.
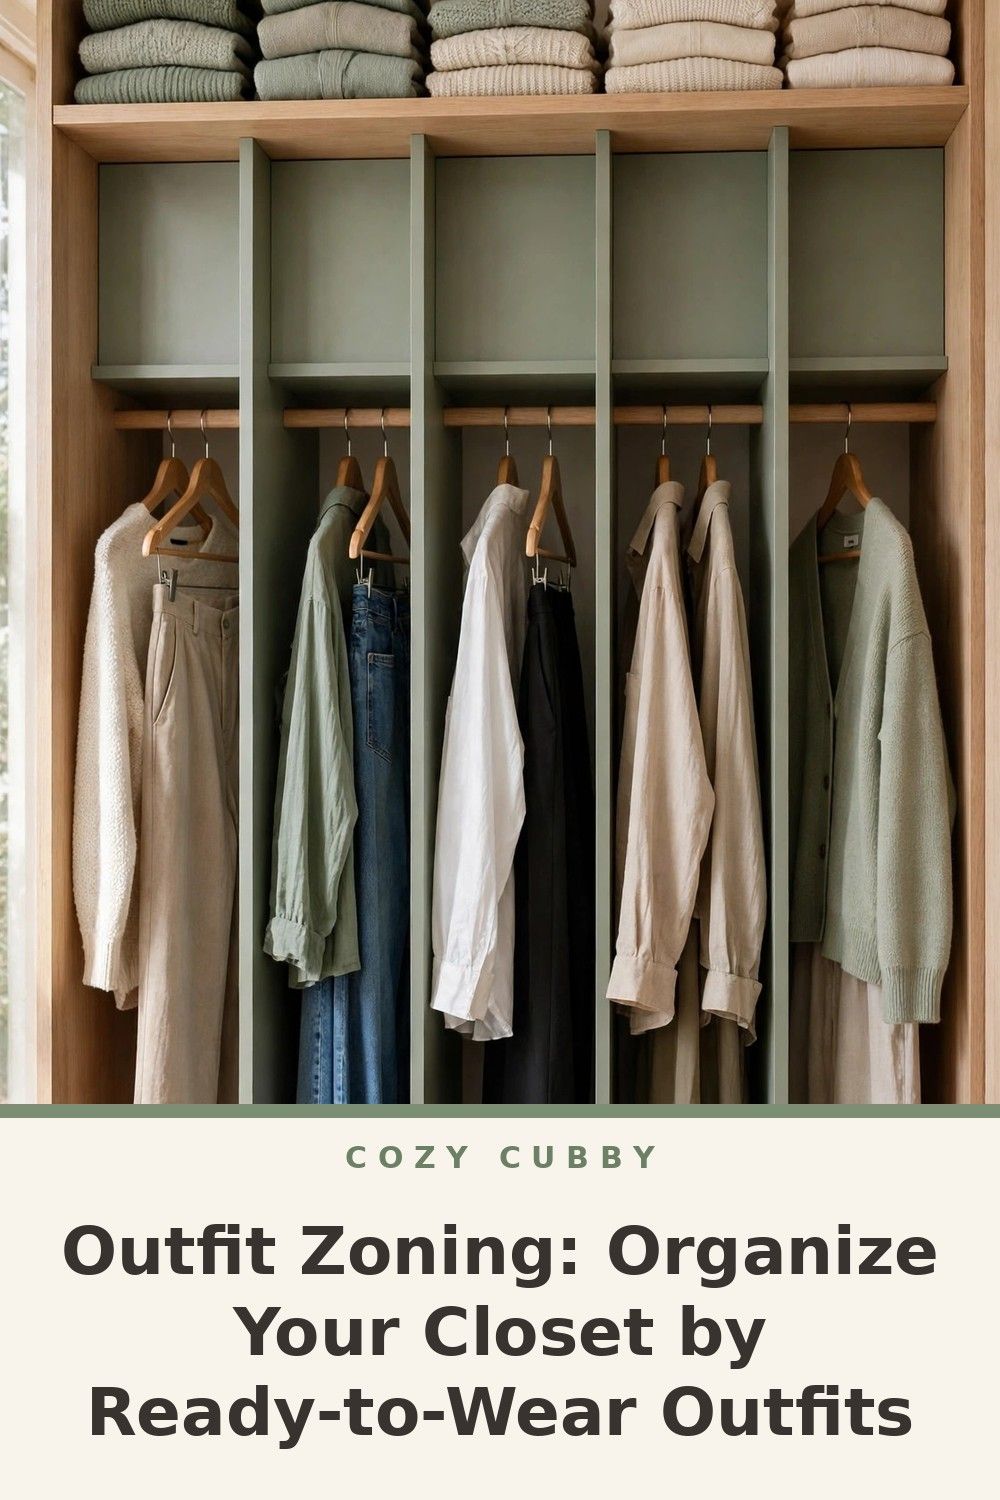
Use simple dividers between zones so groups do not drift back into one long row. Rod dividers, a spare hanger turned the other way, or a scarf tied on the rod can all mark a boundary.
Keep one small stretch of rod empty as a staging zone. Tomorrow's outfit hangs there on its own, and clean laundry waits there before being sorted back into outfits.
Step 4: Hang Each Outfit as One Unit
Within each zone, store outfits as units, not single pieces. Hang a top and bottom on the same hanger when the fabrics allow it, or place one outfit's hangers side by side in the same order every time: top, then bottom, then layer.
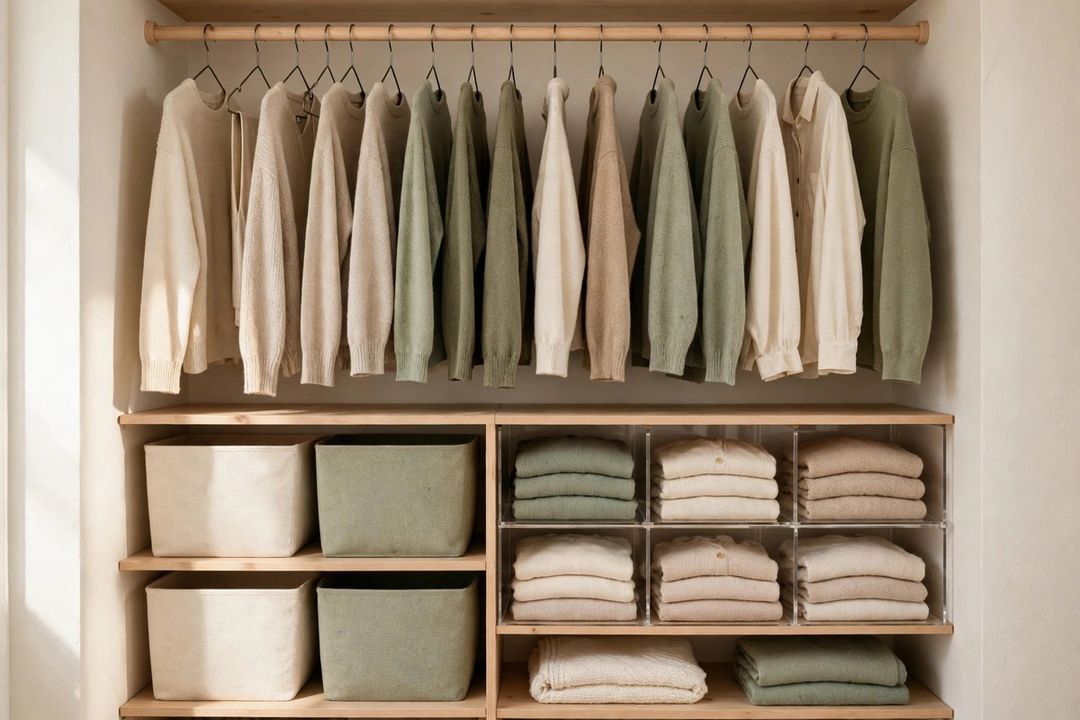
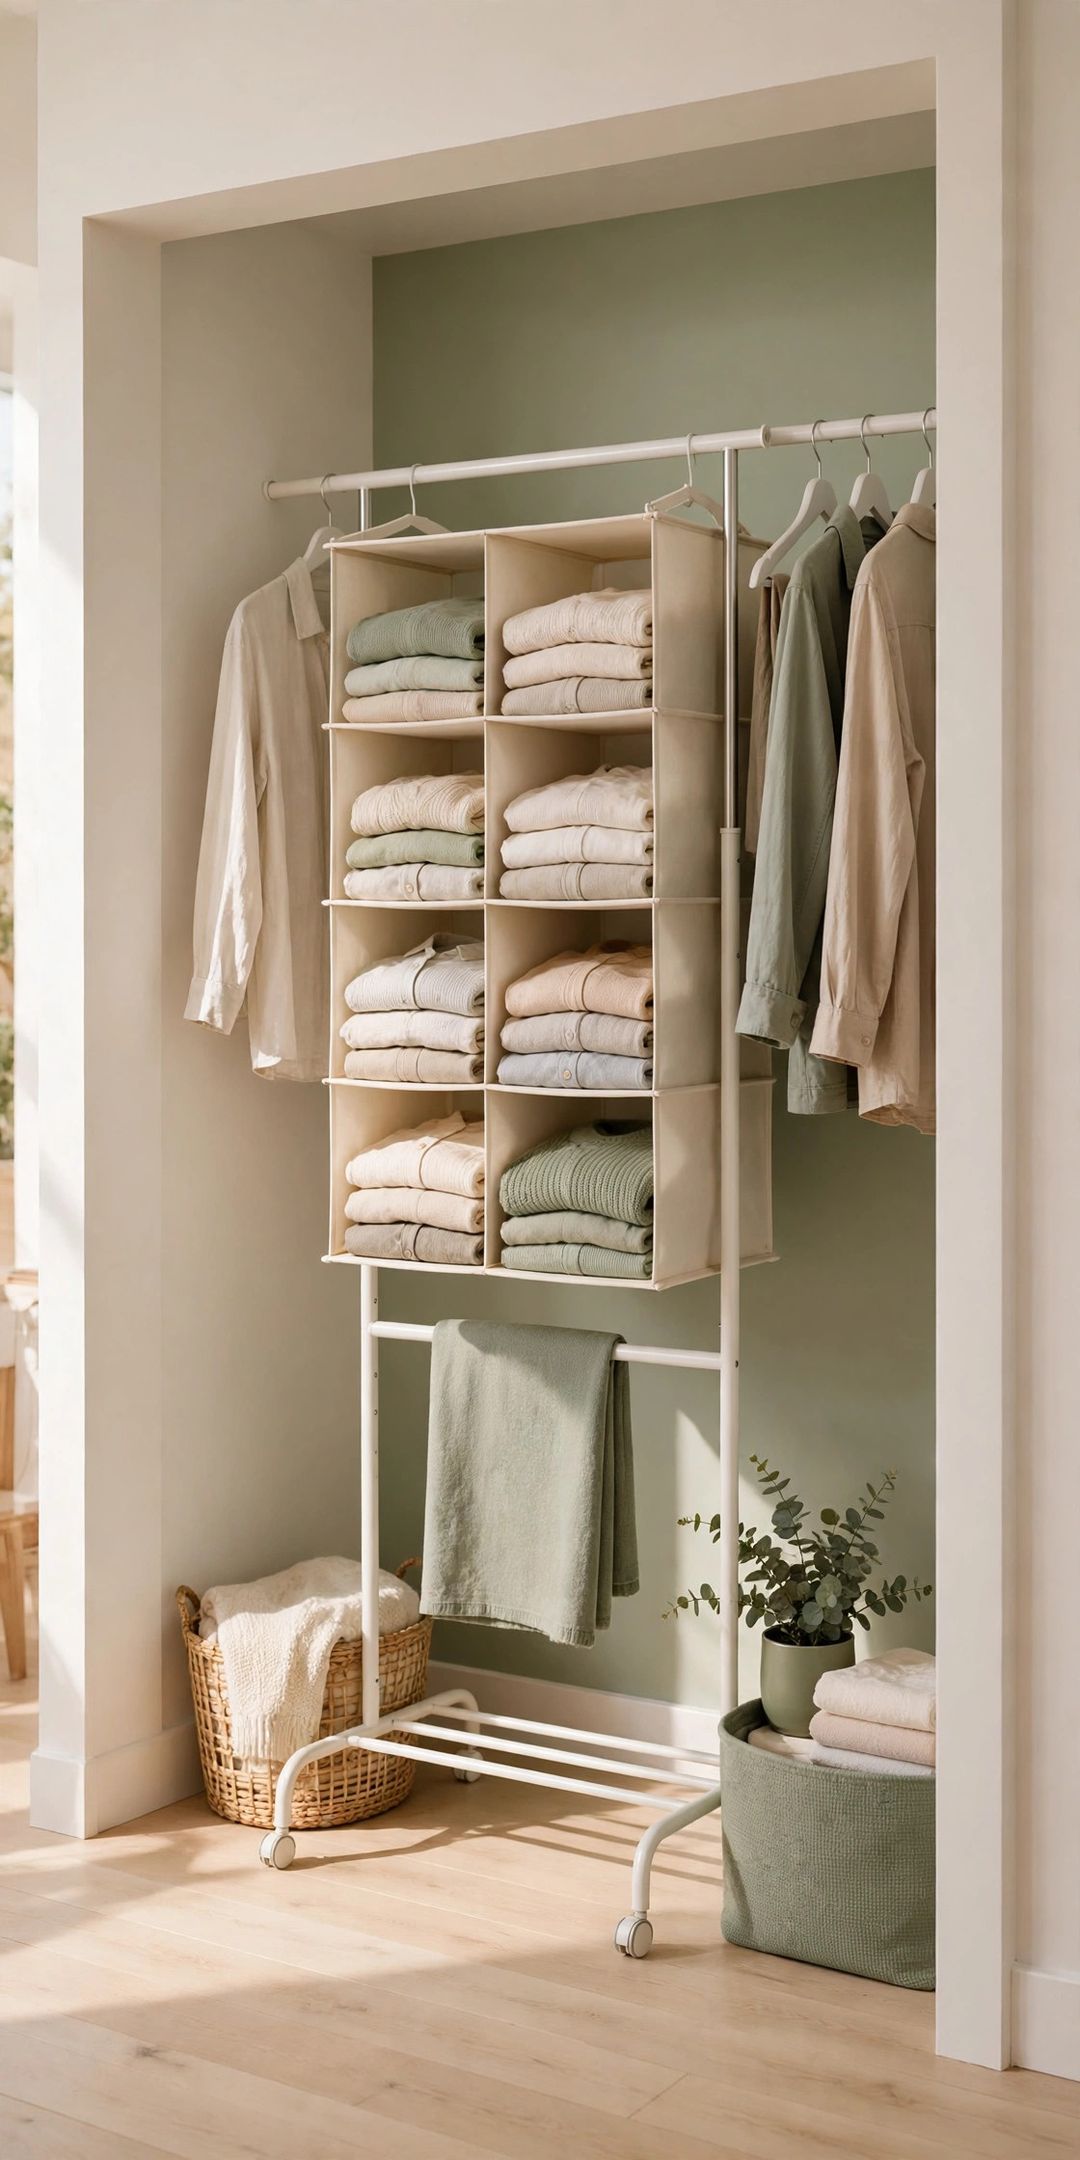
Cascading hooks and multi-piece hangers help, because one hook can hold a full look. Folded pieces can join too: keep the sweater or jeans for a capsule in a labeled bin on the shelf right above that zone, so the whole outfit lives in one column. Add a small hanging organizer at the end of a zone for the belt or scarf that finishes those outfits.
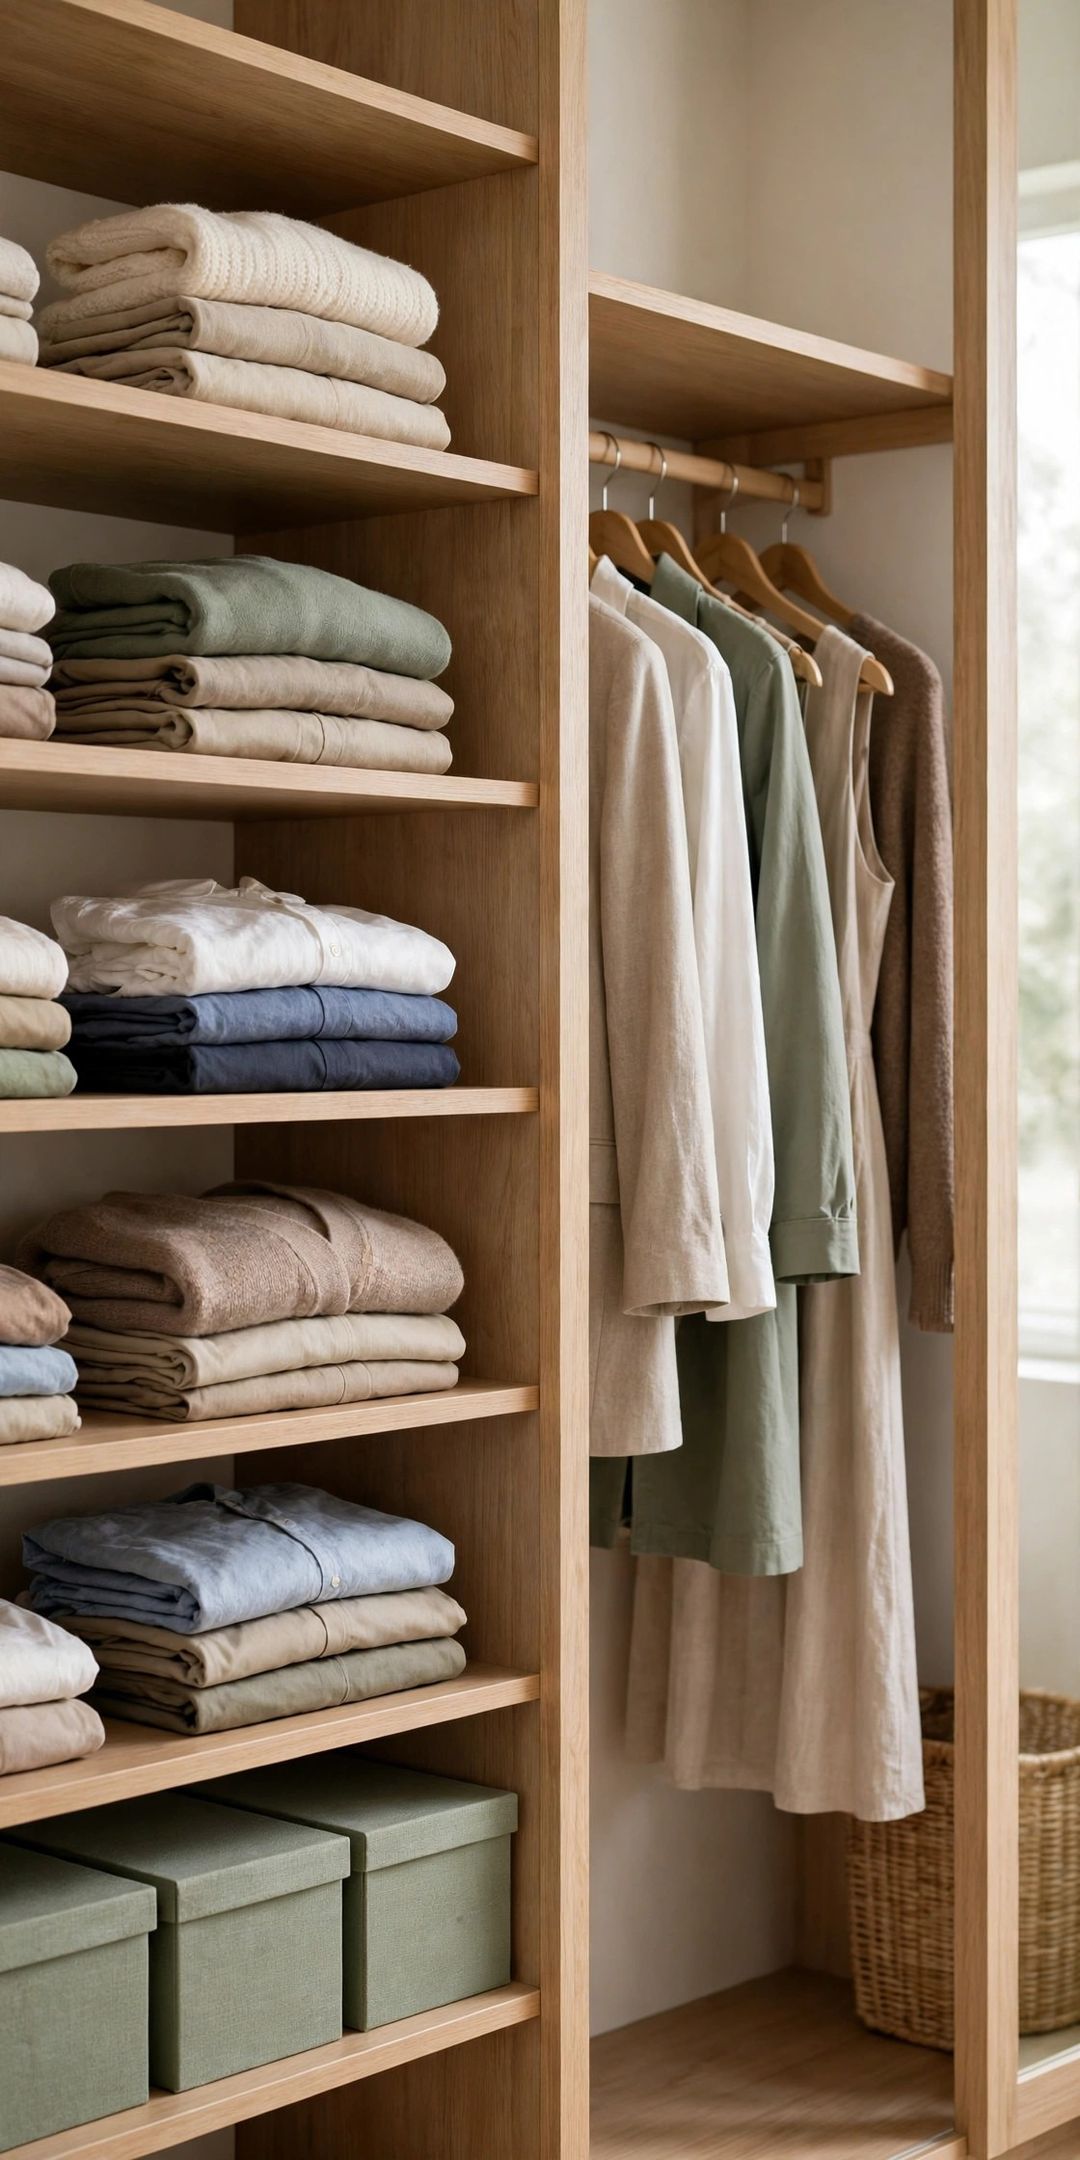
Step 5: Run a Simple Weekly Rotation
On a quiet day — Sunday works well for many people — check the week's weather and plans, then pull five to seven outfits from the zones into the staging zone, in day order.
Each morning, take the first outfit. Each evening, return what can be worn again to the back of its home zone, and put worn items in the laundry. At week's end, restock the staging zone. Because outfits rotate, pieces at the back still get worn instead of forgotten.
As seasons change, swap capsules rather than the whole closet. Pack the off-season capsule into a bin and build the new one around pieces that carry over. The layout stays the same, so there is nothing new to learn.
Step 6: Give Leftover Pieces a Clear Fate
Return to the pile from Step 1. Each piece gets one of three homes: it joins a capsule (note any missing partner on a shopping or mending list), it is packed away as off-season, or — if it fits no outfit and has not been worn in a full season — it becomes a donate or sell candidate.
Keep a small donate bag hanging in the closet. When a piece stops earning its place, it goes in the bag the same day, not back on the rod.
What to Buy
Closet rod dividers, typically $8–$15 for a pack. Pro: They mark each zone clearly and can be relabeled as capsules change. Con: They fit standard round rods only. Skip if: Tied scarves or spare hangers already mark your zones well.
Cascading or multi-piece hangers, typically $10–$20 for a pack. Pro: One rod hook holds a full outfit, saving serious space. Con: Heavy layers can make one hanger bulky. Skip if: Your rod has room and side-by-side hangers work fine.
A hanging accessory organizer, typically $12–$25. Pro: Belts and scarves stay with their zone instead of a far drawer. Con: It uses rod space at the end of a zone. Skip if: Your outfits rarely use accessories.
Labeled fabric bins, typically $15–$30 for a set. Pro: Folded pieces and off-season capsules stay grouped and easy to find. Con: Deep bins hide items at the bottom. Skip if: Your shelves already hold neat, visible stacks.
Mistakes to Avoid
- Building zones around clothes you never wear. A zone full of wishful outfits still leaves you stuck each morning. Start with proven favorites.
- Making capsules too big. A capsule of twenty pieces is just a category again. Keep each one small enough to see at a glance.
- Skipping zone markers. Without dividers or labels, laundry slowly drifts back into one mixed row and the system fades.
- Mixing every color family together. Outfits zone faster when each capsule shares a base color, so pieces truly mix and match.
- Never rotating. If the same three outfits stay at the front, the rest might as well not be there. Rotation keeps every piece in play.
Frequently Asked Questions
What if my closet is too small for separate zones?
Zones need little space — one can be as small as three or four hangers. In a tiny closet, use just two zones: everyday outfits in the center, everything else at the ends, one divider between them.
How do I handle clothes that fit more than one outfit?
That is a strength, not a problem. Shared pieces are the backbone of a capsule. Hang them at the front edge of the zone they serve most, and let the weekly rotation carry them between outfits.
What about dresses and one-piece outfits?
Give them their own small zone at one end of the rod. Add the layer and accessories you wear with each dress to the same hanger group, so each one is still a complete, grab-and-go outfit.
How long does the first setup take?
Plan on one to two hours for sorting, building capsules, and hanging zones. After that, the weekly rotation takes about ten minutes.
Outfit zoning turns your closet from a storage row into a set of ready answers. Save this post to your Closet Organization board on Pinterest so the steps are handy on your next closet reset day.