Moving boxes have a way of taking over a small kitchen fast. If every box gets unpacked wherever it lands, you end up with mugs over the stove, pans by the sink, and no clear spot for the items you reach for every day.
Learning how to organize a small kitchen when moving in is much easier when you follow a set order. Clean first, build one daily zone, then unpack by how often you use each group. Daily things get the best spots, and rarely used pieces go last, in the space that is left.
You do not need to finish in one day. Work through the steps in order, open only the boxes each step calls for, and keep counters as clear as you can between steps.
Step 1: Clean Every Surface Before You Unpack Anything
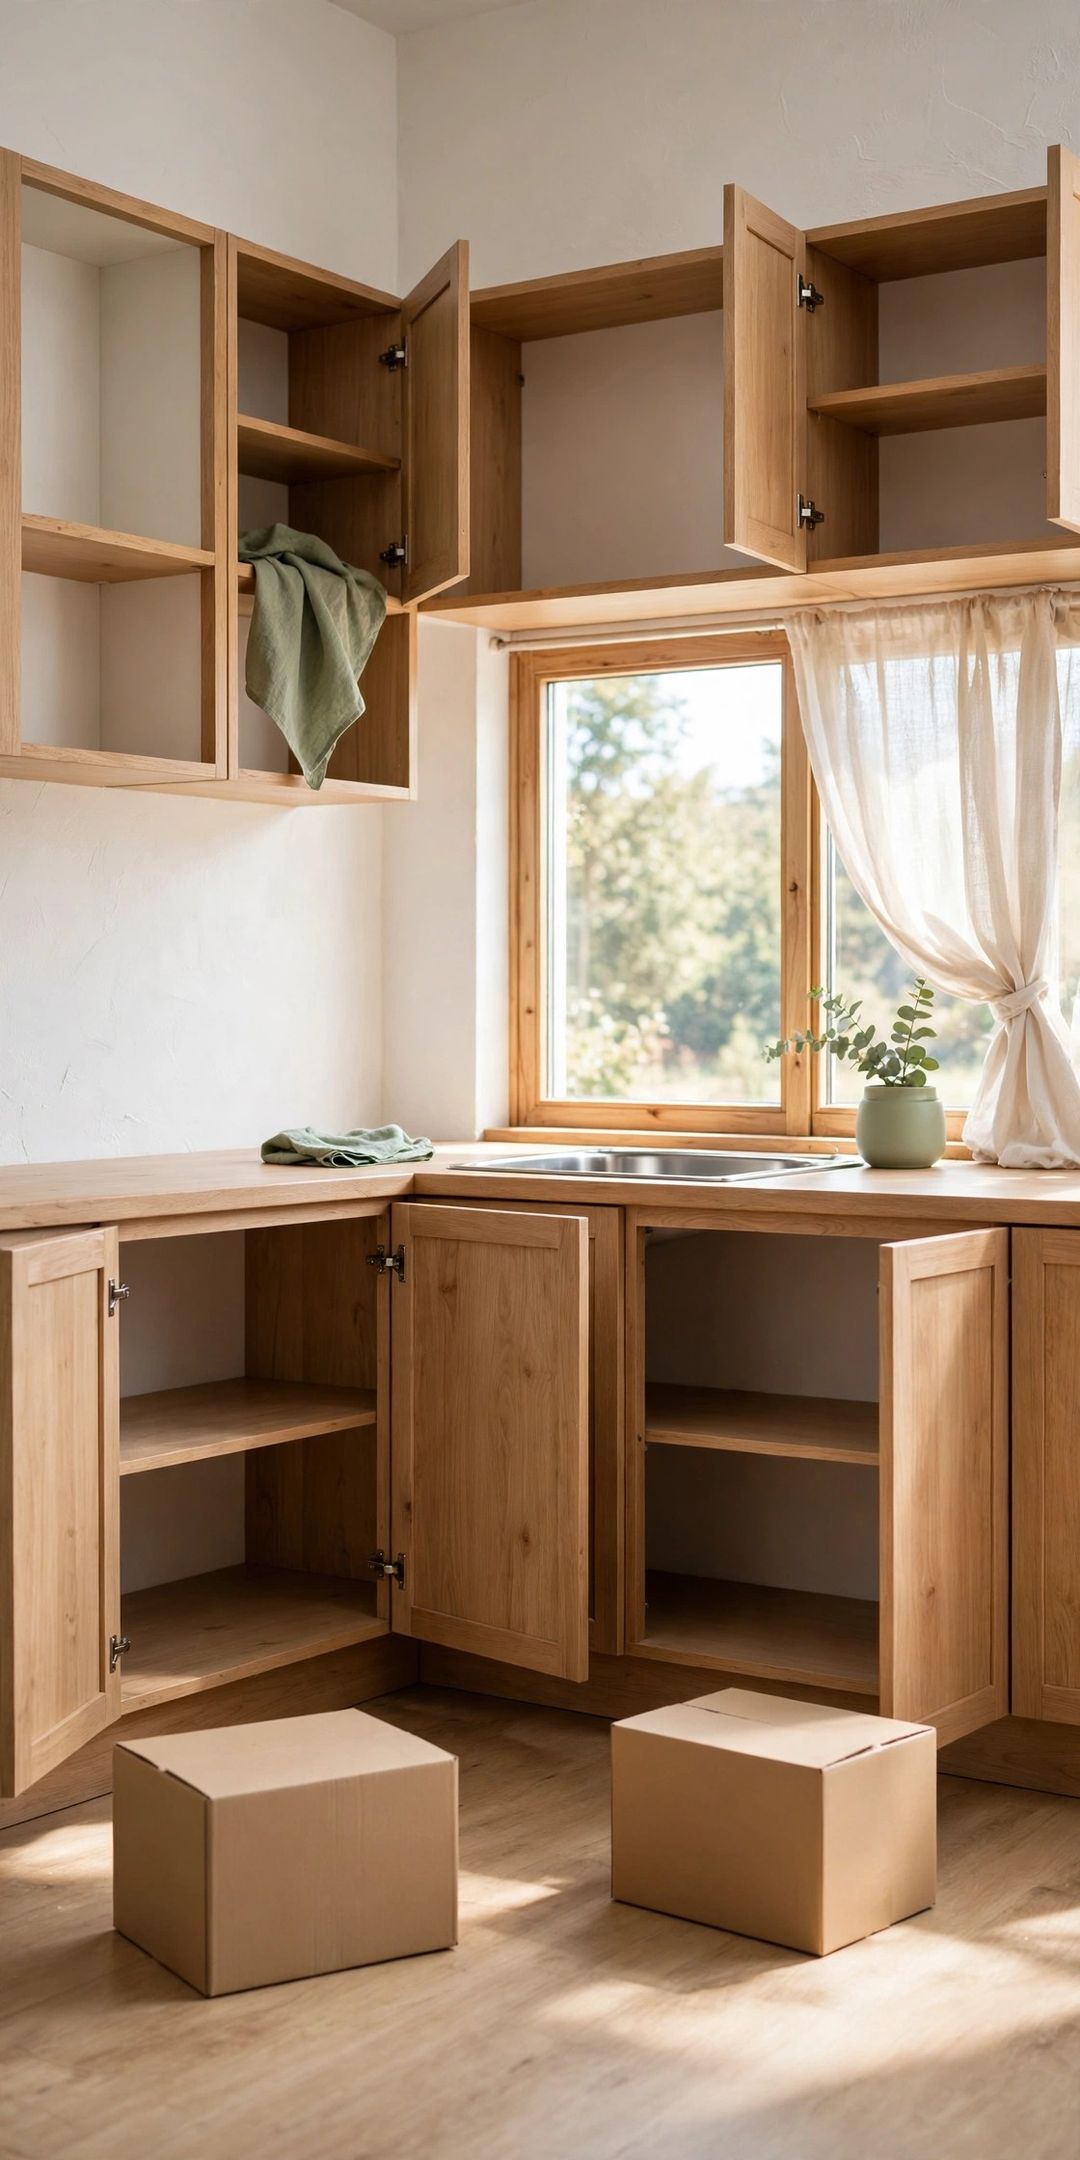
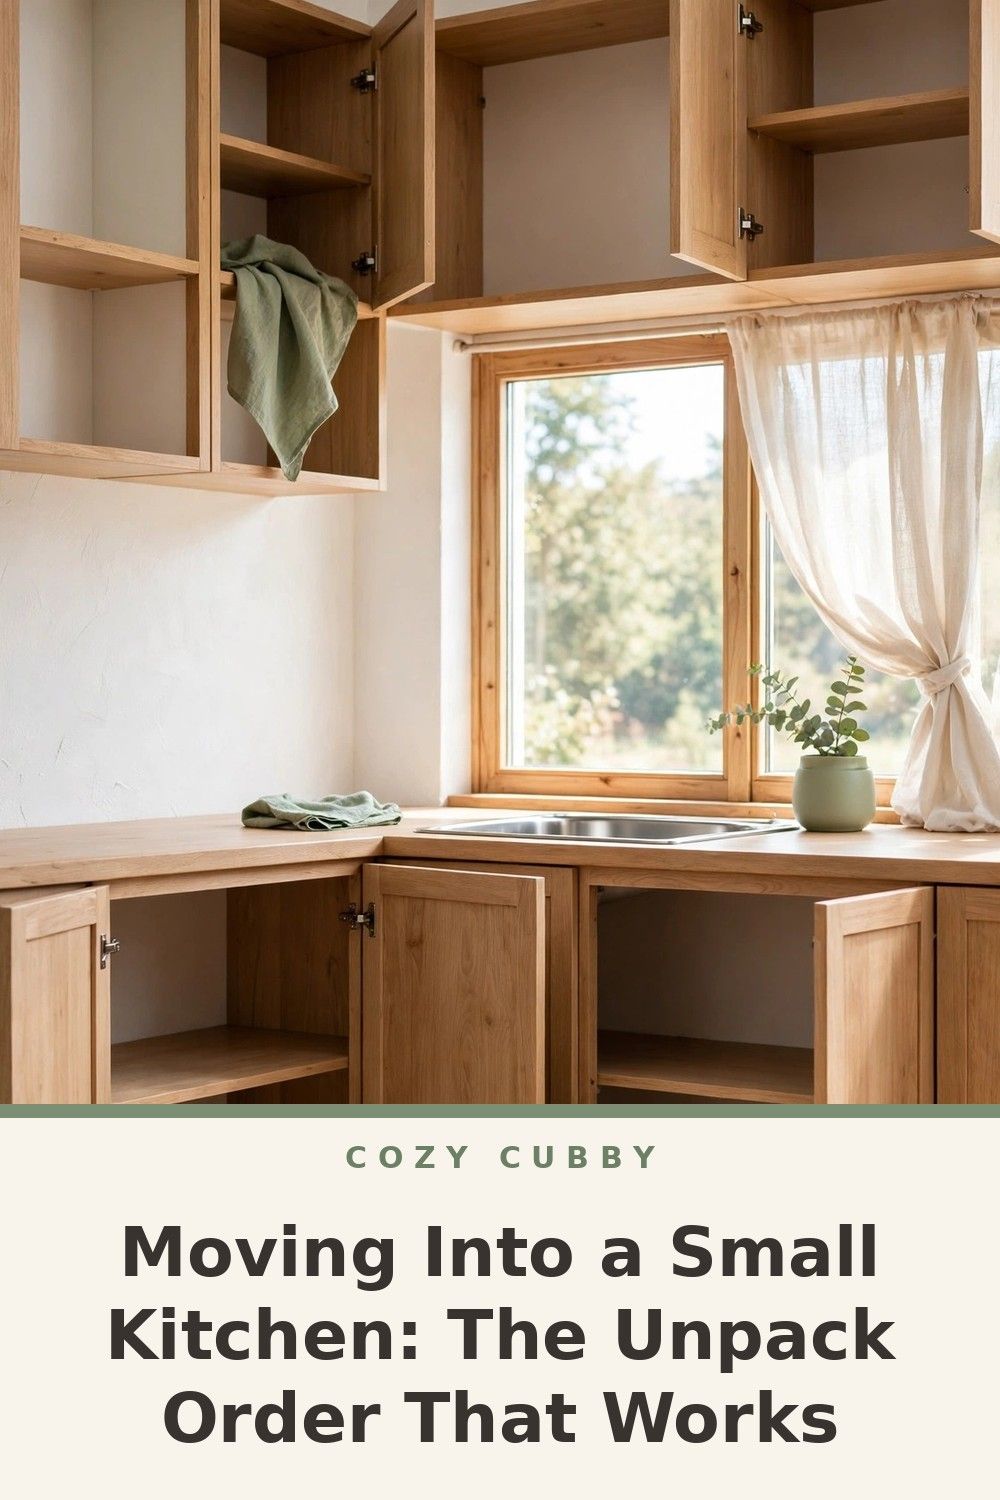
Start with empty cabinets, not boxes. Wipe shelves, drawers, and the inside of the fridge, and let everything dry fully. If you plan to use shelf liner, cut and fit it now. Then note your zones on paper: sink, stove, fridge, and the counter where food prep will happen. That map guides every step that follows.
Step 2: Set Up a Small Daily Zone First
Before the main unpack, pull out a small set of daily basics: a plate, bowl, mug, glass, knife, cutting board, skillet, and towel for each person. Wash them and put them in one cabinet and one drawer near the sink. This daily zone lets you eat, drink, and wash up from the first night.
Step 3: Unpack Dishes and Glasses Near the Sink
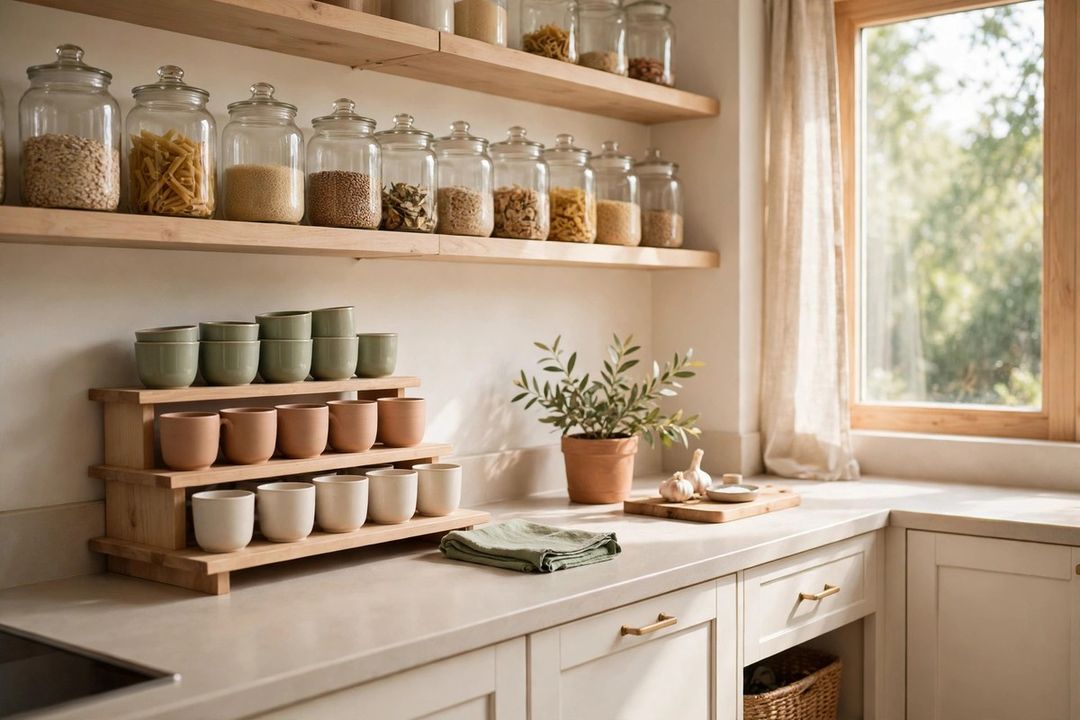
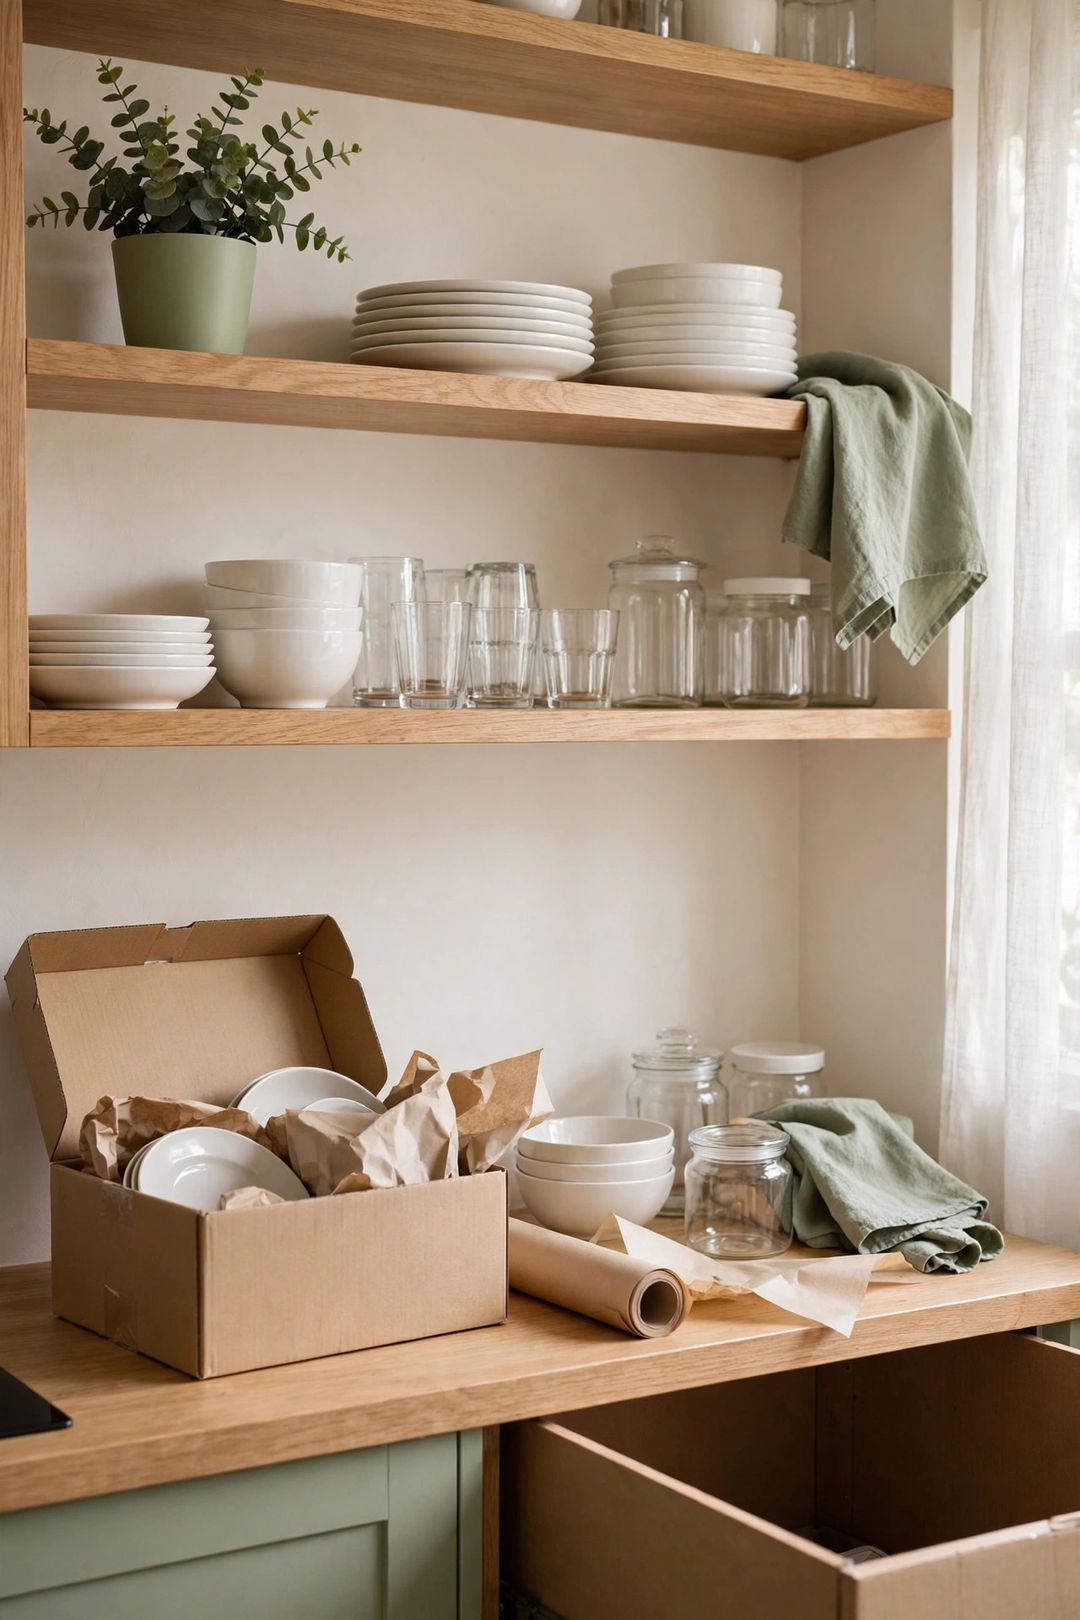
Next, unpack everyday dishes, bowls, and glasses into the cabinets closest to the sink or dishwasher. Clean dishes travel a short path from wash to shelf, so put-away stays fast. Place daily items on the lowest, easiest shelves, and save high shelves for serving pieces and spare glasses. If space is tight, keep only the daily set in the kitchen and store party extras in a labeled box in a closet.
Step 4: Put Pots, Pans, and Cooking Tools Near the Stove
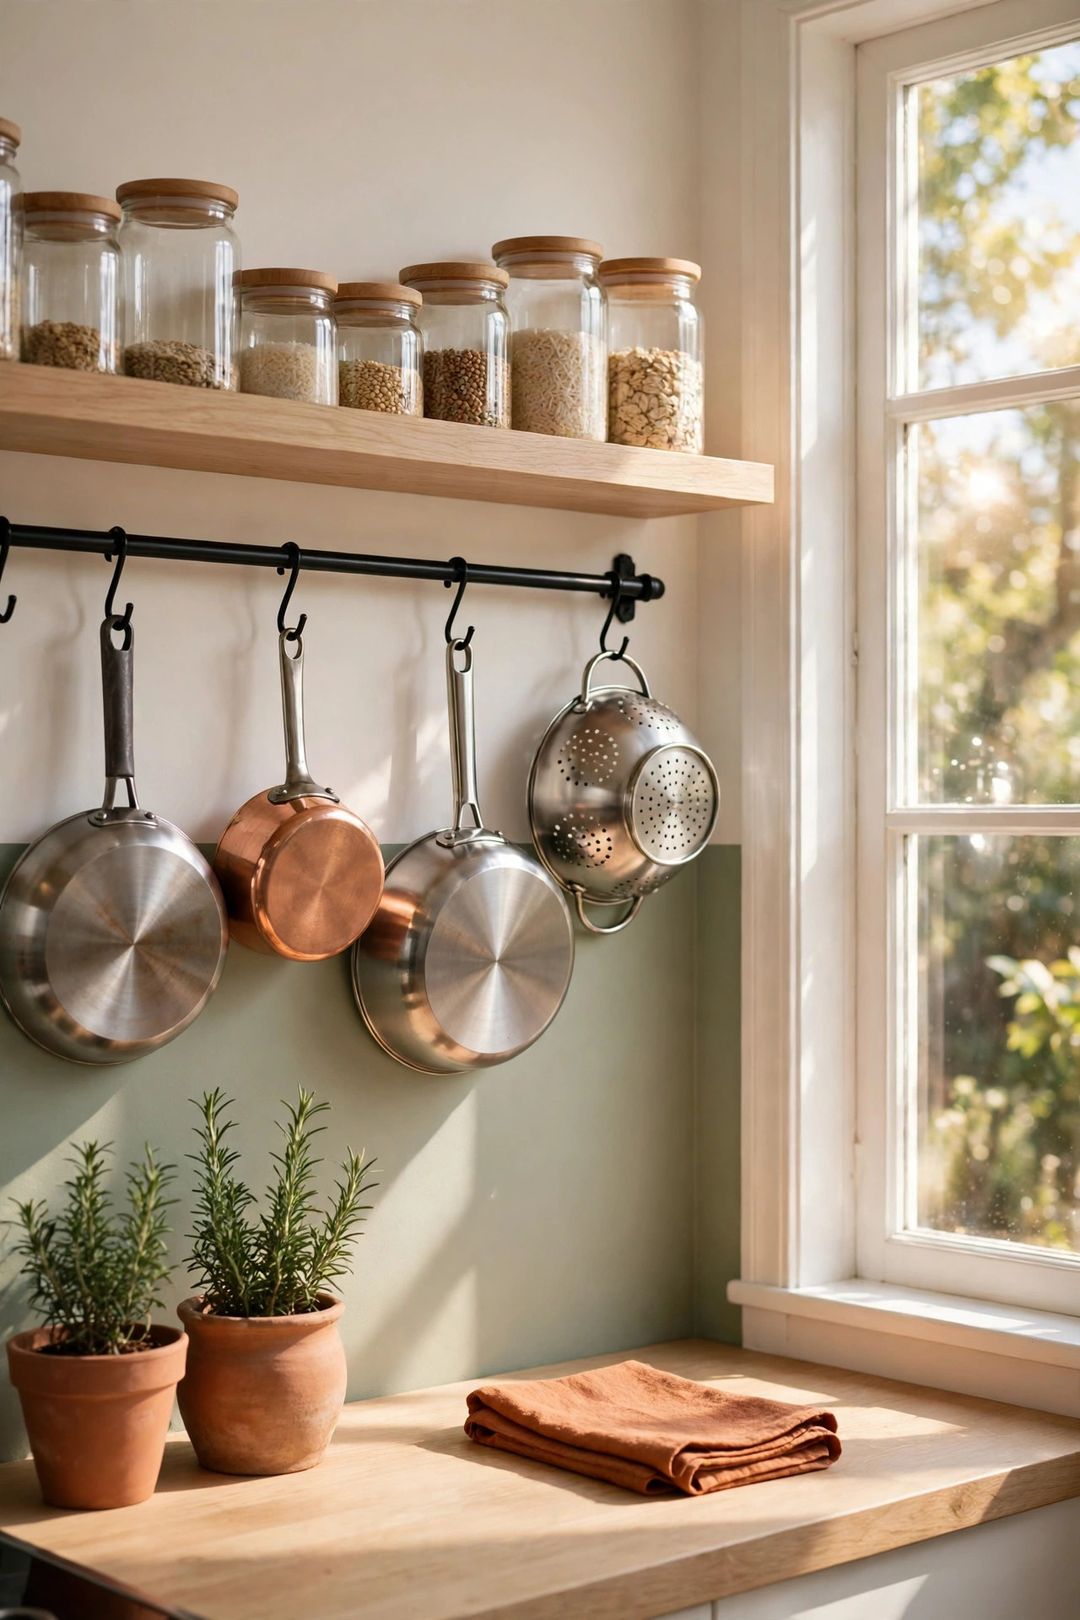
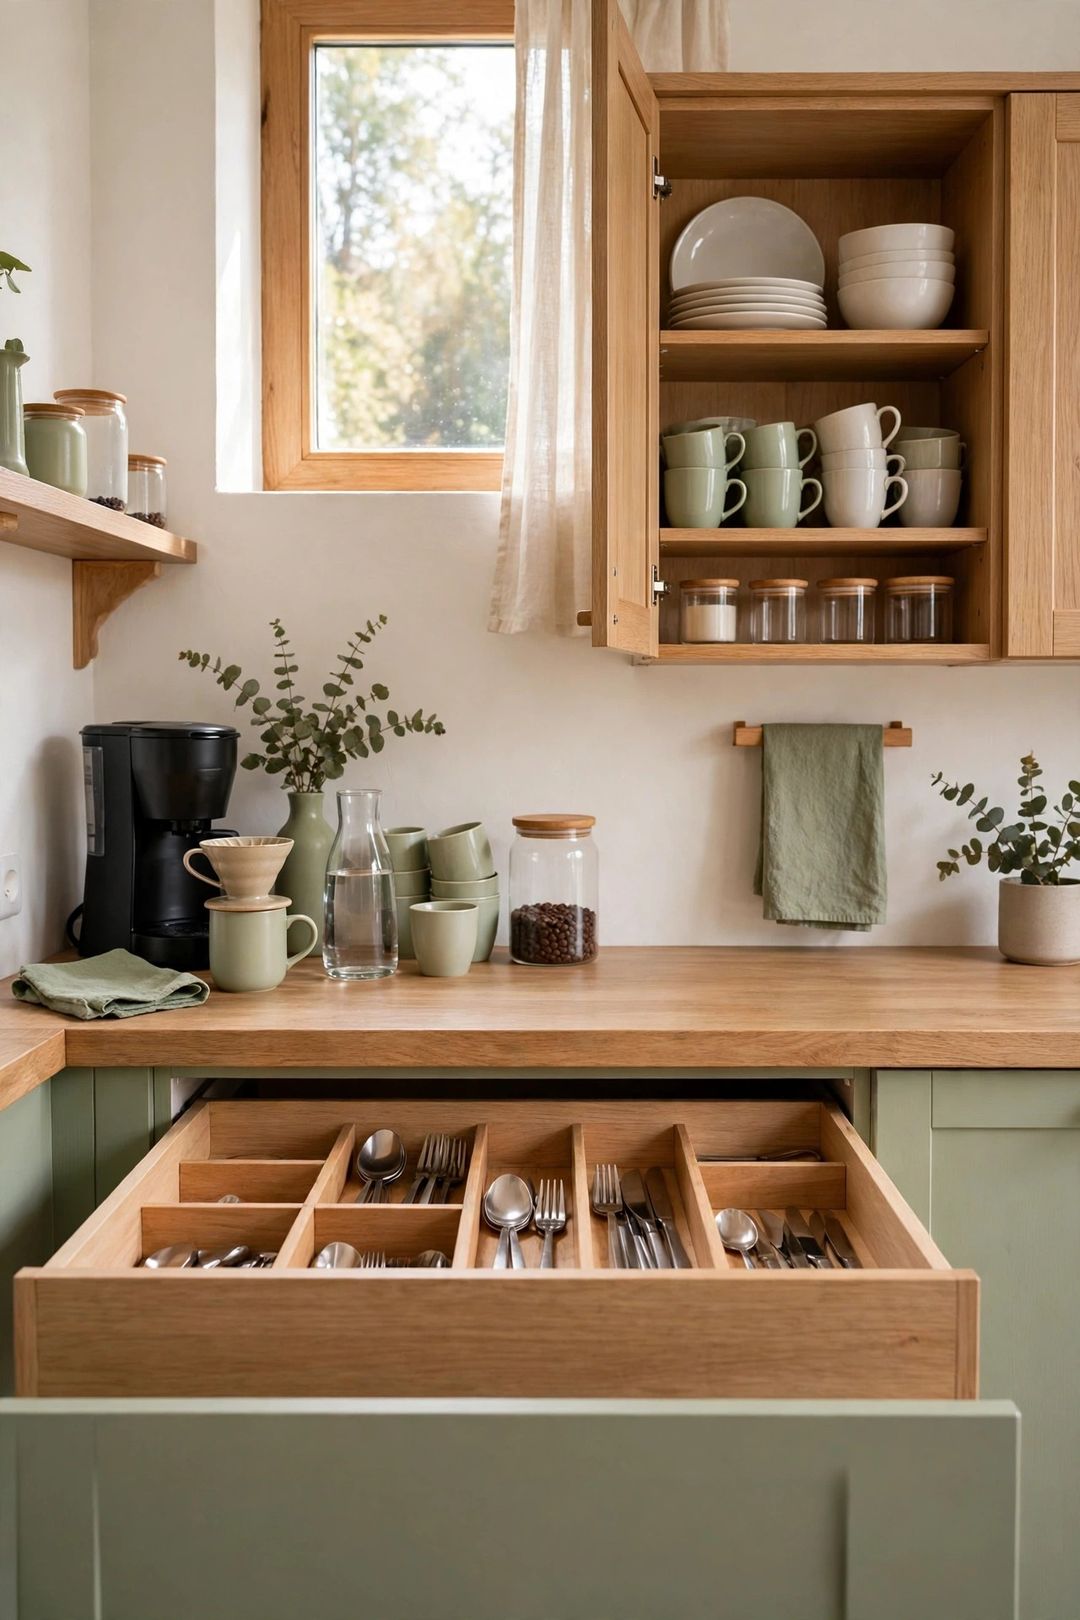
Now unpack cookware as one group. Pots, pans, baking sheets, and lids belong near the stove, along with spatulas, wooden spoons, and oven mitts. When the whole cooking group lives together, making a meal does not turn into a tour of every cabinet. Nest pans only if lids have a home too, such as a rack or deep drawer, and keep the heaviest pan where you can lift it without reaching up.
Step 5: Unpack Food Into Simple Pantry Zones
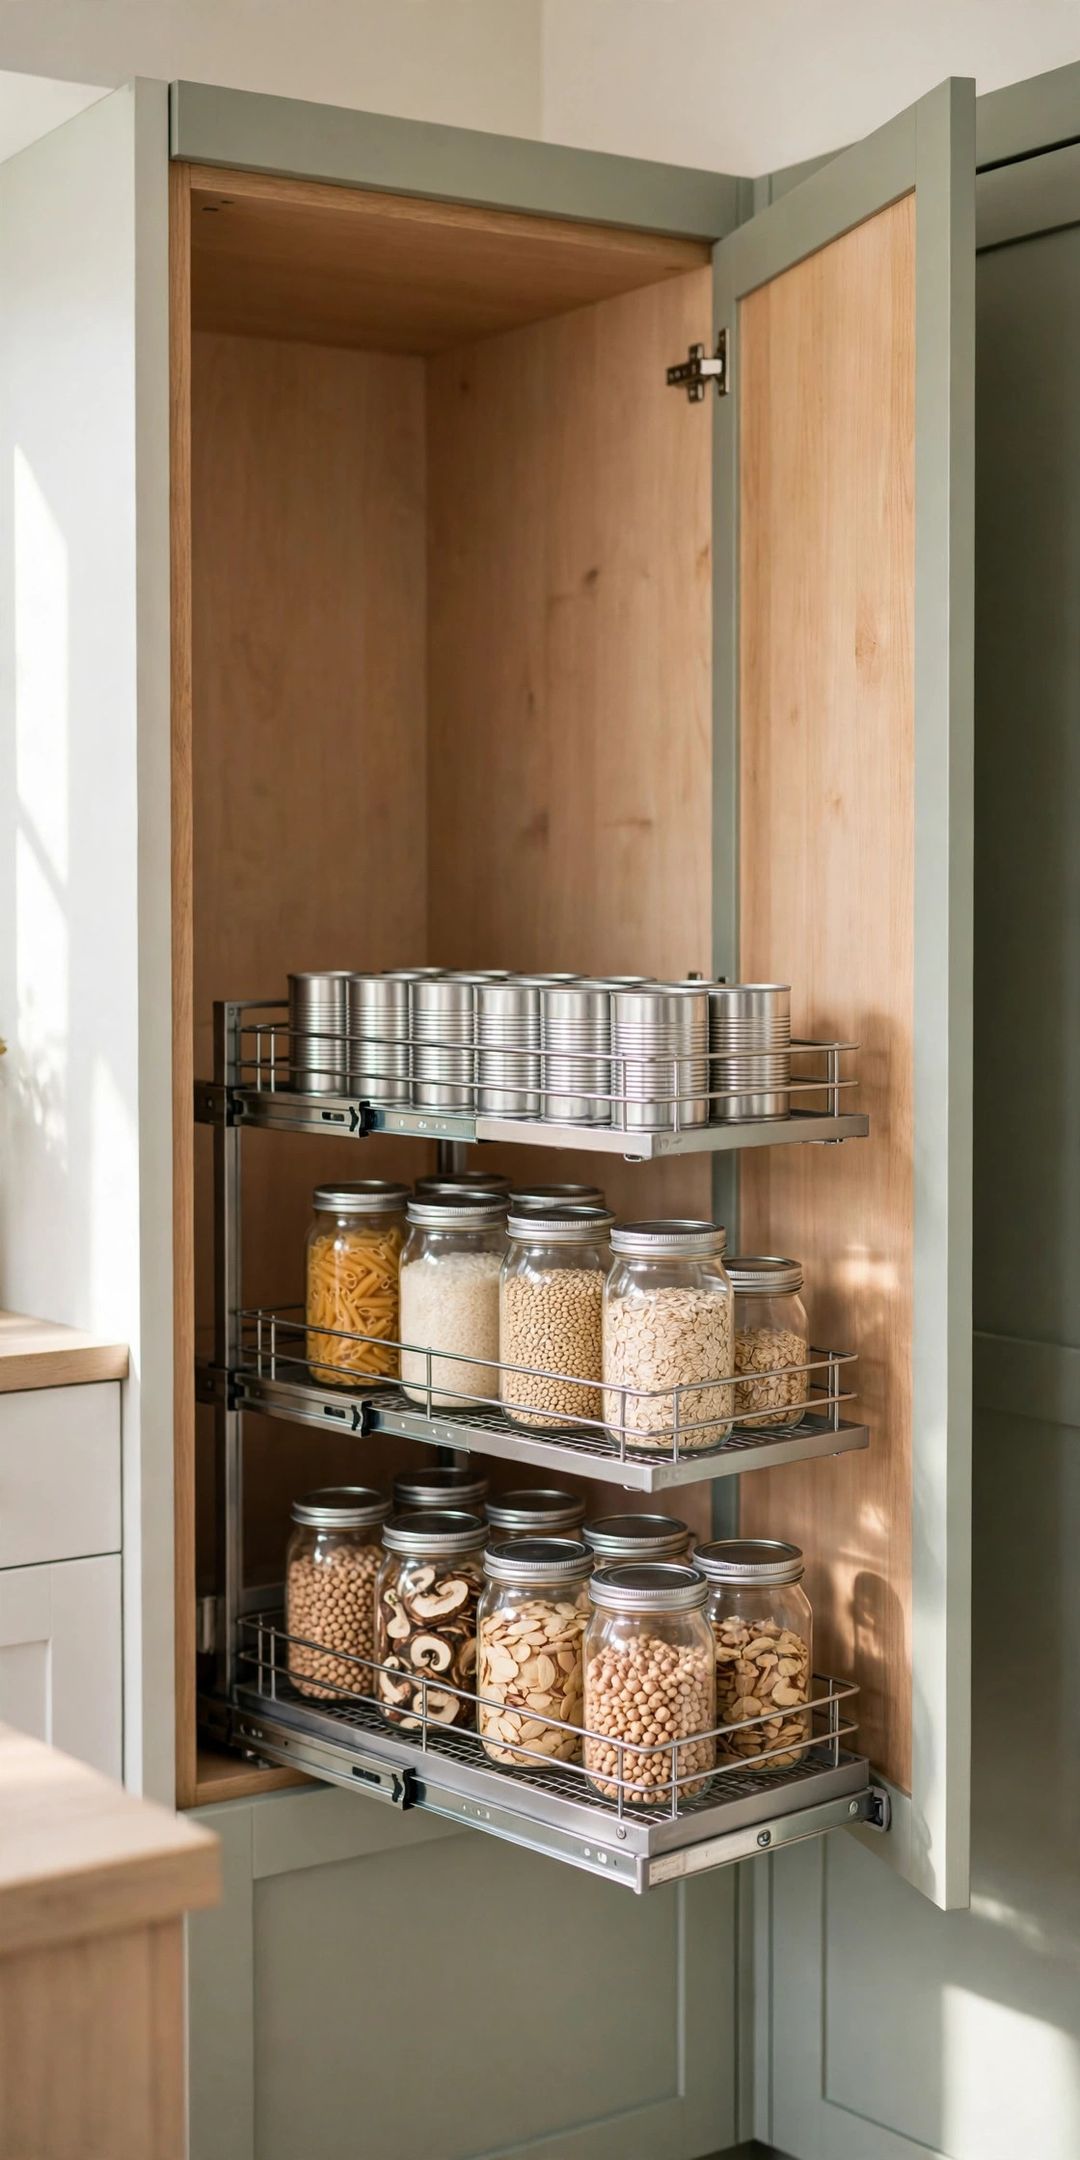
Food comes after dishes and cookware, so it fills the space that remains instead of pushing tools out. Group food as you unpack: daily cooking staples, breakfast items, baking supplies, snacks, and backstock extras. Give each group one shelf, cabinet section, or bin. Check dates as boxes open, place newer items behind older ones, and keep daily staples at eye level. Label any container you decant.
Step 6: Decide Counter Space for Small Appliances
Small appliances can eat a small counter in minutes, so choose on purpose. Give counter space only to the one or two appliances you use most days, such as a coffee maker or kettle. Store occasional appliances with cords and parts together. If an appliance has no clear home, leave it boxed. A week of cooking will show you what you truly reach for.
Step 7: Set Up Cleaning Supplies Under the Sink
Unpack cleaning supplies once the main groups are settled. Under the sink, keep only kitchen cleaning items: dish soap, sponges, trash bags, and one all-purpose cleaner, grouped in a small bin or caddy so bottles stay upright and leaks are easy to spot. Set up the trash and recycling spot during this step too, even if it is just one bin at the end of the counter, before cooking wrappers start to pile up.
Step 8: Unpack Extras Last and Do a Final Adjust
Last come the extras: serving platters, seasonal items, cookbooks, and spare linens. By now the daily system works, so extras must fit the leftover high, deep, or awkward spaces. If an extra does not fit, store it outside the kitchen rather than crowding a working zone. After a few normal meals, make one round of small fixes: move what you keep reaching for closer, and shift anything unused farther away.
What to Buy
A shelf liner roll, typically $8–$15. Pro: It wipes clean and helps dishes stay put on smooth shelves. Con: It takes time to cut and fit during move-in. Skip if: Your shelves are already lined and in good, clean condition.
Adjustable shelf risers, typically $12–$22. Pro: They add a second layer inside tall cabinets for bowls and glasses. Con: They reduce the height left above each layer. Skip if: Your cabinets already have enough adjustable shelves.
Clear storage bins, typically $10–$20. Pro: They group snacks, packets, and backstock so small items stay visible. Con: Bins that are too deep can hide items at the bottom. Skip if: Your pantry is a single shallow shelf with no room for bins.
A drawer divider set, typically $10–$18. Pro: It keeps utensils sorted from the first day instead of sliding into one pile. Con: Fixed sizes may not match narrow drawers. Skip if: Your drawers already have built-in dividers.
An over-door rack, typically $18–$30. Pro: It holds wraps, foil, and light supplies on an unused surface. Con: It can rattle or block the door if overloaded. Skip if: Your pantry or cabinet doors are sliding or bifold.
Mistakes to Avoid
- Unpacking box by box in random order. Mixed boxes scatter one category across every cabinet, and no zone ever forms.
- Giving prime shelves to rare items. The easiest cabinet should hold daily dishes, not a platter used twice a year.
- Filling every counter with appliances. A covered counter leaves no room to prep, and cooking feels cramped from day one.
- Skipping the clean-first step. Dirt and old liner get sealed in under your things and are much harder to fix later.
- Buying organizers before unpacking. You cannot know which bins or risers fit until you see what you own and where it lives.
Frequently Asked Questions
How long should move-in kitchen setup take?
Plan on a few focused sessions rather than one marathon. Cleaning and the daily zone come first, then one or two steps at a time, so the kitchen stays usable between sessions.
What if there is no pantry at all?
Use one cabinet for food with the same zones, smaller: daily staples at eye level, breakfast on one side, backstock on the highest shelf, and snacks in a single bin.
Where should rarely used items go?
High shelves, deep corners, or a labeled box outside the kitchen all work. The rule is simple: rare items take the awkward spots, and daily items keep the easy ones, never the other way around.
When should you buy organizers for a new kitchen?
After a week of normal cooking. By then you know which drawer overflows, which cabinet wastes height, and which bin size would actually help. A short, real list beats a cart full of guesses.
A small kitchen set up in the right order feels calm from the first week, not just tidy on moving day. Save this post to your Kitchen Organization board on Pinterest so the full unpacking order is handy when the boxes arrive.