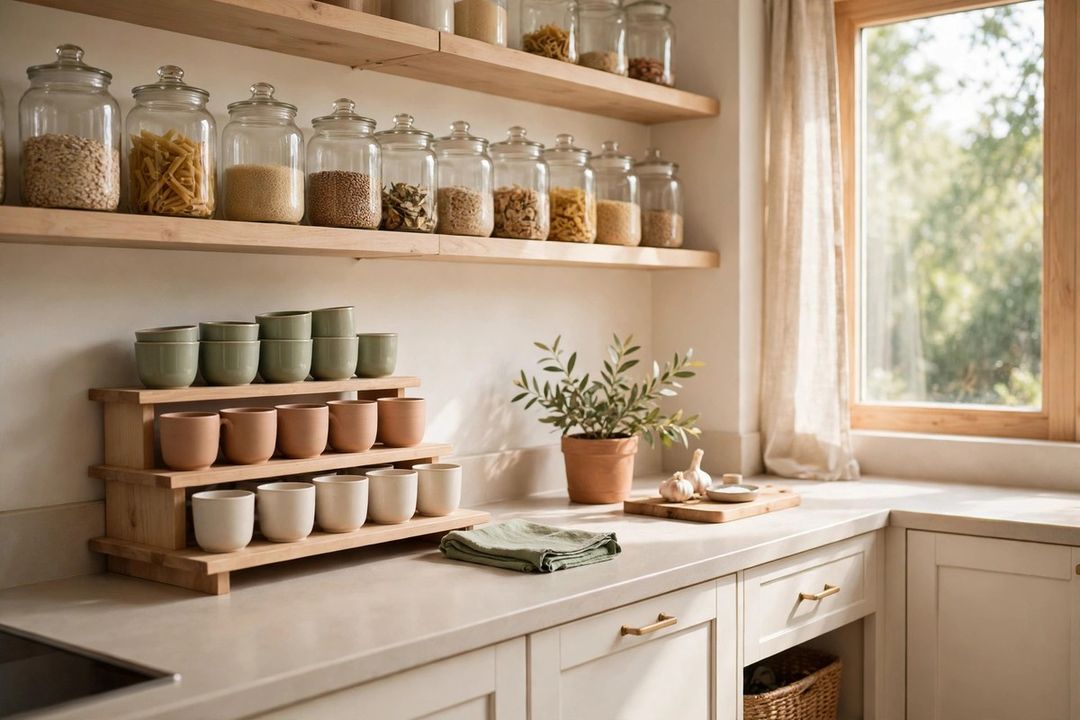
Holiday baking in a tiny kitchen has a familiar pattern. The flour is behind the pasta, the baking soda expired months ago, and the counter disappears under half-open bags before the first cookie sheet goes in the oven.
These tiny pantry holiday baking steps fix that in about an hour. One cabinet or a few shelves becomes a dedicated baking station: staples decanted and labeled, spices checked, and one pull-out bin that holds a whole recipe at a time. No extra furniture, no full makeover — just a seasonal system for November and December, built around the bakes you actually plan to make.
Step 1: Audit What Your Baking Actually Needs
Start from your recipe list, not from what is already in the cabinet. Write down the three to five things you plan to bake, then list the ingredients they share. Most holiday lists repeat the same core: flour, sugars, butter, eggs, vanilla, baking powder, baking soda, salt, cocoa, cinnamon, and chocolate chips.
Pull everything baking-related out. Toss anything stale or past its date, especially nuts and open spices. Box any ingredient that serves no recipe on your list outside the kitchen for the season, and finish with a buy list of gaps only — no duplicate vanilla, no third bag of powdered sugar.
Step 2: Claim One Baking Zone
Give baking one shelf or half-shelf, closest to your mixing bowl and measuring cups. Everything for the season lives there; everyday items like rice and cereal move to the least handy spot for a few weeks.
Keep heavy staples on the lowest shelf so lifting a full flour canister is safe. Put daily-use items at eye level, and park once-a-season extras, like molasses or candied fruit, up high. Tape your recipe list and buy list inside the cabinet door, where you can check them at a glance.
Step 3: Decant the Big Five
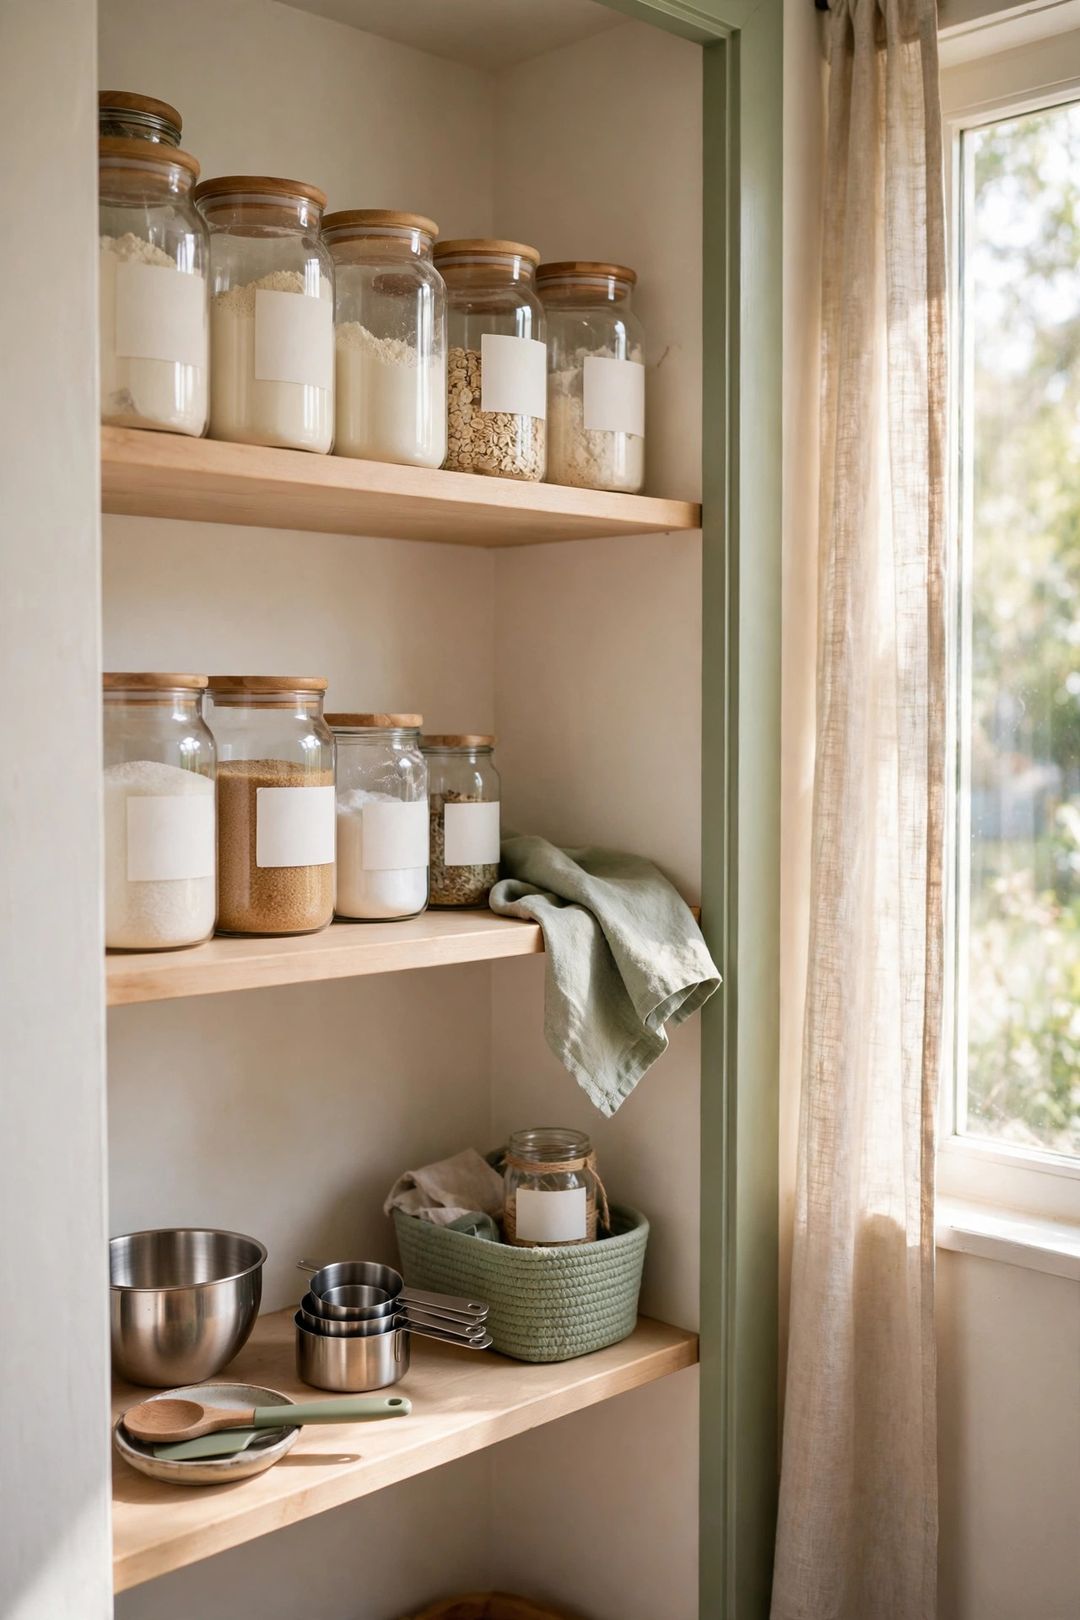
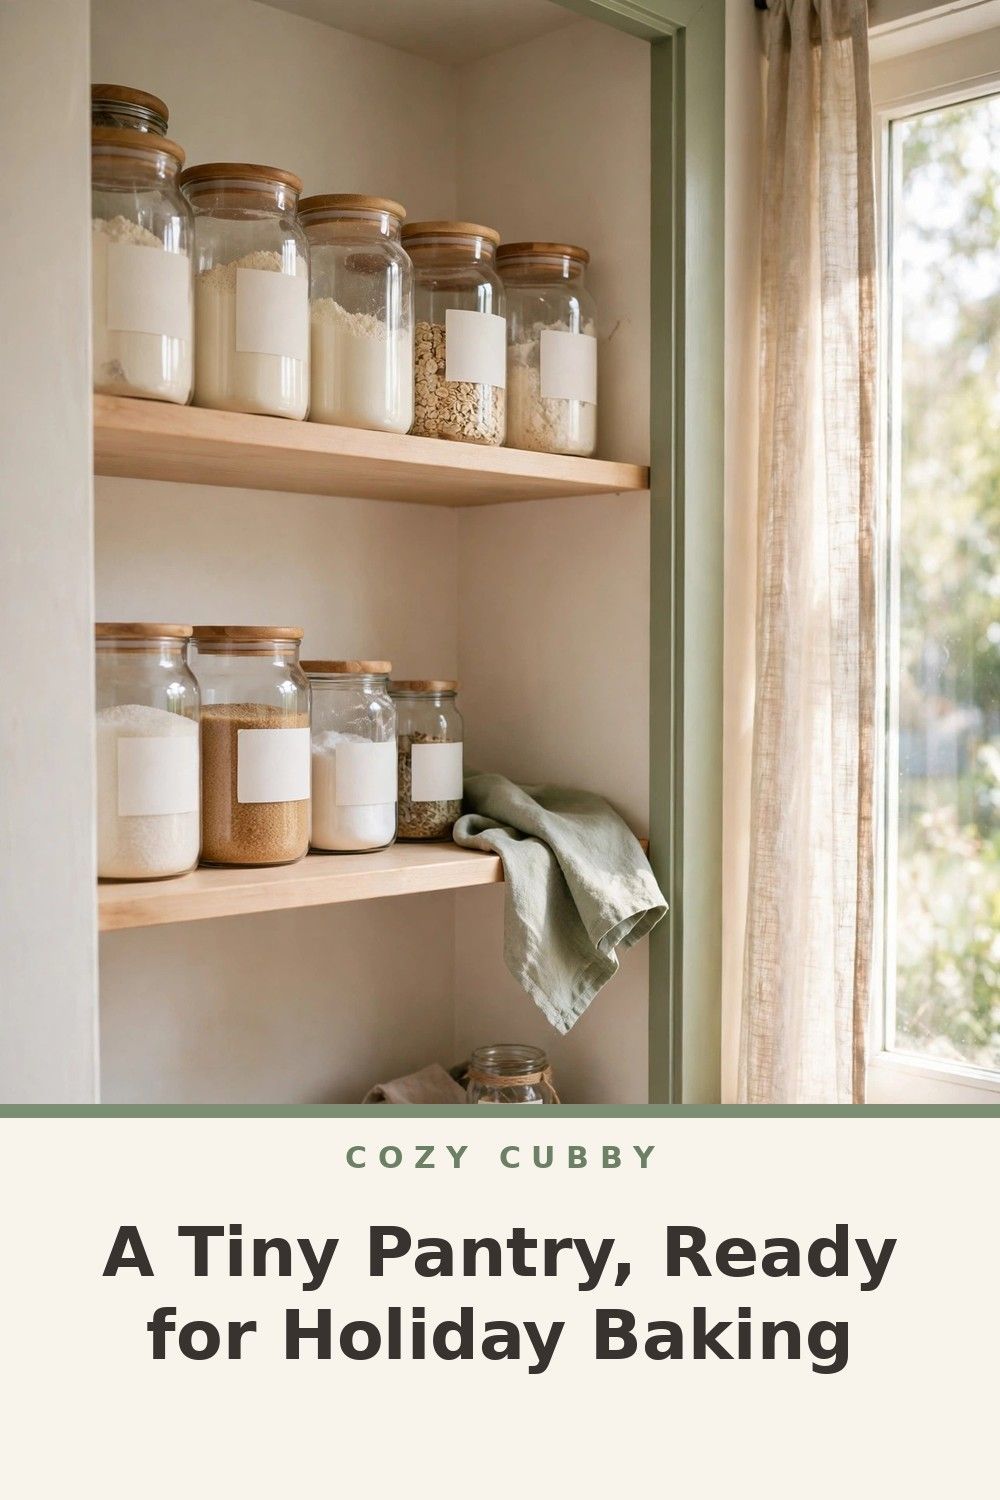
Bulky bags are the main space thief in a small pantry. Transfer your five most-used staples into straight-sided, airtight containers that line up without wasted gaps.
1. All-purpose flour. Use a wide-mouth container of at least 4 quarts, so a 5-pound bag fits and a cup can scoop straight in.
2. Granulated sugar. A 2- to 3-quart canister is usually enough.
3. Brown sugar. Use a truly airtight seal, since brown sugar hardens fast once air gets in.
4. Powdered sugar. A tall 2-quart container contains the dust cloud bags puff out at every opening.
5. Cocoa powder. A smaller 1-quart container works, since cocoa is used in spoonfuls.
Label each container with the name and the date filled, and tape the expiration date from the bag to the bottom. Wash a container fully before refilling it with a fresh bag.
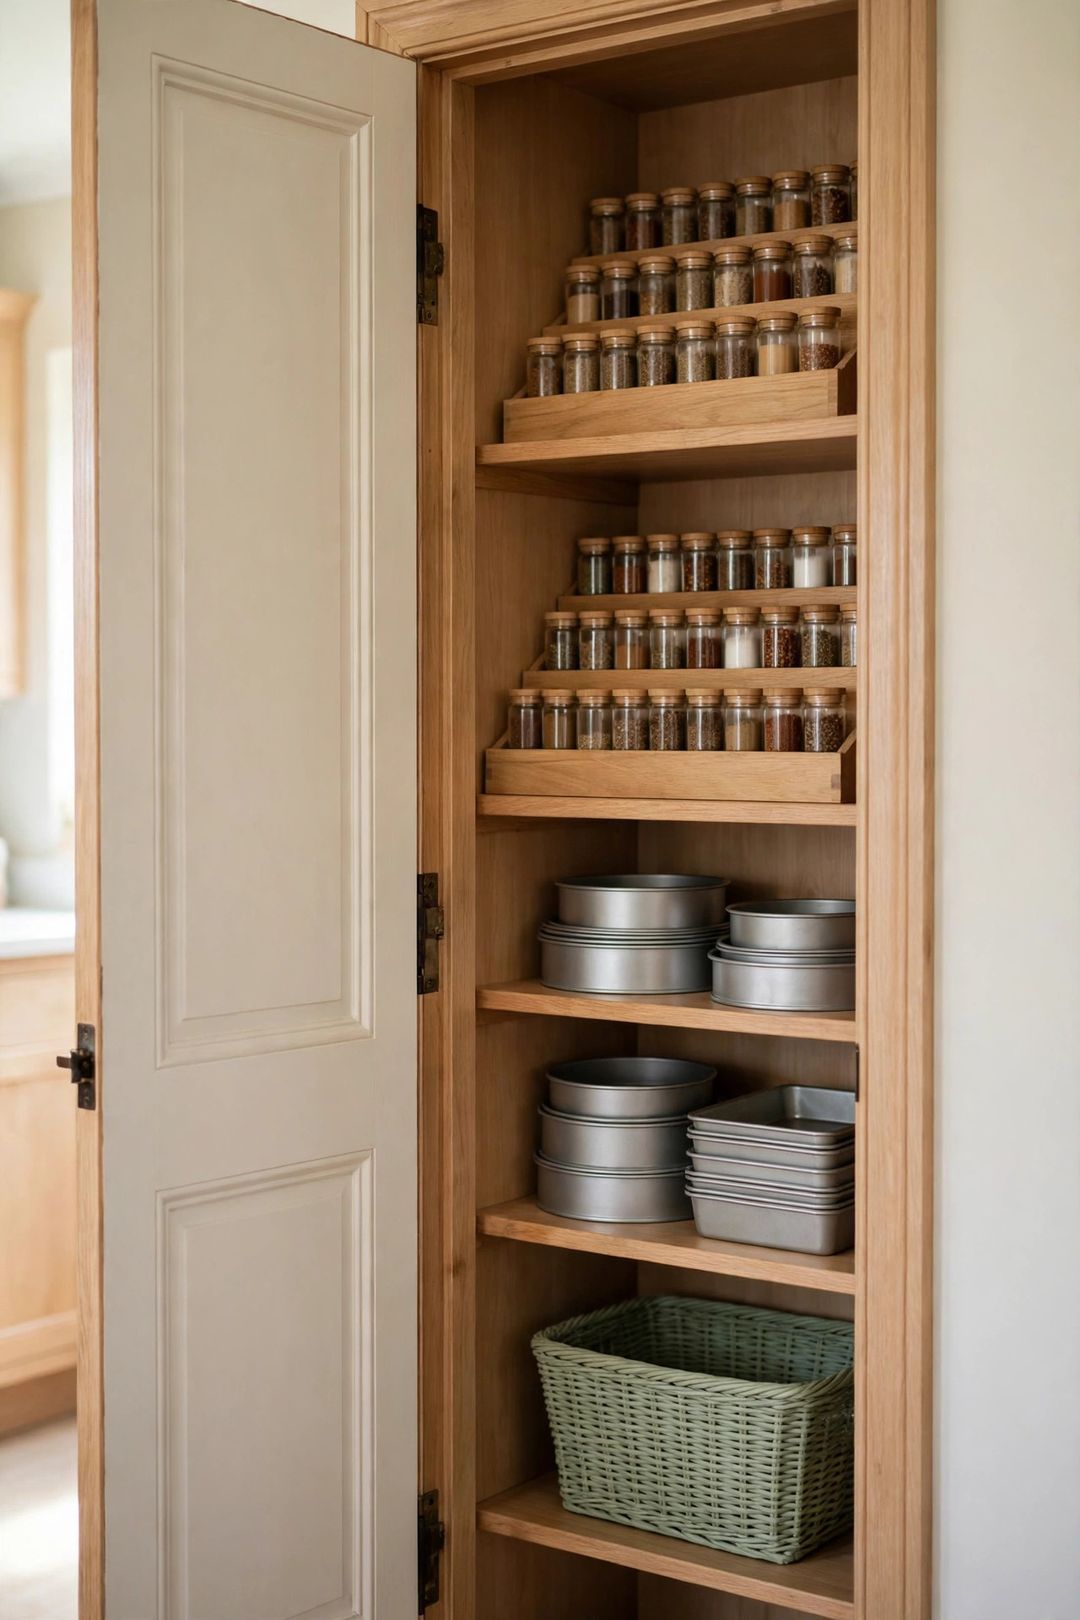
Step 4: Check Every Spice Before You Bake
Holiday recipes lean on a short spice list: cinnamon, nutmeg, ginger, cloves, allspice, and pumpkin pie spice. Old spices rarely spoil, but they go flat — and flat spices make flat cookies.
Rub a pinch between your fingers and smell it. If the scent is faint or dusty, replace it now, before it goes into a full batch. Check baking powder and baking soda too: stir a spoonful into hot water or vinegar, and if it barely fizzes, buy fresh. Write the opening date on each jar, then group the baking spices in one small box at the front of the shelf.
Step 5: Build a Pull-Out Baking Caddy
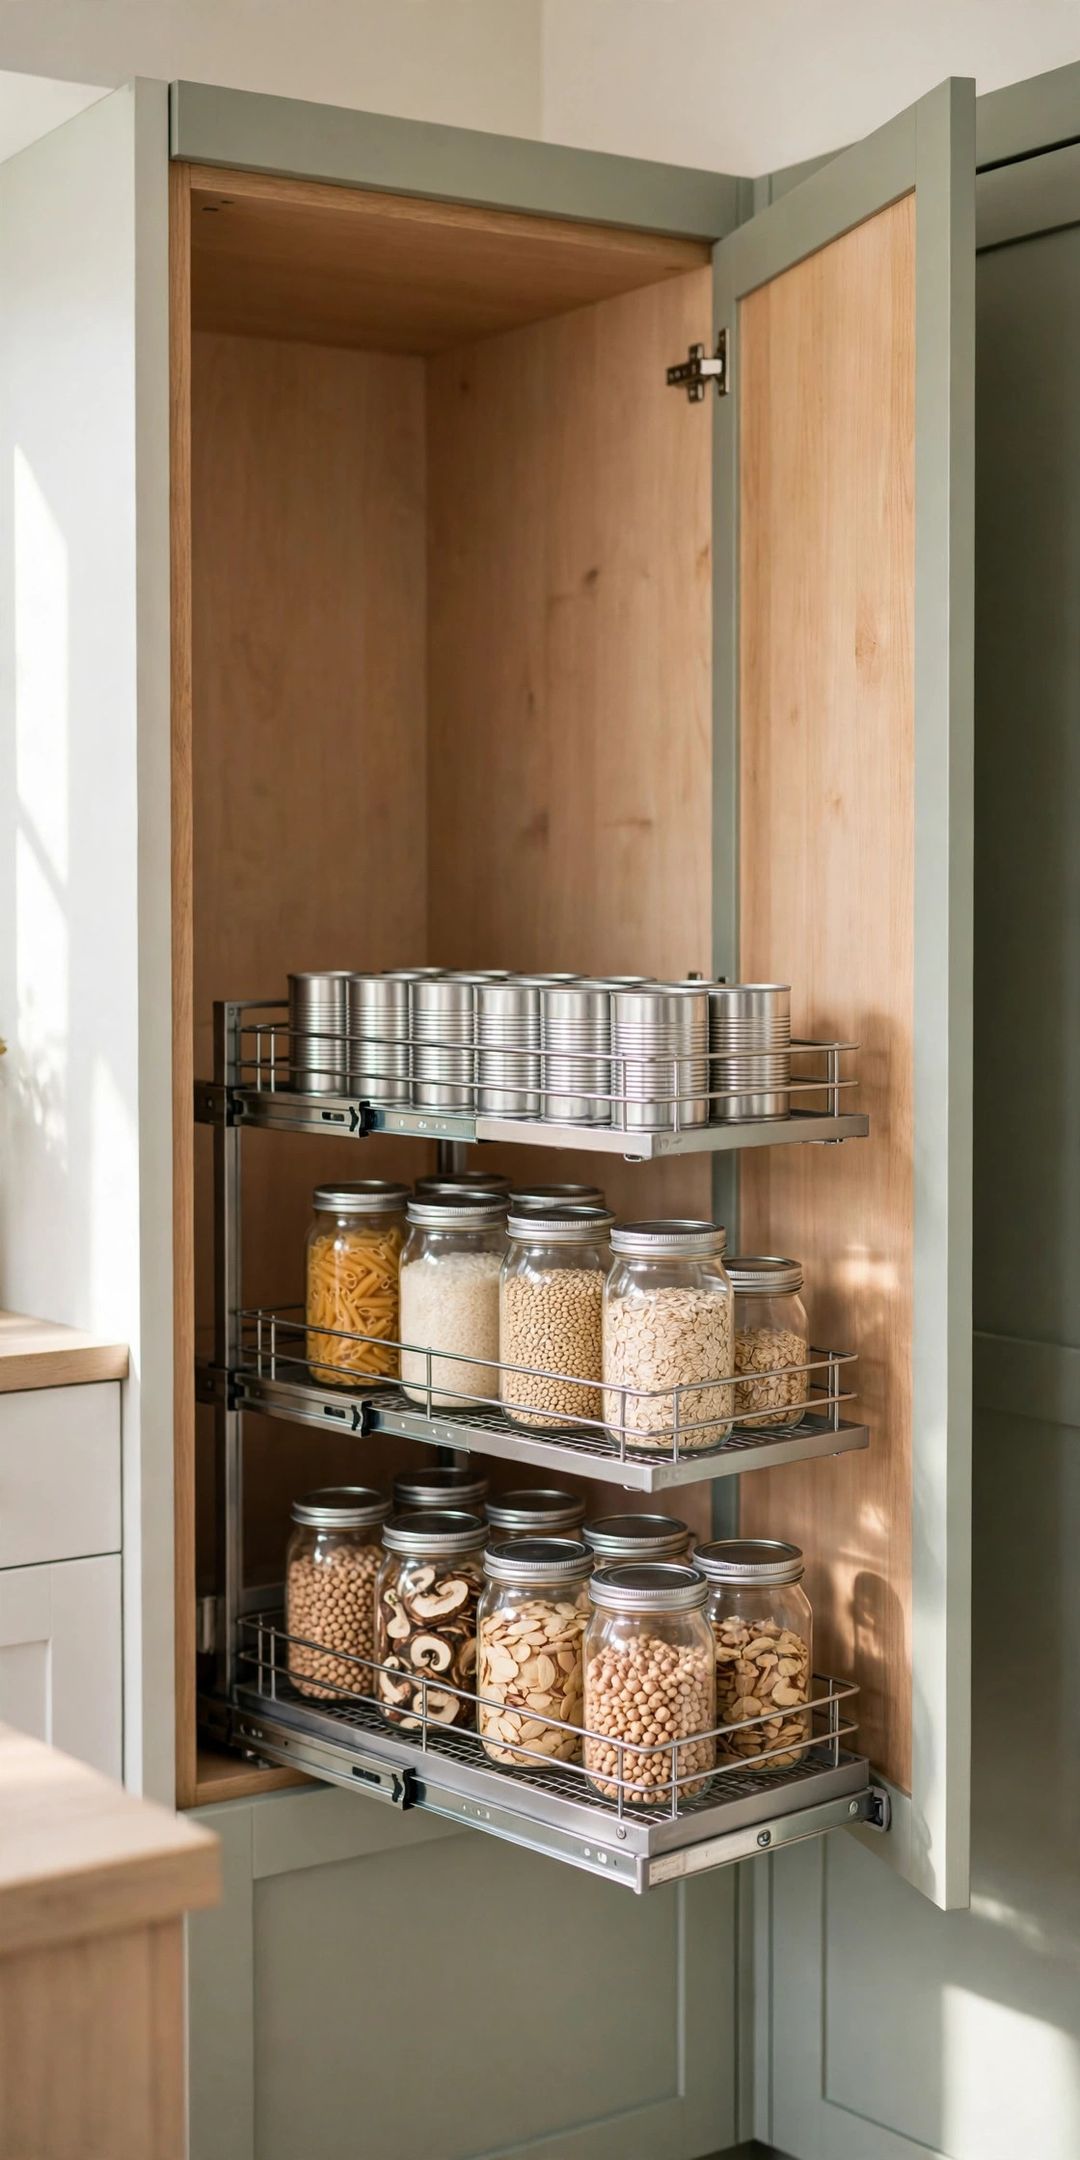
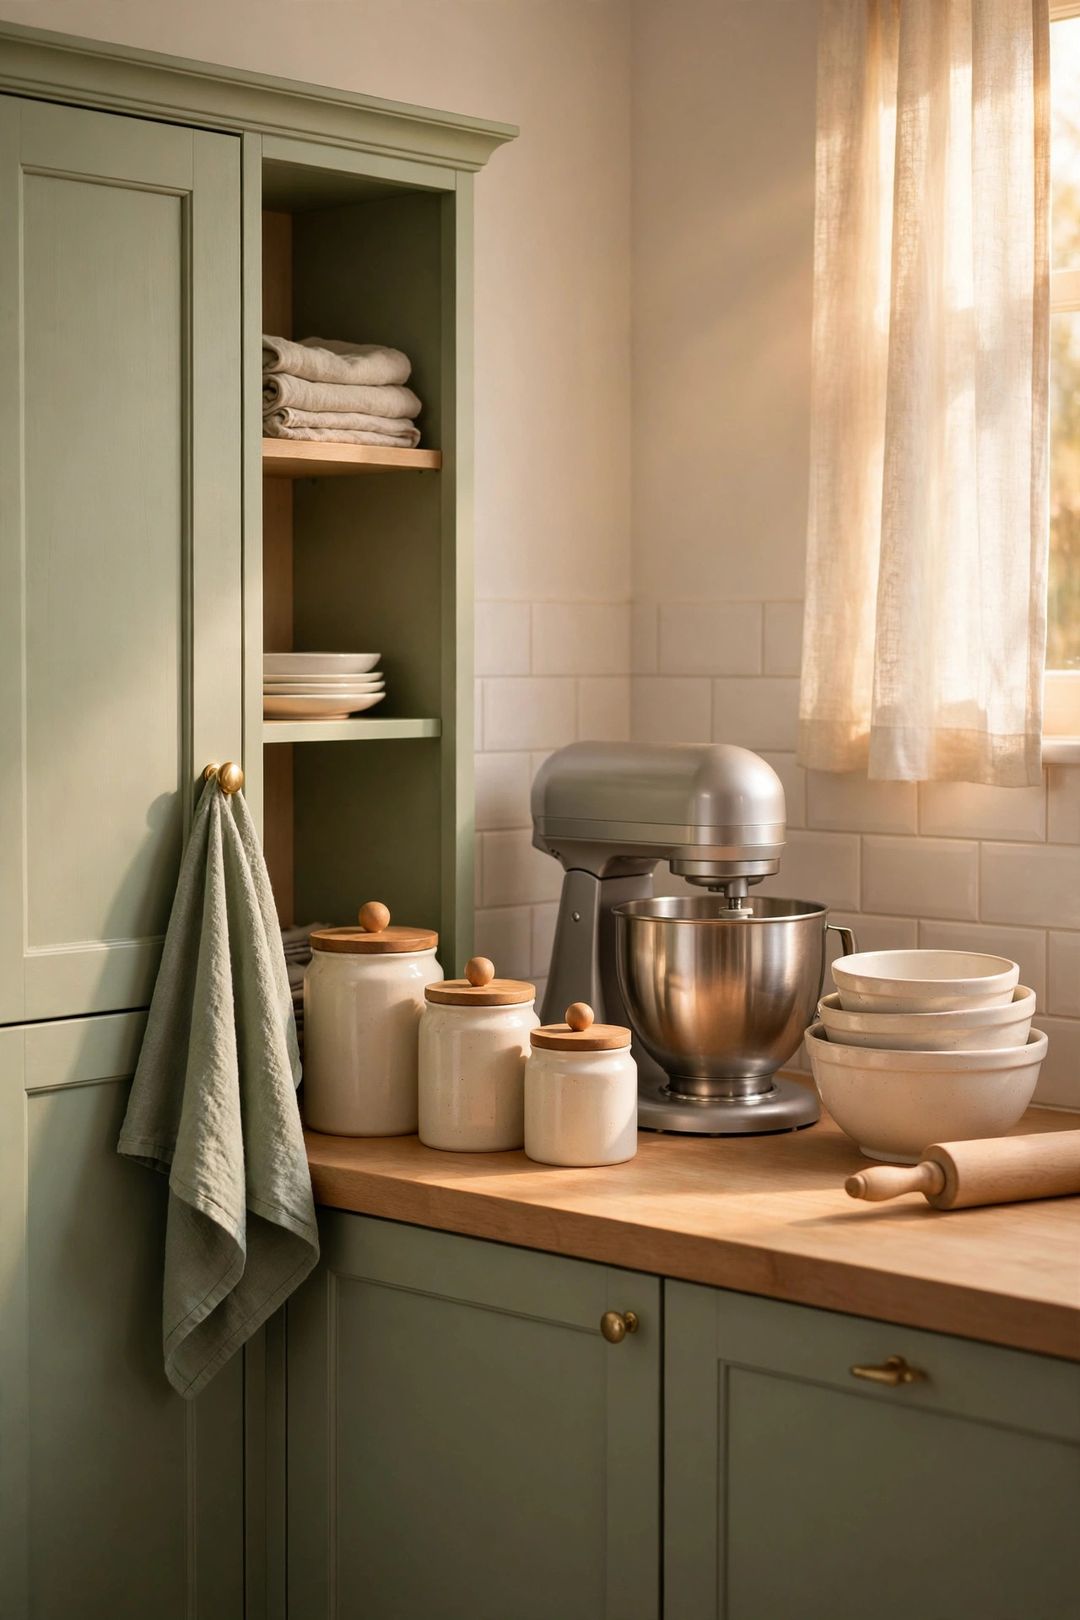
This is the heart of the system. Use one bin or low tray, roughly 12 by 8 inches, that slides out as a single unit. Stock it with the small items every bake needs: vanilla, baking powder, baking soda, salt, sprinkles, liners, parchment sheets, and measuring spoons.
On bake day, pull the caddy to the counter and everything small is in your hand. When you finish, the whole kit goes back in one motion. Keep it to one layer where possible, so you can see every item without digging.
Step 6: Stage Ingredients by Recipe
The night before a bake, set up one tray or shallow box per recipe. Add that bake's shelf-stable ingredients, grouped together, and note what still needs to come from the fridge.
Staging shows you a missing ingredient while a store run is still easy, and it keeps bake day calm: one tray grab instead of ten cabinet trips with floury hands. For gifts, stage one extra tray with bags, boxes, ribbon, and tags.
Step 7: Make Freezer Room for Butter and Dough
Clear one small freezer area before the season starts and reserve it for baking.
Butter freezes well in its wrapper inside a sealed bag, so buy it on sale and store it flat. Many cookie doughs can be scooped into balls, frozen solid on a tray, then bagged and labeled with the baking temperature and time. Those bags bake straight from frozen with a small time adjustment. Leave a little empty space, so trays can still slide in flat.
Step 8: Do a 10-Minute Pre-Bake Reset
Before each bake, spend ten minutes returning the zone to its starting state: wipe the shelf, refill low containers, check the caddy, and update the buy list.
This small reset keeps a tiny pantry working all season. Without it, each bake leaves a little more clutter behind, and by mid-December the system looks like the mess it replaced.
What to Buy
Airtight canisters for the big five, typically $20–$40 for a set. Pro: They stack neatly and keep staples fresher than open bags. Con: Cheap lids can seal poorly, so test before filling. Skip if: Your bags already fit in one sealed bin you own.
A pull-out bin or handled caddy, typically $8–$15. Pro: It turns scattered small items into one grab-and-go unit. Con: A deep bin hides items at the bottom. Skip if: A shoebox-sized tray you own fits the shelf.
Freezer bags and a marker, typically $5–$10. Pro: They store dough balls and butter flat, using little freezer space. Con: Single-use unless you choose reusable bags. Skip if: You already stock sturdy freezer containers.
Mistakes to Avoid
- Buying before auditing. Duplicates of flour, vanilla, and sprinkles overflow one small cabinet fast.
- Decanting everything. Rare items do better in their original packaging; save containers for weekly staples.
- Skipping the freshness check. Old baking soda and flat spices can quietly ruin a full batch.
- Storing baking goods in several rooms. Split storage means forgotten ingredients and repeat buys.
- Packing the shelf edge to edge. A container you cannot pull out without moving three others stops being used.
Frequently Asked Questions
How far ahead should you organize a pantry for holiday baking?
One to two weeks before your first big bake works well. That leaves time to replace flat spices, buy only the gaps, and freeze butter or dough.
What if there is only one cabinet shelf for everything?
Shrink the system, do not abandon it. Decant just flour and sugar, keep spices in one small box, and let the caddy hold the rest. Move non-baking items off that shelf until January.
How long do baking spices stay fresh?
As general guidance, ground spices hold their best flavor for about six months to a year once opened, while whole spices last longer. The smell test is the practical check: if a pinch smells weak, replace it.
Can cookie dough really be frozen ahead?
Yes. Scoop or slice the dough, freeze it firm on a tray, then store it in a labeled freezer bag with the oven temperature and baking time on the front.
A tiny pantry can carry a full season of cookies, cakes, and pies — it just needs a plan instead of more space. Save this post to your holiday baking board on Pinterest so the checklist is ready before your first bake day.