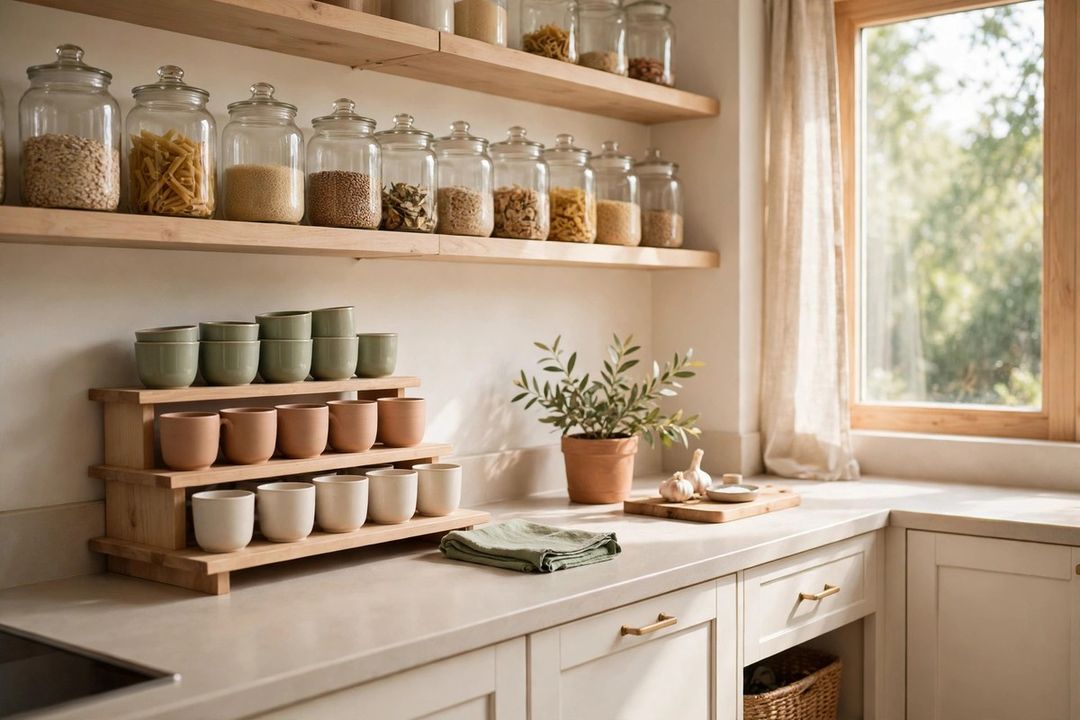
A blender by the sink, a mixer in front of the outlets, a coffee maker squeezing out the cutting boards. When counters fill up, cooking gets harder, because every task starts with moving an appliance out of the way first.
These small appliance storage ideas sort machines by how often they get used. Daily tools stay within easy reach, weekly tools move into cabinets and drawers, and rare-use machines leave the work zone entirely. The win comes from giving each appliance access that matches its real use.
Daily Appliances: Close, Covered, and Easy to Reach
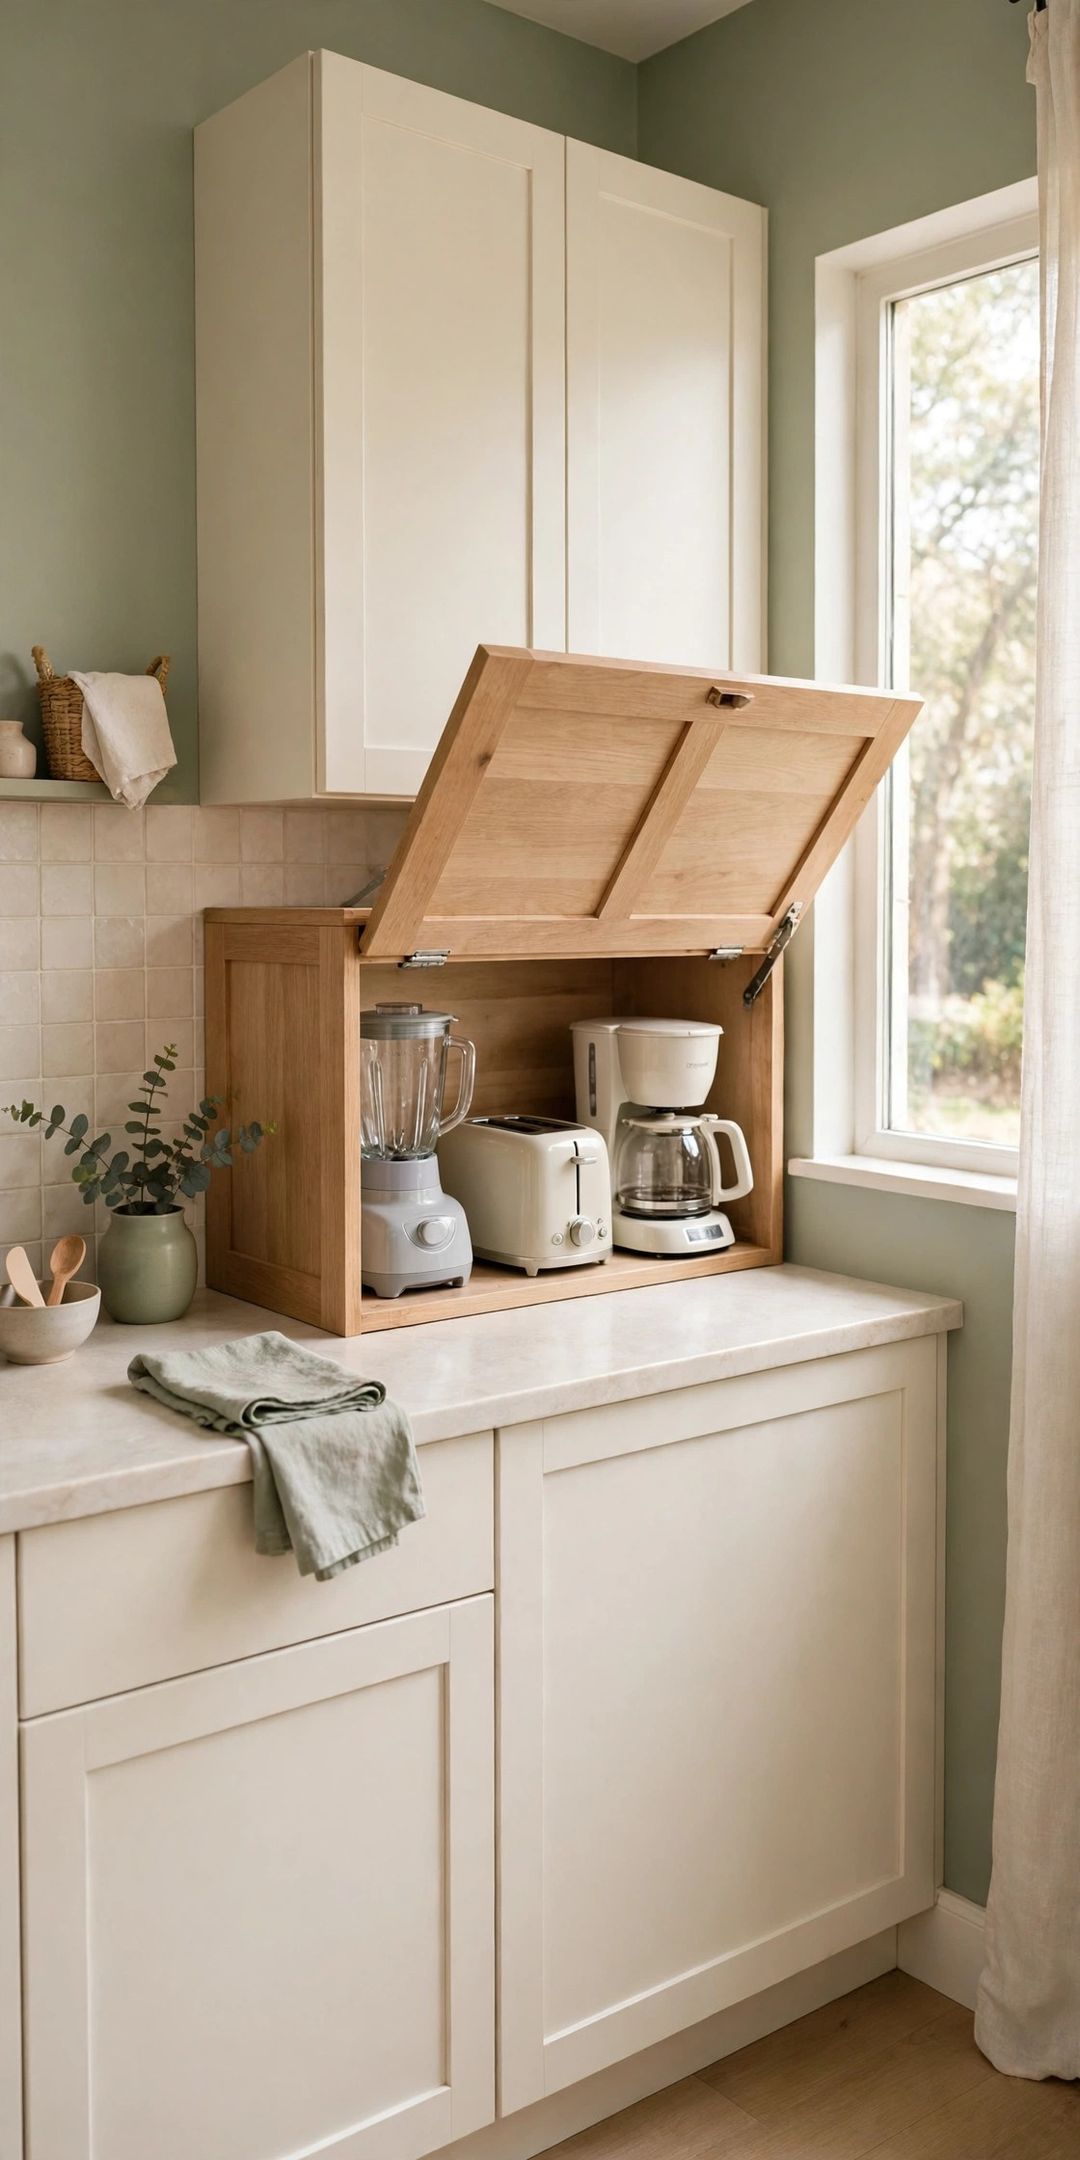
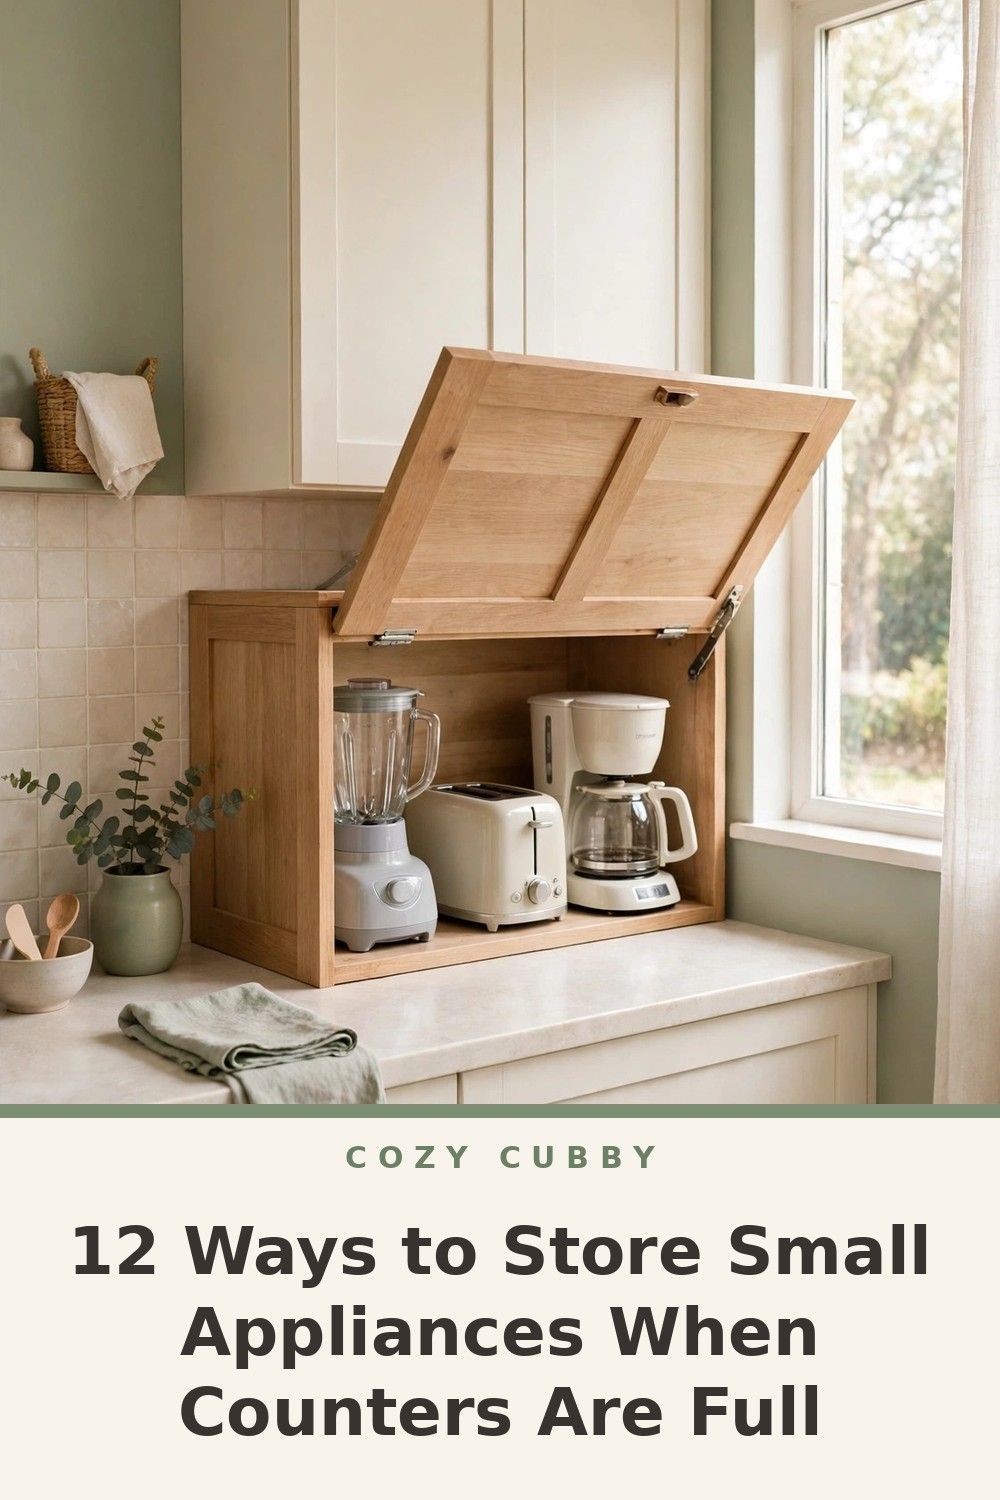
1. An appliance garage for the daily lineup. A countertop cabinet with a roll-up or hinged door hides the coffee maker, toaster, or kettle in place, cords and all. Machines slide forward to use. Measure height and depth first, and leave room for steam to escape.
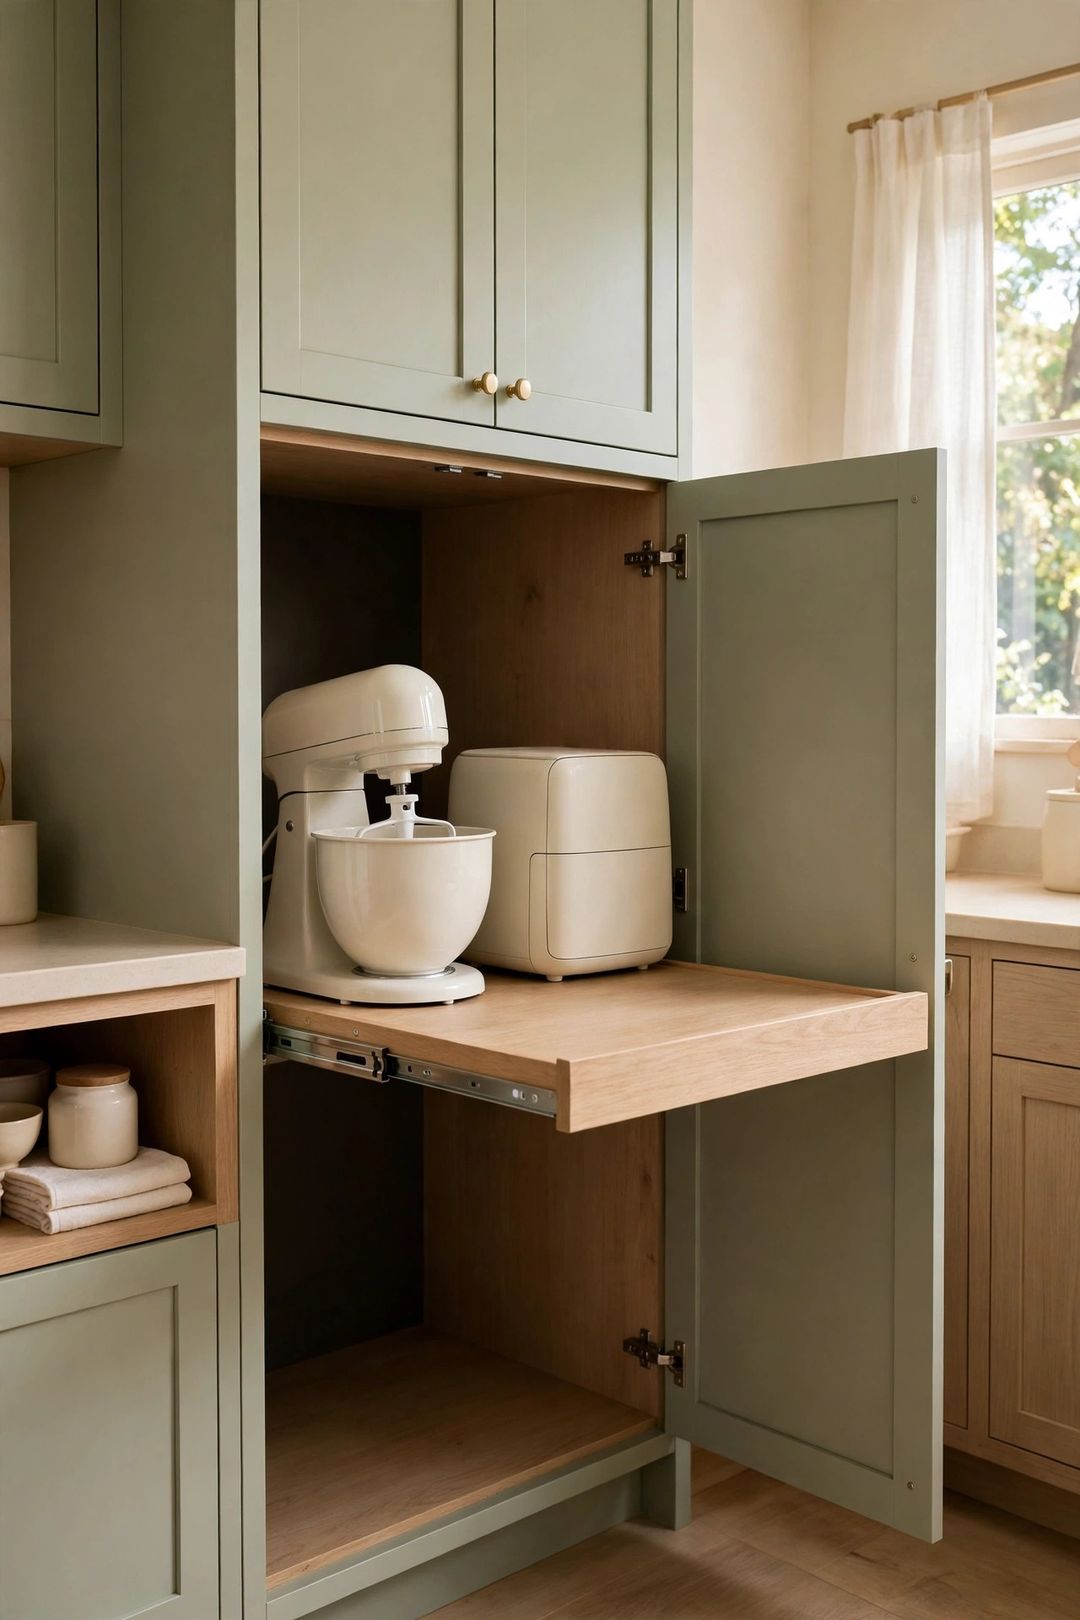
2. A cabinet lift shelf for the heavy mixer. A spring-assisted lift platform stores a stand mixer inside a base cabinet, then swings it up to counter height for use. It saves the hardest lift in the kitchen: hoisting a heavy mixer from a low shelf. Check the weight rating and cabinet width before ordering.
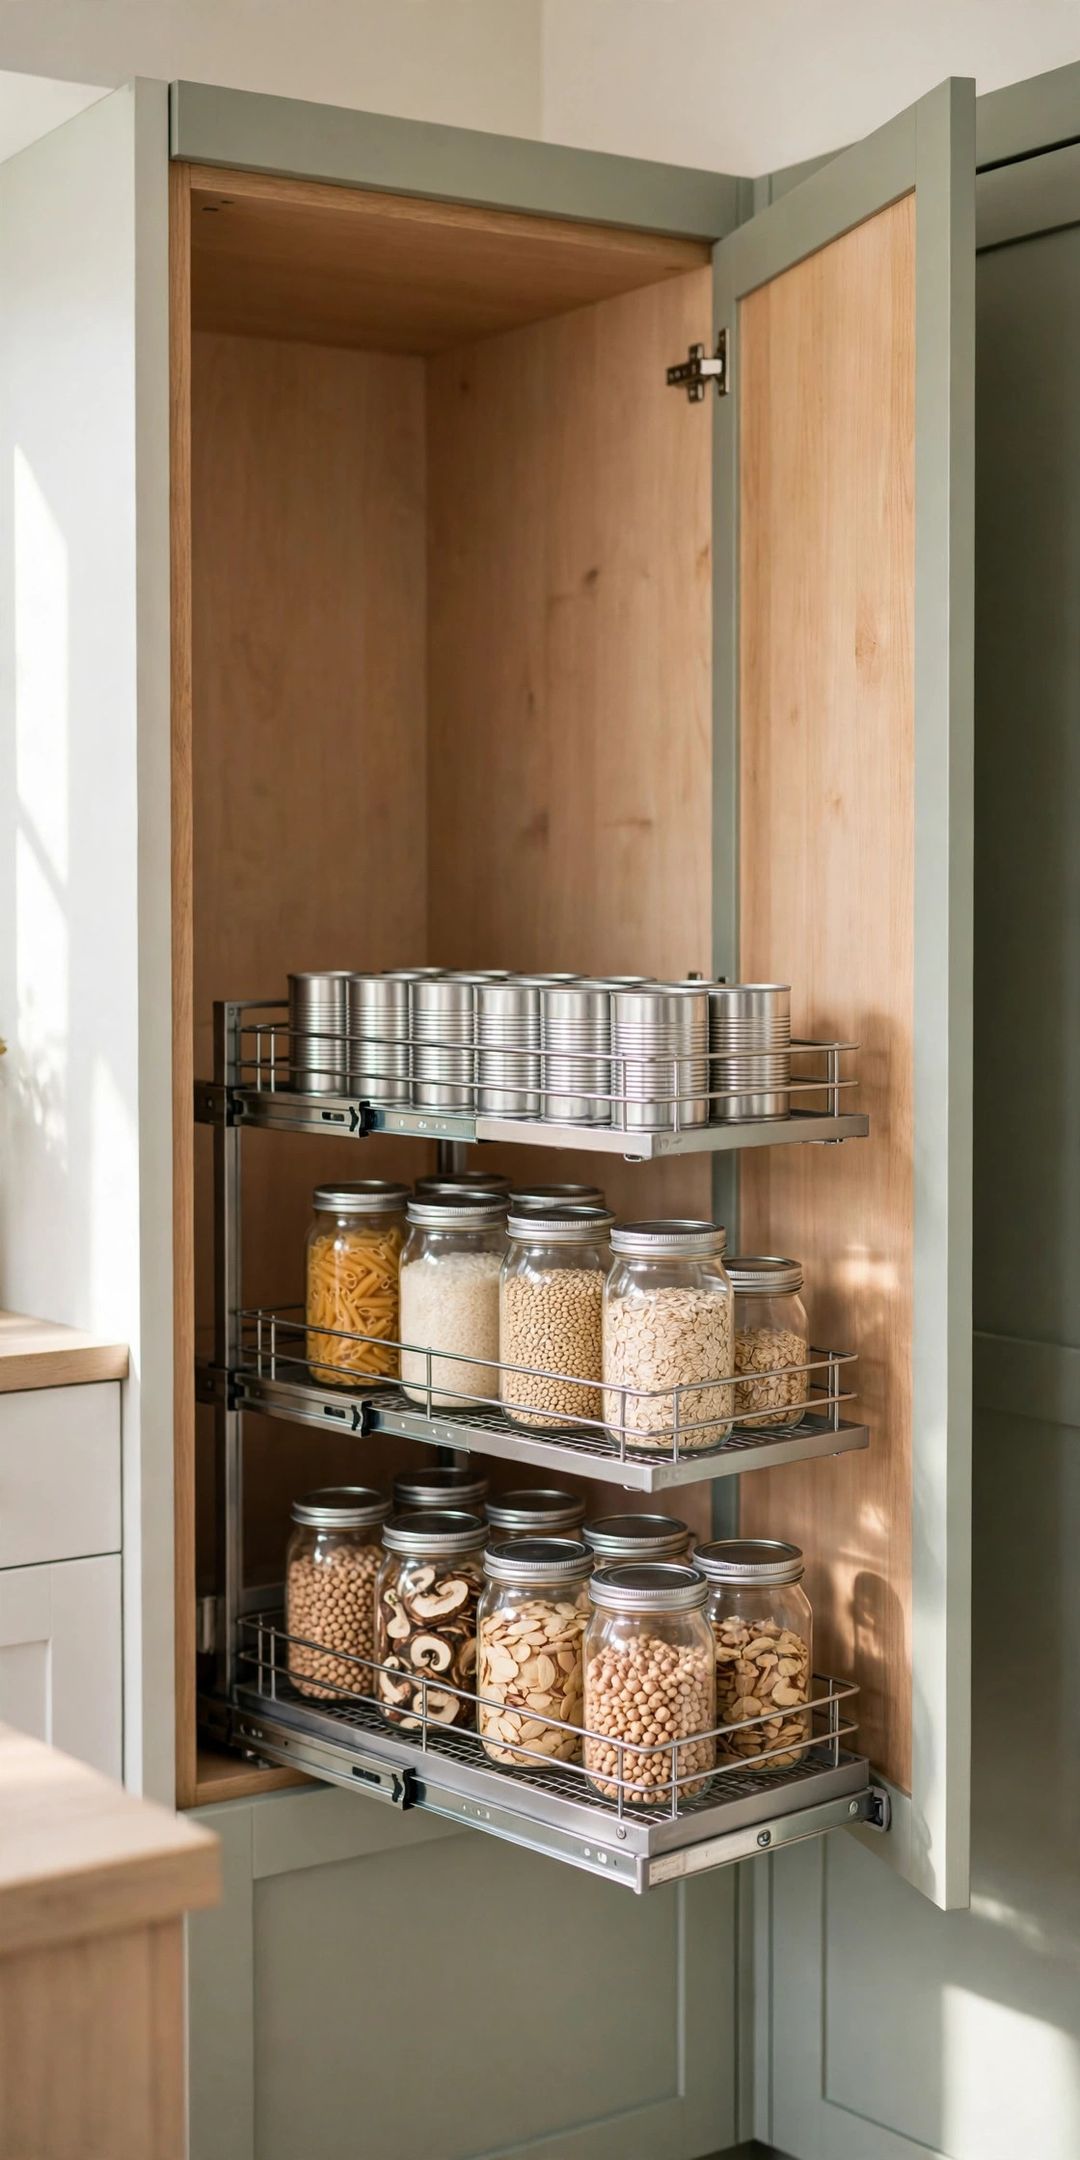
3. A pull-out shelf under the counter. A sliding shelf inside a base cabinet brings the blender or food processor forward instead of forcing a reach to the dark back. Full-extension slides matter here, because a shelf that only opens halfway hides the back row all over again.
4. A corner turntable for awkward cabinet space. Corners swallow small appliances whole. A sturdy turntable, sized to the cabinet, keeps a waffle maker or slow cooker visible and reachable with one spin. Round appliances suit corners best, and the tallest piece sets the limit for what fits above.
Drawers, Carts, and Vertical Space
5. A deep drawer fitted with dividers. Deep drawers hold a blender base, processor bowls, and attachments in one visible layer instead of a stacked cabinet pile. Adjustable dividers keep parts from sliding when the drawer opens. Store each machine with its own attachments, so nothing gets separated and lost.
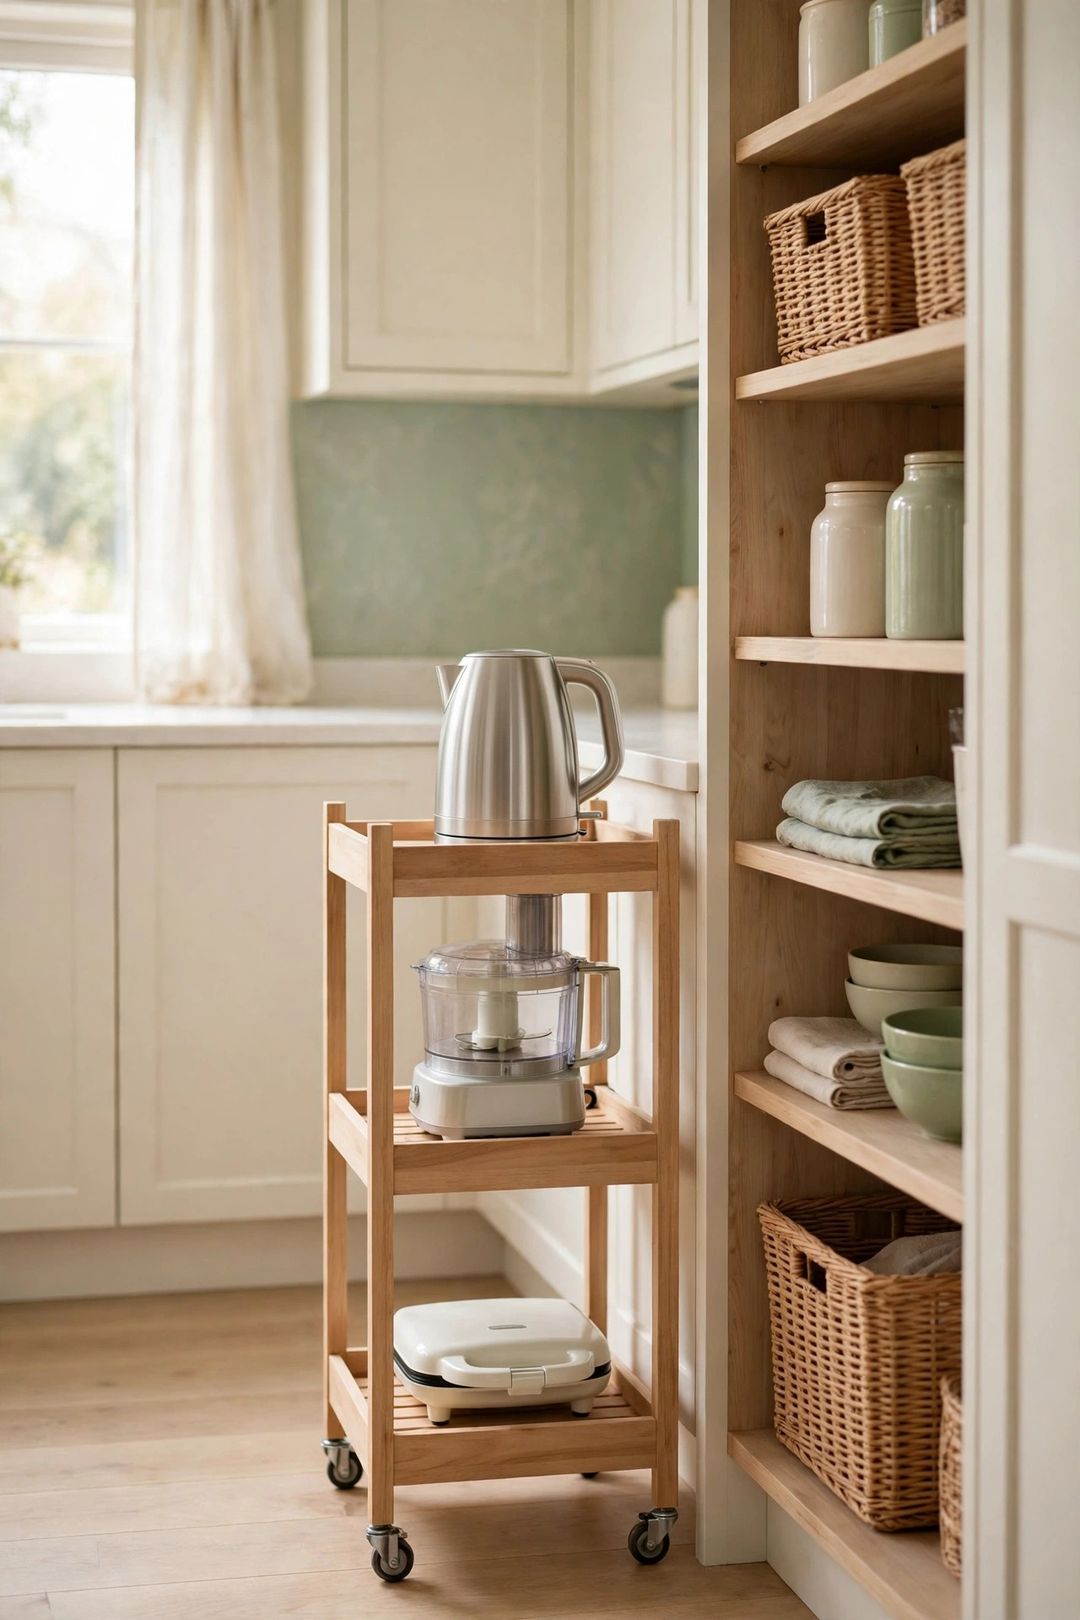
6. A slim rolling cart in the gap. The narrow space beside a fridge or stove often fits a slim cart with two or three tiers. Park the kettle, a small toaster oven, or the coffee supplies there, then roll the cart out to use it. Choose locking wheels and check the cord can reach an outlet safely.
7. A sturdy wall shelf above the work zone. One strong shelf mounted above counter height holds lighter, pretty, or daily pieces like a kettle or a small espresso tool, freeing the surface below. Anchor shelves into studs, respect the weight limit, and keep anything heavy or rarely used off high shelves.
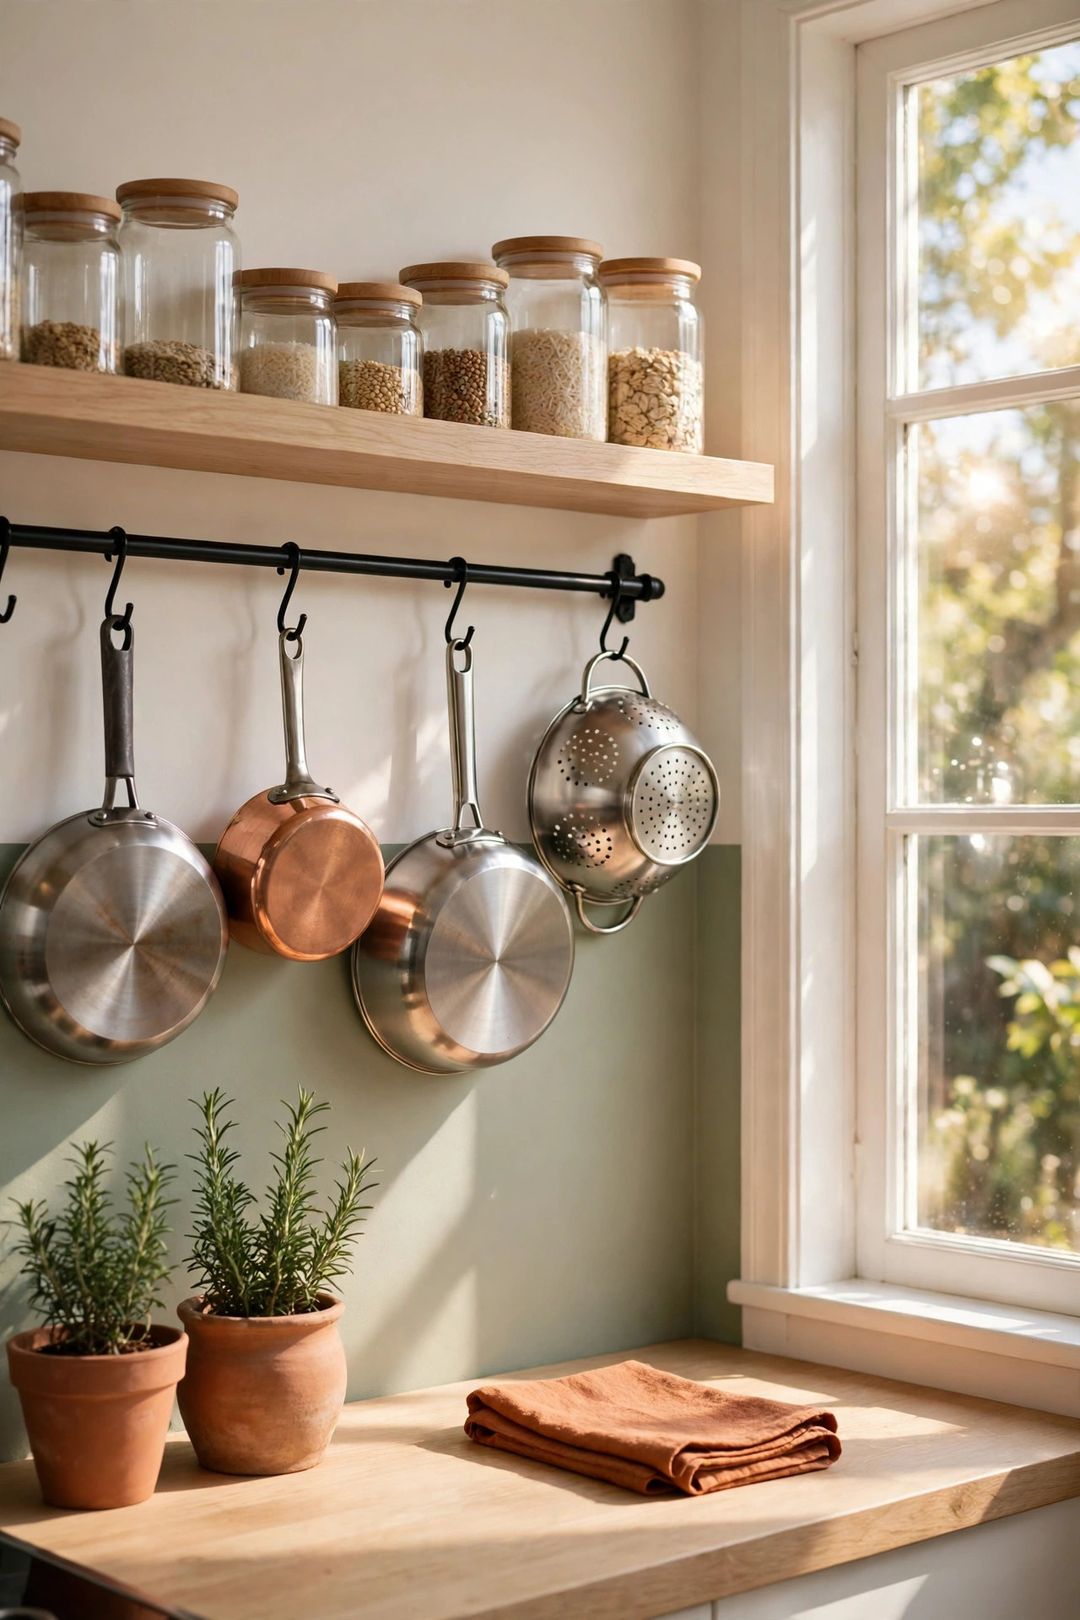
8. Hooks and rails for hanging extras. A wall rail with hooks holds mixer attachments in a hanging pouch or a small hand mixer in a mounted caddy. Hanging storage works best for light items, and it keeps drawer space free for bulky pieces.
Overflow Zones and Rotation Rules
9. A labeled pantry overflow shelf. A top pantry shelf or a single pantry bin zone suits the middle group: the waffle maker, the ice cream maker, the holiday roaster. Group them on one shelf, attachments bagged and labeled with each machine, so a special-occasion tool is found in one trip, not three.
10. A garage or utility shelf for the true rarities. The fondue set, the extra slow cooker, and the party-size coffee urn can live on a garage or utility-room shelf in clear, lidded bins. Label the bin on two sides, pad anything fragile, and keep cords wrapped with the machine so it returns to the kitchen ready to use.
11. A one-in, one-out rule for new gadgets. Counter and cabinet space stays fixed, so a new appliance needs an old one to move out, move down a level, or move on. The rule forces an honest look at duplicates, like a second blender kept only as a spare, before storage overflows again.
12. A monthly rotation for seasonal machines. Swap storage spots with the seasons: the ice cream maker forward in summer, the slow cooker forward in winter. Each swap is a chance to wipe shelves, check cords, and notice machines that have not run in a year.
What to Buy
A countertop appliance garage, typically $45–$120. Pro: It hides daily machines in place and cuts visual clutter fast. Con: It takes counter depth and must fit appliance height. Skip if: Counters are so short that giving up depth hurts prep space.
A cabinet lift platform, typically $90–$180. Pro: It makes a heavy mixer safe and easy to use. Con: It needs a wide base cabinet and careful fitting. Skip if: The heaviest appliance is light enough to lift without strain.
A sliding cabinet shelf kit, typically $30–$70. Pro: It turns deep, dark cabinets into storage that actually gets used. Con: Fitting takes time, and slides have weight limits. Skip if: Cabinets are shallow enough to reach the back already.
Deep drawer dividers, typically $15–$35. Pro: They keep machines and attachments in one visible layer. Con: Very tall appliances may not fit standard drawer depth. Skip if: Drawers are already committed to pots and daily tools.
A slim rolling cart, typically $25–$60. Pro: It claims a dead gap and moves with the cooking. Con: It needs floor space to roll and a nearby outlet. Skip if: No gap in the kitchen is wide enough to fit one.
Mistakes to Avoid
- Storing daily appliances far from outlets. A machine that needs carrying and plugging in across the room will get skipped, then left out anyway.
- Separating machines from their attachments. A processor without its blade stored nearby is clutter, not storage. Keep parts bagged with the base.
- Putting heavy appliances on high shelves. Lifting a mixer down from above shoulder height is awkward and risky. Heavy pieces belong low.
- Buying organizers before measuring. Cabinet height, door swing, and shelf depth decide what fits. Measure all three before ordering anything.
- Giving prime space to rare-use gadgets. The yearly waffle maker does not need the best cabinet. Match the best spots to the most-used tools.
Frequently Asked Questions
Which appliances deserve counter space?
Only the ones used almost every day, such as a coffee maker or kettle in most homes. If an appliance sits untouched between weekends, it earns cabinet, drawer, or cart space instead, and the counter stays clear for cooking.
How should cords be stored with appliances?
Wrap each cord loosely and secure it with a reusable strap, then keep it with its machine. Avoid tight bends near the plug, and never store a machine with a frayed or damaged cord until the cord is repaired or replaced.
What is the safest spot for a heavy stand mixer?
Low and supported: a base cabinet with a lift platform, a sturdy pull-out shelf, or a short counter run. The goal is sliding or lifting a short distance at waist height, never lowering it from a high shelf.
How can a tiny kitchen without a pantry store overflow?
Use one clear bin on a closet shelf, a garage shelf, or the top of a tall cabinet for rare-use machines. Keep the group small and labeled, and review it at each seasonal rotation so overflow does not quietly grow.
Start by sorting machines into daily, weekly, and rare groups, then give each group the level of access it has earned. Save this post to your Kitchen Organization board on Pinterest so the plan is handy before your next cabinet reset.