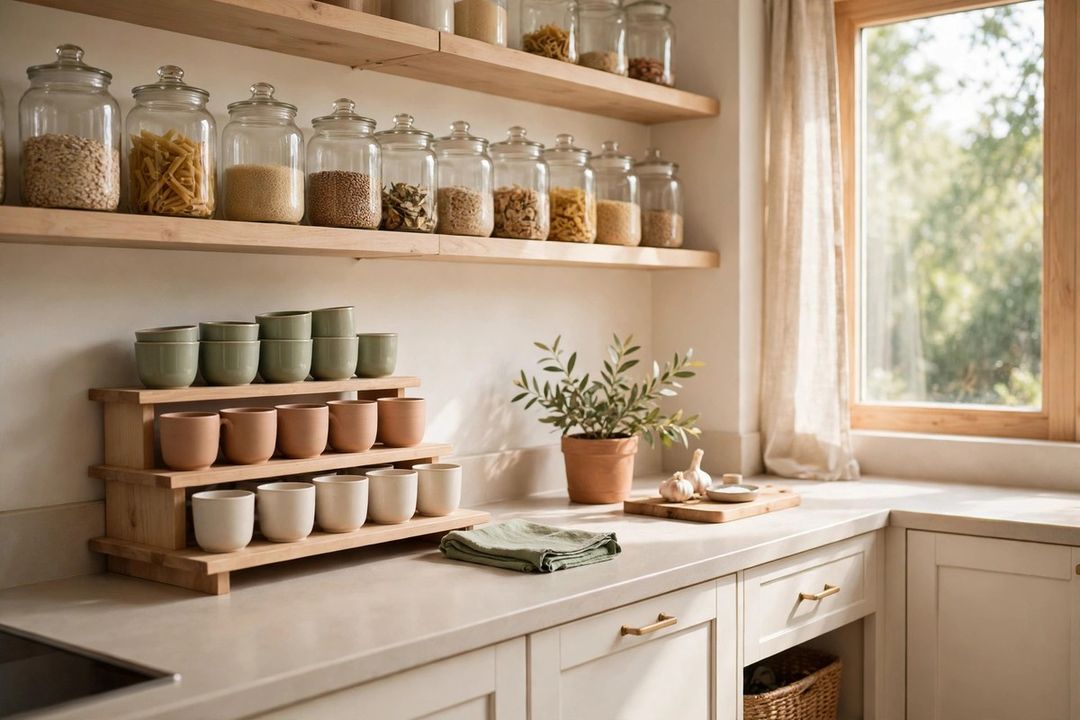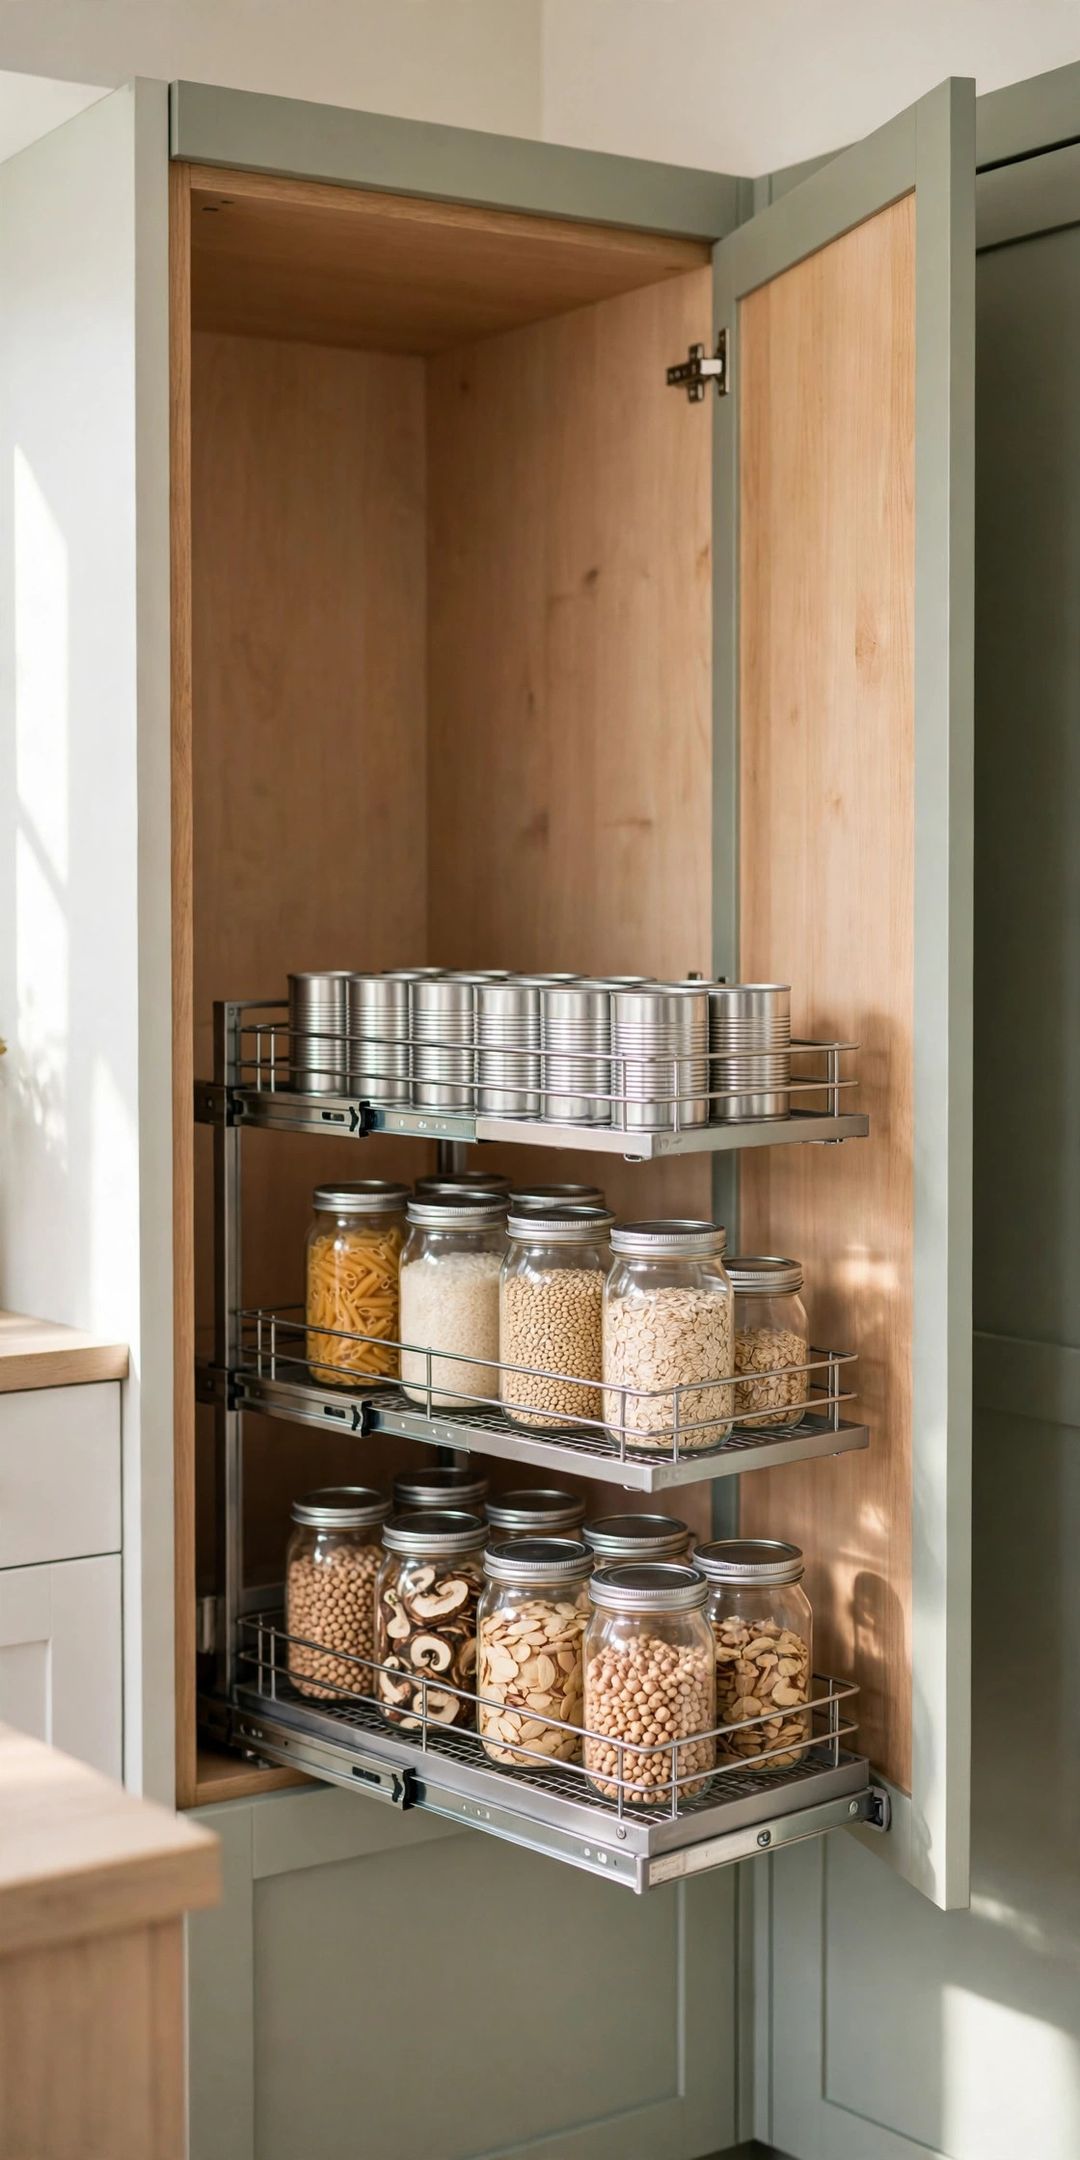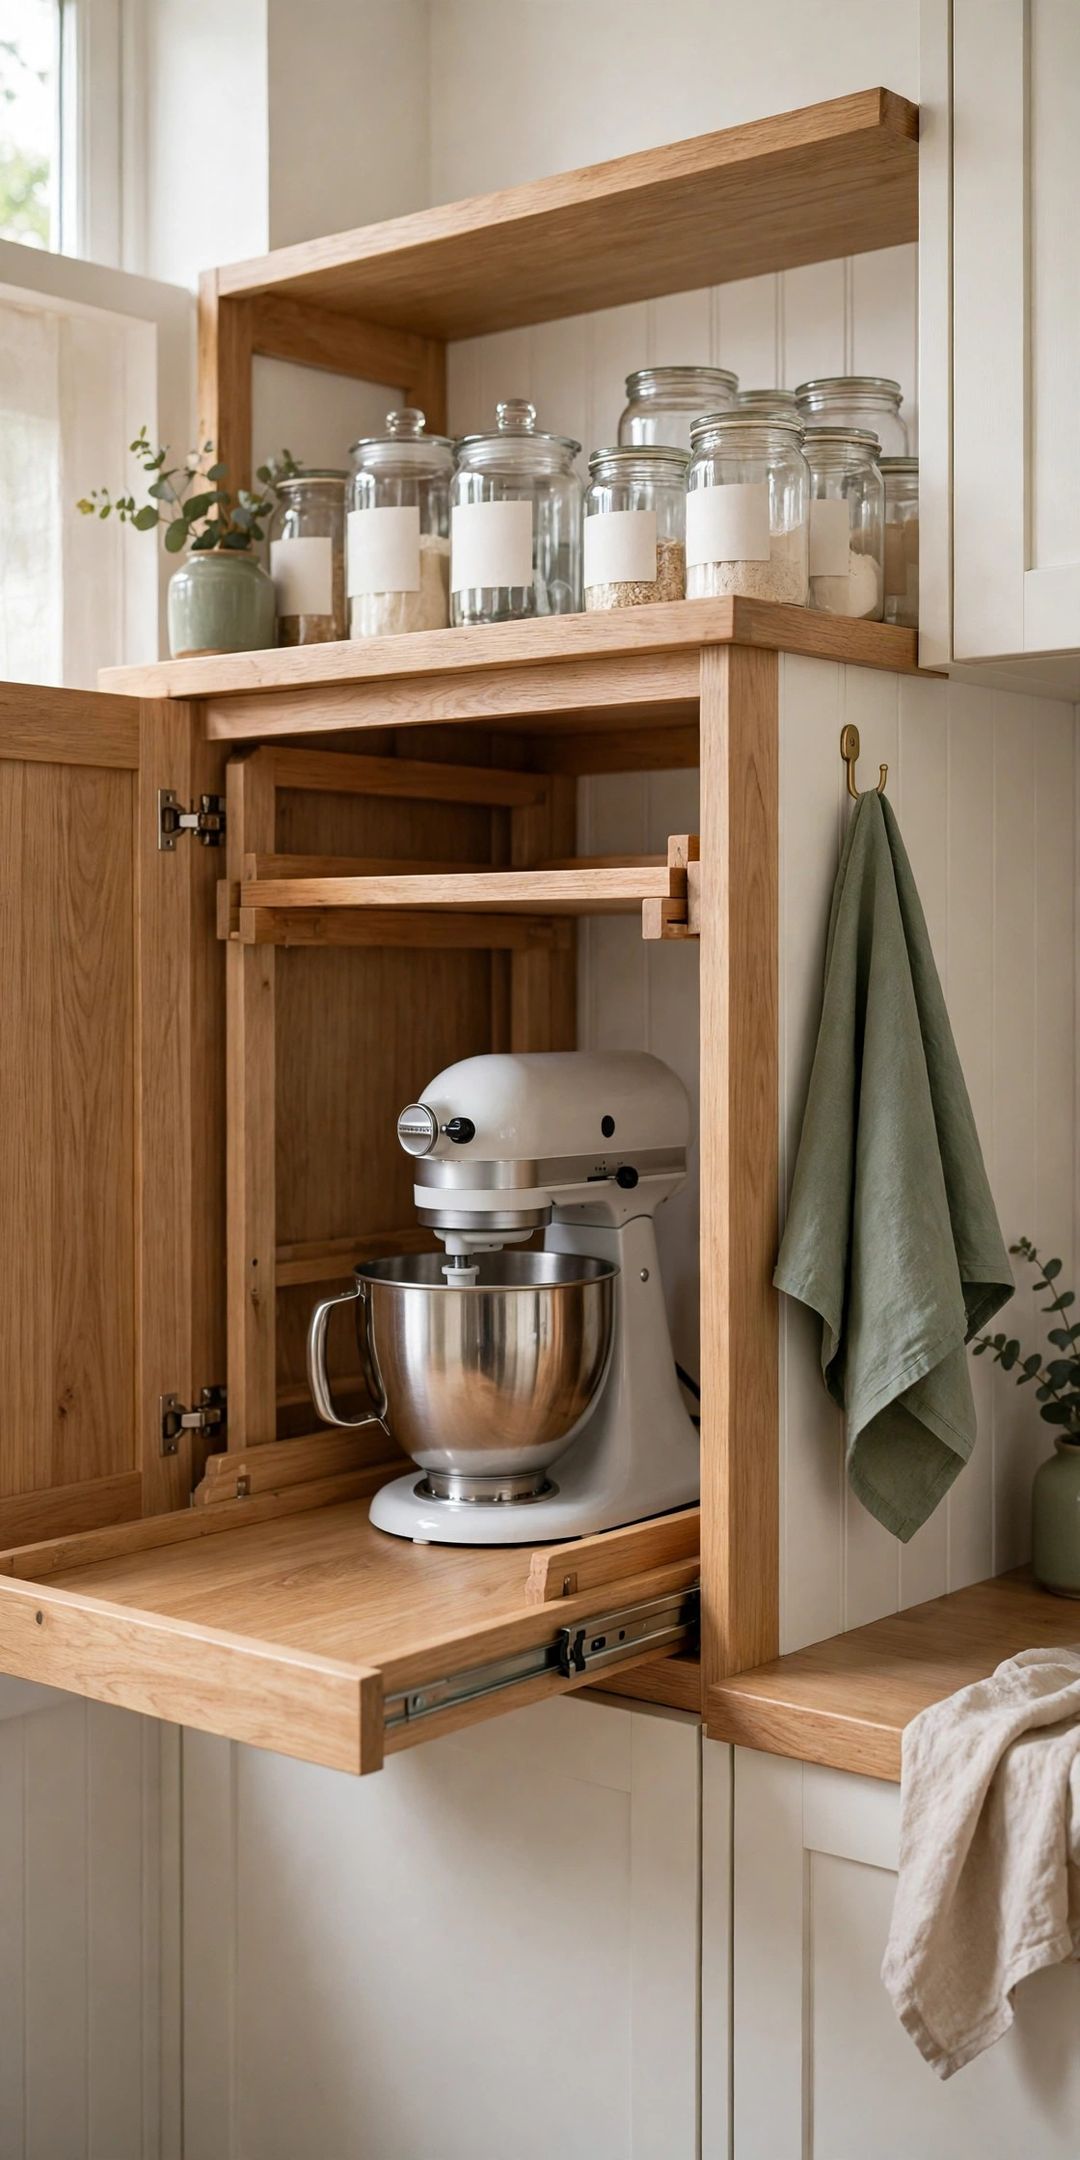
A stand mixer is useful, heavy, and hard to store. It is too tall for many cabinets, too heavy to lift often, and too bulky to leave out without losing the best part of the counter.
These stand mixer storage ideas small kitchen owners can use focus on one goal: keep the mixer easy to reach without letting it take over prep space. The best spot depends on how often you bake and how much lifting feels safe.
Before you buy anything, measure the mixer with its head open and closed, and measure the cabinet or corner you have in mind. A storage idea only works if the mixer fits and you can move it without straining.
1. Install an Appliance Lift in a Base Cabinet
An appliance lift is a platform inside a lower cabinet that rises to counter height. The mixer stays hidden, then lifts up for use, so you avoid carrying it across the room. Check the lift's weight limit first, leave room for the cord, and place it near an outlet and your baking supplies.
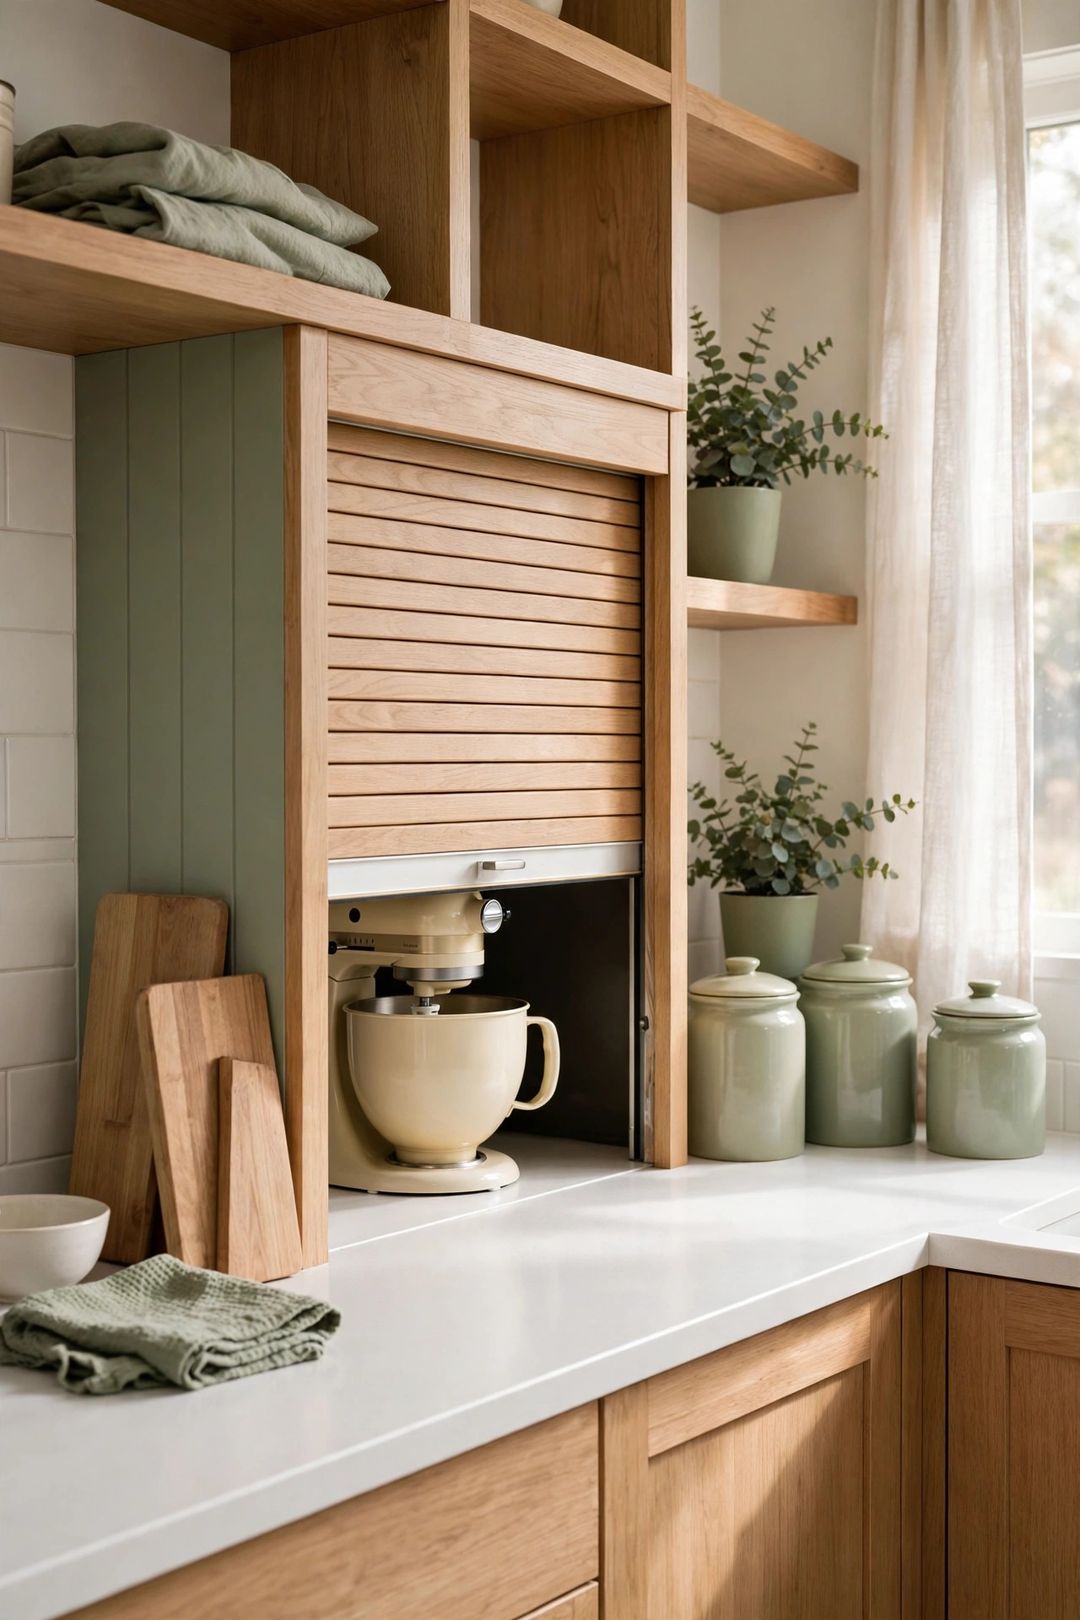
2. Create an Appliance Garage in a Counter Corner
An appliance garage is a small covered section on the counter, often in a corner, with a door that lifts or slides down. The mixer sits at the back, out of sight, and slides forward for use. Choose the corner you use least, and make sure the door clears the mixer's height.
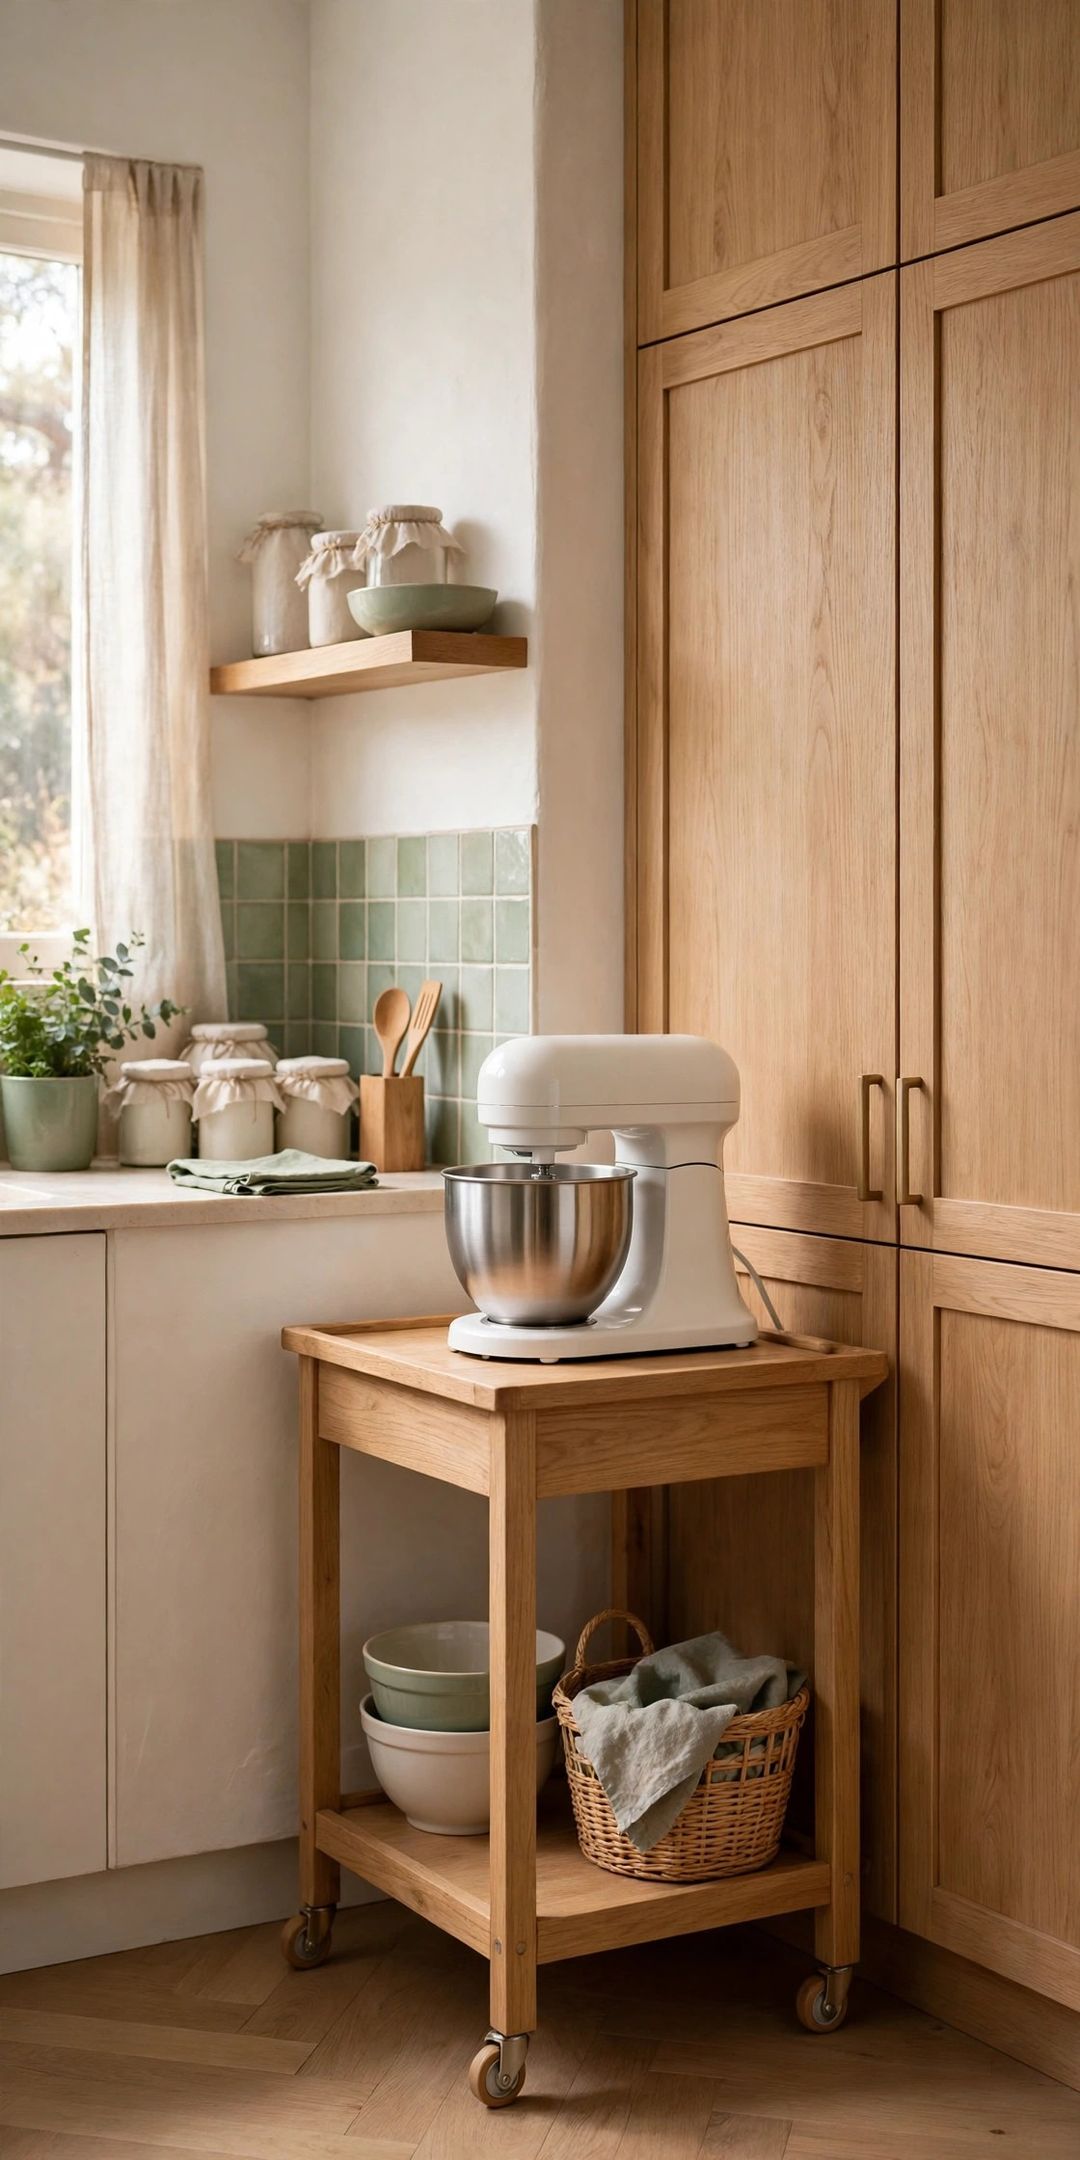
3. Park It on a Rolling Cart
A sturdy rolling cart turns the mixer into a mobile baking station. Park it in a kitchen gap, a nearby closet, or against a dining wall, then roll it to the counter. Pick a cart with locking wheels and a weight limit above the mixer's weight, and store attachments on the lower shelves.
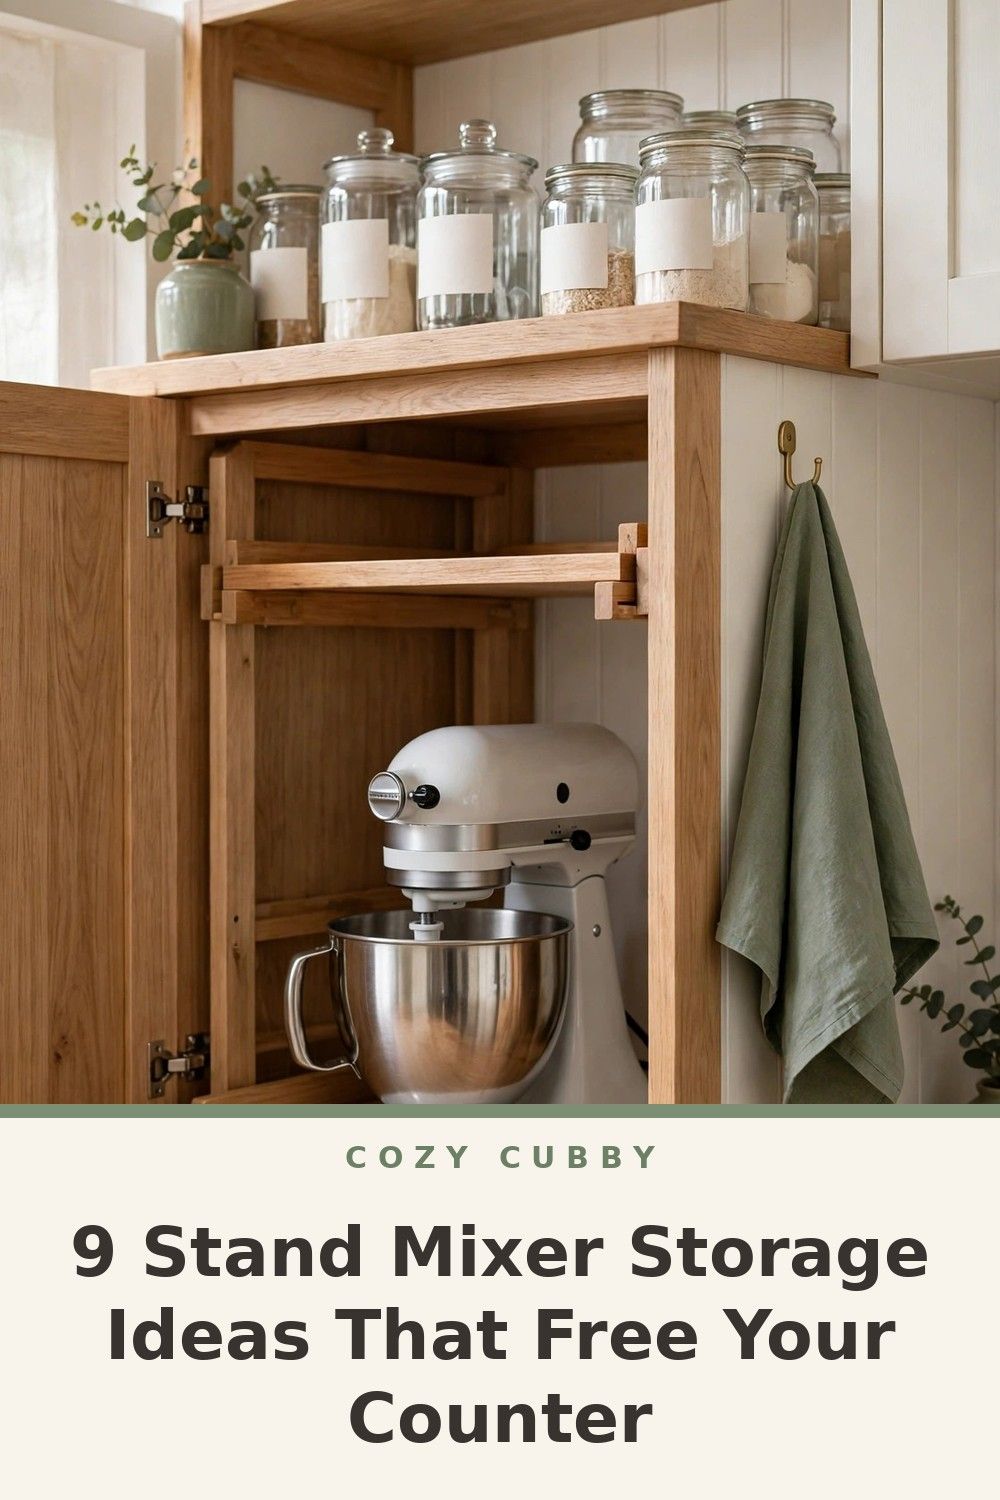
4. Add a Pull-Out Shelf to a Low Cabinet
A pull-out shelf inside a low cabinet lets the mixer glide forward instead of being lifted out from the back. Measure the cabinet opening, not just the inside, since doors and hinges steal space. Keep the shelf low and fully supported, so you never lift the mixer down from shoulder height.
5. Use a Sliding Mat Under a Counter Spot
If the mixer must stay on the counter, set it on a low sliding mat and push it to the back wall between uses. The front of the counter stays clear, and the mixer moves without dragging. This fix needs no tools. Just leave enough headroom for the tilt head to open.
6. Give It a Shelf on a Kitchen Work Table
A small work table or island with a lower shelf can hold the mixer below the work surface. The top stays free for prep, and the mixer sits at knee to waist height, which is easier to lift from than a cabinet floor. Use a strong, level shelf with no wobble.
7. Store It in a Nearby Closet or Hall Cabinet
The mixer does not have to live in the kitchen. A hall closet shelf, laundry cabinet, or dining sideboard steps away can beat a crowded kitchen cabinet, especially for once-a-month bakers. Choose waist height where possible, keep the bowl and attachments with it, and never lift a heavy mixer overhead.
8. Build a Baking Zone Inside One Wide Cabinet
If one wide lower cabinet is free, turn it into a complete baking zone. The mixer sits on one side, and bins for attachments, measuring tools, and baking basics fill the rest. One zone makes setup faster and makes it obvious when something is missing.
9. Keep It Out, But Style the Corner on Purpose
Sometimes the mixer earns a counter spot because it is used several times a week. If so, make that corner look planned: mixer at the back, a cover to reduce dust, attachments in a nearby drawer, and nothing else crowding the space. Frequent use is a good reason to avoid daily lifting.
What to Buy
An appliance lift platform, typically $90–$200. Pro: Raises the mixer with the least lifting. Con: Needs a suitable base cabinet. Skip if: You rent and cannot change cabinet hardware.
A rolling kitchen cart, typically $40–$90. Pro: Creates a movable baking station. Con: Needs a parking spot and clear path. Skip if: Your floors have high thresholds.
A pull-out cabinet shelf, typically $50–$100. Pro: Brings cabinet contents forward. Con: The opening must be measured carefully. Skip if: Your cabinet is too narrow for the mixer.
A sliding appliance mat, typically $12–$25. Pro: Cheap, no tools, stops dragging. Con: The mixer still uses counter space. Skip if: You want a completely clear counter.
A stand mixer cover, typically $15–$30. Pro: Keeps dust off a mixer stored in the open. Con: Adds one step before baking. Skip if: The mixer lives in a closed cabinet.
Mistakes to Avoid
- Storing it on a high shelf. Lifting a heavy mixer down from overhead is awkward and risky. Choose waist height or lower.
- Lifting by the head alone. Lock the head, support the base with two hands, and keep the mixer close to your body.
- Buying before measuring. Height changes when the head tilts open. Measure the mixer, opening, and door clearance.
- Ignoring weight limits. Carts, lifts, and pull-out shelves all have limits. Leave a margin instead of maxing them out.
- Separating the attachments. If bowl, beaters, and mixer live in three places, setup feels like a chore.
- Forgetting the outlet. A perfect spot with no reachable outlet means dragging the mixer anyway.
Frequently Asked Questions
Is it okay to leave a stand mixer on the counter?
Yes, if you use it often and the corner still leaves enough prep space. A sliding mat and a cover make an always-out mixer easier to live with. Rarely used mixers usually belong in a cabinet or on a cart.
What is the safest way to move a stand mixer?
Lock the head, remove loose attachments, and lift from the base with two hands, keeping it close to your body. Bend your knees rather than your back. When in doubt, let a lift, tray, or cart do the moving.
Can a stand mixer be stored in a garage?
A dry, clean indoor spot is usually better. Garages can bring dust, moisture, and big temperature swings. If there is no other option, use a cover and a waist-height shelf, and bring the mixer in before use.
Where should attachments be stored?
Keep them with the mixer: in the bowl, in a small bin beside it, or in the nearest drawer. Storing them together makes setup faster and keeps metal parts from scratching other tools.
A stand mixer should help you bake, not steal your counter. Save this post to your Kitchen Organization board on Pinterest so you can compare lifts, garages, and carts before you buy.