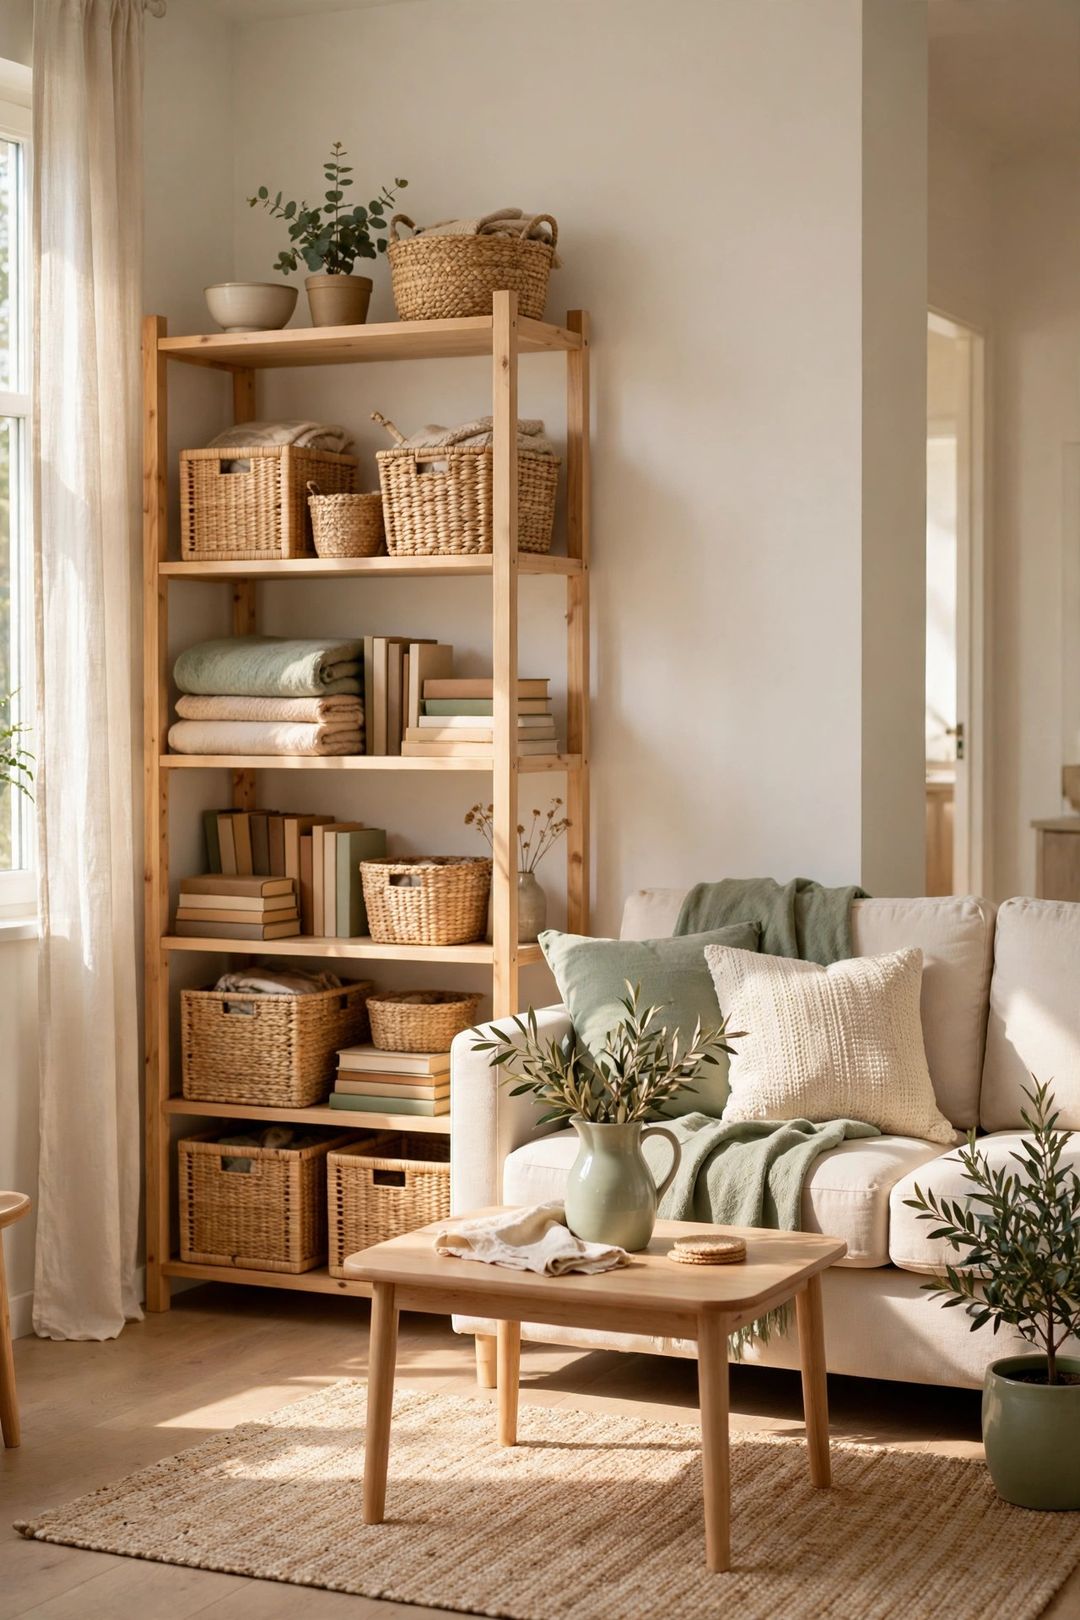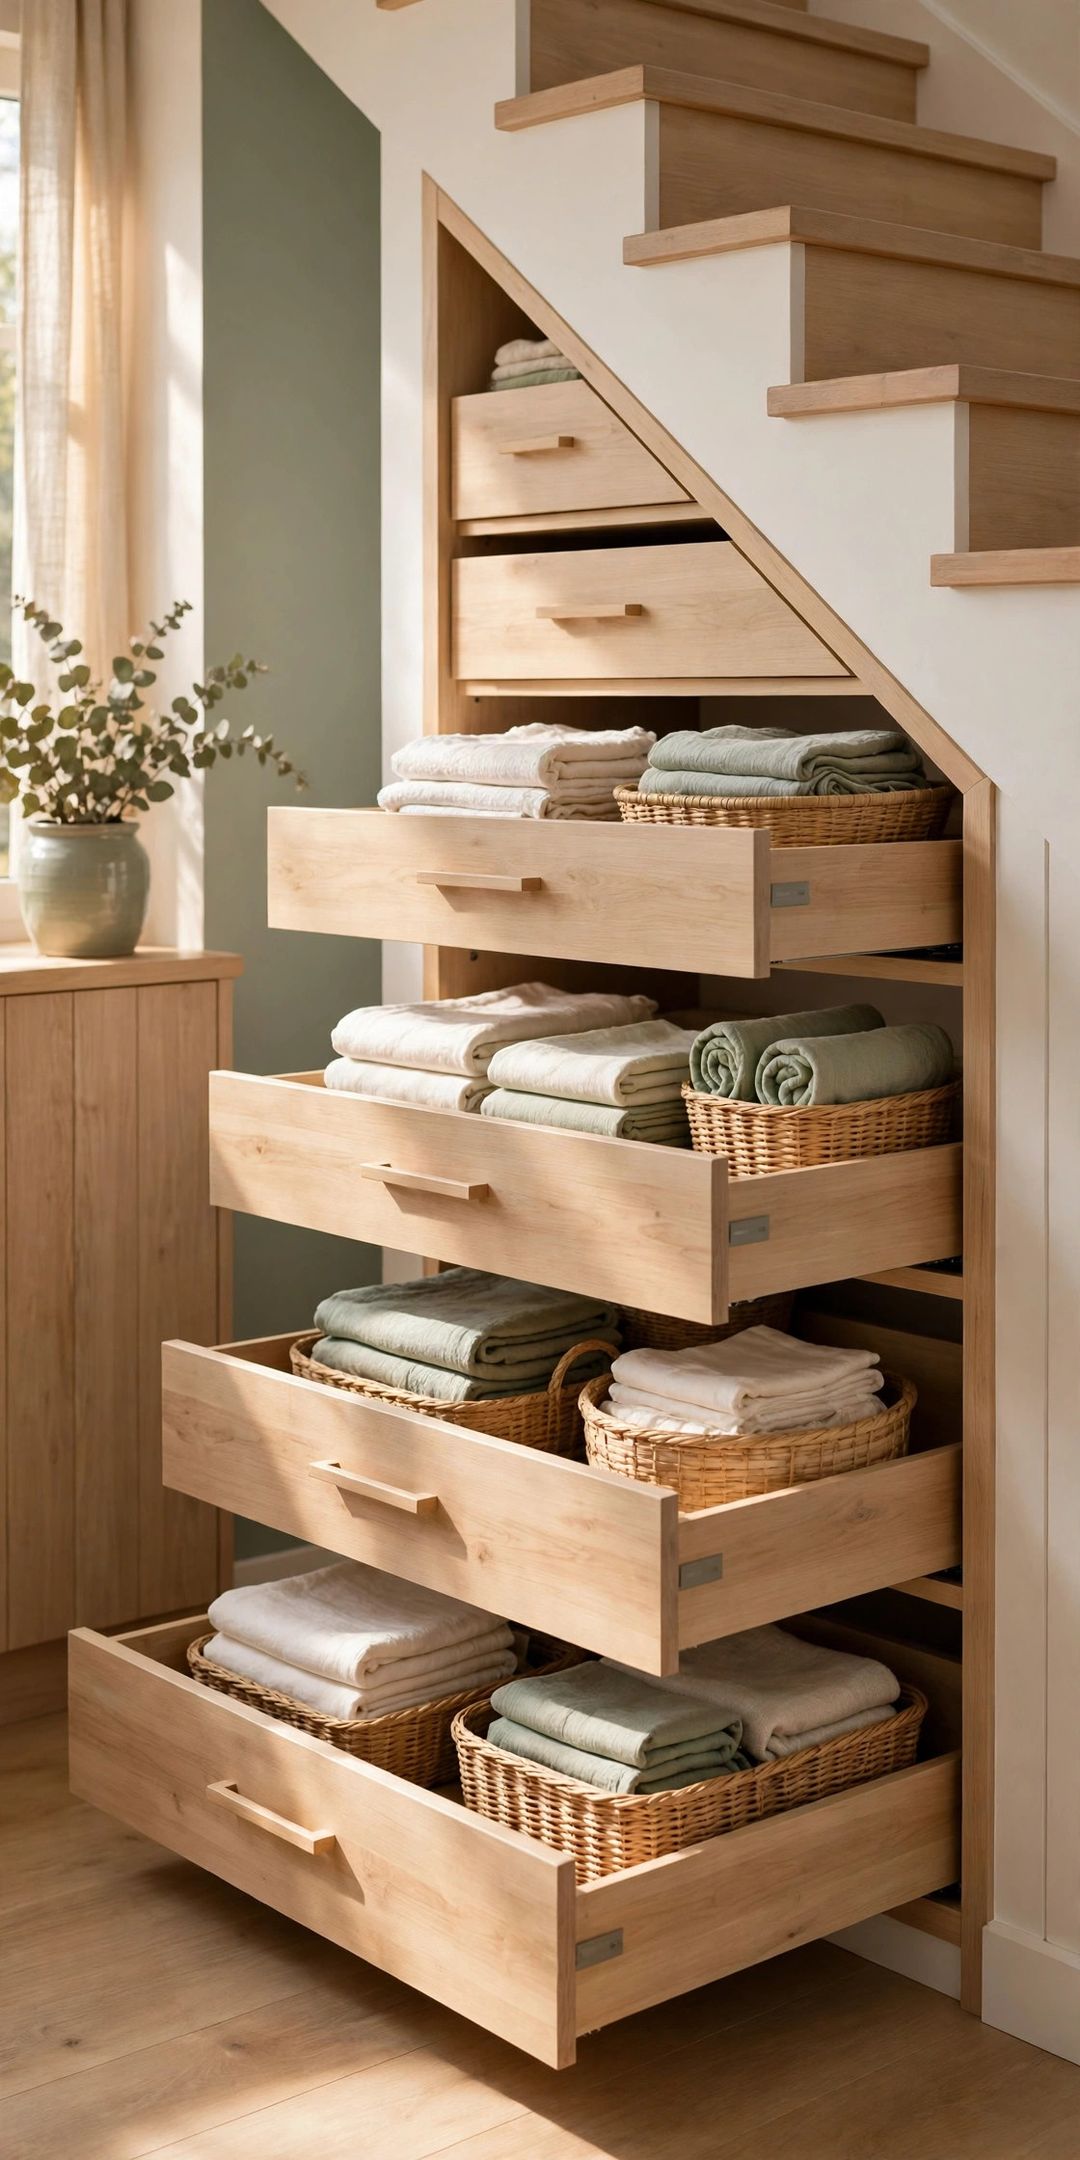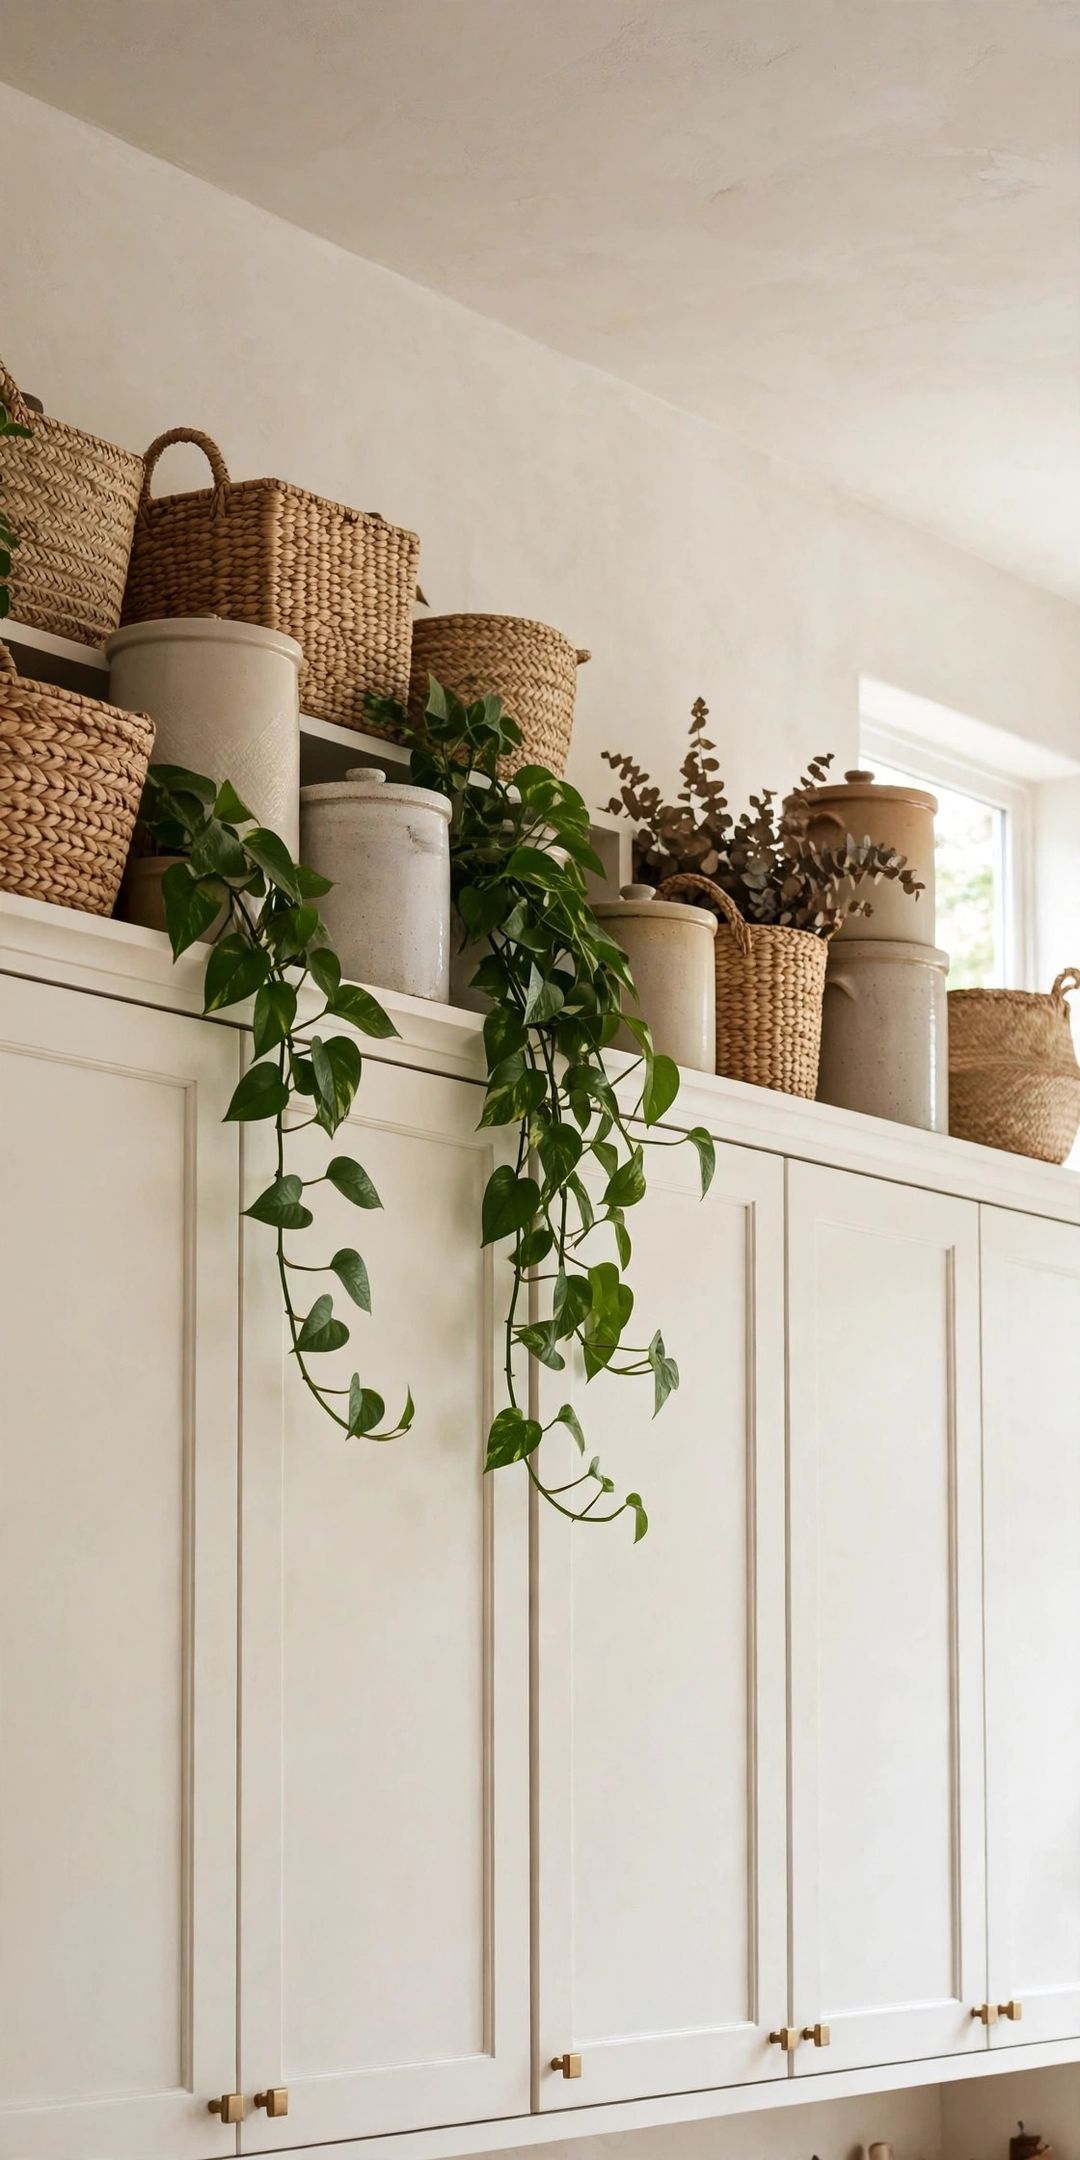
The strip of space above kitchen cabinets is easy to ignore, and easy to waste. Left empty, it collects dust. Filled at random, it turns into a hard-to-reach shelf of items no one remembers putting there.
Used with a plan, it becomes useful overflow storage. These storage above kitchen cabinets ideas follow nine simple rules: measure first, choose closed containers, store only the right categories, and make cleaning part of the system.
1. Measure the Gap Before You Buy Anything
Above-cabinet space varies a lot. Measure before you shop, or new bins will not fit the space you have.
Measure height, depth, and clearance. Note the distance from cabinet top to ceiling, the depth from wall to cabinet front, and any trim that cuts into the space.
Leave a small gap at the top. Containers pushed tight against the ceiling are hard to slide out. A little clearance makes bins easier to lift down safely.
2. Make Baskets and Lidded Bins the Default
Open piles look messy from below and gather dust fast. A container gives the space a clean edge and keeps small items together.
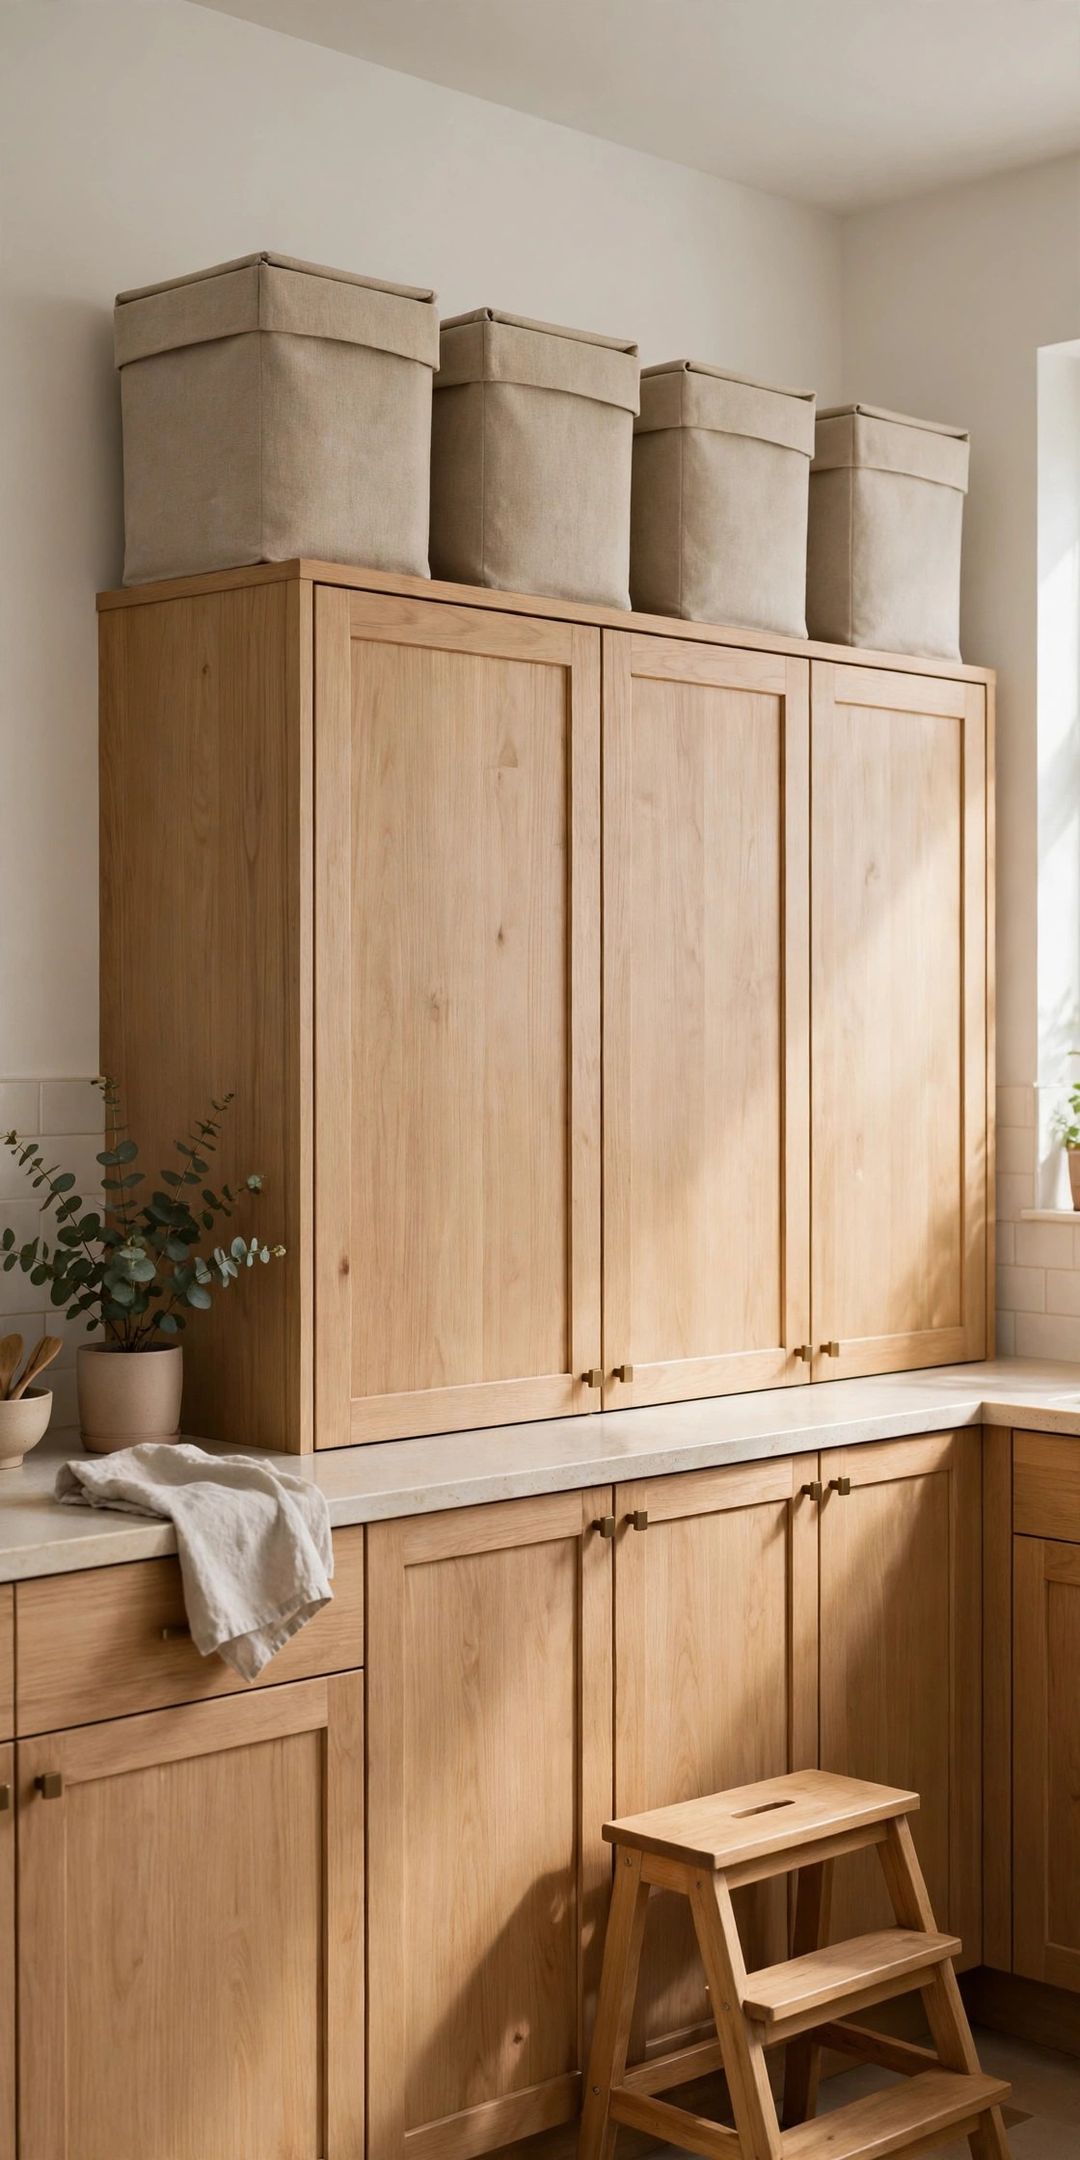
Choose lidded bins for long-term storage. A lid keeps dust off the contents and lets you stack one light bin on another where height allows.
Use baskets for a softer, styled look. Woven or wire baskets suit items taken down more often, like extra linens or party supplies. Line them if the weave lets dust through.
3. Store Backstock and Bulk Buys Up There
This is overflow space, not daily space. The best use is backup supplies you reach for only when the main supply runs out.
Good fits include paper goods and extras. Extra paper towels, napkins, unopened pantry staples, and backup cleaning supplies are light, bulky, and used on a slow cycle.
Keep one category per bin. A bin labeled “pantry backup” or “paper goods” can be checked at a glance before a shopping trip, which helps prevent duplicate buying.
4. Keep Rarely Used Serving Pieces Up High
Large items that come out only for gatherings fit well here, as long as they are light enough to lift down safely.
Store seasonal and party pieces together. Large serving bowls, holiday platters, and extra vases can share one zone instead of crowding everyday cabinets.
Protect breakables before they go up. Wrap glass and ceramic pieces, keep them toward the front of a stable bin, and never stack heavy items on top of them.
5. Style in Groups and Leave Breathing Room
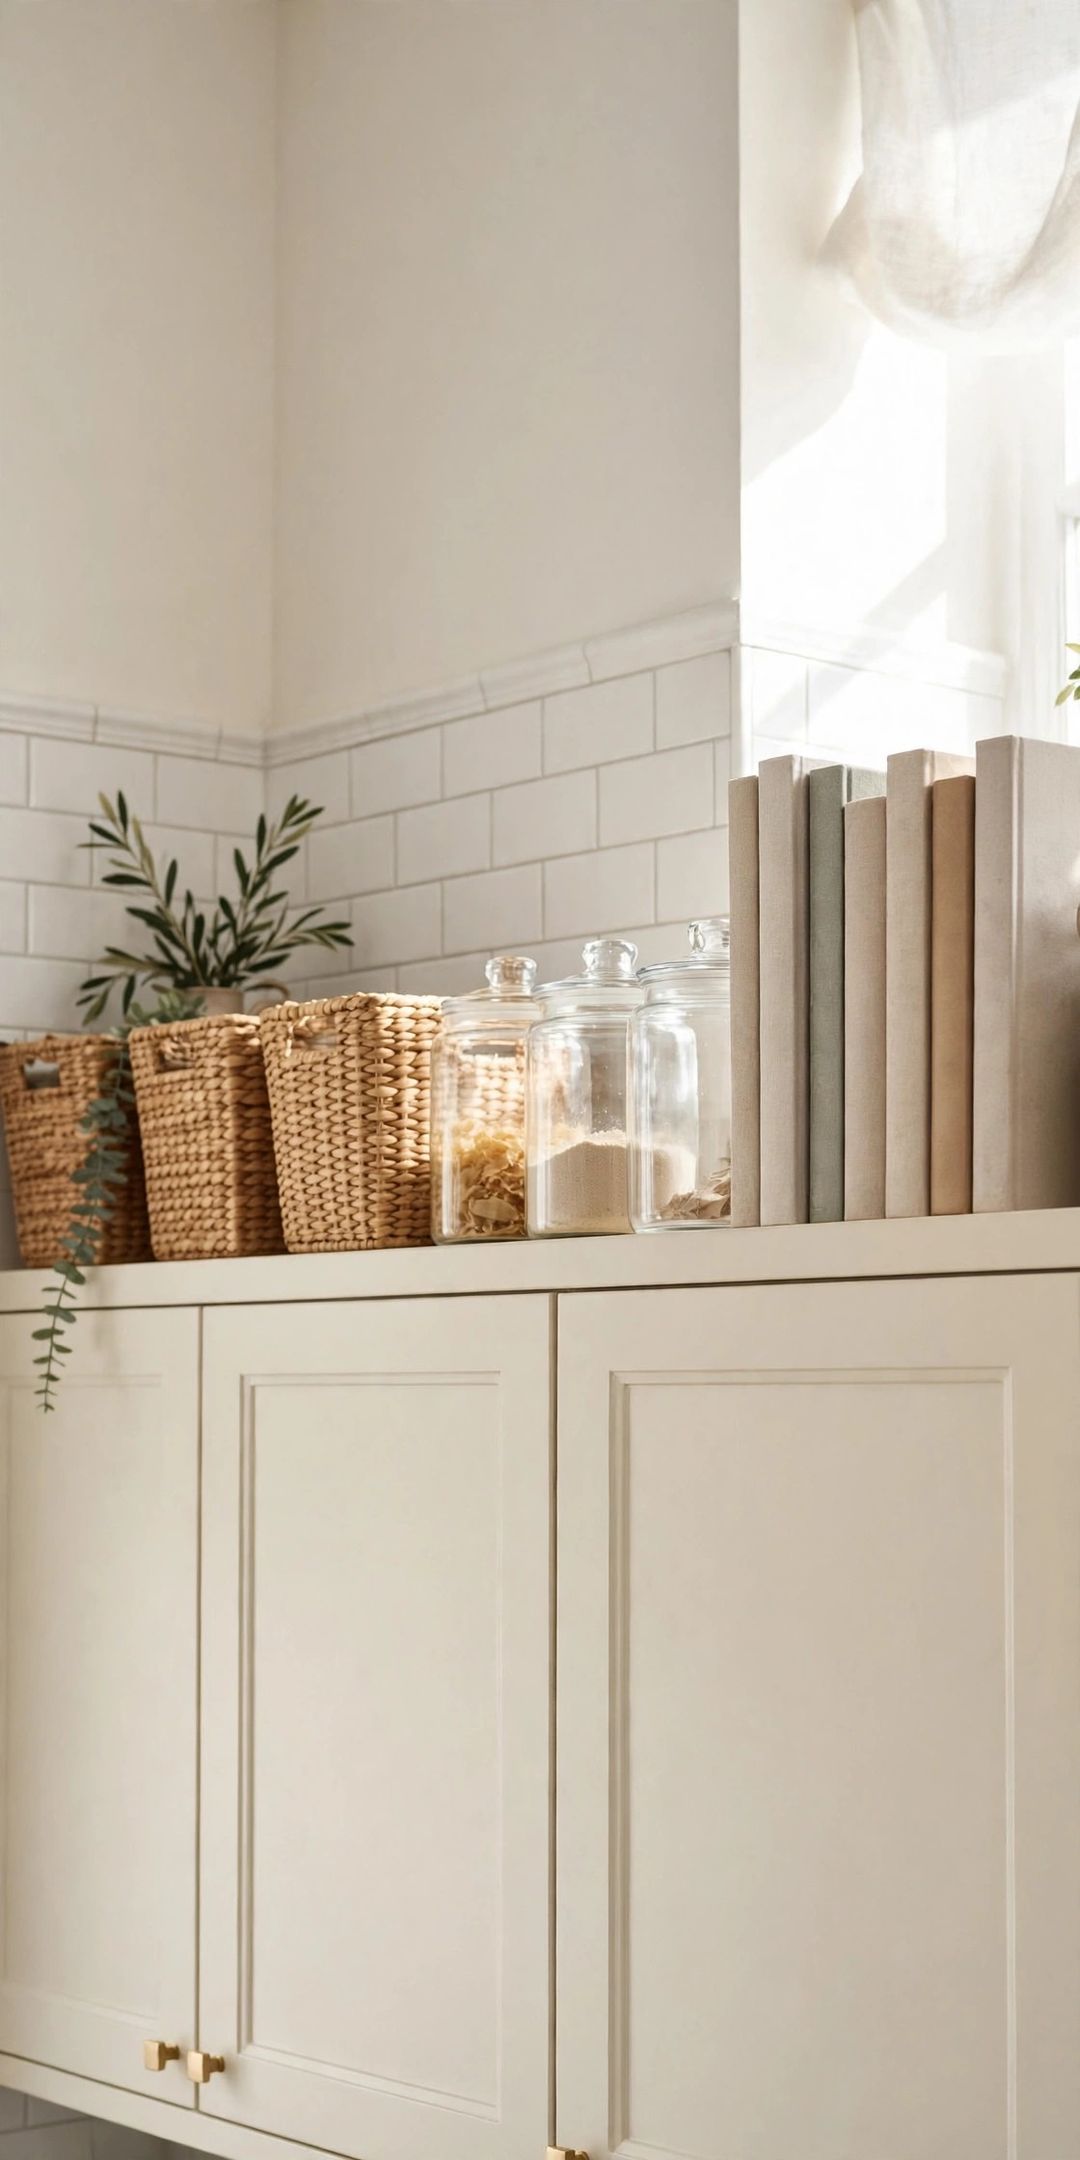
If part of the space stays visible, treat it like a shelf. A few grouped items read as decor; a full row reads as clutter.
Group in twos and threes. Cluster a basket, a plant pot, and a stack of cookbooks, then leave empty space before the next group.
Repeat one material or color. All woven baskets, all white bins, or all wood tones make mixed contents look intentional, even when the items inside are purely practical.
6. Keep Everyday Items Down Low
Anything you reach for daily belongs within easy reach. Climbing a stool for coffee or cooking oil slows the routine and adds risk.
Never store daily staples up there. Oils, spices, everyday dishes, and daily mugs stay in cabinets and drawers at counter height.
Apply the once-a-week test. If you need an item more than once a week, it does not belong above the cabinets. Less often than that, it is a candidate.
7. Know What Never Belongs Up There
Some items are a poor fit for high, warm, hard-to-check space. Keeping them off this shelf prevents damage, mess, and forgotten hazards.
Skip heavy items. Full canisters, heavy small appliances, and stacks of stoneware are hard to lift down safely overhead. Store heavy things low.
Skip heat-sensitive food and loose small items. The space can run warm, especially above the stove, so keep wine and chocolate in cooler spots. Uncontained lids, gadgets, and cords slide and vanish — if it cannot go in a bin, it does not go up.
8. Build Dust Control Into the Setup
Dust is the main reason this space gets a bad name. You cannot stop it, but you can make it quick to deal with.
Favor smooth, wipeable containers. Plastic and metal bins wipe clean in seconds. Save textured baskets for lidded contents or lower shelves.
Line the cabinet tops and clean on a schedule. A washable liner catches dust on the surface itself — swap or wash it during a seasonal reset, then vacuum with a brush attachment and wipe with a damp cloth.
9. Label Everything and Use a Safe Reach System
From the floor, every bin looks the same. Labels and a safe way to reach them turn high storage into a working system.
Label the front face of every bin. Use large, plain words you can read from below. “Backup pasta” beats a small tag you must climb up to check.
Keep a sturdy step stool nearby. Choose a stable stool with a wide top step, and always take bins down with two hands. If a bin is too heavy for that, split it into two lighter bins.
What to Buy
Lidded storage bins, typically $12–$22 each. Pro: They block dust, stack neatly, and give the row a clean line. Con: Solid bins hide contents, so labels matter. Skip if: Your gap is too shallow for bins and baskets fit better.
Woven or wire baskets, typically $15–$30 each. Pro: They add warmth and suit a styled, visible shelf. Con: Open weaves let dust reach the contents. Skip if: Items inside are stored for months at a time.
A washable cabinet-top liner, typically $8–$15. Pro: It catches dust and grease and can be swapped in minutes. Con: It needs cutting to fit around trim. Skip if: You already wipe the tops often.
A sturdy folding step stool, typically $25–$45. Pro: A stable stool makes every trip up safer and faster. Con: It needs a storage spot of its own. Skip if: You already own a solid kitchen step stool.
Mistakes to Avoid
- Storing daily items up high. If you climb for it every day, the system will be abandoned within a week. Keep daily items low.
- Using the space as a junk shelf. Unsorted overflow with no bins or labels becomes invisible clutter that still collects dust.
- Buying decor before measuring. Tall baskets and plants that touch the ceiling look cramped and are hard to clean around.
- Overloading one big bin. A single heavy bin is unsafe to lift overhead. Two lighter bins are always the better call.
- Ignoring dust until it turns sticky. Kitchen dust mixes with grease over time. A seasonal wipe is quick; a yearly deep clean is not.
Frequently Asked Questions
How much weight can the top of kitchen cabinets hold?
Cabinet tops are not built as load-bearing shelves, so keep loads light and spread out. Light bins of paper goods, linens, and serving pieces fit well. Heavy appliances belong in lower cabinets.
How do you keep items above cabinets from getting greasy?
Closed lids are the main defense, especially near the stove. Wipeable bins, a washable liner on the cabinet top, and a seasonal dust-and-wipe routine stop grease and dust building into a sticky film.
What is the best thing to store above kitchen cabinets?
Light, bulky backstock is the strongest use: extra paper goods, unopened pantry backups, party serving pieces, and seasonal items. They free up prime cabinet space without needing daily access.
The gap above your cabinets can be calm, useful overflow instead of a dusty no-man's-land. Pick one rule to start with, then save this post to your Kitchen Organization board on Pinterest so all nine rules are handy on your next reset day.