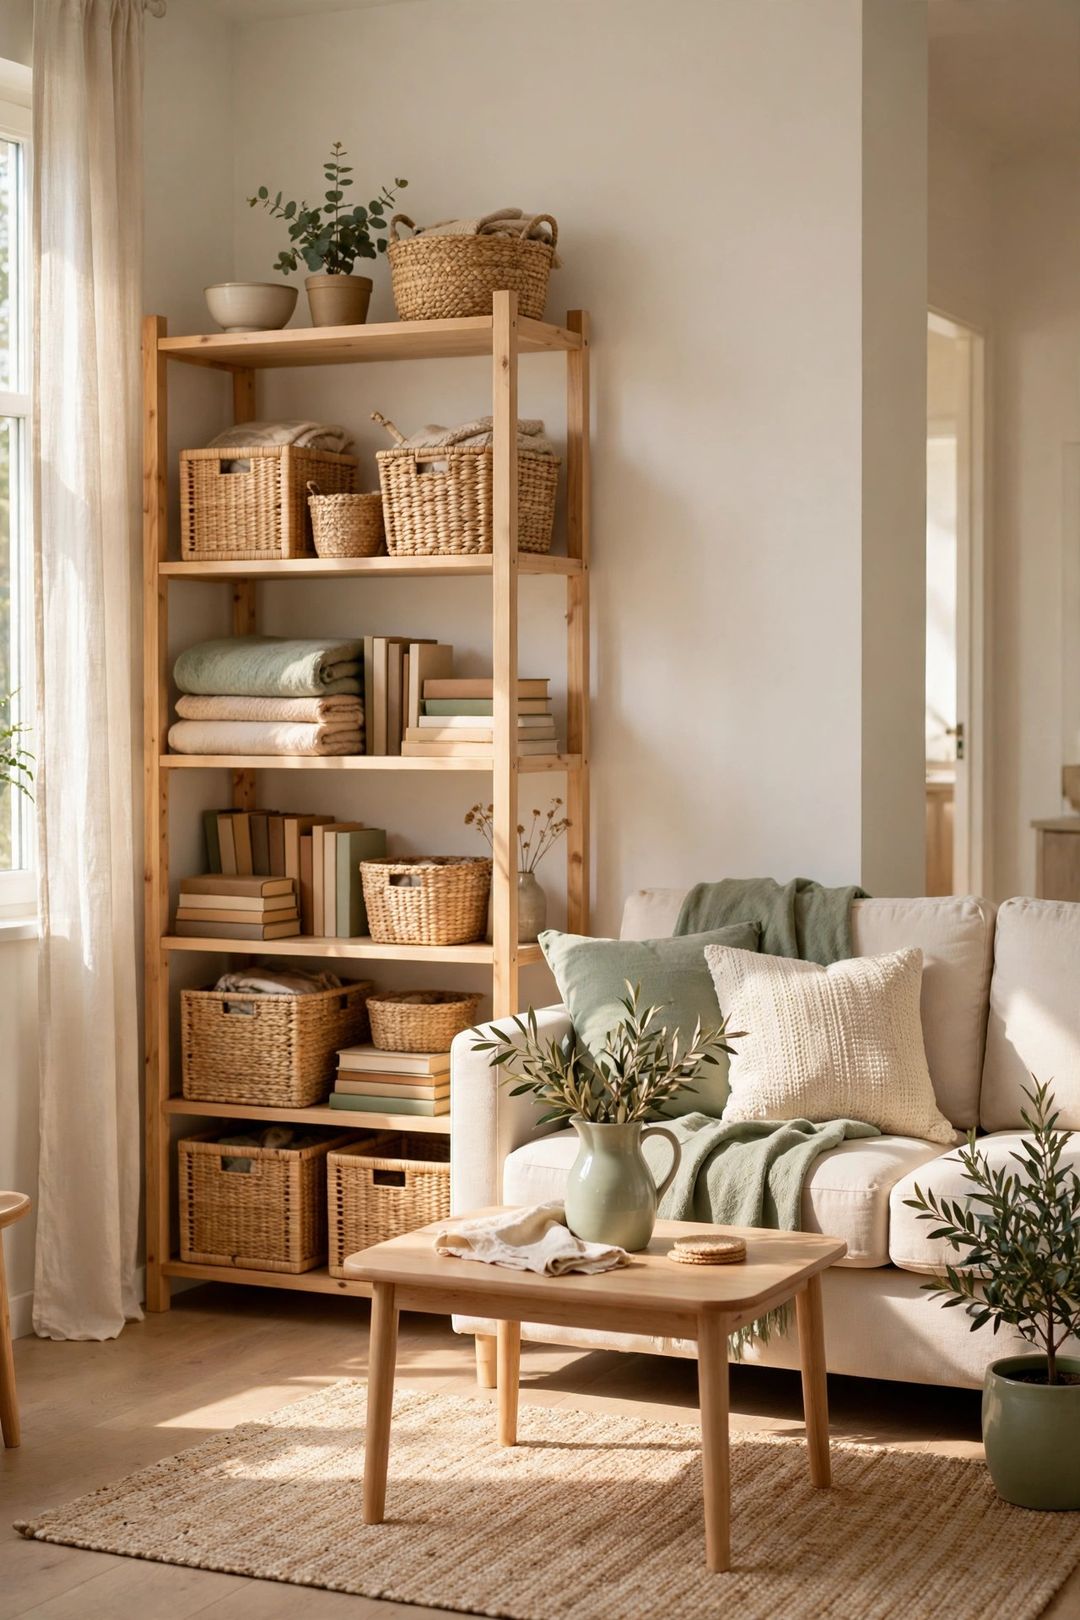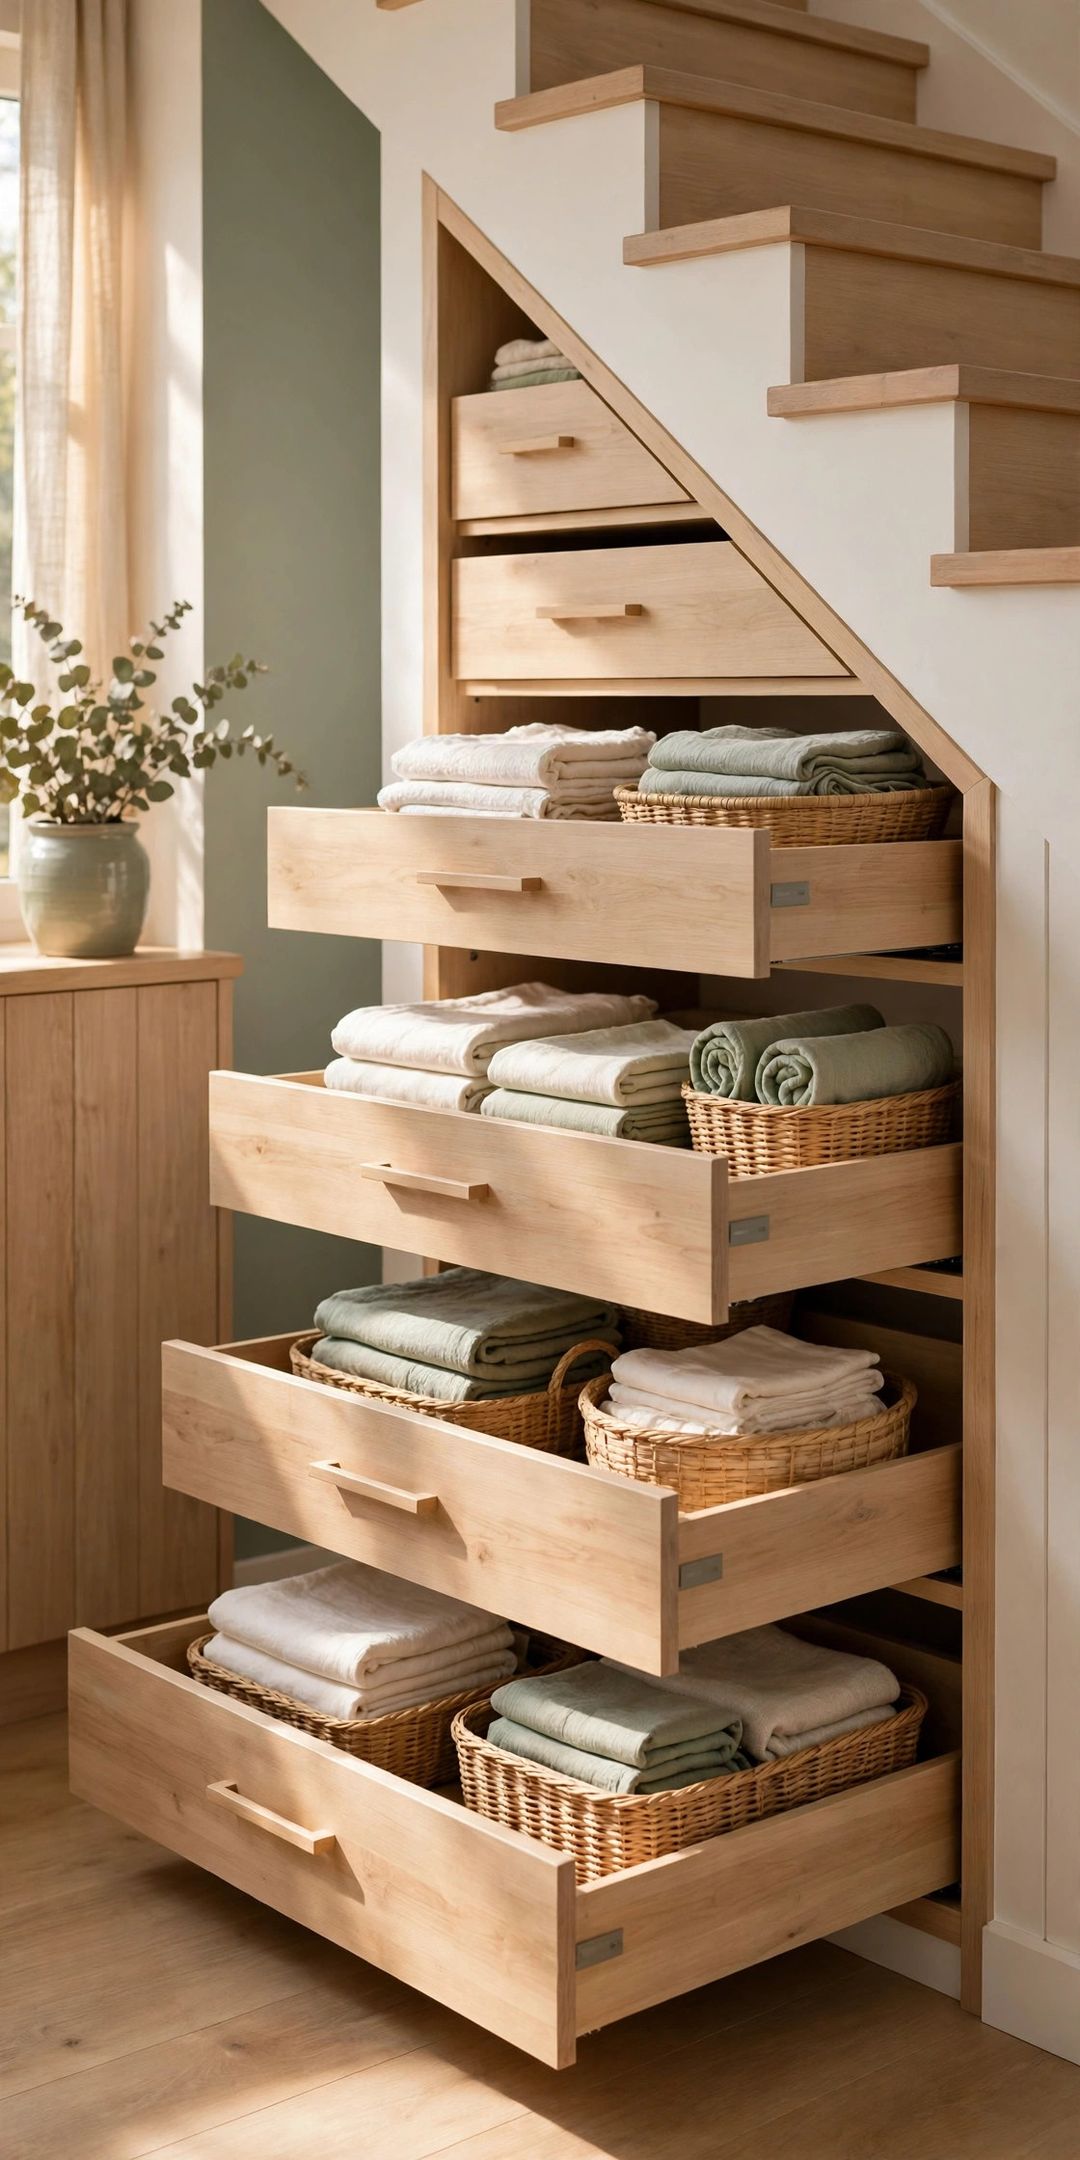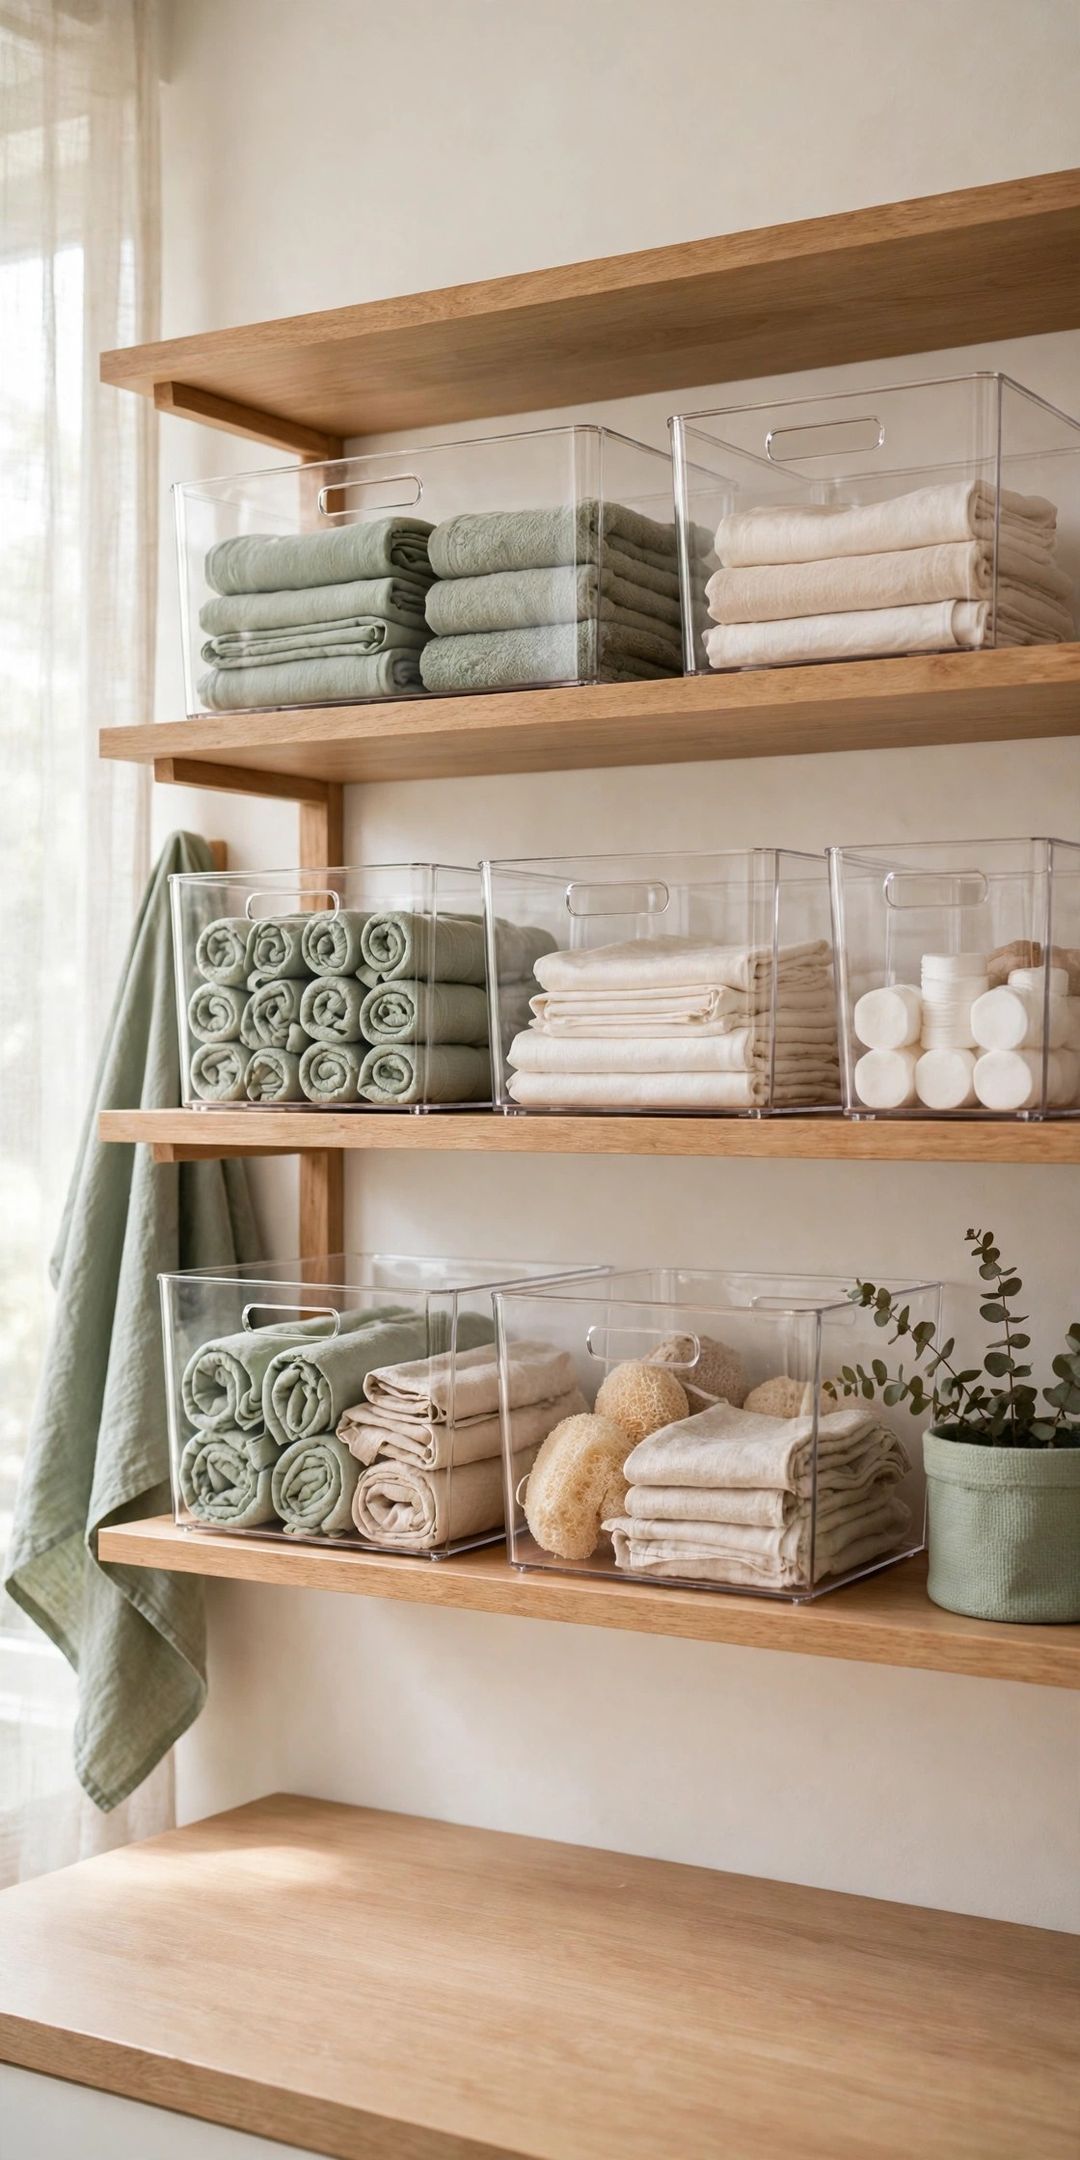
If a closed drawer or cabinet door makes an item disappear from your mind, you are not disorganized. Your storage is just hiding the things you own. The fix is to store everyday items where your eyes can find them without opening, digging, or guessing.
This guide to visual storage systems organizing out of sight items back into view shares 12 simple methods built on one rule: if you need it often, you should be able to see it, or see exactly where it lives, at a glance.
Start with one trouble spot, like a bathroom cabinet or pantry shelf. Pick two or three systems, test them for a week, and keep only what makes putting things back as easy as finding them.
1. Clear and Open Storage You Can Check at a Glance
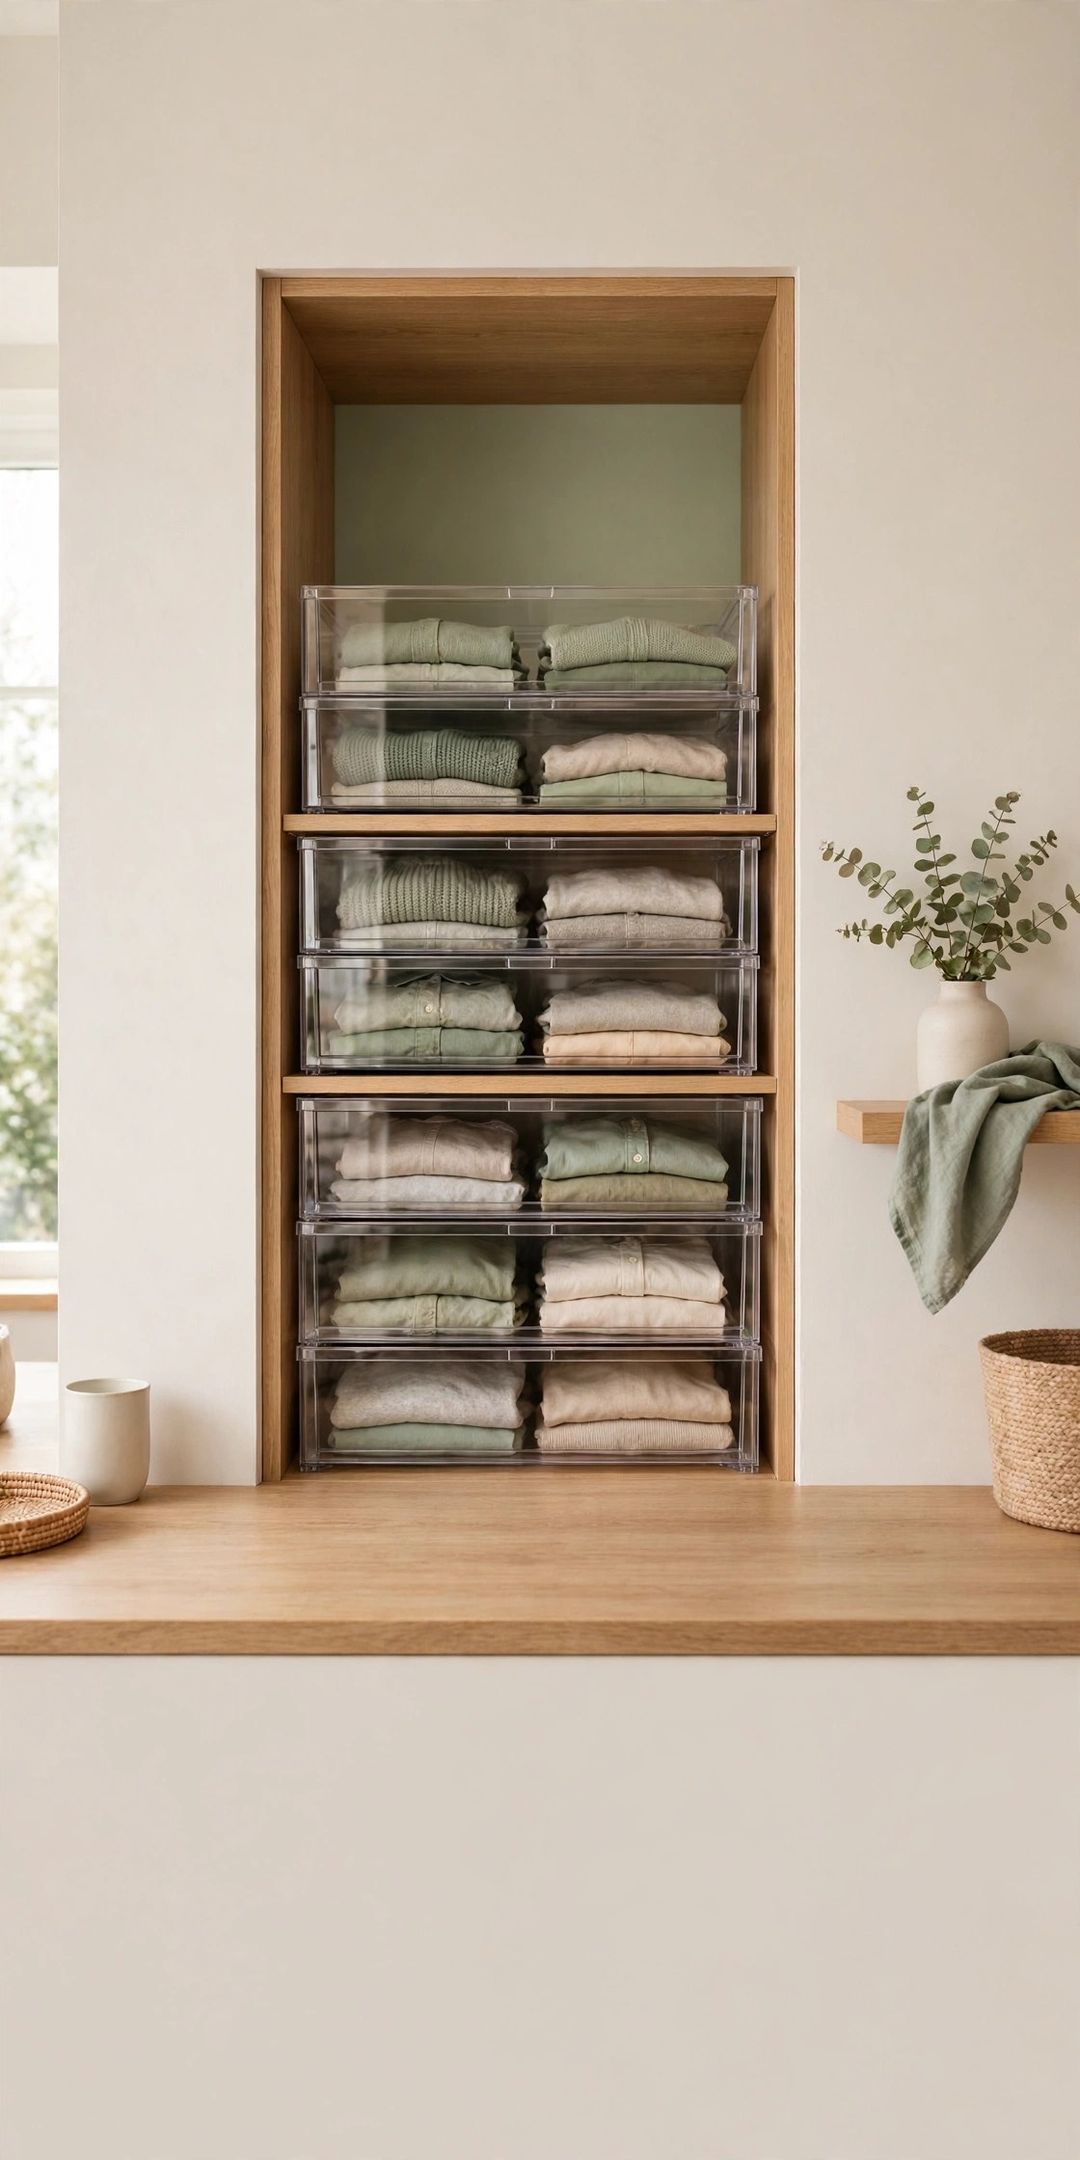
1. Clear open-top bins. An open bin with clear sides shows its contents from above and from the front, and there is no lid to remove. Use one bin per category, like hair tools, cleaning refills, or snacks, and keep the bin only as full as you can see into at a glance.
2. Clear canisters and jars with labels facing out. Dry goods, cotton balls, screws, and craft supplies stay visible in clear containers, and a label turned to the front tells you the exact contents. Square containers line up without wasted corners and work well on pantry and bathroom shelves.
3. Open shelving for daily items only. A short open shelf keeps daily items in plain view and within reach. Limit it to pieces like mugs, plates, towels, or skin care. Rarely used items can stay closed so the shelf never turns into clutter.
4. Tiered risers and shelf steps. A stepped riser lifts the back row so jars, cans, and bottles are not hidden behind the front row. Use risers for spices, cans, and small containers. Measure shelf height first so the top step still leaves room to lift items out.
2. Wall, Door, and Corner Storage That Stays in View
5. A turntable for deep corners. A turntable turns a dark cabinet corner into storage you can spin and scan. It works best for bottles, jars, and cleaning supplies in one layer. Avoid stacking on a turntable, because a second layer hides the first one again.
6. A pegboard or shadow board wall. Hang tools, kitchen utensils, or craft supplies on a board where each item has an outlined or fixed spot. An empty spot shows you at once what is missing or not yet put back. Keep the board to items you use often so it stays useful, not decorative.
7. Over-door racks and clear door organizers. The back of a door is flat, visible space that often goes unused. A rack or clear pocket organizer holds wraps, pantry packets, toiletries, or cleaning cloths where you see them when the door opens. Keep door storage light and flat so the door still closes well.
8. Magnetic strips and wall rails. A magnetic strip holds knives, scissors, or small metal tools in one visible line, and a wall rail with hooks holds mugs, utensils, or towels off the counter. Both systems use wall space, free drawer space, and keep daily tools in view without a container at all.
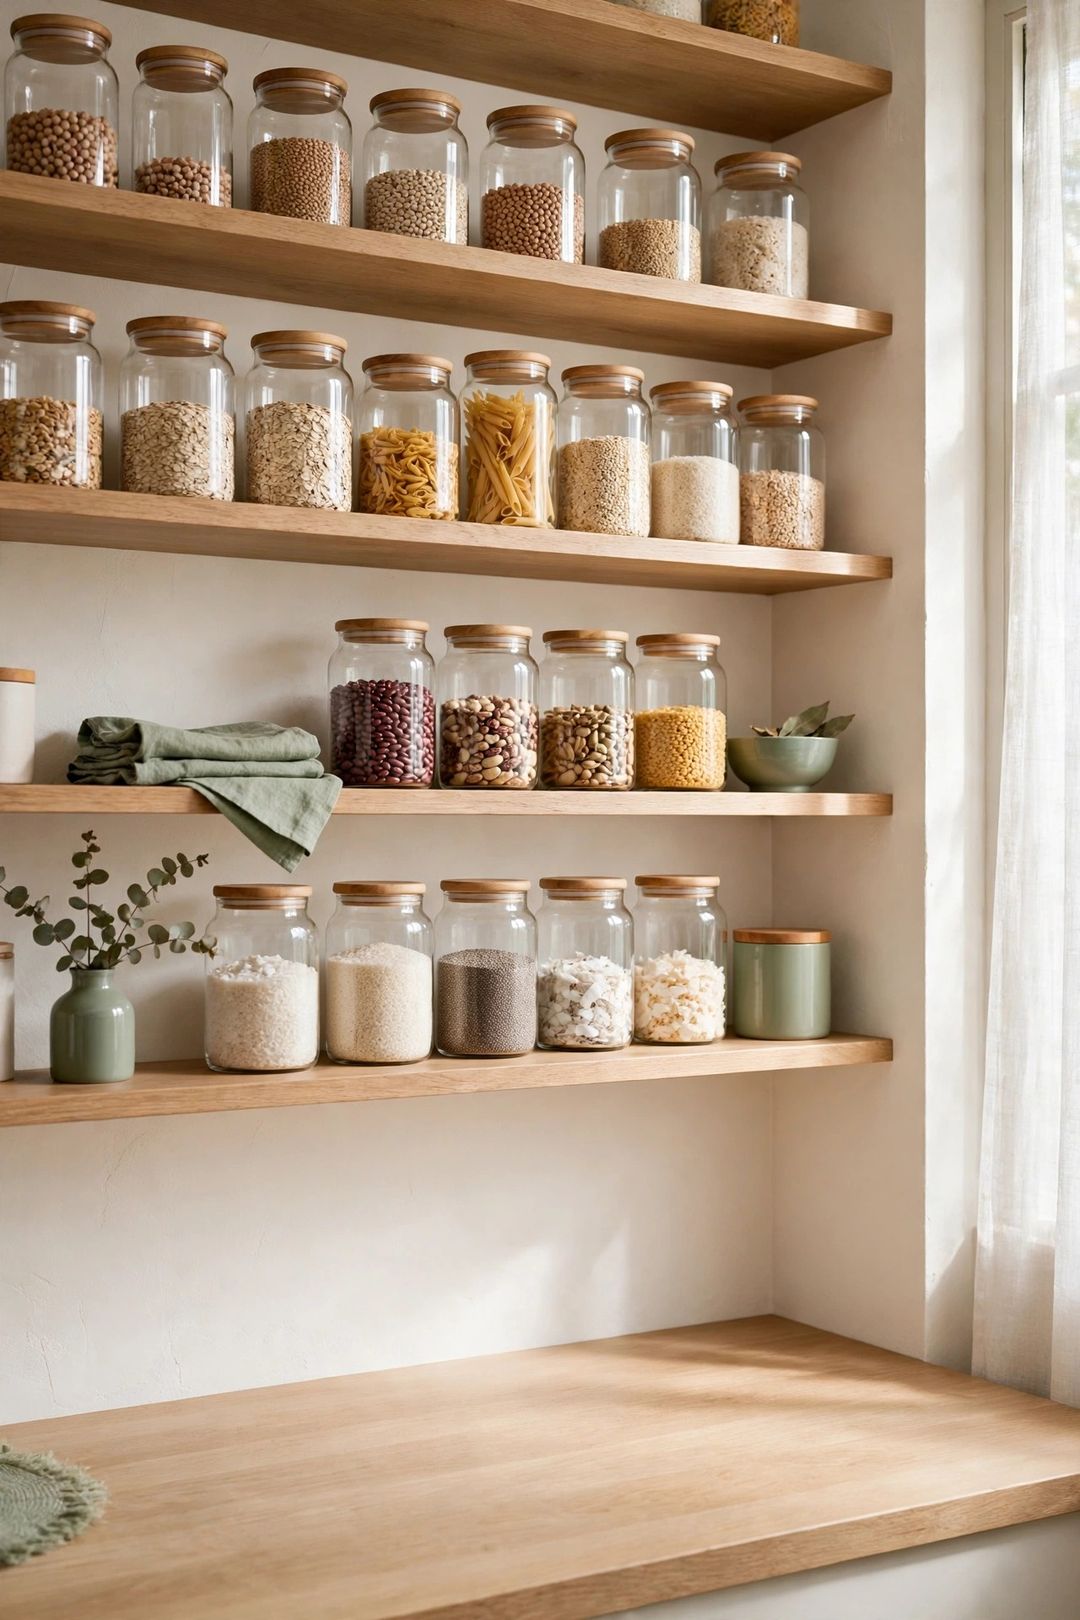
3. Drawers and Deep Storage Made Visible
9. Pull-out trays and rollout drawers. A rollout tray turns a deep, dark cabinet into a drawer you can pull into the light. Store pots, cleaning supplies, or backstock in one layer on the tray. When the tray is out, you can see everything on it at once, with no back row to forget.
10. Upright file-style storage for flat items. Stand cutting boards, baking sheets, lids, folders, and food packets upright in dividers, like files in a drawer. Upright items show their edges and labels, slide out one at a time, and never form a flat stack that buries the bottom piece.
11. Shallow drawers with clear dividers, in one layer. A shallow drawer you can see from above works better than a deep drawer you have to dig through. Add clear dividers, keep one layer only, and give each section one job. If an item needs a second layer to fit, the drawer is too full for visual storage.
12. Under-shelf hanging baskets. A basket that hooks under a shelf uses the empty air below it and keeps its contents at eye level. Use it for lightweight items like napkins, wraps, packets, or washcloths. Because the basket is open, you can see when it is full and when it needs a refill.
What to Buy
A clear open bin set, typically $14–$24. Pro: You can see contents from the top and front with no lid to handle. Con: Open bins collect dust in busy kitchens. Skip if: The items need to stay sealed, stacked, or protected from light.
A tiered shelf riser, typically $12–$20. Pro: Back-row jars and cans stay visible without moving the front row. Con: Tall items may not fit on the top step. Skip if: Your shelves are shallow and already hold only a single row.
A turntable, typically $9–$15. Pro: It brings deep corner items forward with one spin. Con: The round shape leaves some corner space unused. Skip if: Your cabinet is too narrow for it to turn without catching.
A pegboard panel with hooks, typically $18–$32. Pro: Every tool gets a visible, fixed home on the wall. Con: It needs wall space and a tidy layout to stay readable. Skip if: You rent and cannot fix panels to the wall, or you own very few hangable tools.
Mistakes to Avoid
- Putting lids on every clear bin. A lid hides the top view and adds a step. Keep daily bins open unless the contents need sealing.
- Storing in two deep layers. A second layer hides the first. Keep visual storage to one layer or one clear row.
- Using solid bins without labels. A solid bin with no front label is just a smaller closed cabinet. Label the front or choose clear sides.
- Filling open shelves with rare items. Open shelves work for daily items. Rare items on open shelves become dusty clutter you stop seeing.
- Skipping a home spot on boards and walls. A pegboard only helps if each item has one clear spot to return to.
Frequently Asked Questions
Where should you start if every cabinet feels hidden?
Start with the spot that frustrates you most each day, like the cabinet under the sink or a pantry shelf. Add clear bins and a single-row rule there first, then copy what works to the next spot.
How do you keep clear storage from looking cluttered?
Keep one category per bin, leave a little empty space at the top, and use matching labels facing the same way. Clear storage looks calm when the groups are simple and the containers line up.
What should stay in closed storage?
Keep rarely used, bulky, or unsightly backstock in closed storage with a clear front label. Visual storage is for daily and weekly items. A label on the closed door or bin front still tells you what is inside.
Do labels really help if the container is already clear?
Yes. Clear sides show the shape, but a label names the exact item, size, or refill need. Labels facing out also help other people in the home put things back in the right spot.
When your storage shows you what you own, finding and putting away become the same easy step. Save this post to your Small-Space Storage board on Pinterest so the 12 systems are handy when you tackle your next cabinet or drawer.