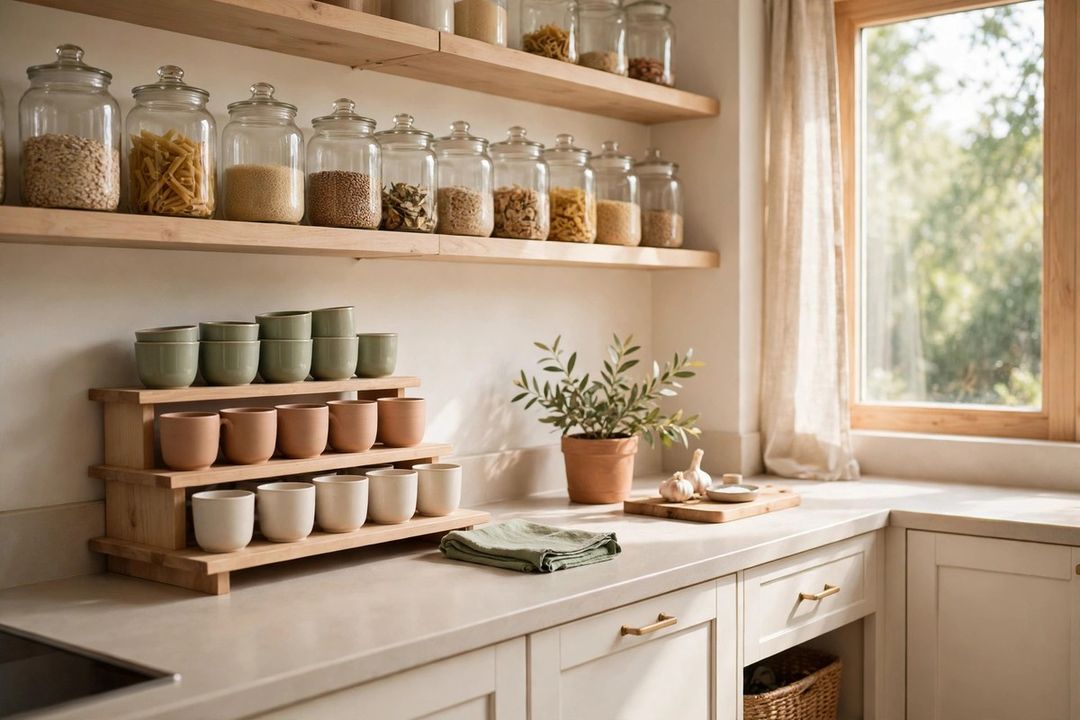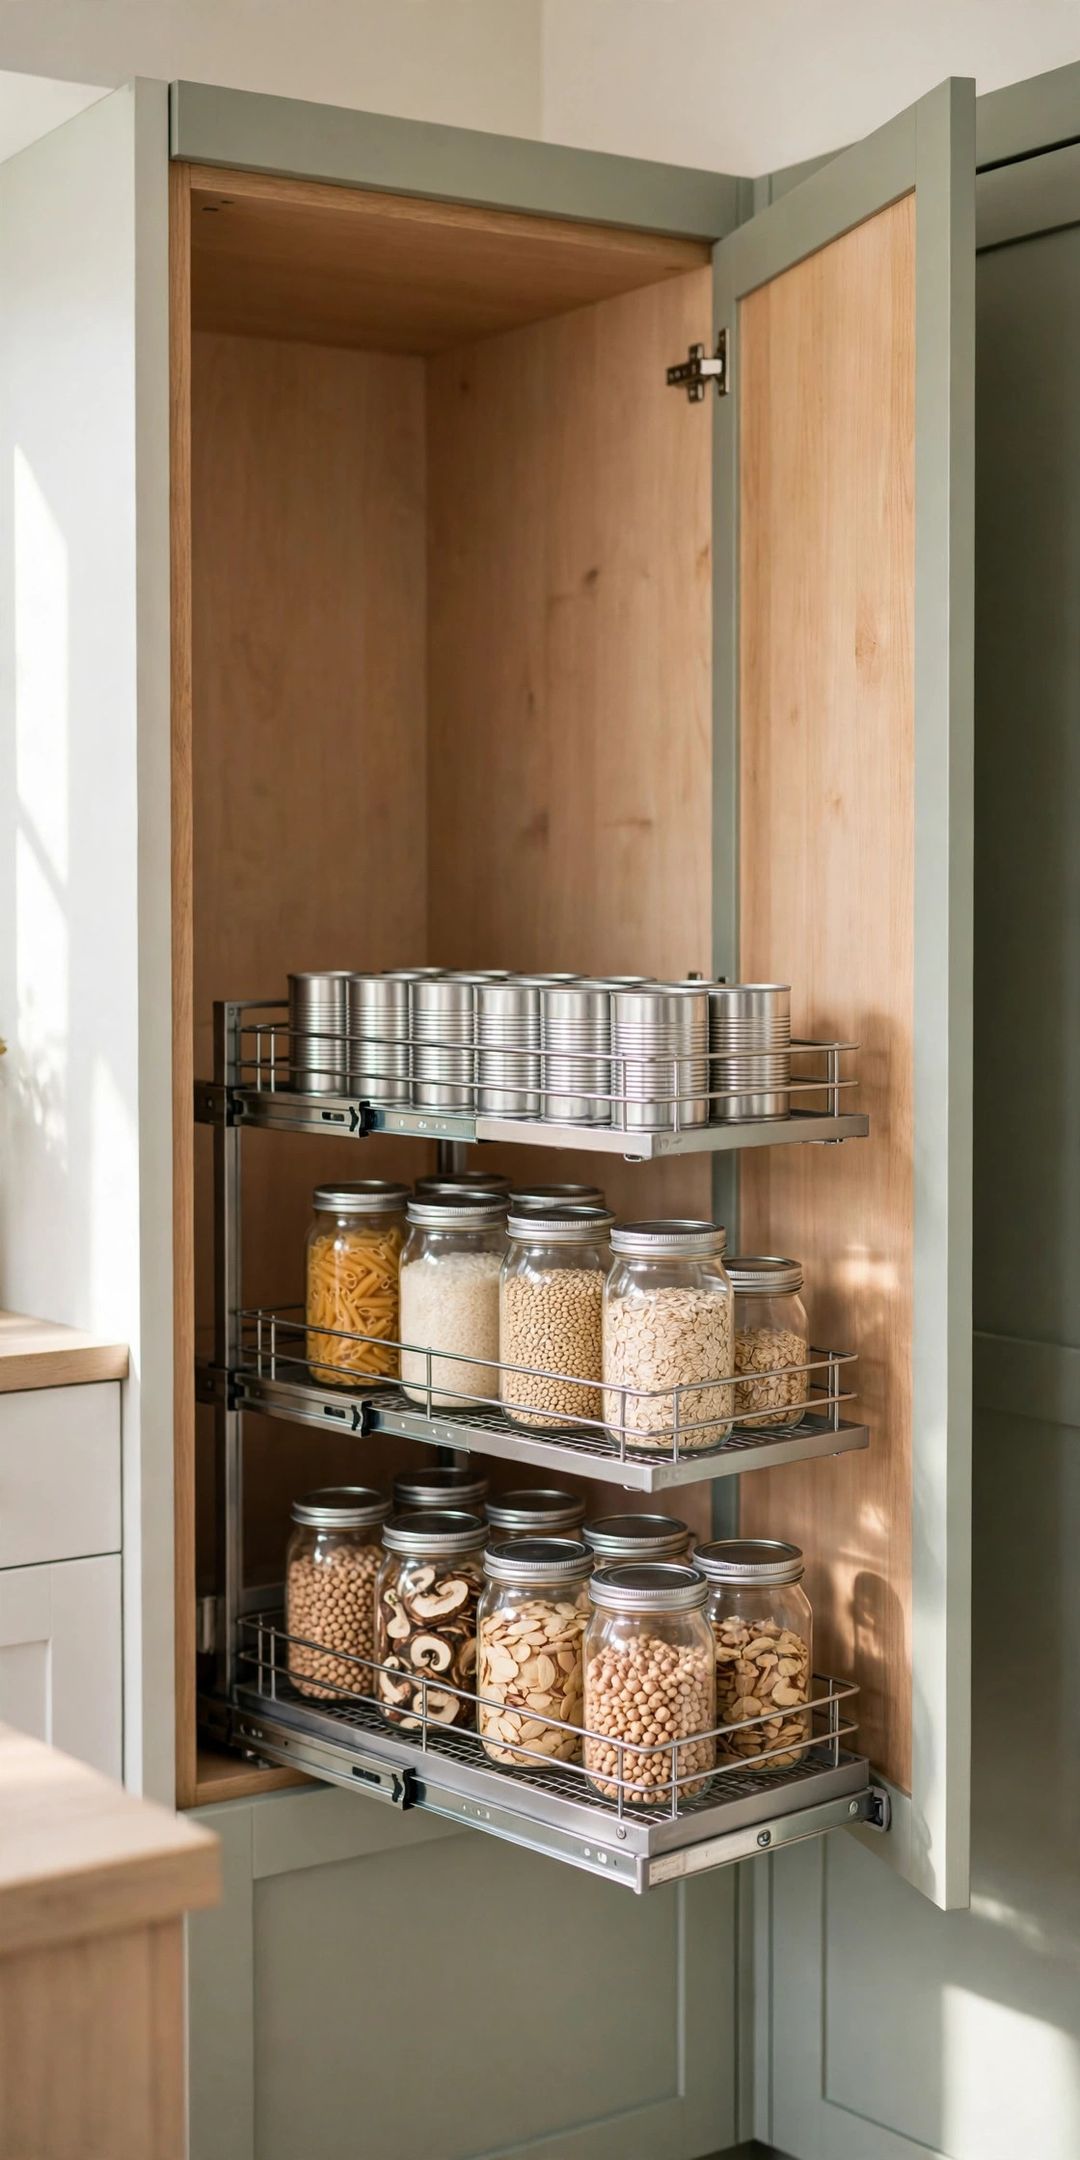
Bottles have a way of spreading. One starts by the coffee maker, two more land by the sink, and soon a loose row takes up counter space. In cabinets, the same bottles get pushed to the back where no one can see them.
These vitamin and supplement storage ideas kitchen spaces can actually handle focus on one thing: storage. You will set up one home base, use height inside cabinets, and keep every bottle visible and easy to put back.
Start by gathering every bottle in one spot and checking each label for its storage directions. Group bottles by size or household member, toss empty packaging, then pick the ideas that fit your space.
1. Use One Small Counter Caddy as Home Base
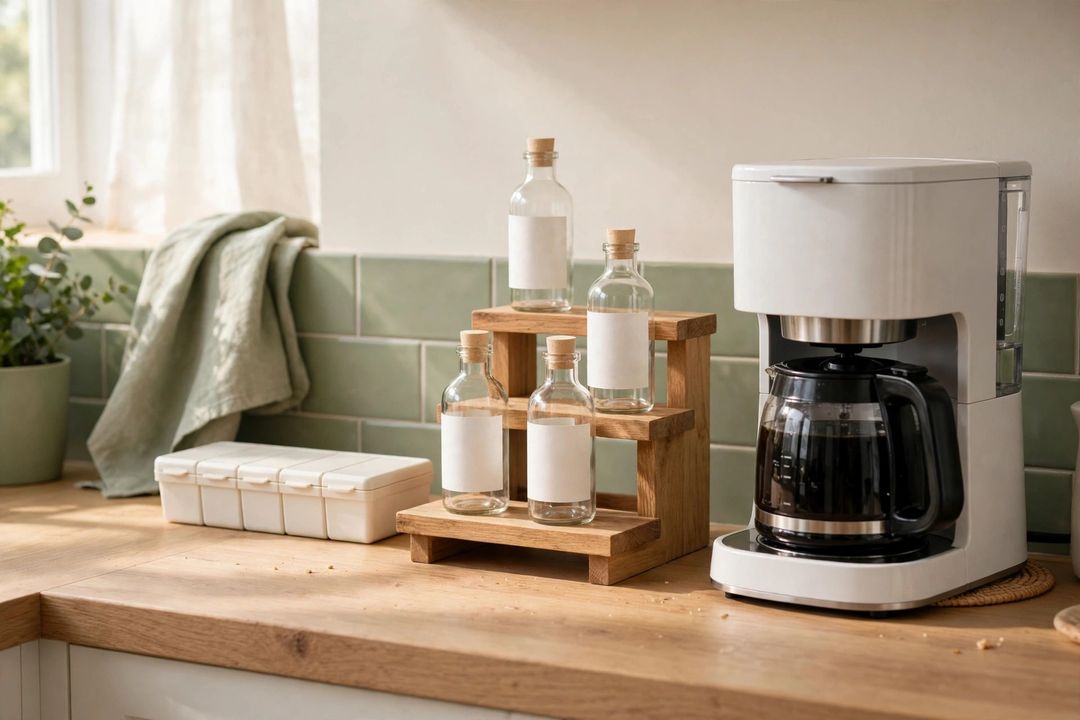
If bottles live on the counter, give them one defined home. A small caddy or tray, roughly 8 to 12 inches long, holds the bottles you keep out and draws a clear line around them.
Choose a caddy with a handle so bottles lift out easily, and keep it to one layer. When it fills up, move extras to a cabinet instead of starting a second row.
2. Add a Tiered Riser Inside the Cabinet
A stepped riser turns one flat cabinet shelf into two or three visible rows. Bottles in the back sit higher, so labels stay readable and nothing hides behind the front row.
Measure shelf width and depth first. Risers around 10 to 13 inches wide suit most cabinets. Put taller bottles on the top step and shorter ones in front.
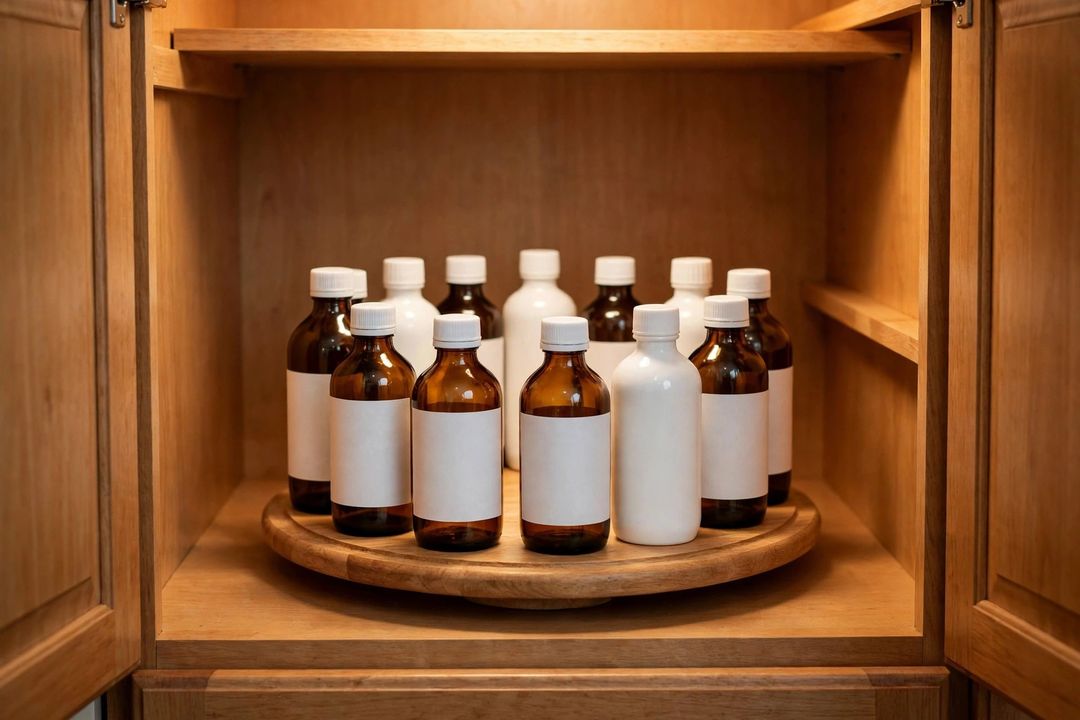
3. Spin Bottles Forward on a Turntable
A turntable solves the deep-cabinet problem. One spin brings the back bottles to the front, so you do not have to unload half the shelf to reach one bottle.
A 10-inch turntable fits most cabinets and holds a good group of bottles in one layer. Keep it to one layer, or the spin gets wobbly and bottles tip.
4. Fit a Rack Inside the Cabinet Door
The inside of a cabinet door is flat, wasted space that suits slim bottles well. A shallow door rack or a few adhesive hooks with a small rail can hold the lightest, thinnest items you reach for often.
Check clearance first: close the door slowly and make sure the rack does not knock bottles inside. Keep door storage light, and save heavy glass bottles for a shelf.
5. Corral Bottles in Clear, Stackable Bins
Clear bins group bottles by person, size, or cabinet zone, and they slide out like drawers. You can see at a glance which bin you need.
Label the front of each bin, keep one layer of bottles per bin, and stack no more than two high, with the most-opened bin on top.
6. Add an Under-Shelf Basket for the Overflow
An under-shelf basket hooks over a cabinet shelf and creates a small extra level underneath it. That pocket is a good size for flat boxes, refill pouches, and other light items that otherwise float loose on the shelf.
Keep the basket for light items only — heavy bottles belong on the solid shelf. One basket per cabinet is usually enough.
7. Give Bottles One Drawer With Dividers
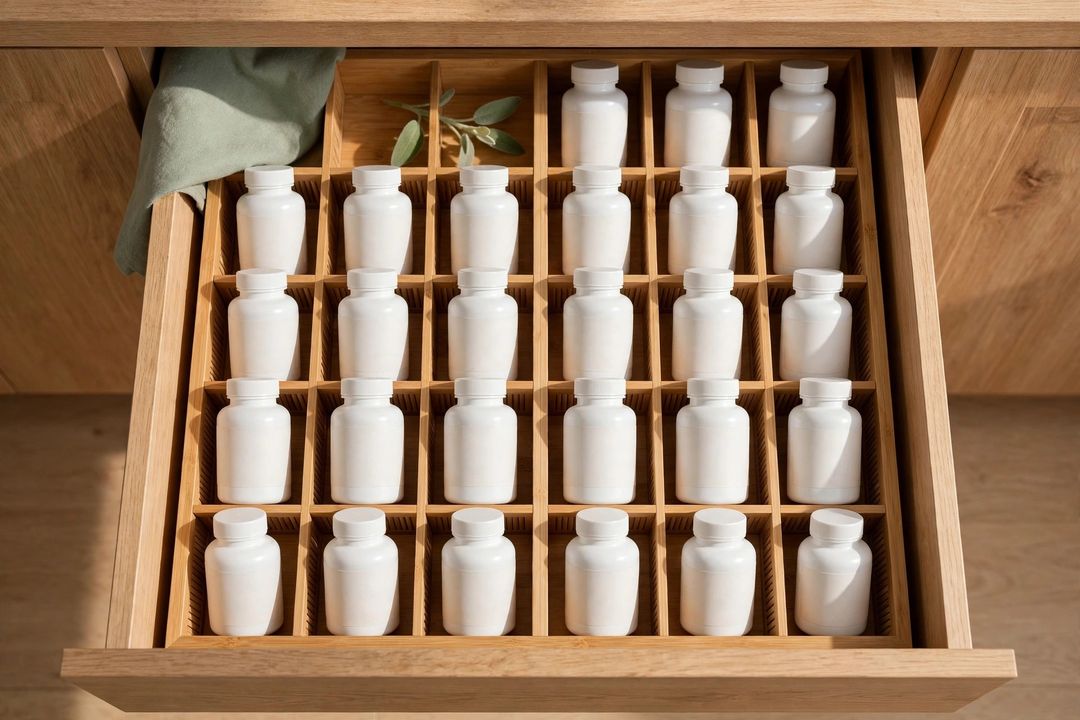
If you have a spare kitchen drawer near your prep area, it can hold bottles lying flat or standing in divided sections. Dividers stop bottles rolling and clinking every time the drawer opens.
Measure bottle height first, since many drawers are shallower than a standard bottle. Shallow bottles and flat boxes suit drawers best. A non-slip mat keeps sections in place.
8. Keep One Single Row, Labels Facing Out
However you store bottles, a single front row with labels facing out is the habit that keeps the system working. You can read every label at a glance, spot an empty spot, and put a bottle back in seconds.
Avoid double rows on open counters, where the back row gets forgotten. On deep shelves, use a riser or turntable instead.
9. Pick a Cool, Dry Shelf Away From Heat and Steam
Placement matters as storage practicality. As a general storage rule, choose a cabinet or pantry shelf away from the stove, oven, and dishwasher, where heat and steam hit every day, and away from the damp air right above a kettle or sink.
Always check each label for its own storage directions and follow those first. A closed cabinet on an inside wall, or a pantry shelf, usually gives steady, dry conditions and keeps bottles out of direct sun too.
What to Buy
A small counter caddy or tray, typically $10–$18. Pro: It gives counter bottles one clear home base and lifts out for cleaning. Con: A caddy that is too big just becomes a bigger clutter zone. Skip if: You have no counter space to spare and cabinet room is plentiful.
A tiered cabinet riser, typically $12–$20. Pro: Back-row labels stay visible with no reaching or unloading. Con: Very tall bottles may not fit on the top step under the shelf above. Skip if: Your cabinet shelves are already short and closely spaced.
A 10-inch turntable, typically $9–$15. Pro: It brings deep-cabinet bottles forward with one spin. Con: The round shape leaves unused corners on a square shelf. Skip if: Your cabinet is too narrow for the turntable to spin freely.
Clear stackable bins with labels, typically $12–$22 for a set. Pro: Groups stay separate, visible, and easy to slide out. Con: Bins need regular straightening. Skip if: You only have a few bottles and a riser already holds them.
An under-shelf basket, typically $10–$16. Pro: It adds a handy level for light boxes and pouches with no tools. Con: It is not built for heavy bottles. Skip if: Your shelves are thick or styled in a way the hooks cannot grip.
Mistakes to Avoid
- Storing bottles in more than one home base. Bottles split between the counter, a cabinet, and a drawer always get lost. Pick one main spot and one backstock spot at most.
- Lining bottles two deep on a flat shelf. The back row hides, gets forgotten, and gets bought again. Use a riser or turntable on deep shelves.
- Keeping bottles right beside the stove. Daily heat and steam are poor storage conditions, and splashes make labels sticky and hard to read.
- Skipping labels on bins. Unlabeled bins all look the same after a week. A plain word on the front keeps the grouping honest.
- Buying organizers before counting bottles. Ten bottles need a caddy; thirty need bins and a riser. Count and measure first, then shop.
Frequently Asked Questions
Is it better to store bottles on the counter or in a cabinet?
Both can work. A cabinet keeps bottles out of sight and away from heat, steam, and sunlight. A small counter caddy works if you want a few bottles out in one tidy spot.
How do you store bottles in a very small kitchen?
Use one system only: a single caddy, one riser, or one bin. Small kitchens stay tidy when bottles have exactly one home. Door racks and under-shelf baskets add space without taking any shelf room.
Should bottles be taken out of their original packaging?
Keep bottles in their original labeled containers, so they stay easy to identify and check for storage directions. Bins, risers, and caddies organize the bottles as they are.
What do you do with extra or backup bottles?
Give backstock its own small bin on a higher or lower shelf, separate from the bottles in daily reach. Check that bin before you shop, so you use what you have before opening a new bottle.
One home base, visible labels, and a shelf away from heat and steam will keep bottles tidy. Save this post to your Kitchen Organization board on Pinterest for your next tidy-up day.